If you’re looking to improve the stance and handling of your Mazda 2, installing wheel spacers is a great modification. But is it something you can tackle as a DIY project? The answer is yes, with the right preparation and tools, installing spacers on a Mazda 2 is totally doable for the home mechanic. In this post, we’ll walk through the steps for safely installing wheel spacers on a Mazda 2 yourself.
What Do Mazda 2 Wheel Spacers Do?
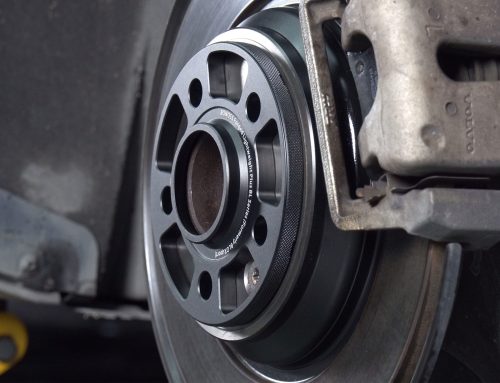
Wheel spacers are circular metal plates that bolt between your wheel and hub. They push the wheels outward, effectively increasing the track width of your vehicle. The main benefits of running spacers on a Mazda 2 are:
- Improved stance – Pushing the wheels outward gives the car a more aggressive, lowered look even if you haven’t lowered the suspension.
- Better handling – Increasing track width improves cornering grip and reduces body roll.
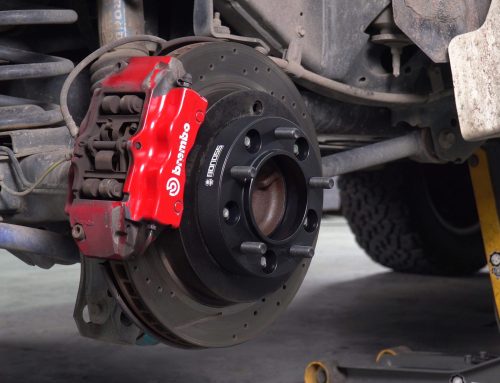
- Room for larger brakes – Spacers allow fitting larger brake kits that wouldn’t clear the stock wheels.
Is it Safe to Use Mazda 2 Wheel Spacers?
It is safe to use high-quality hub-centric aluminum wheel spacers. Generally, 15-25mm is considered safe for the Mazda 2 platform. Reputable brands like BONOSS manufacture spacers specifically for the Mazda 2 within this size range.
You also need to use high-quality wheel studs as well as lug nuts to safely secure the spacers.
With quality spacers sized appropriately for your Mazda 2, it is safe to install and run spacers on this car. Pay close attention to proper torque specs and re-torque after the first 100 miles.
What You’ll Need for Installation
If you’re going to DIY this install, you’ll need the following tools and parts:
- Floor jack and jack stands
- Torque wrench
- Breaker bar
- Wheel spacer kit (spacers, extended studs, etc.) -Wheel chocks
Make sure you get a complete spacer kit.
Step-By-Step Installation
With the tools and parts ready, here are the steps for installing Mazda 2 wheel spacers at home:
- Lift Up the Car Use a floor jack to get the front and rear ends up on jack stands. Chock the wheels to prevent rolling.
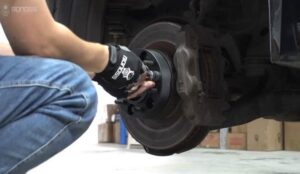
- Remove Wheels Take off all wheels with the breaker bar.
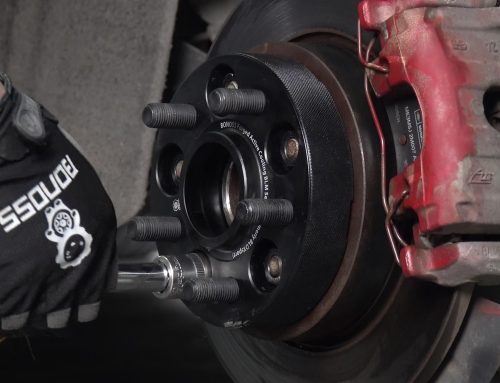
- Mount Spacers Put a spacer on each hub, aligning the holes. The spacer should fit snugly against the hub.
- Install Wheels Set each wheel over the spacer and hand stock lug nuts to hold it in place.
- Torque Hardware. Using a star pattern, torque the lug nuts in the spec in your owner’s manual.
- Re-torque after 100 Miles Always re-check torque after the first 100 miles to ensure the wheels are secure.
The Best Wheel Spacers for Mazda 2
If you want the highest quality and safest spacers for DIY install on a Mazda 2, we recommend:
BONOSS spacers are TUV and SGS approved and precision CNC machined from aircraft grade aluminum. Their hubcentric design guarantees a vibration-free fit. They include all necessary hardware and come in the ideal 15-25mm size for the Mazda 2.
BONOSS spacers are also fully customizable for offset if you want something unique. Their customer service is top notch as well.
For bolt-on convenience, exceptional fitment, and durability, BONOSS is hard to beat for Mazda 2 wheel spacers. Their plug-and-play kits make install a breeze for the DIYer.
Installing wheel spacers on a Mazda 2 is straightforward when you have the right parts and process. With quality hubcentric spacers, ISO grade 12.9 wheel studs, and proper torque, you can absolutely do this DIY in your garage. Just take care during install and follow torque specs closely.
The end result will be a better looking, better handling Mazda 2 perfect for carving up twisty roads.