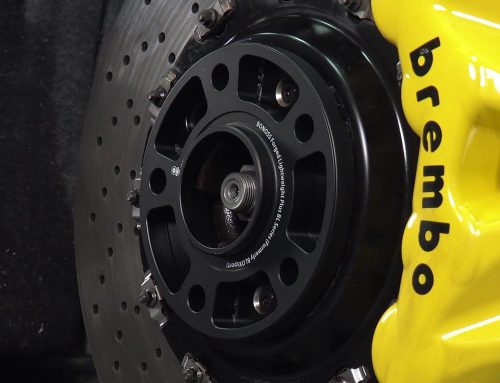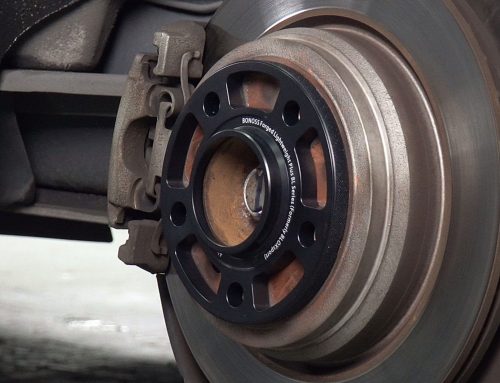
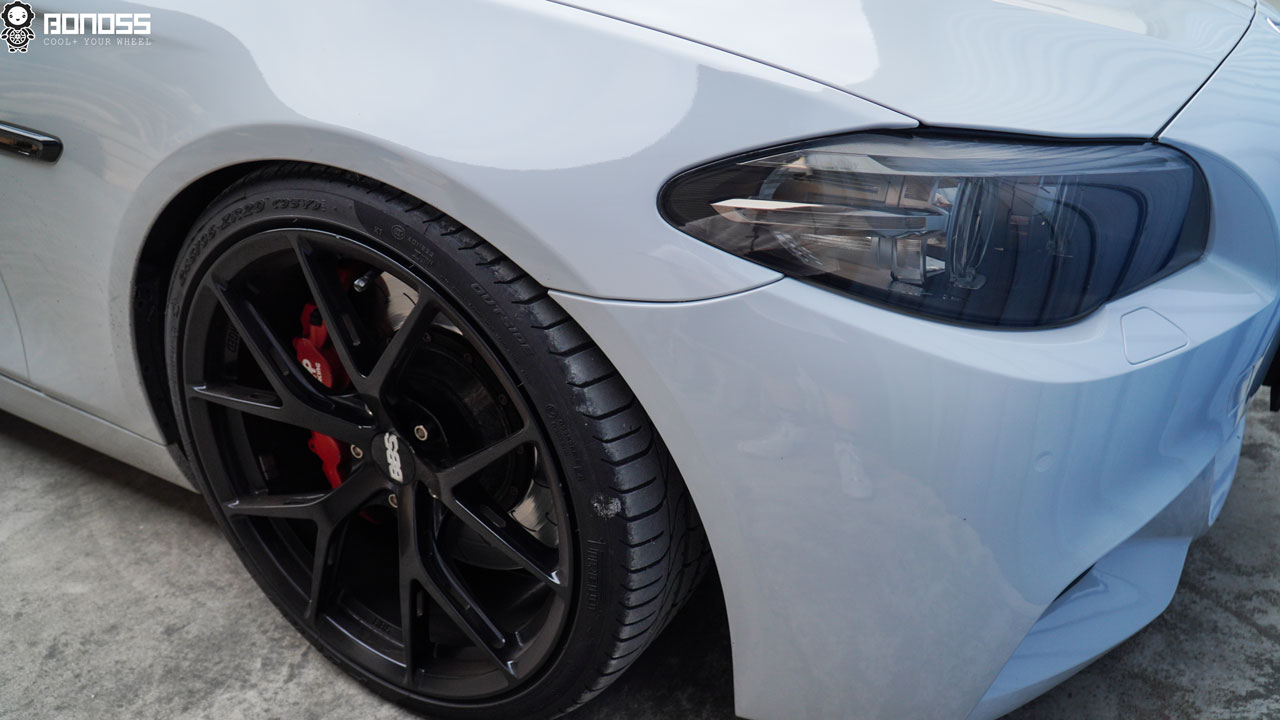
Wheel bolts are small but very important components that keep the wheels secured on your vehicle. When correctly torqued, they will make a firm mechanical connection to the threads on the vehicle hub. Many owners who tend to swap their wheels usually end up replacing the lug bolts to fit the aftermarket wheels. Since they experience extremely large forces, it’s essential to ensure a proper fitment and installation. Here we introduce all the knowledge and technique that goes into fitment and installation.
Before Installing Shell Type Wheel Bolt Kit
It is highly recommended to get the kit installed by a professional technician or under the guidance of a Qualified Mechanic. Before installation, here are some safe and reliable tips from the BONOSS tech guys:
- Be sure to use new wheel bolts when installing new aftermarket wheels;
- Avoid using lubricants on the thread of wheel bolts or the lug holes of the vehicle hub. Because this may result in loss of torque or failure of wheel bolts;
- Try to use a torque wrench instead of an air impact wrench to secure your new wheel bolts. An air impact wrench may weaken your new bolts, which increases the chance of failure while driving.
Steps to Install BONOSS Shell Type Wheel Bolts
After confirming the fitment of your new shell-type wheel bolts, it is time to replace your current wheel bolts. Park the car in a safe, well-lit, level area, leave the wheels in contact with the ground. Tire bolts installation is quite simple, almost can be done in an afternoon. You just need to prepare some hand tools and a way to lift your car.
Required Tools: Car Lift, Lug Socket, Torque Wrench, Wheel Hanger (Optional), Impact Wrench (Optional), Degreaser (Optional), Emery Cloth (Optional), Towel (Optional)
Step 1: Loosen All the Stock Bolts
Loosen all the stock bolts that fasten the wheel to the hub in the sequence of a “Star” shape pattern but do not fully remove them. Step on the brake pedal to prevent any chance of the vehicle rolling. Besides, it’s recommended to use the resistance of the tire against the ground to get enough torque to turn the lugs. Otherwise, you may meet the problem that the wheel would just spin if you try to loosen the bolts when it’s lifted.
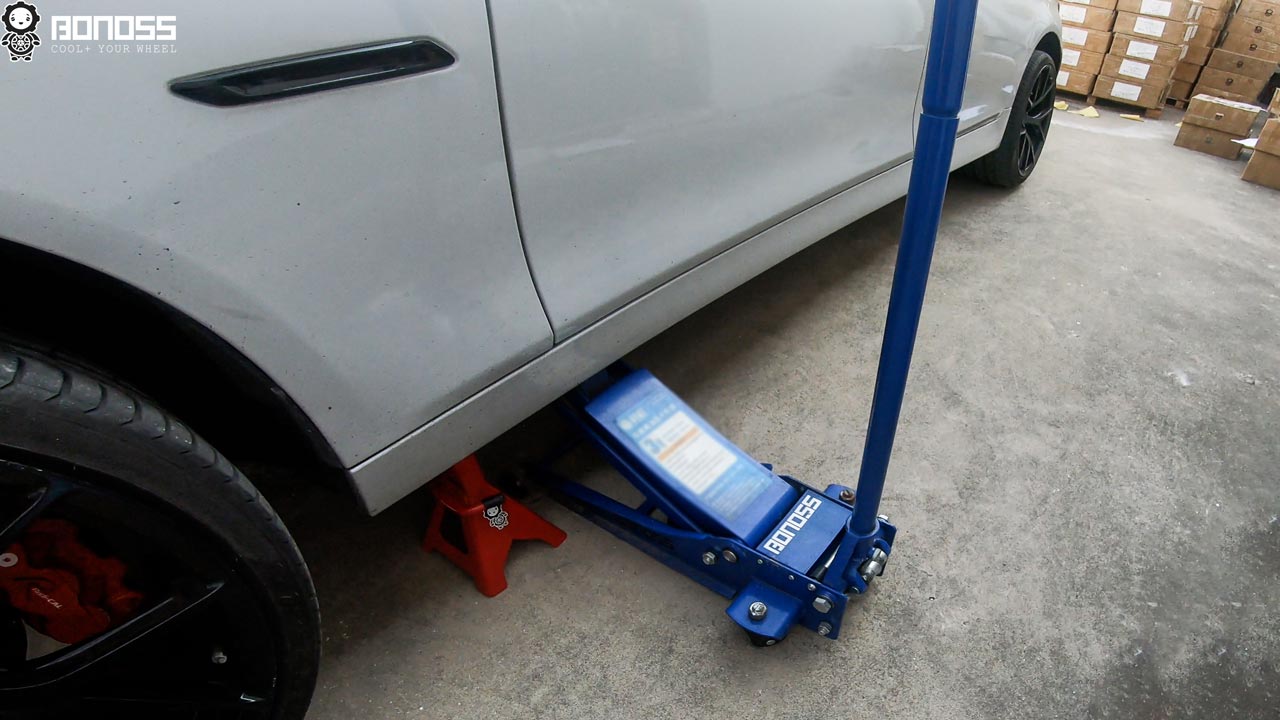
Step 2: Lift the Car
If you don’t have access to a car lift, a jack and a good set of jack stands will work just fine as well. But, with a car lift, your work will become easier. Use the car lift to raise the vehicle slowly to a height enough to lift a single wheel completely off the ground. Remember to make sure the car lift is properly supporting the vehicle.
Step 3: Use A Wheel Hanger To Hold the Wheel Temporarily
Finish removing all the stock bolts on the raised wheel. Hold the wheels with your hands to prevent a sudden drop and slowly slide the wheel off the hub and set it to the side for now. For a more convenient installation, we recommend using a wheel hanger to keep the wheel in place temporarily. (Please note that the wheel hanger cannot replace wheel bolts! You might also need an extra hand to hold the wheel.)
Step 4: Clean the Wheel Bolts
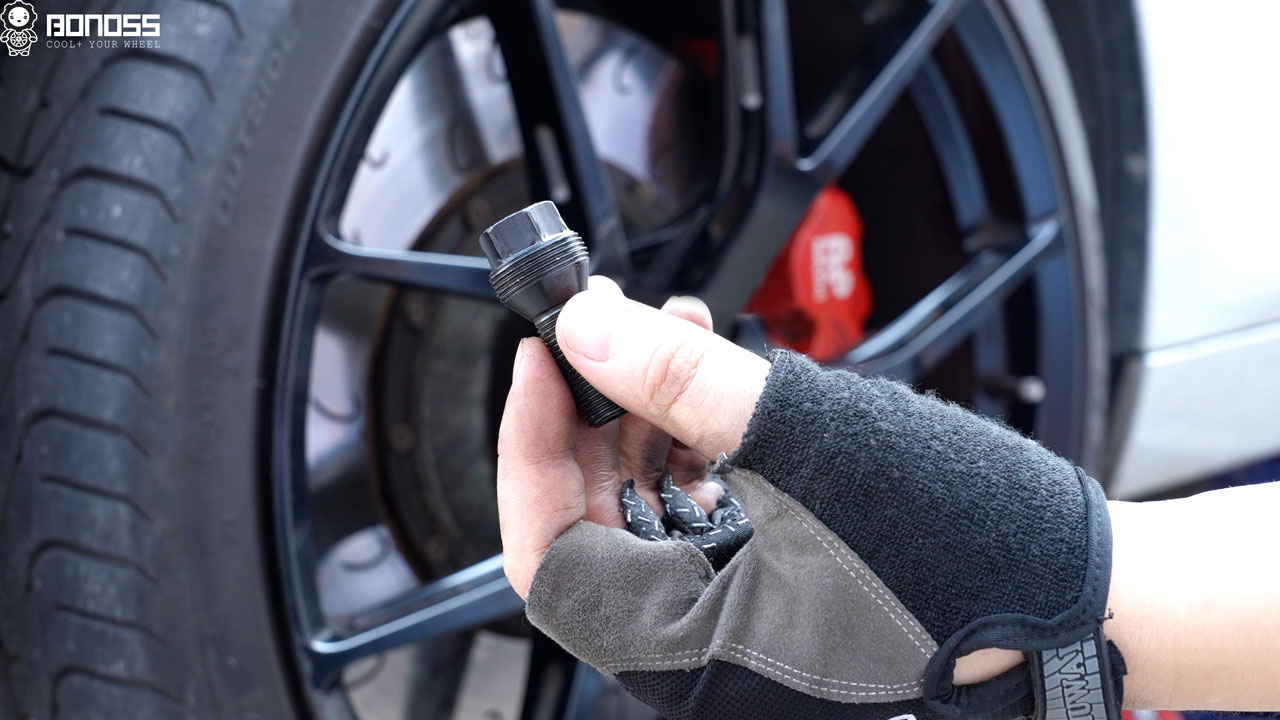
Clean the lug seat surface of the wheel and inspect the threads of wheel bolts. The threads must not be lubricated. Never use a wheel bolt with corrosion, rust, burrs, fractures, and damage!
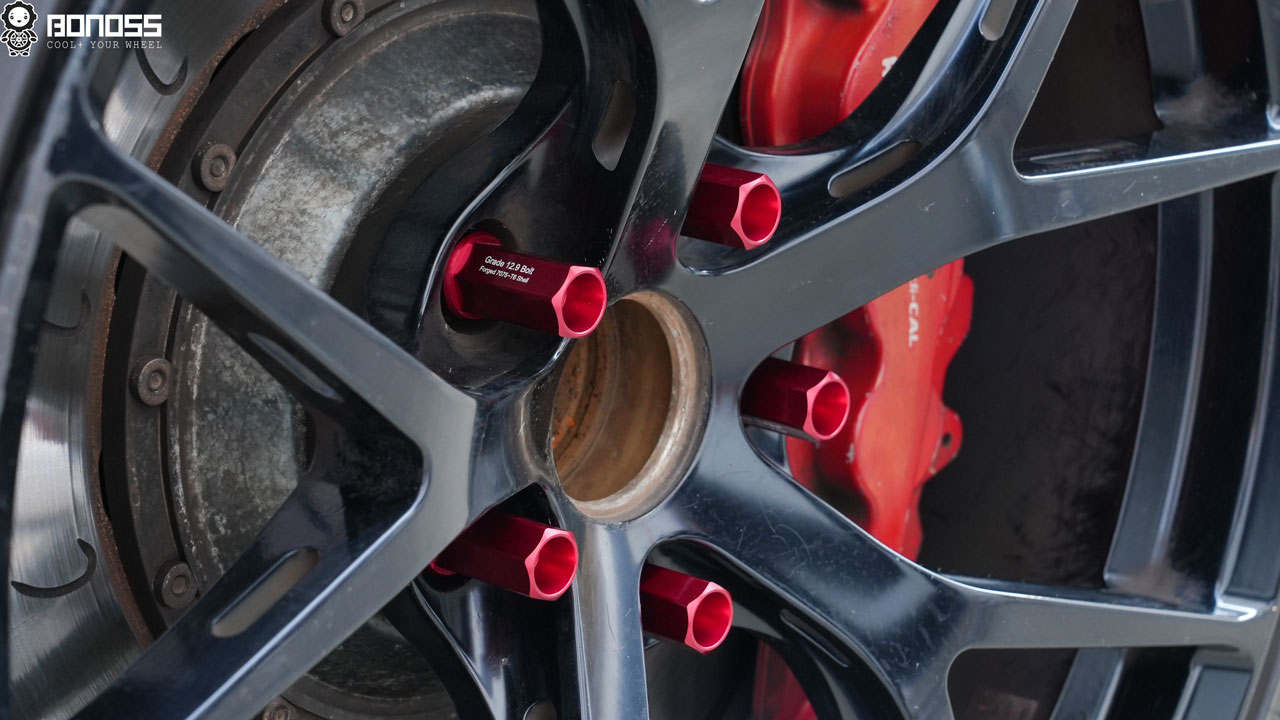
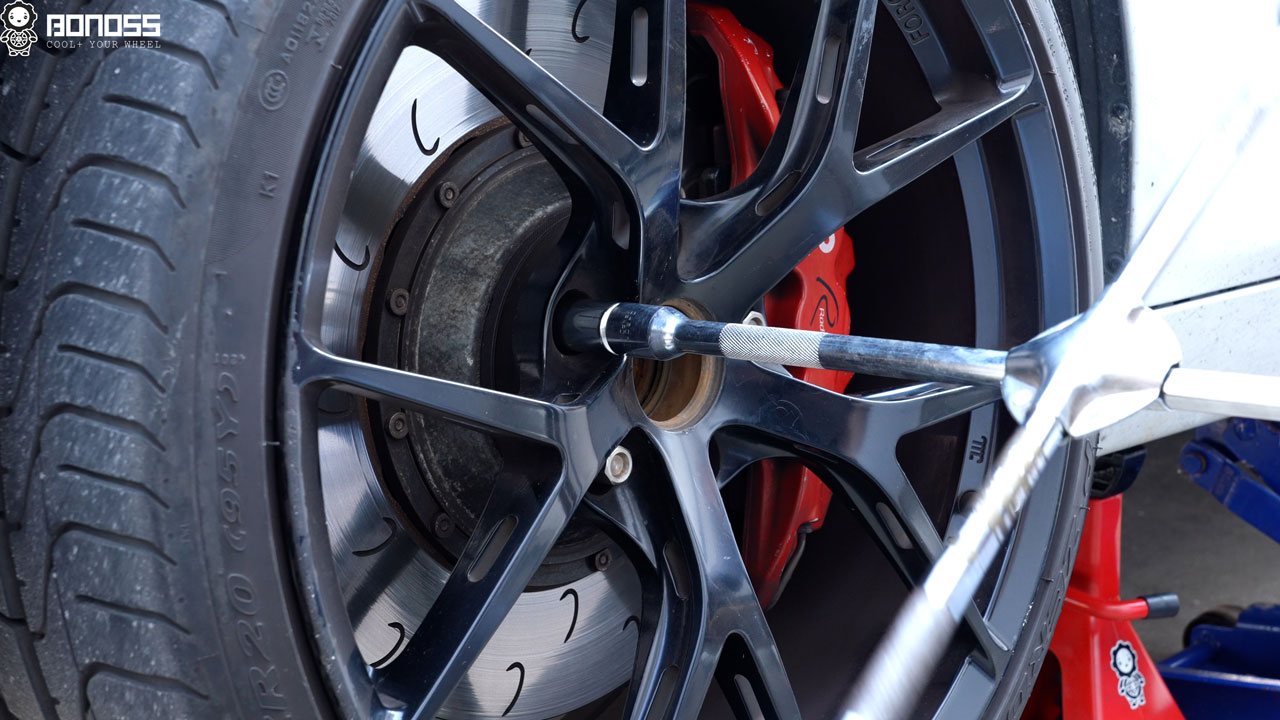
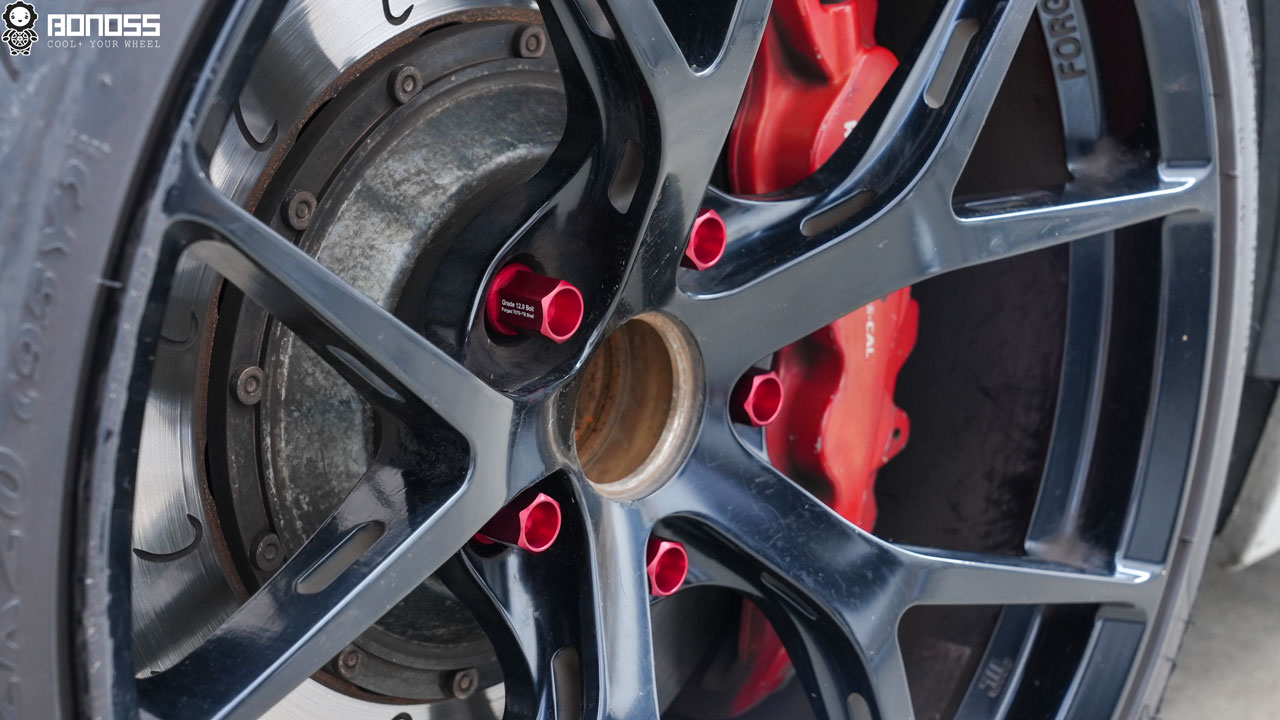
Step 5: Install BONOSS Shell Type Wheel Bolts in Place
Thread BONOSS wheel bolts in the vehicle hub. Carefully turn the wheel bolts by hand to ensure they are easy to thread in to avoid cross-thread. Tighten by hand, but do not torque the lug bolts completely. Just put them in place and fasten them a bit. If you install a locking wheel bolt, you may also require the corresponding key socket.
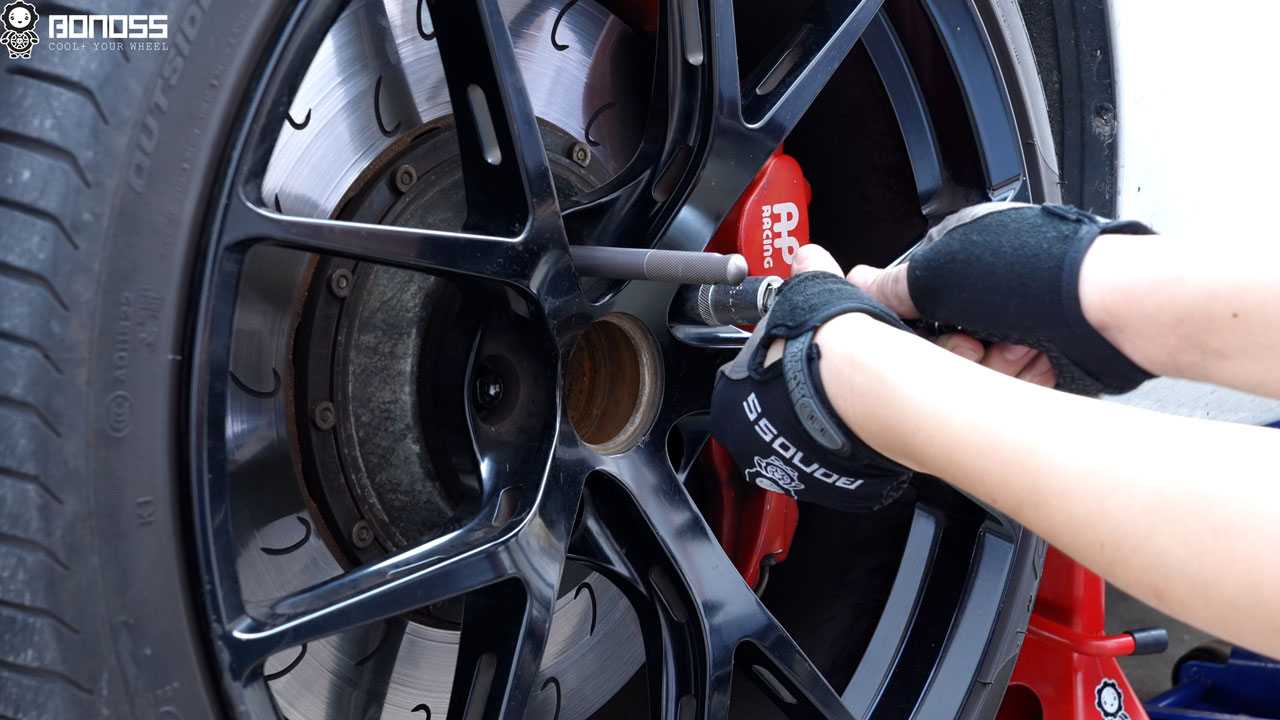
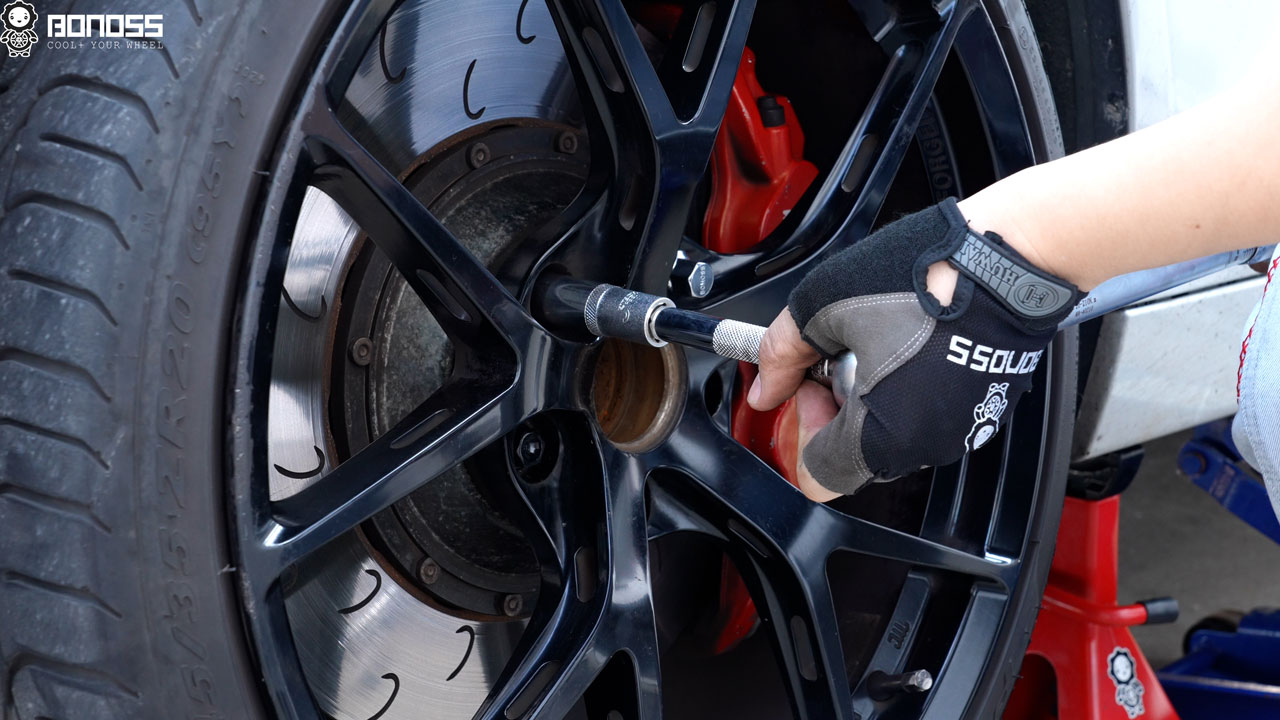
Step 6: Torque the Wheel Bolts to Spec
Use a torque wrench with the manufacturer-recommended torque specification to snug up the lug bolts in a star pattern. Do not overtighten the bolts. If you meet problems that the hubs roll while tightening the bolts, you can ask an assistant to press the brake pedal to prevent the rotor from rolling.
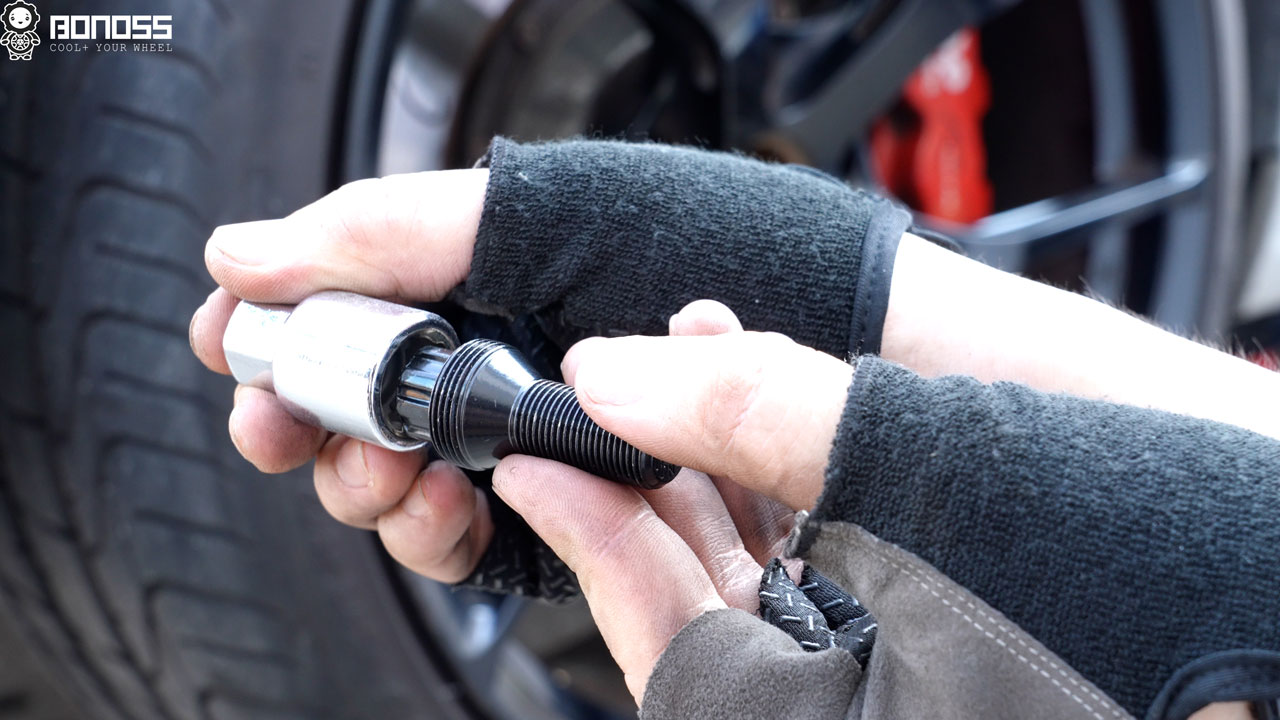
Step 7: Prepare the Bolt Shell
After torquing the wheel bolts, it’s time to thread in the bolt shell. Before installation, clean the thread surface of the shell. The threads must not be lubricated. Never use a shell with corrosion, rust, burrs, fractures, and damage!
Step 8: Install the Shell of Bolt
Thread BONOSS bolt shells on the wheel bolts. Carefully turn the shell by hand until you cannot hand tighten anymore. Be careful not to overtighten. Just put them in place and fasten them a bit.

Step 9: Torque the Bolt Shell to Spec
Use a torque wrench with the manufacturer-recommended torque specification to snug up the shell in a star pattern to ensure that the load is applied evenly. But do not overtighten the bolts.

Step 10: Repeat Steps 1-9 for the Remaining Wheels
Now, you’ve completed the installation for one wheel! Repeat the same process for the rest of the wheel.
Step 11: Carefully Lower the Vehicle
Use the car lift to lower the vehicle slowly until the wheels are in full contact with the ground. And, it’s recommended to take a test ride to do a quick check for vibration or wobbling. Also, experience a new handling performance.
Follow-up Safety Information
- Replacing to aftermarket wheel bolts is a safe mod for your vehicle as long as you use high-quality bolts and install them properly.
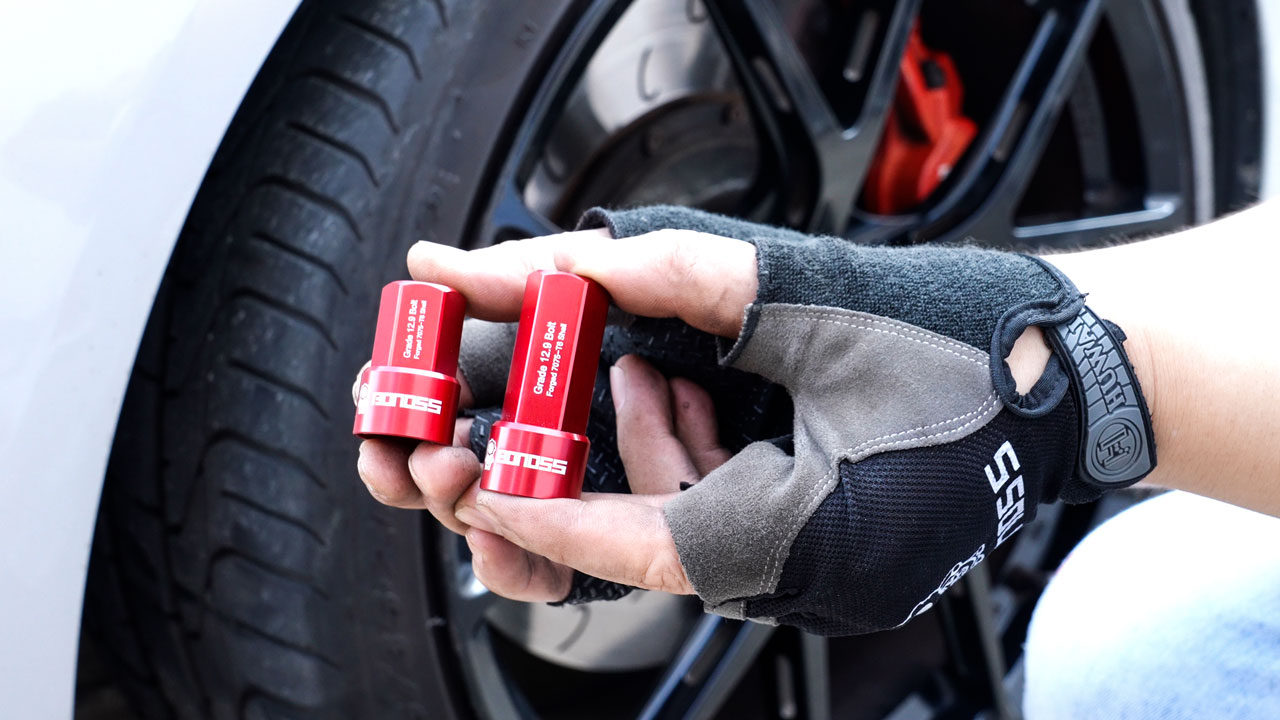
- The shells of bolts do not resist any force. Please use the correct torque to install (5N·m~10N·m), do not use the impact wrench to fasten them.
- Avoid exposure to alkaline substances to prevent fading.
- This instruction is provided as a general guideline only and may not be specific to your vehicle. Please always follow the vehicle manufacturer’s installation instructions.
- DO NOT ATTEMPT to install, service, or replace your wheels, tires, or wheel bolts unless you are a professional or under the guidance of a Qualified Mechanic.
- NEVER operate on or under a vehicle that is raised only by a jack, as it has chances to fall or tip, leading to serious injury.
- Double-check that all lug bolts are tightened to the manufacturer’s specification with a properly calibrated torque wrench in a crisscross, star pattern.
- CHECK and CONFIRM the proper alignment and function of your wheels and tires before driving.
- EXAMINE the performance of your wheels, tires, and wheel bolts in a controllable environment before driving.
- NEVER operate the vehicle if wheels, tires, or wheel bolts are damaged or worn.
- It is always a great idea to regularly inspect the tightness of the wheel bolts, especially soon after installation. Give these shell-type wheel bolts another check after 100 miles of driving to make sure they’re still in place well and the wheel bolts are tight.