
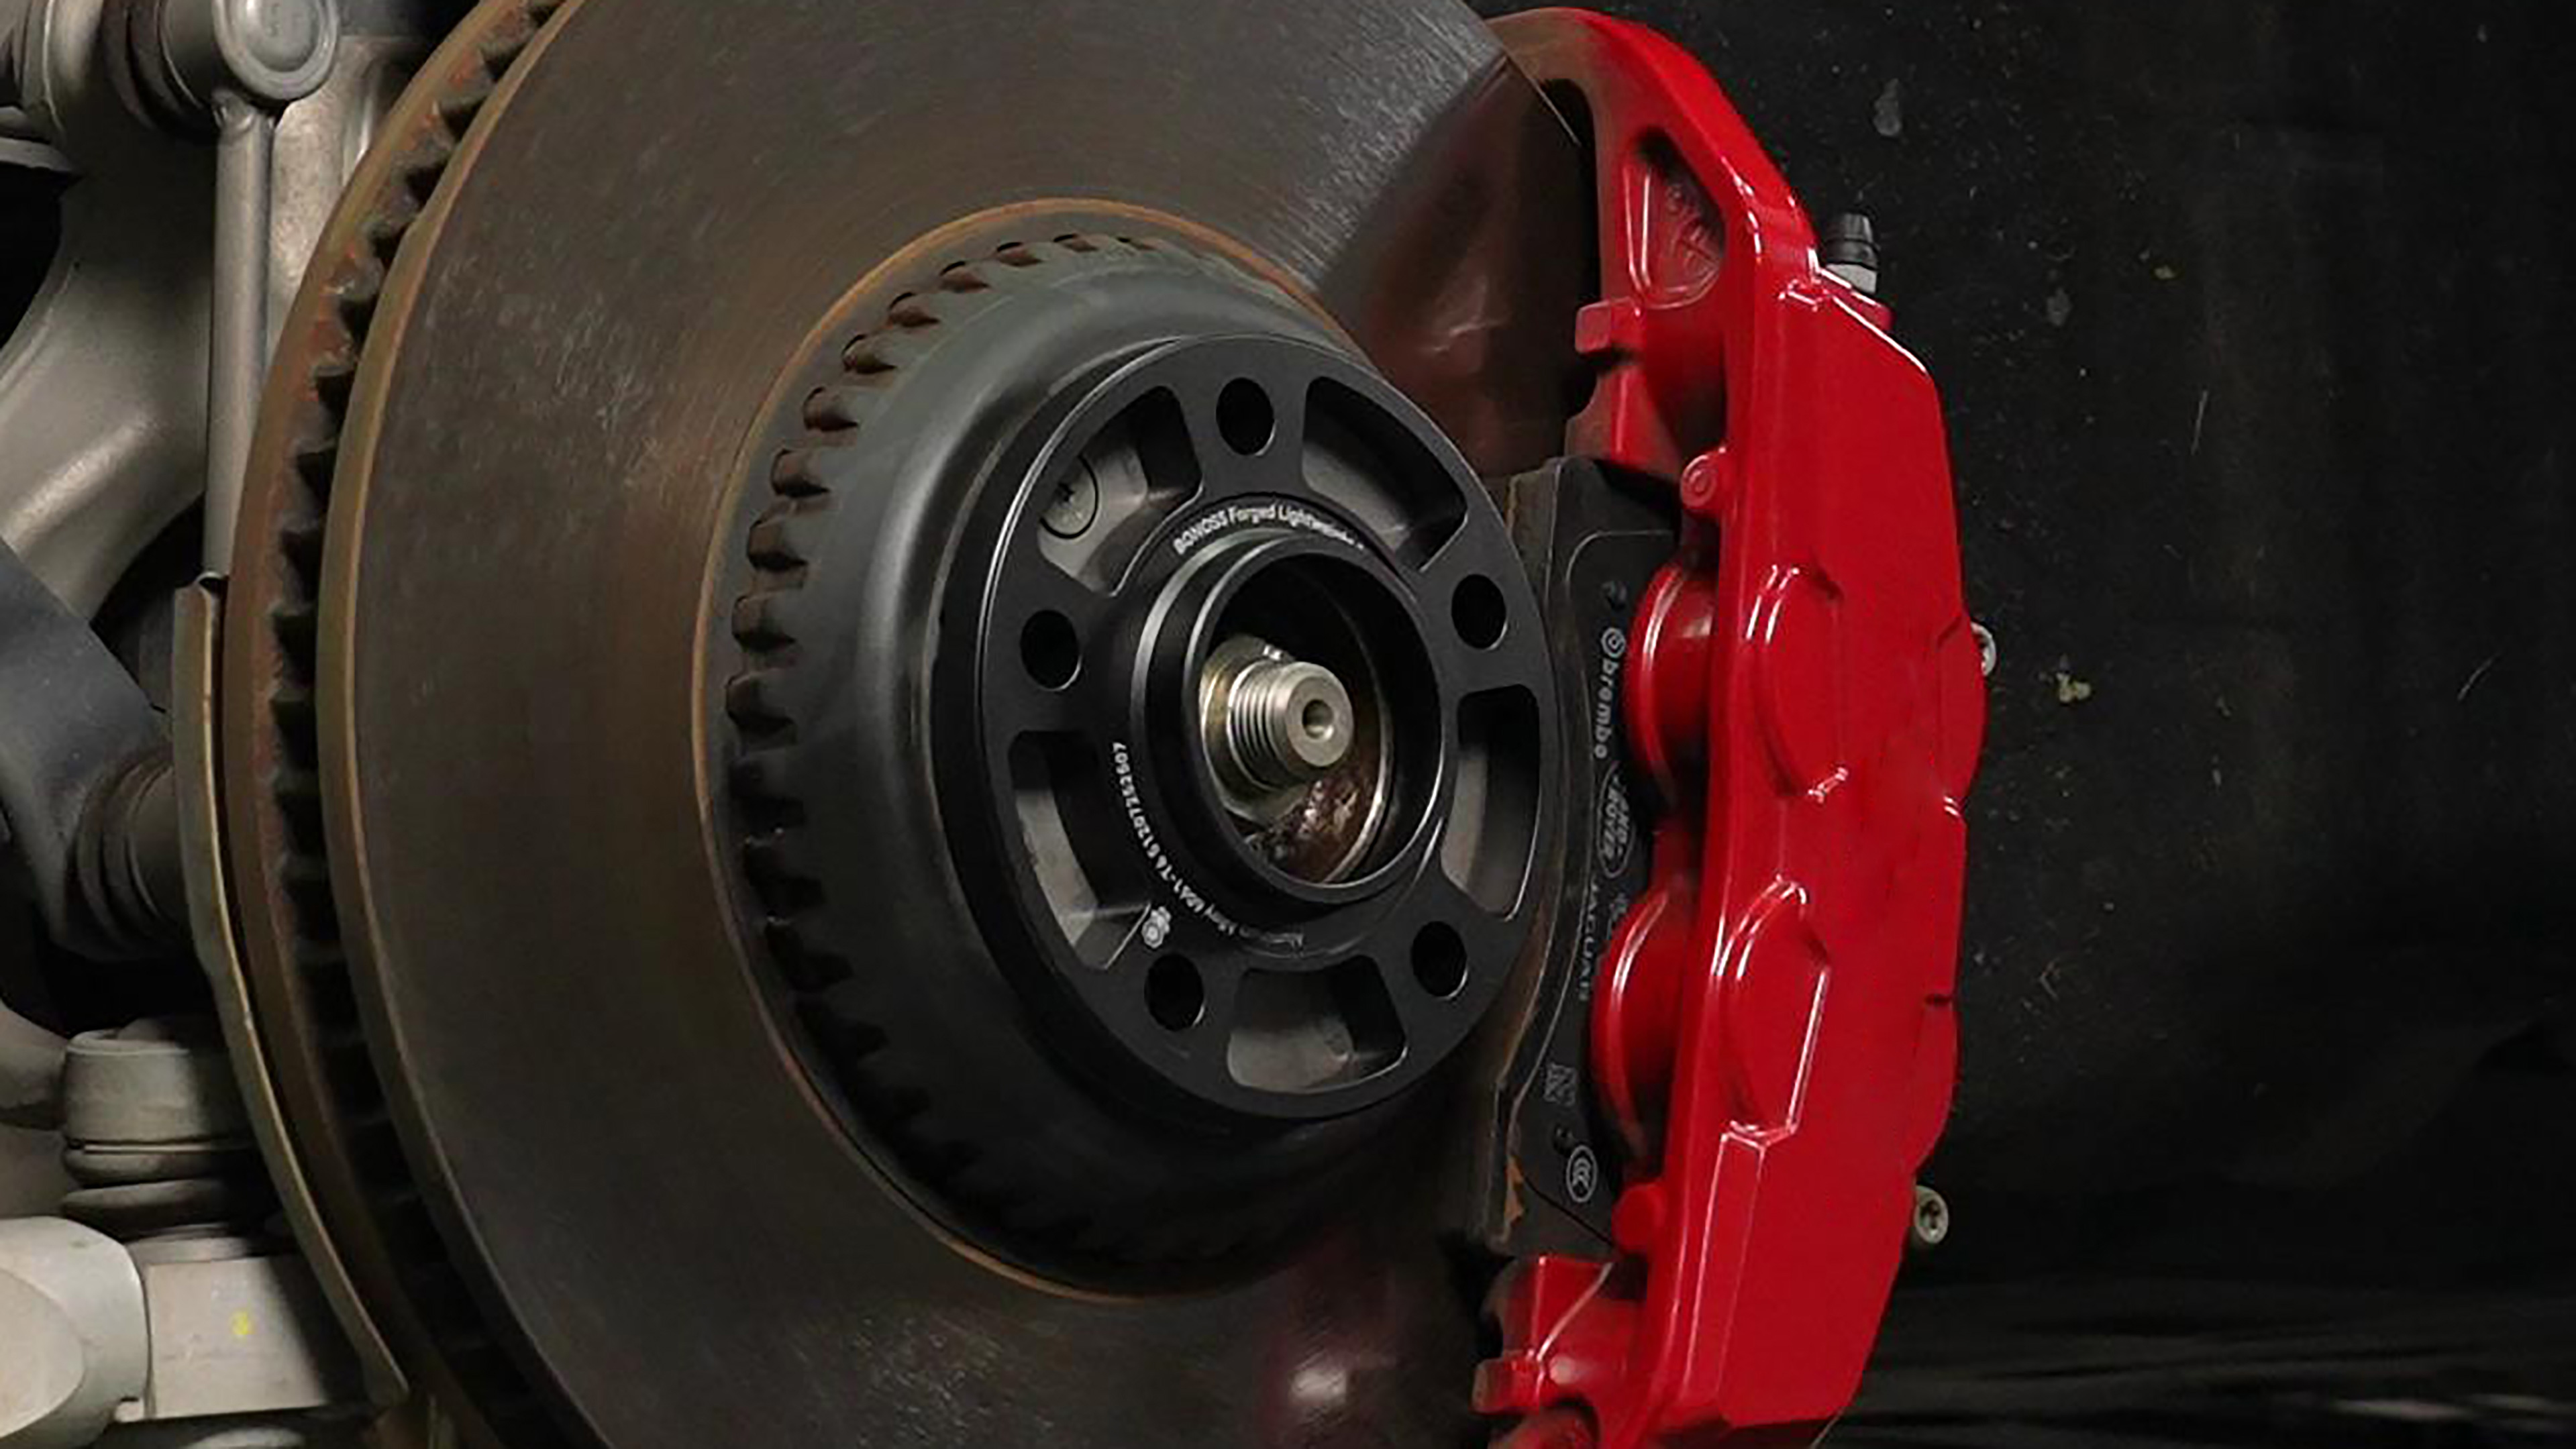
Choosing Range Rover Sport wheel spacers gets much easier when you treat the job as six decisions rather than one thickness question. First, learn the four fitment numbers. Second, identify your generation. Third, measure the fender gap instead of copying another owner’s setup. Fourth, check the spacer and fastening hardware. Fifth, install everything with the correct torque. Finally, inspect the vehicle again after 60 miles (about 100 km).
The quick answer is encouraging: every L320, L494 and L461 uses a 5×120 bolt pattern, a 72.6mm center bore and an M14x1.5 thread. The complication is that the 2023–2027 L461 fastens its wheels with bolts, while earlier models use studs and nuts. That one change affects which spacer design and hardware you need.
Range Rover Sport Factory Specs: Bolt Pattern, Center Bore, Thread and Torque
The suggested sizes are starting ranges, not universal flush-fit promises. Wheel width, actual offset, tire section width, suspension position and fender condition all influence the result. A spacer cannot correct an unsuitable wheel-and-tire combination.
Torque also needs a distinction. The values above are factory wheel-fastener values per the owner’s manual. When tightening BONOSS-supplied M14x1.5 hardware during spacer installation, use 103.5 ft-lb / 140 Nm per BONOSS installation instructions. Do not invent a second torque procedure or alternate between values during one fastening operation.
Understand PCD, Center Bore, Thread and Offset
You do not need an engineering degree to choose 5×120 wheel spacers for a Range Rover Sport. You do need to understand what each number controls.
Bolt pattern: whether the wheel mounts at all
“5×120” means five fastening positions on a 120mm pitch circle diameter. All three Sport generations covered here share that pattern. This makes the basic PCD check straightforward, but it does not make every 5×120 spacer automatically suitable.
Center bore, hardware seat, thickness and clearance still matter. Compatibility is a complete fitment decision, not a bolt-pattern match alone.
Center bore: how the spacer locates on the hub
The factory center bore is 72.6mm. A Range Rover Sport hubcentric spacer uses the hub and wheel center interfaces to locate the assembly concentrically rather than asking the fasteners to center everything.
That is why hub-centric fitment is preferable to a generic lug-centric spacer for this application. The fasteners still clamp the components together; their job is not to compensate for an oversized, loosely located center opening.
A multi-stage hub-centric design follows the relevant hub and wheel register steps. Verify the actual product dimensions against your vehicle and wheel before ordering.
Thread pitch: which fasteners can engage
All three generations use M14x1.5 hardware, but the L461 uses M14x1.5 wheel bolts, whereas the L320 and L494 use studs with M14x1.5 wheel nuts.
Never force a fastener that does not thread smoothly by hand. Similar diameter does not make different thread pitches interchangeable.
Offset: why thickness changes the stance
Offset describes the wheel mounting surface’s position relative to the wheel centerline. A positive ET value moves that mounting surface toward the wheel’s outer side. Adding a spacer reduces the effective offset by approximately the spacer thickness.
For example, an ET53 wheel with a 25mm spacer has an effective offset of about ET28. That moves the wheel outward, increases track width and reduces the fender gap. It also changes clearances, so measure both suspension and body interference before driving.
Identify Your Generation and Factory Specification
The shared 5×120 bolt pattern hides some important differences. Identify the chassis before selecting a thickness or fastening kit.
L320, 2005–2013: the earliest Sport uses studs and nuts
The first-generation Range Rover Sport is commonly identified by its L320 chassis code. Its listed factory offset is ET53, the highest in this comparison. That helps explain why the suggested spacer range is also the largest: 25–35mm.
Do not assume every L320 needs 35mm. An aftermarket wheel with a lower offset may already sit farther outward than the factory wheel. Base the calculation on the wheel actually being installed.
L494, 2014–2022: lower factory offsets, smaller typical spacer range
The second-generation Sport is the L494. It retains the 5×120 pattern, 72.6mm center bore, M14x1.5 thread and wheel-nut arrangement, but listed factory offsets are ET44.5, ET47 and ET49.
The corresponding suggested range is 20–30mm. The correct choice depends on which factory wheel is fitted and whether you want a mild stance adjustment or a visibly wider track.
L461, 2023–2027: same basic dimensions, different wheel fastening
The current L461 uses wheel bolts rather than the earlier stud-and-nut system. Its listed offsets are ET39.5, ET43.5, ET42.5 and ET38, with a suggested spacer range of 10–20mm for the applications covered in this guide.
This is the detail I would check first on an L461. Ordering hardware solely because another listing says “5×120, M14x1.5” misses the most important structural difference between it and the earlier Sport models.
Measure the Fender Gap Before Choosing Thickness
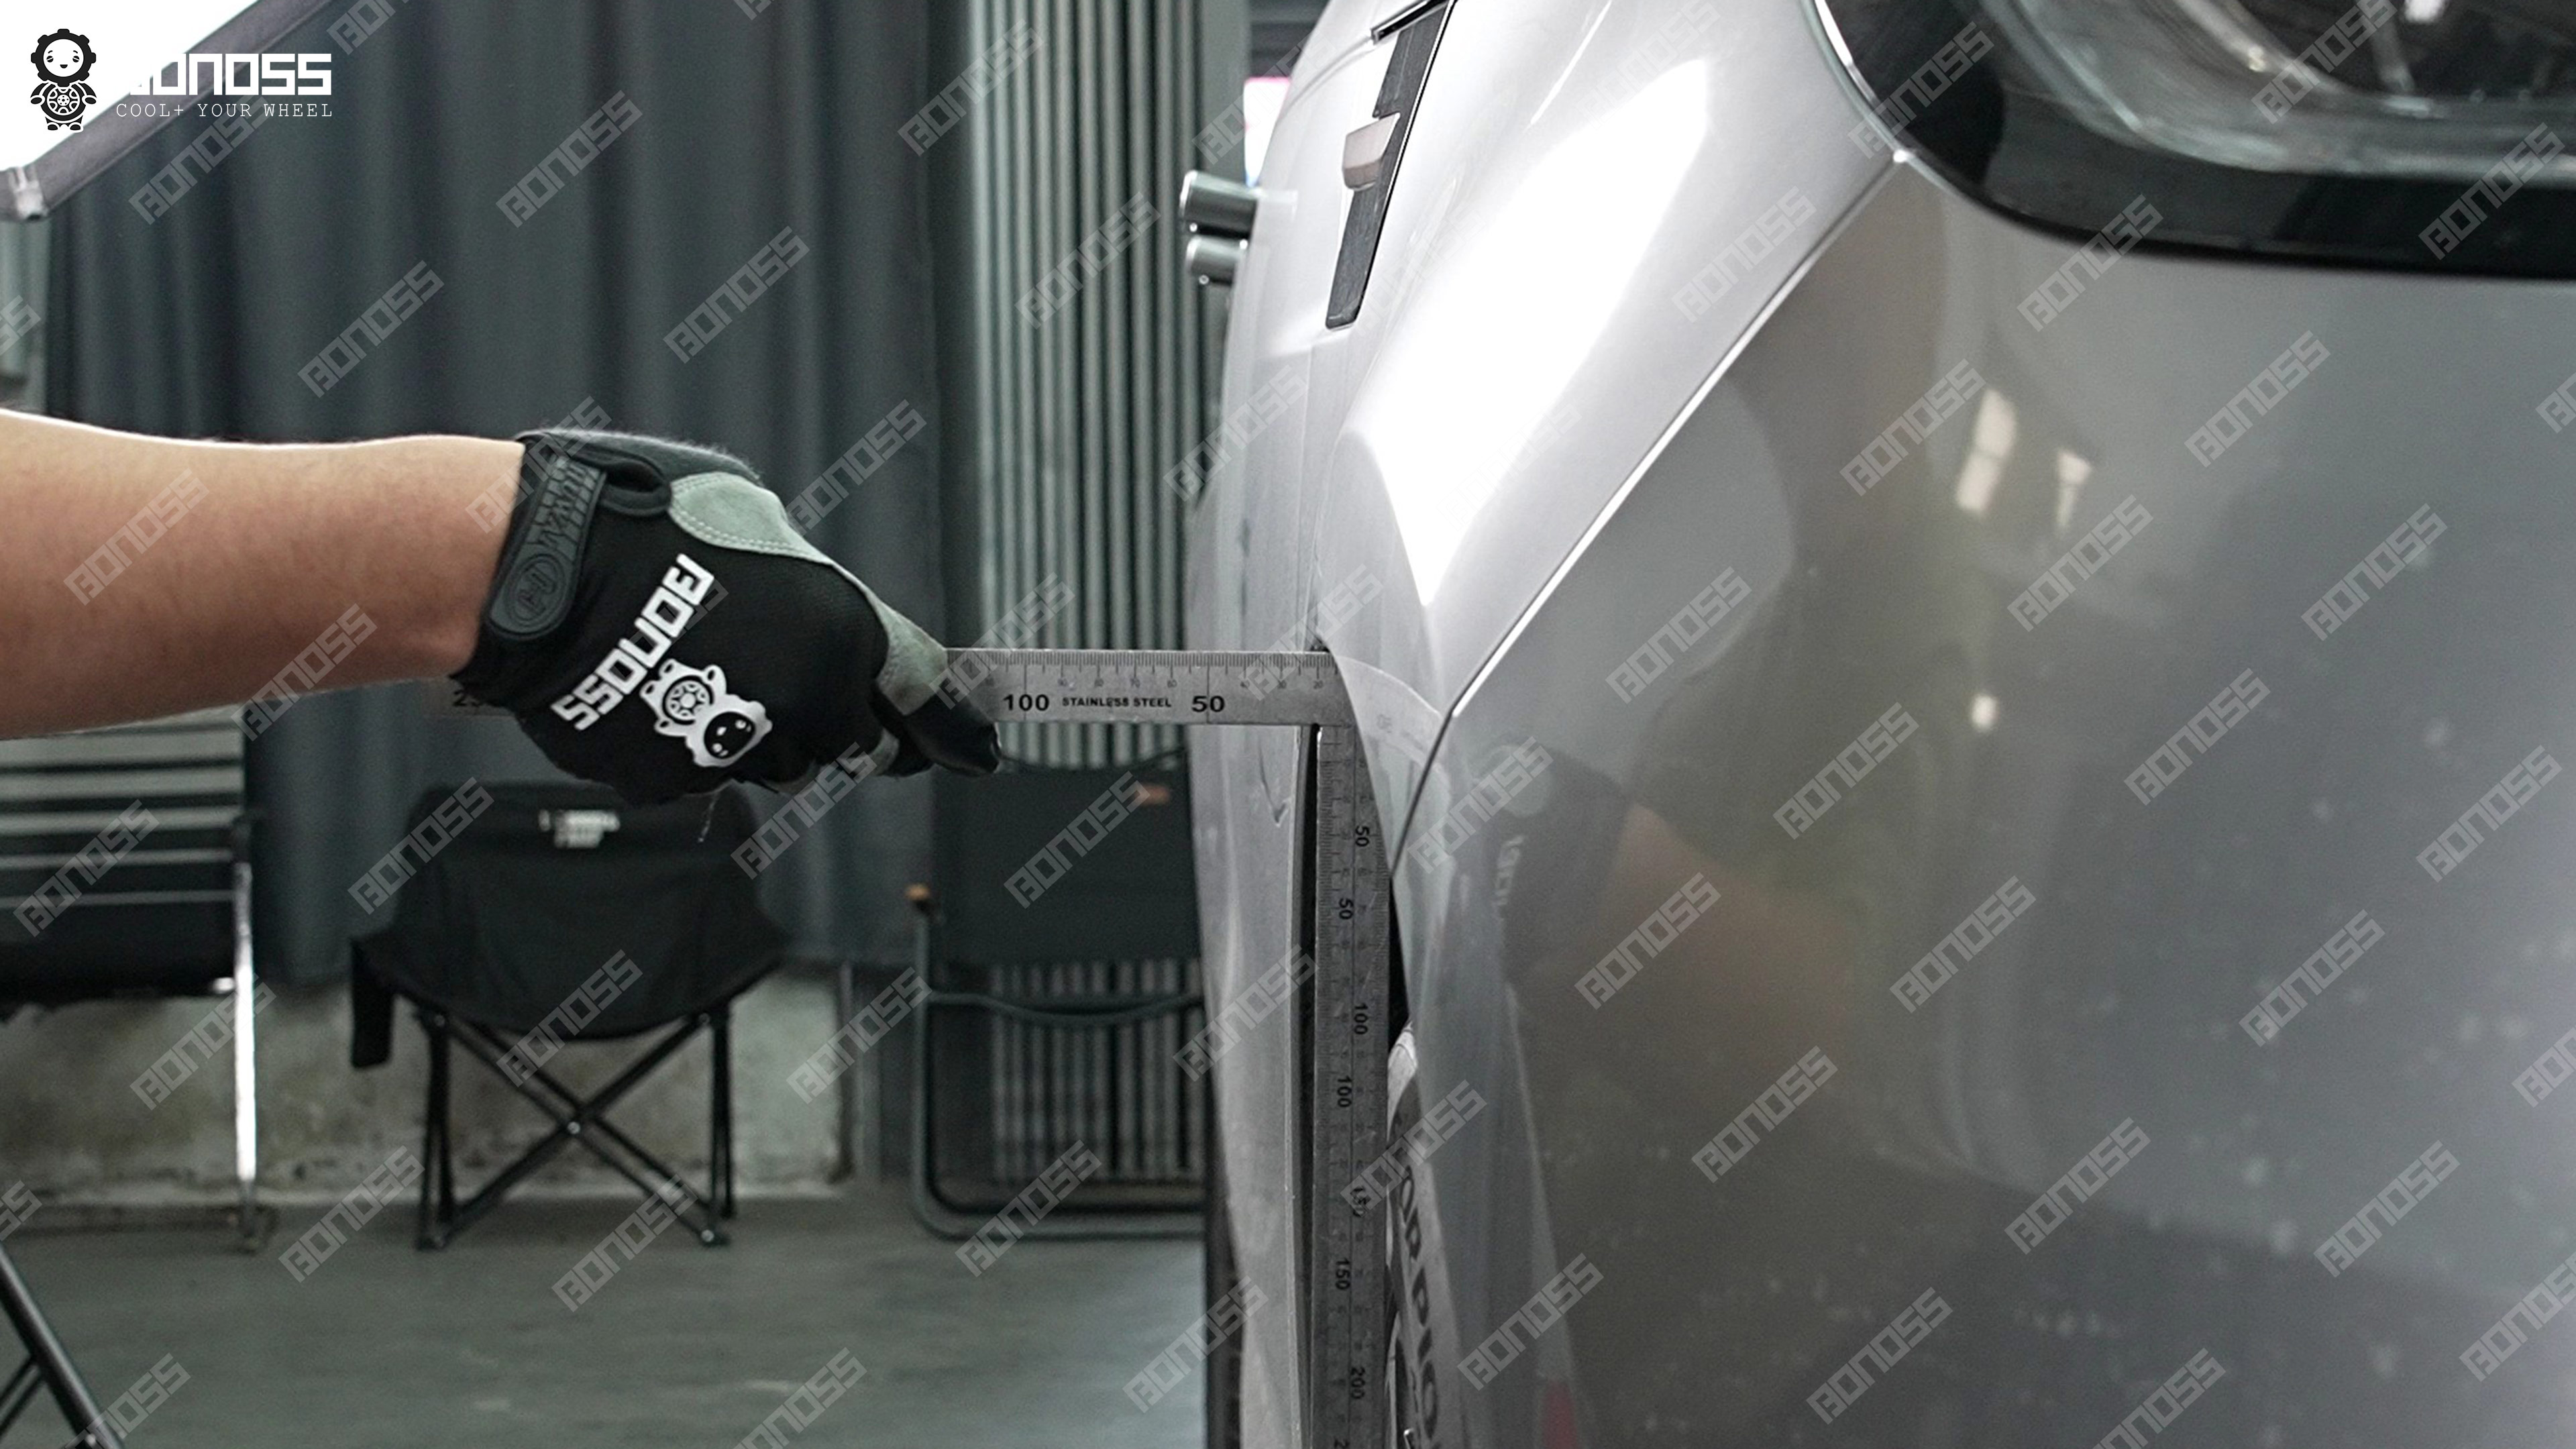
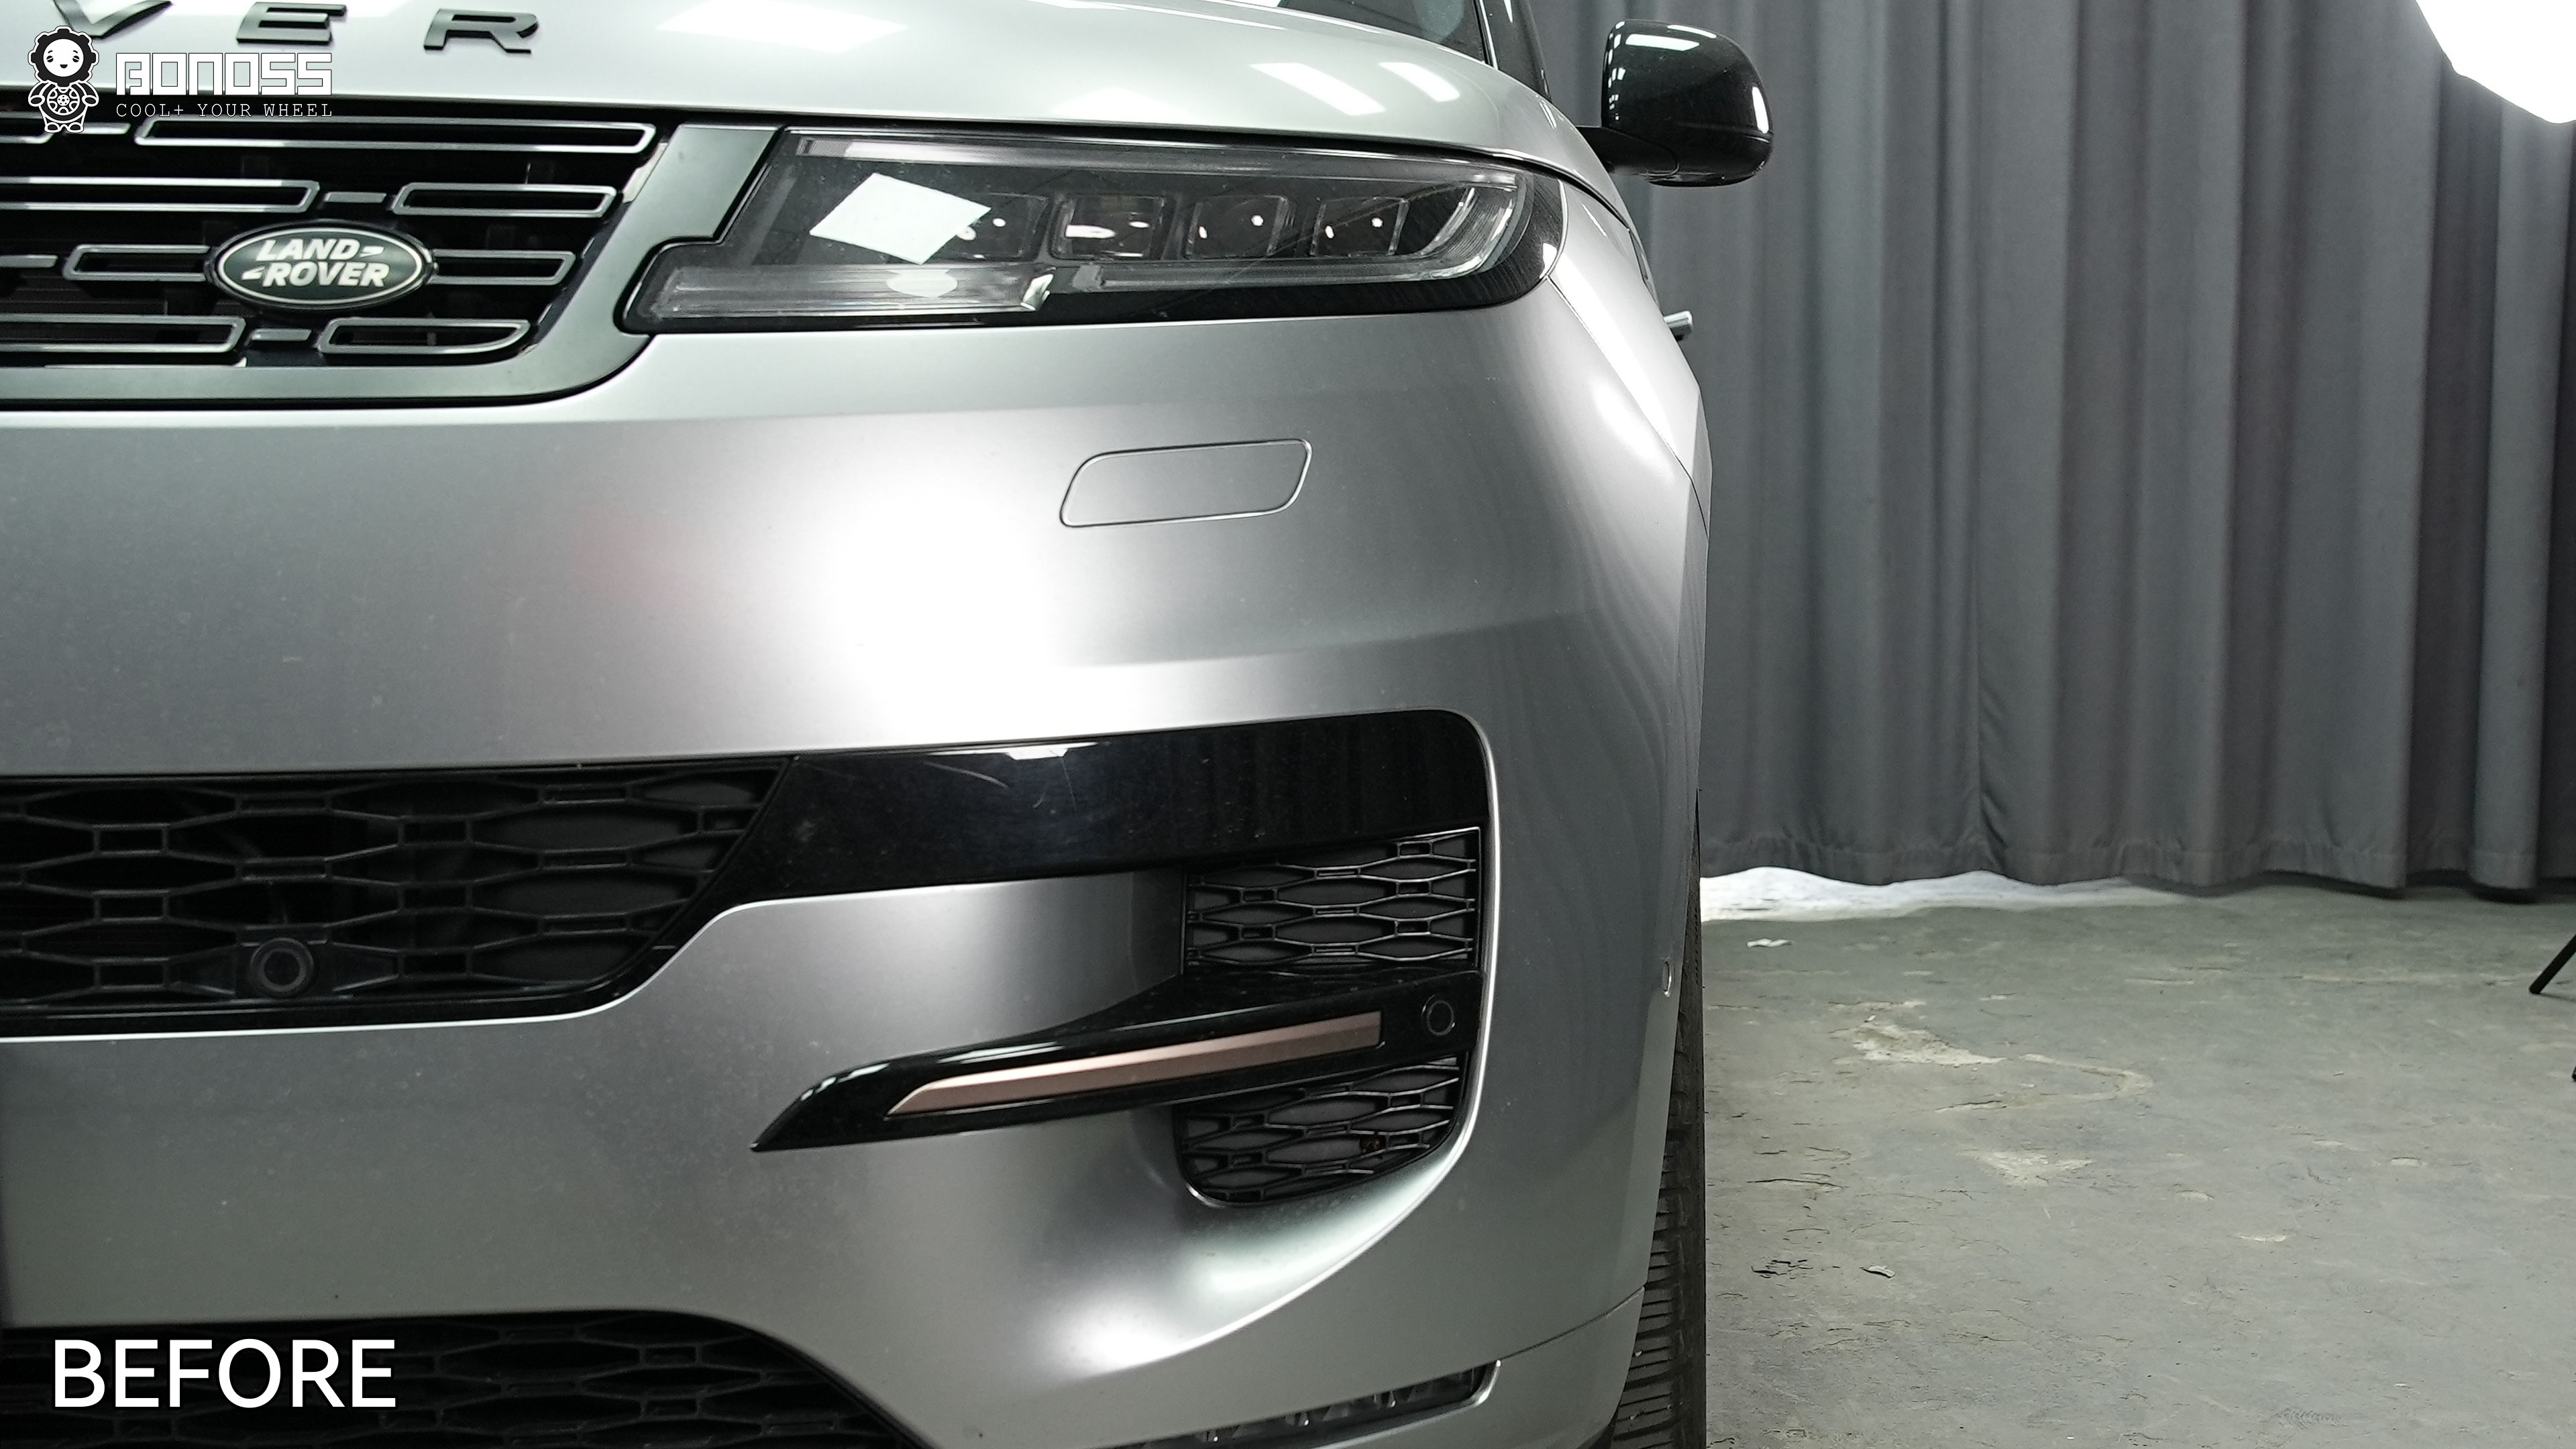
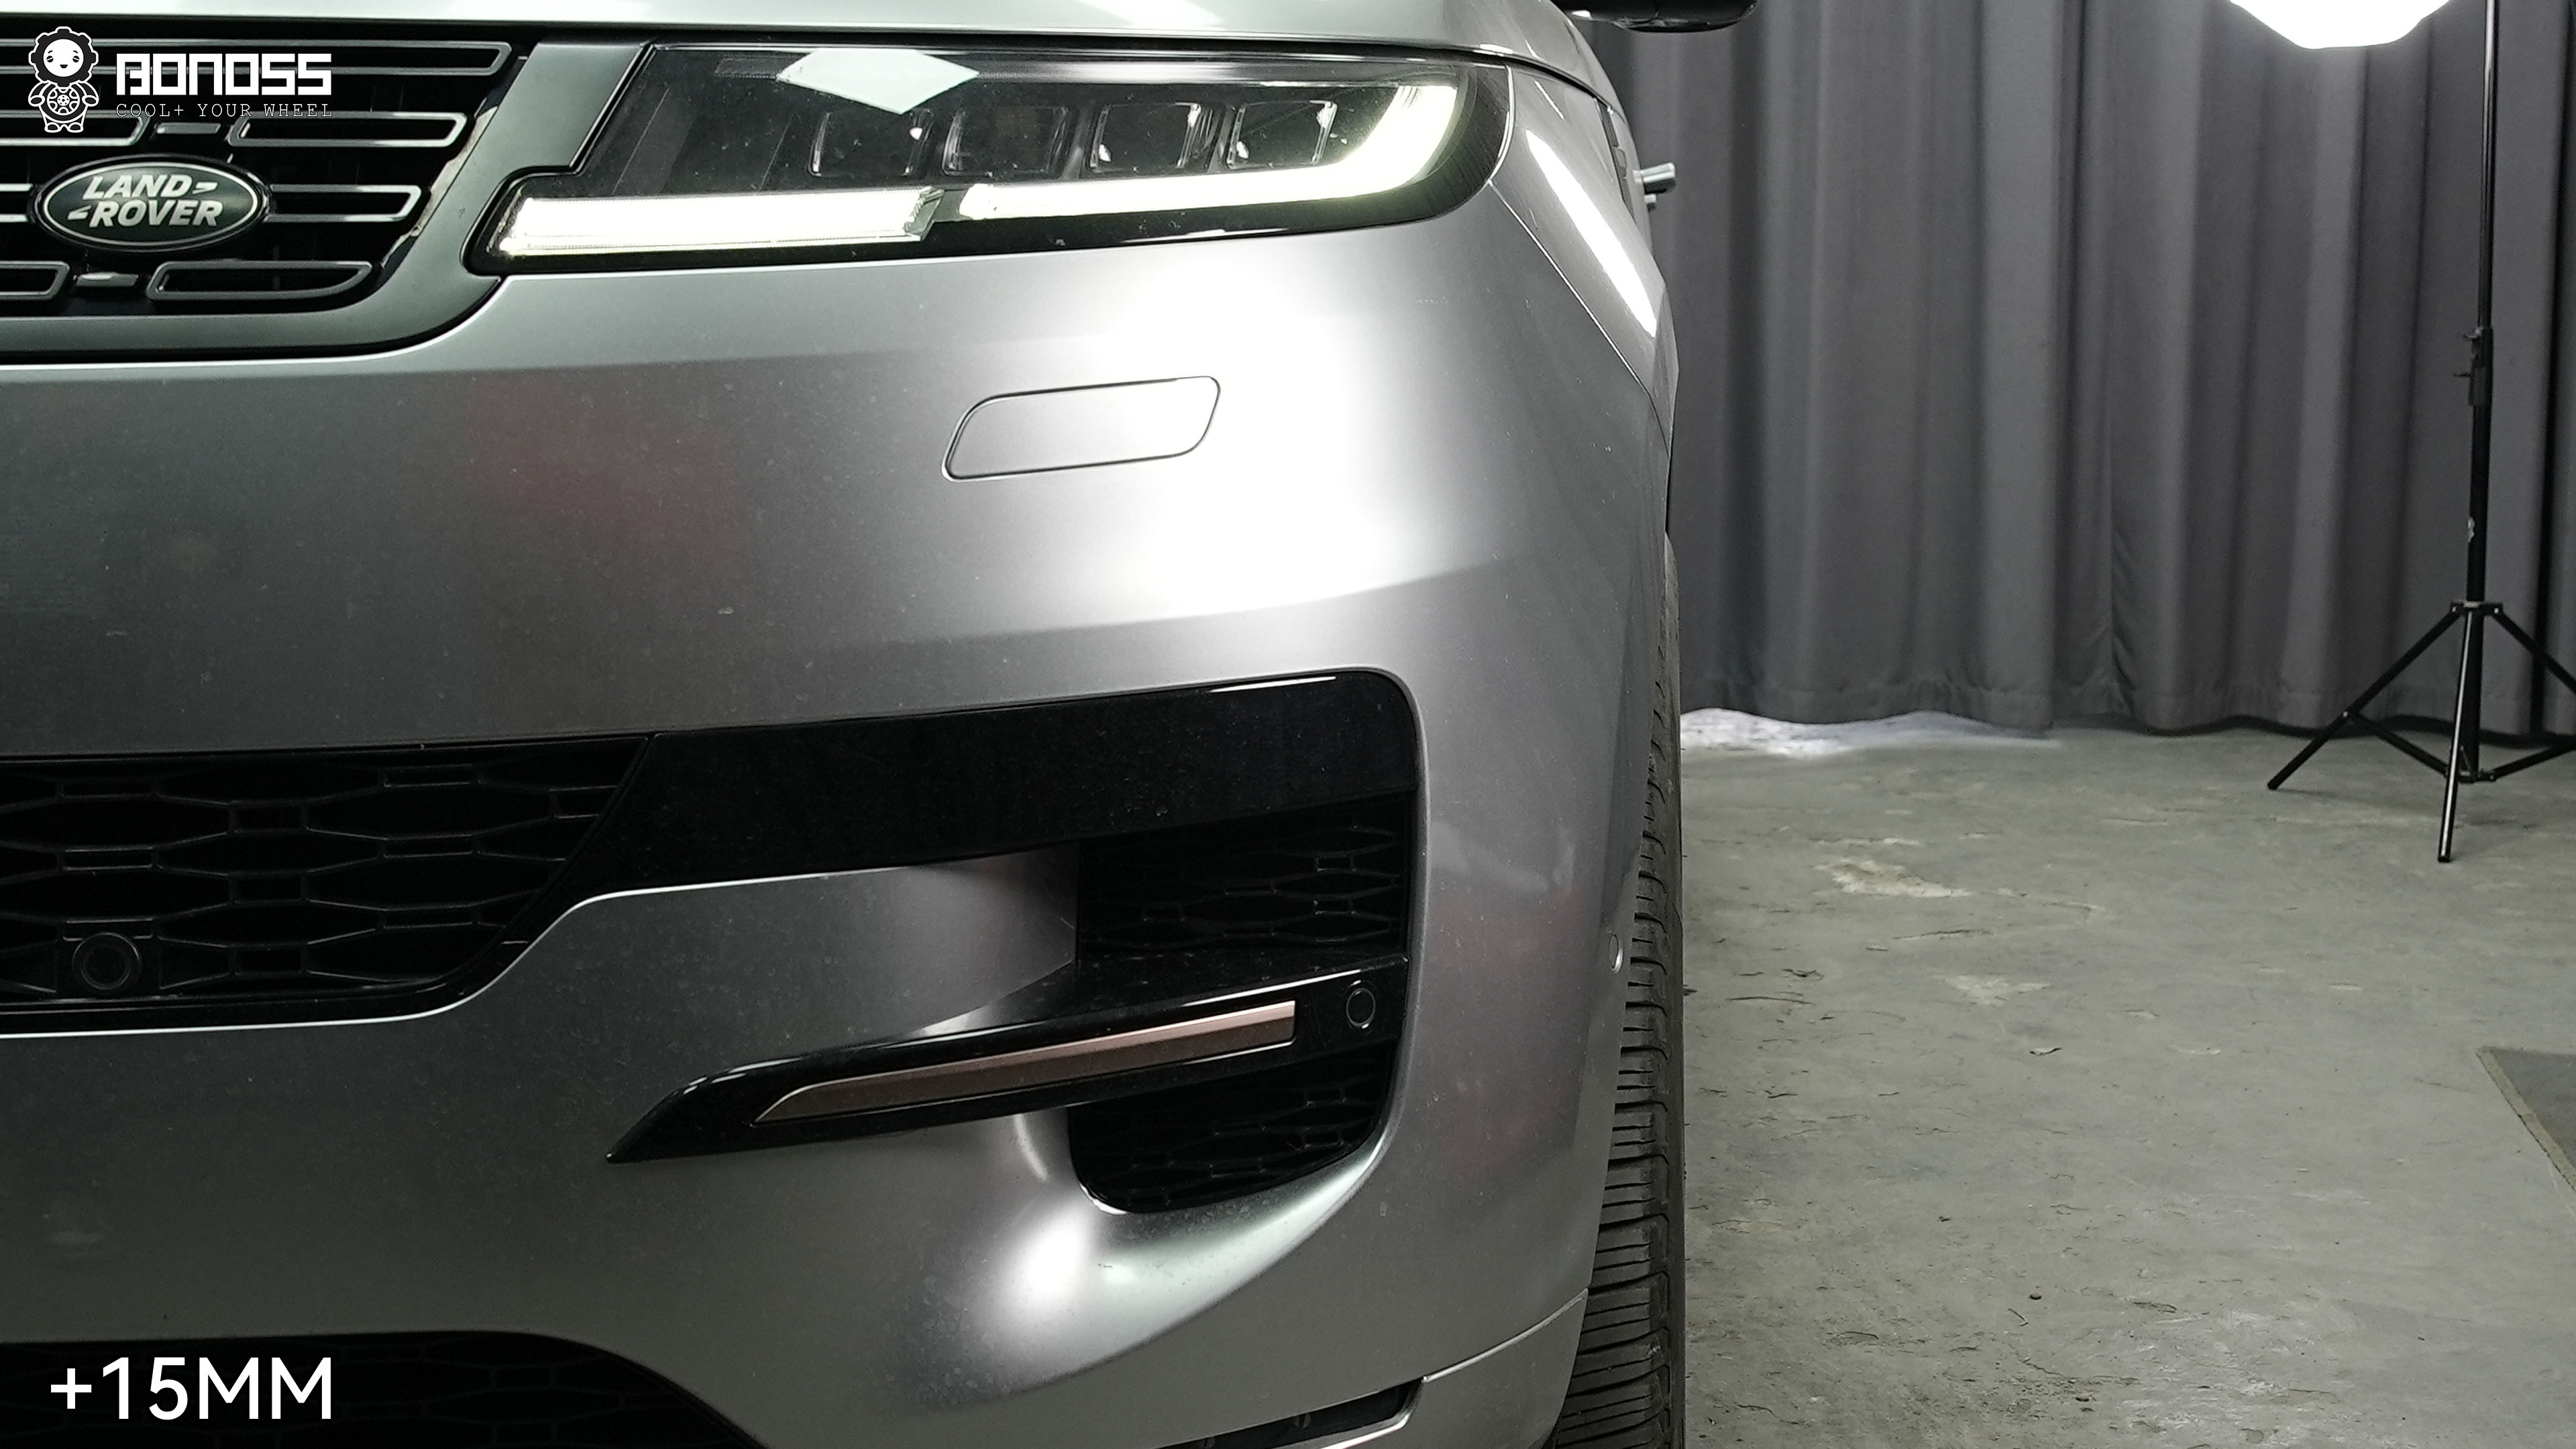
The best spacer size for a flush fitment on a Range Rover Sport is the size indicated by your own measurements. Park on level ground, set the steering straight and work with the vehicle at its normal resting ride height.
Measure the distance between the tire’s outermost sidewall or tread edge and the fender edge. Use a straightedge vertically against the fender as a reference, then measure inward to the tire. Record the front and rear separately.
The basic calculation is:
Spacer thickness ≈ measured inward fender gap
If the front and rear measurements differ, do not force them to match. Different axle measurements are normal, and thicknesses can be selected accordingly.
This calculation targets visual flushness; it does not prove suspension clearance. Check the tire-to-fender relationship through steering movement and account for suspension compression. Off-roading deserves extra caution because articulation can reduce clearances that appear generous in a parking lot.
| Thickness | Typical Role | Main Check Before Choosing |
|---|---|---|
| 10mm | Small outward adjustment | L461 extended-bolt requirements and remaining clearance |
| 15mm | Moderate flush adjustment | Tire-to-fender clearance and hardware engagement |
| 20mm | More noticeable track-width increase | Actual fender gap, wheel offset and fastening design |
| 25mm | Larger change, often relevant to earlier generations | Stud protrusion, wheel pockets and suspension clearance |
| 30–35mm | Substantial outward movement | Rubbing, poke, liner clearance and measured fitment |
A 10mm vs. 15mm vs. 20mm vs. 25mm vs. 30mm comparison should therefore start with position, not appearance. The thinnest spacer is not automatically the safest, and the thickest is not automatically the best-looking. Correct engagement and verified clearance matter more than either shortcut.
Check the Spacer and Hardware Before Ordering
Start with the center interface. Choose a hub-centric wheel spacer matched to the 72.6mm application rather than relying on the fasteners for centering. Then confirm the bolt pattern, thread specification, wheel seat and thickness.
For the L320 and L494, inspect the back of the wheel. Measure how far each factory stud protrudes beyond the spacer mounting plane, then check the depth and location of the wheel pockets.
You can retain the full factory studs when:
Wheel-pocket depth + spacer thickness > stud protrusion
The pockets must also align with the studs. If they do not, or if the studs would bottom against the wheel, do not install the assembly and hope the wheel will seat correctly. Resolve the interference before proceeding.
For the L461, the question changes from “Must I cut the studs?” to “Do I need extended bolts?”
- 5–20mm slip-on spacers: these do not contain pressed-in studs or embedded wheel-mounting nuts, so use appropriately extended wheel bolts.
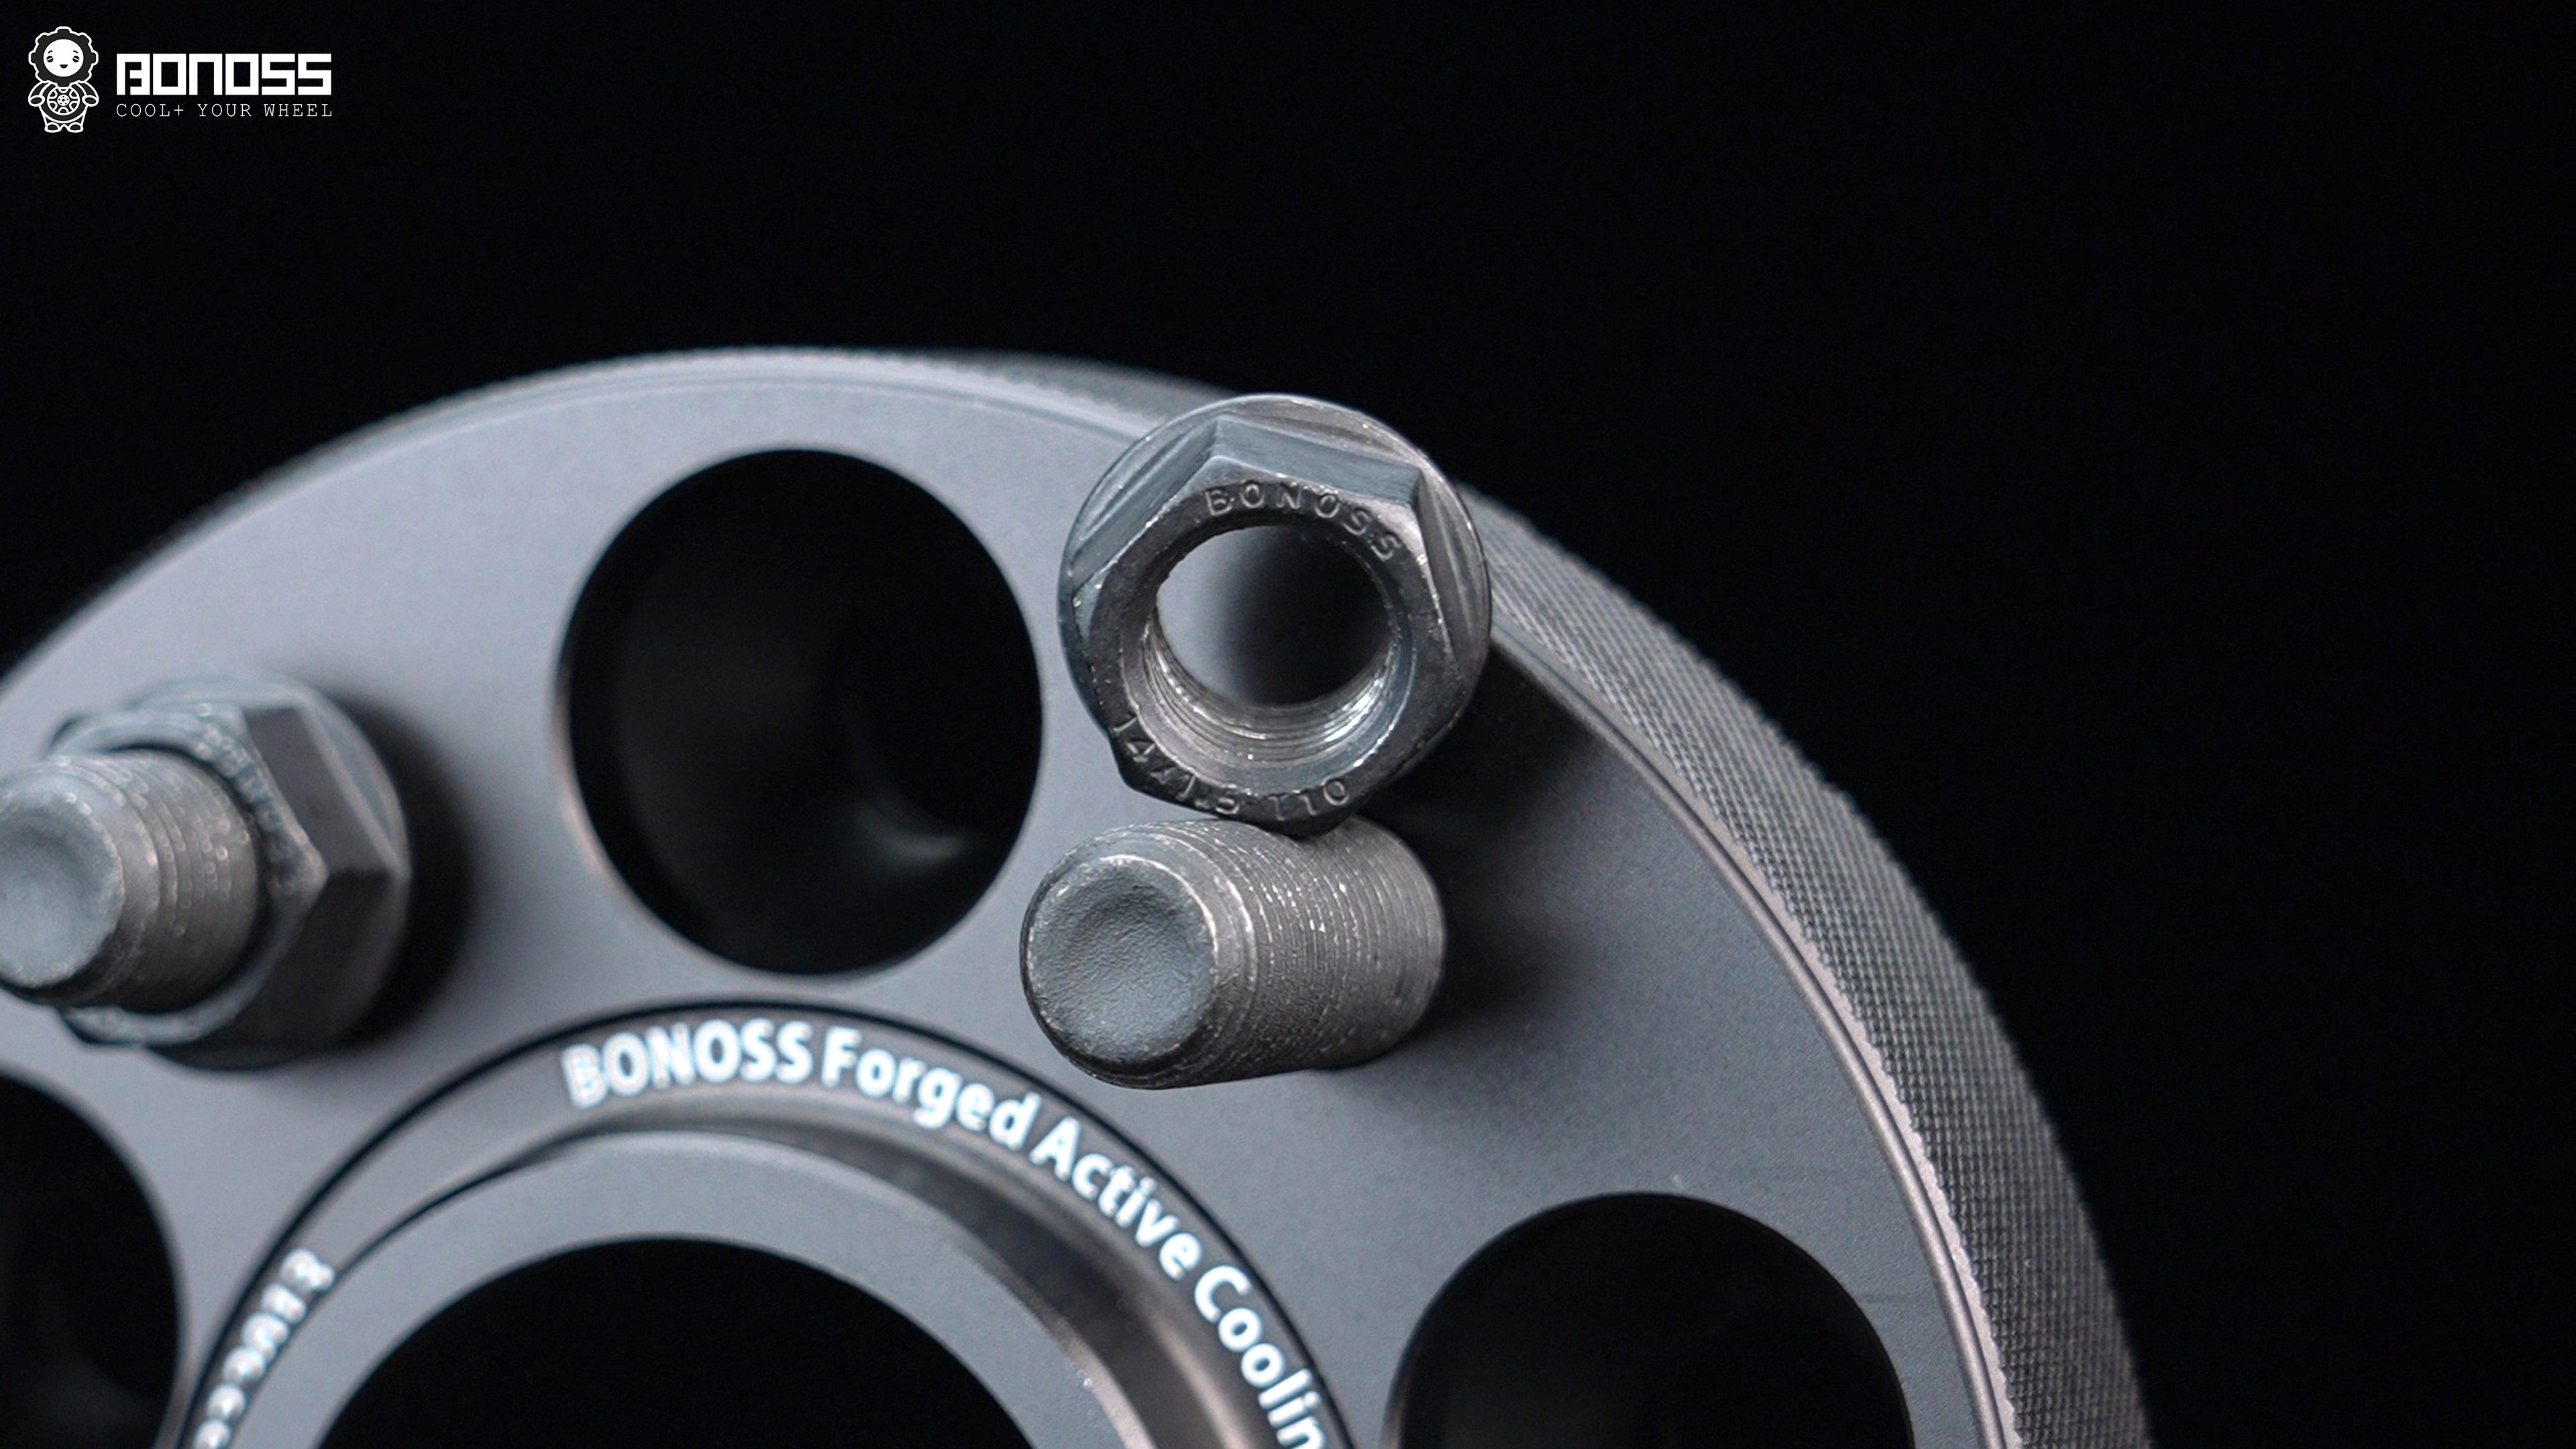
- 25–50mm BLA bolt-on spacers: the kit supplies bolts to attach the spacer to the hub. Embedded nuts in the spacer then accept the factory wheel bolts, so extended factory-replacement bolts are not required for that second attachment.
- BLM versus BLA: both are bolt-on designs. BLM contains pressed-in wheel studs for vehicles that secure wheels with nuts. BLA contains embedded nuts for vehicles that secure wheels with bolts.
That distinction is worth slowing down for. It lets the spacer follow the vehicle’s existing wheel-fastening method instead of forcing an unrelated stud or bolt arrangement onto it.
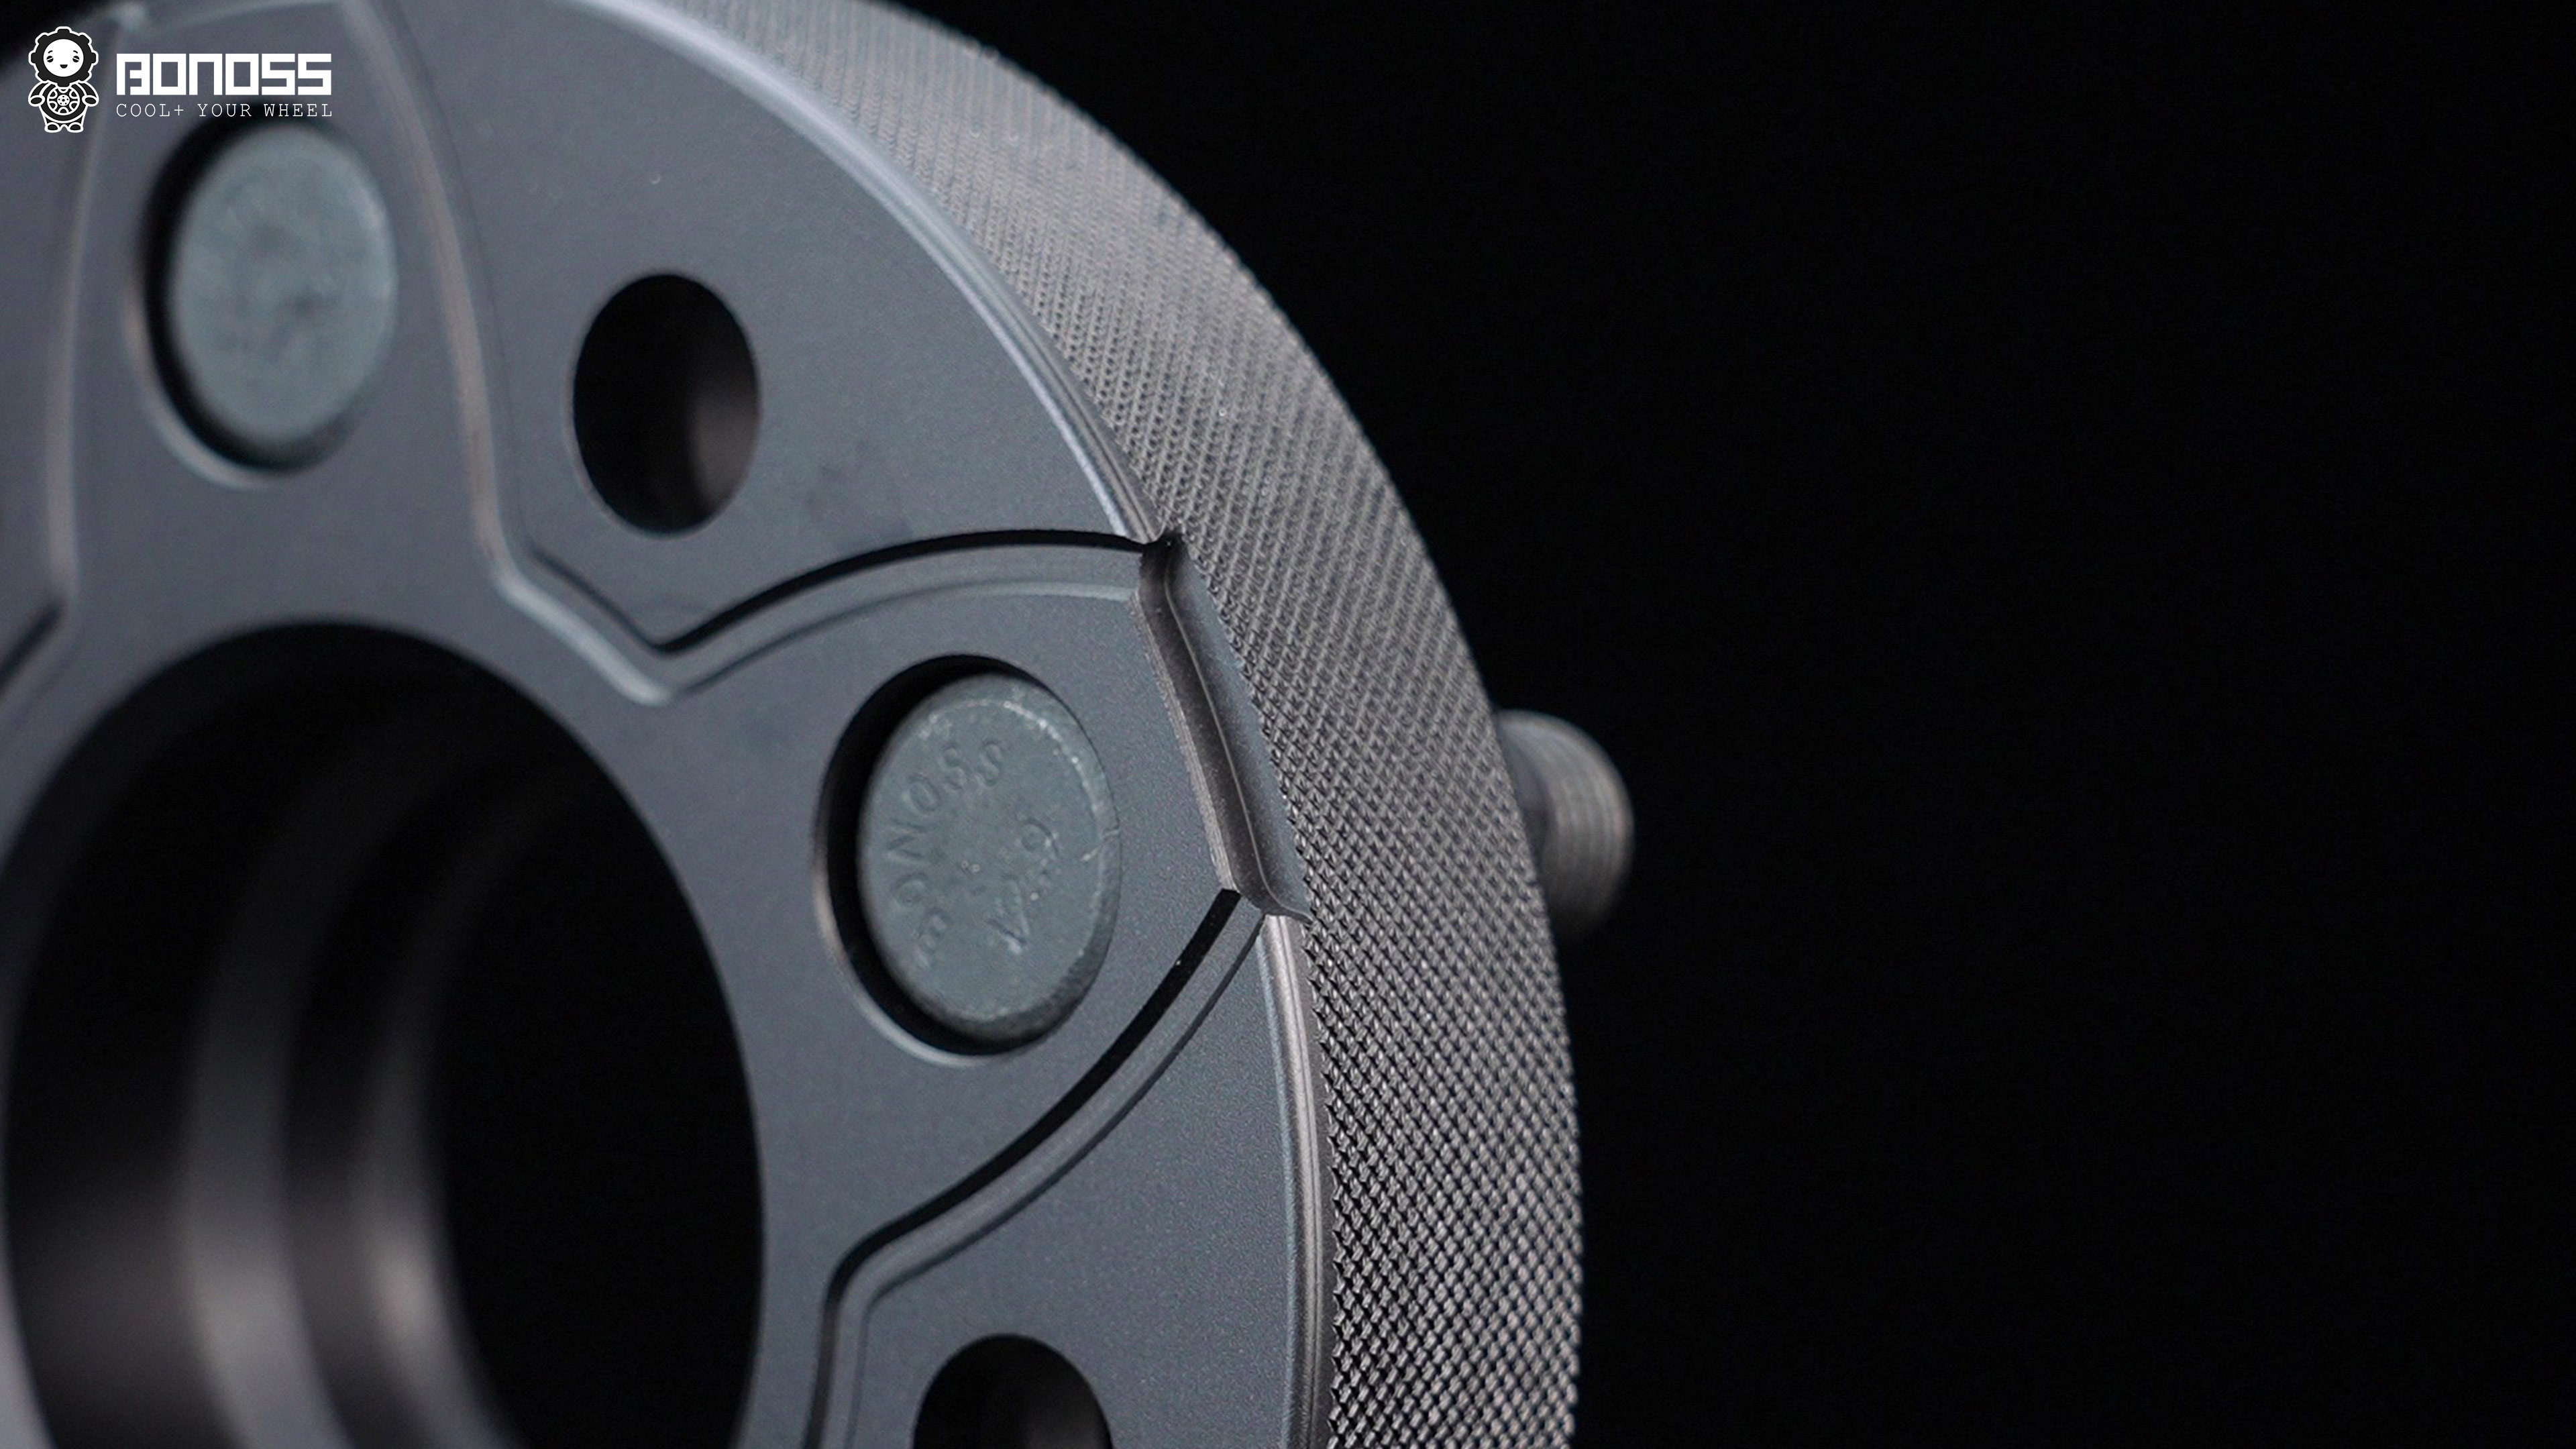
When selecting Range Rover Sport hub-centric wheel spacers, verify the exact generation, material and kit contents on the product page. A photo of a complete kit is useful, but the listed dimensions and included hardware are what determine compatibility.
Choosing 6061-T6 or 7075-T6
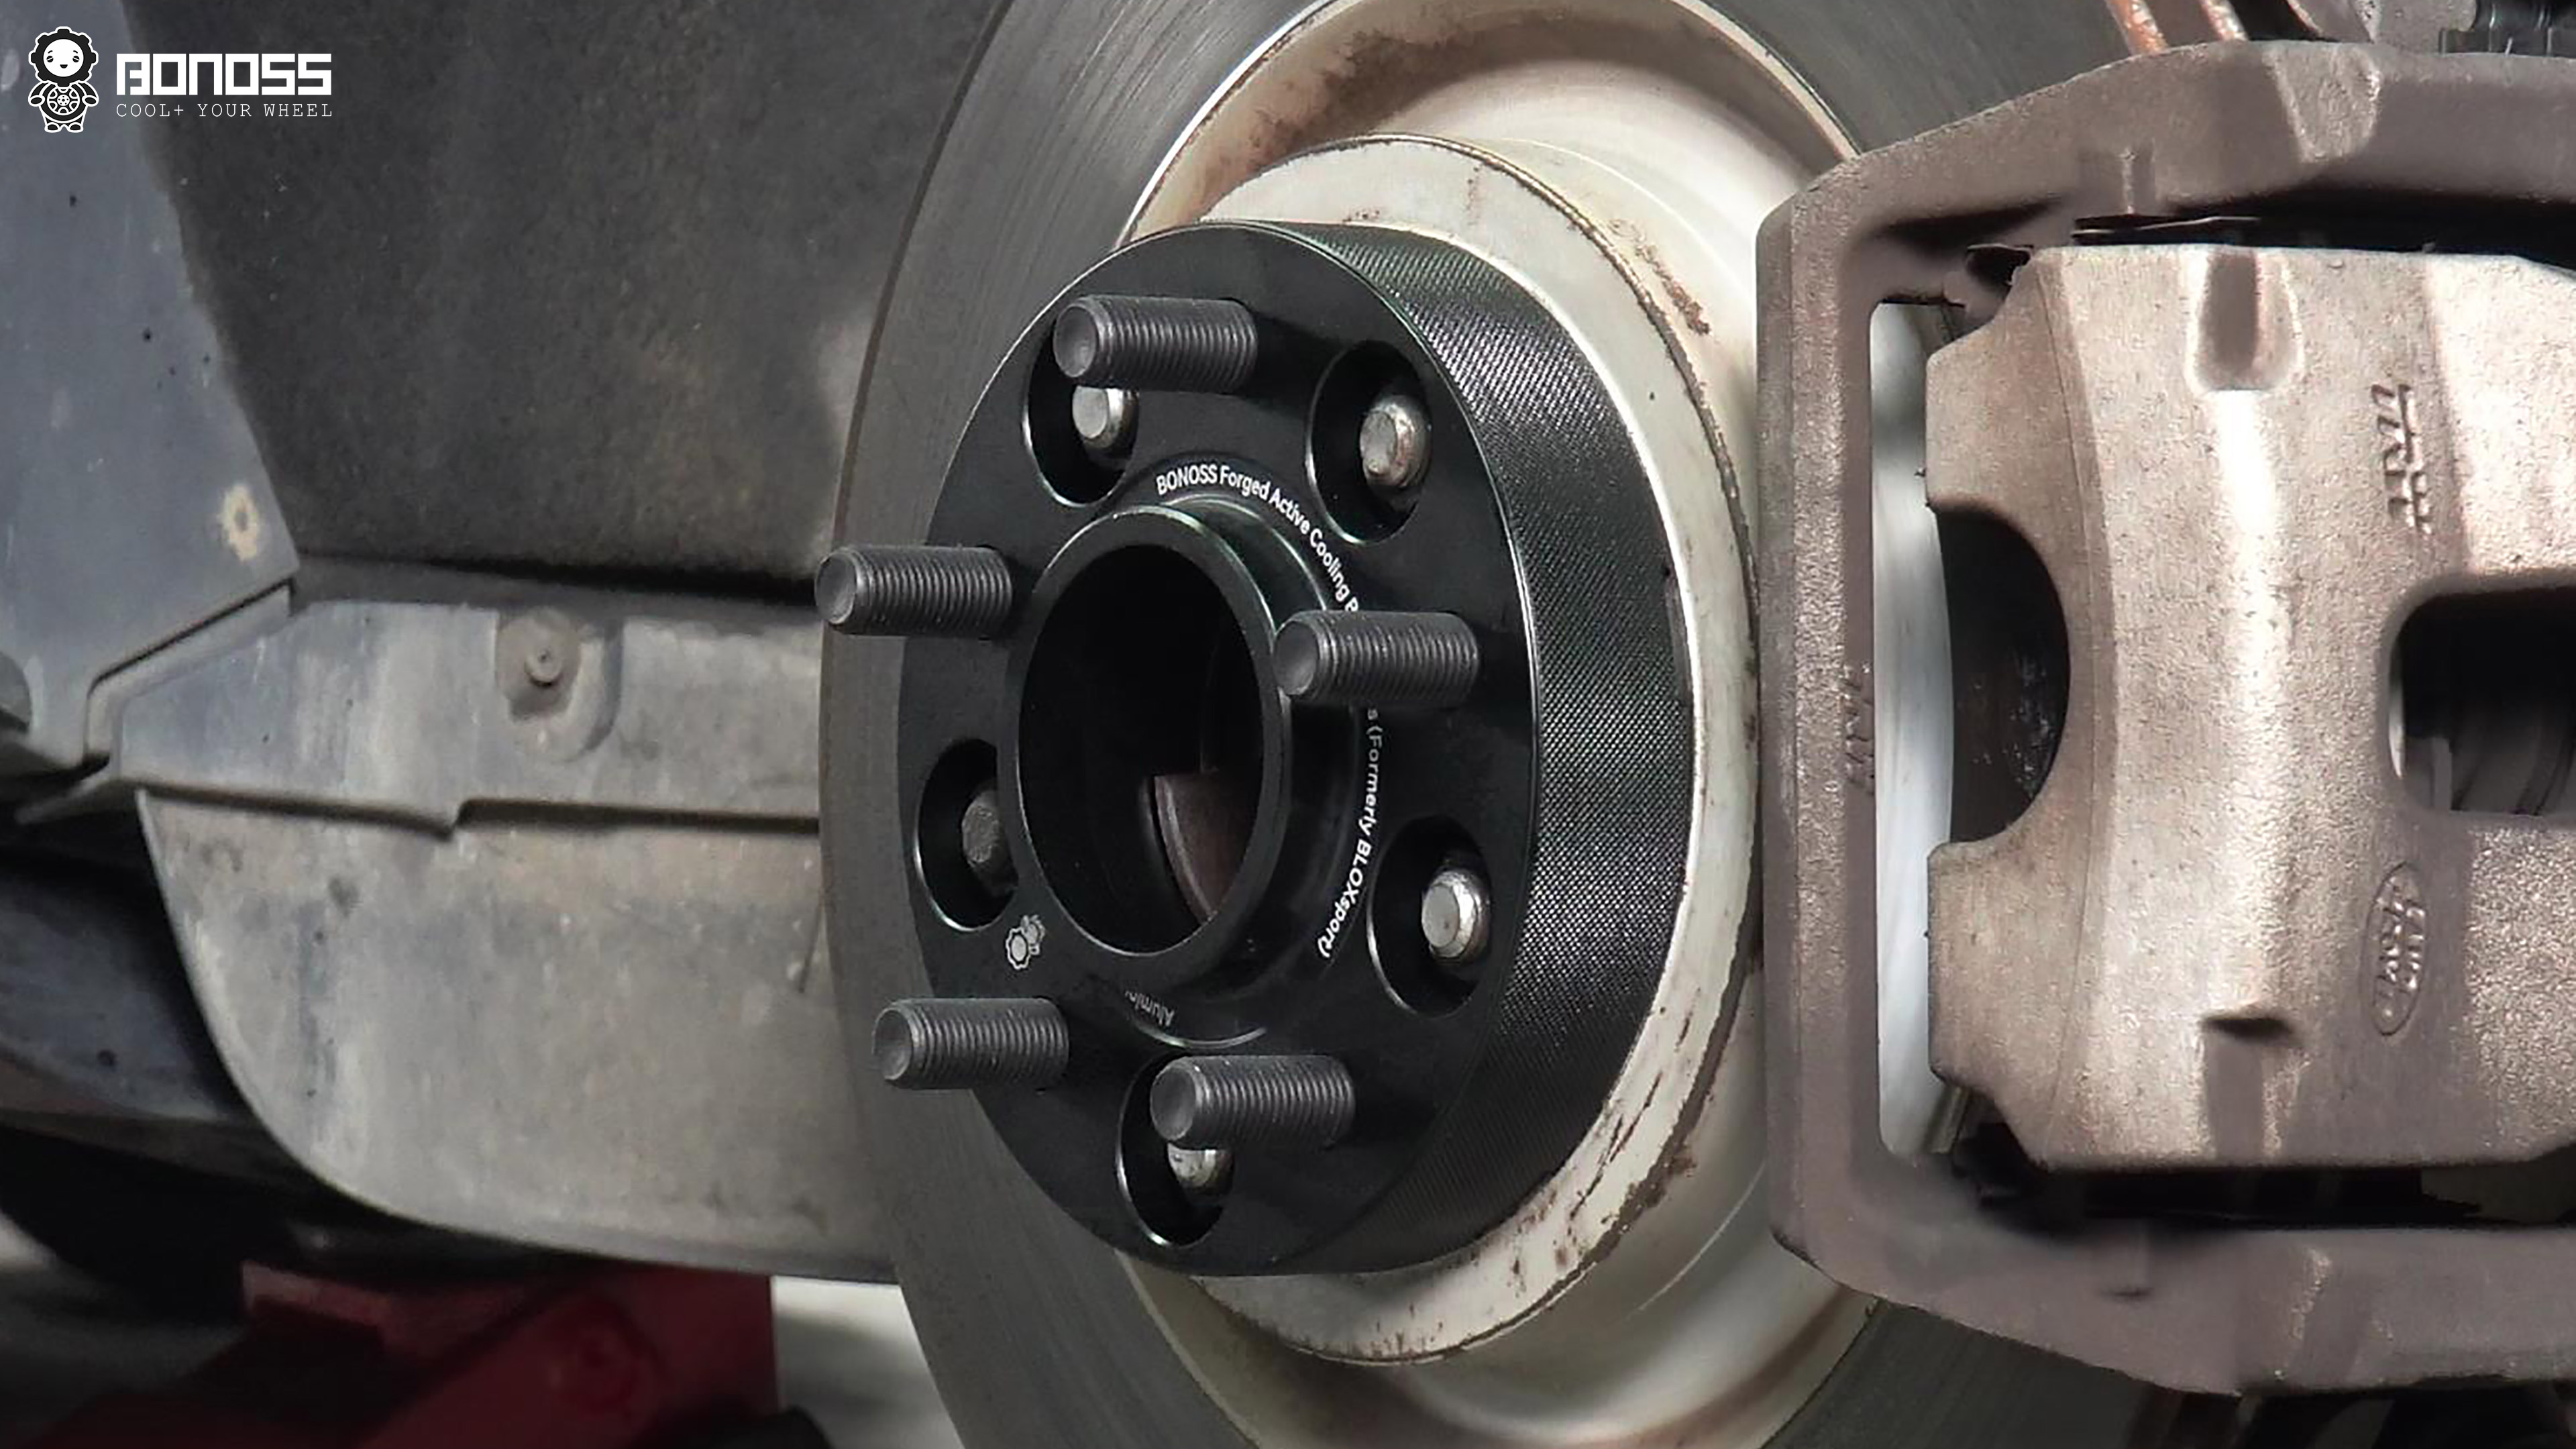
For normal road driving, forged 6061-T6 aluminum is a sensible choice. It provides a durable spacer material without requiring you to buy the highest-spec option for a commute.
For frequent hard driving or off-road use, forged 7075-T6 aluminum is my preference. It is the better fit for owners who place more severe demands on the vehicle and want the higher-strength material option.
The supplied test reports give useful material evidence. BONOSS 6061-T6 spacers recorded hardness results of 101–103 under ISO 6506-1:2014, while 7075-T6 spacers recorded 146 HBW 5/250 under the same test method. These values come from different product test samples and should be read as their respective report results, not as a universal promise for every aluminum component.
What the SGS and TÜV Reports Actually Tell You
Material and fastener reports are most useful when you match each result to the correct component. A spacer-body hardness report does not certify a bolt’s tensile strength, and a stud result does not describe a nut.
For BLM/BLA-series ISO Grade 12.9 M14x1.5 studs, the supplied SGS reports list 1268 MPa tensile strength under ISO 898-1:2013+Cor-1:2013, 391–401 HV10 hardness under ISO 6507-1:2018, and 121 kN proof load under ISO 898-1:2013+Cor-1:2013. A separate TÜV report lists 1233 MPa tensile strength and 386–390 HV10 hardness under the corresponding stated methods.
For the series’ ISO Grade 10 M14x1.5 nuts, SGS reports list 358–362 HV0.5 hardness under ISO 6507-1:2018 and 138.8 kN proof load under ISO 898-2:2012. Their values should not be expected to duplicate the stud results: these are different parts, tested under different fastener requirements and loading arrangements.
For BONOSS ISO Grade 12.9 extended M14x1.5 wheel bolts, the supplied SGS reports list 1236 MPa tensile strength, 390–394 HV10 hardness, and 121 kN proof load, using the respective ISO 898-1 and ISO 6507-1 methods stated above. A two-million-cycle limited-life-range result is reported under ISO 3800:1993.
TÜV Rheinland reports for those extended bolts separately list 1273 MPa tensile strength, 395–402 HV10 hardness, and a 192-hour neutral salt-spray test under ISO 9227:2017.
Different laboratories, samples and measurement variation can produce different readings. Thread dimensions also matter: an M14x1.5 result must not be casually transferred to M14x1.25 hardware. The practical takeaway is simple—read the report for the exact component, thread and test method rather than treating every fastener as interchangeable.
Which BONOSS Series Fits Each Approach?
The product names are long, but their structures are logical once separated into slip-on and bolt-on groups.
| Spacer Type | BONOSS Series | Thickness Range | Best-Matched Use |
|---|---|---|---|
| Slip-on | BONOSS forged lightweight plus BL series wheel spacers | 5–20mm | Smaller thickness changes; L461 applications require extended wheel bolts |
| Bolt-on with pressed-in studs | BONOSS forged active cooling BLM series wheel spacers | 20–50mm | Vehicles using wheel nuts, including applicable L320/L494 fitments |
| Bolt-on with embedded nuts | BONOSS forged active cooling BLA series wheel spacers | 25–50mm | Vehicles using wheel bolts, including applicable L461 fitments |
For earlier models, the available 5×120 hub-centric spacers for L320 and L494 provide a generation-specific starting point. Confirm thickness and wheel-pocket clearance before purchase.
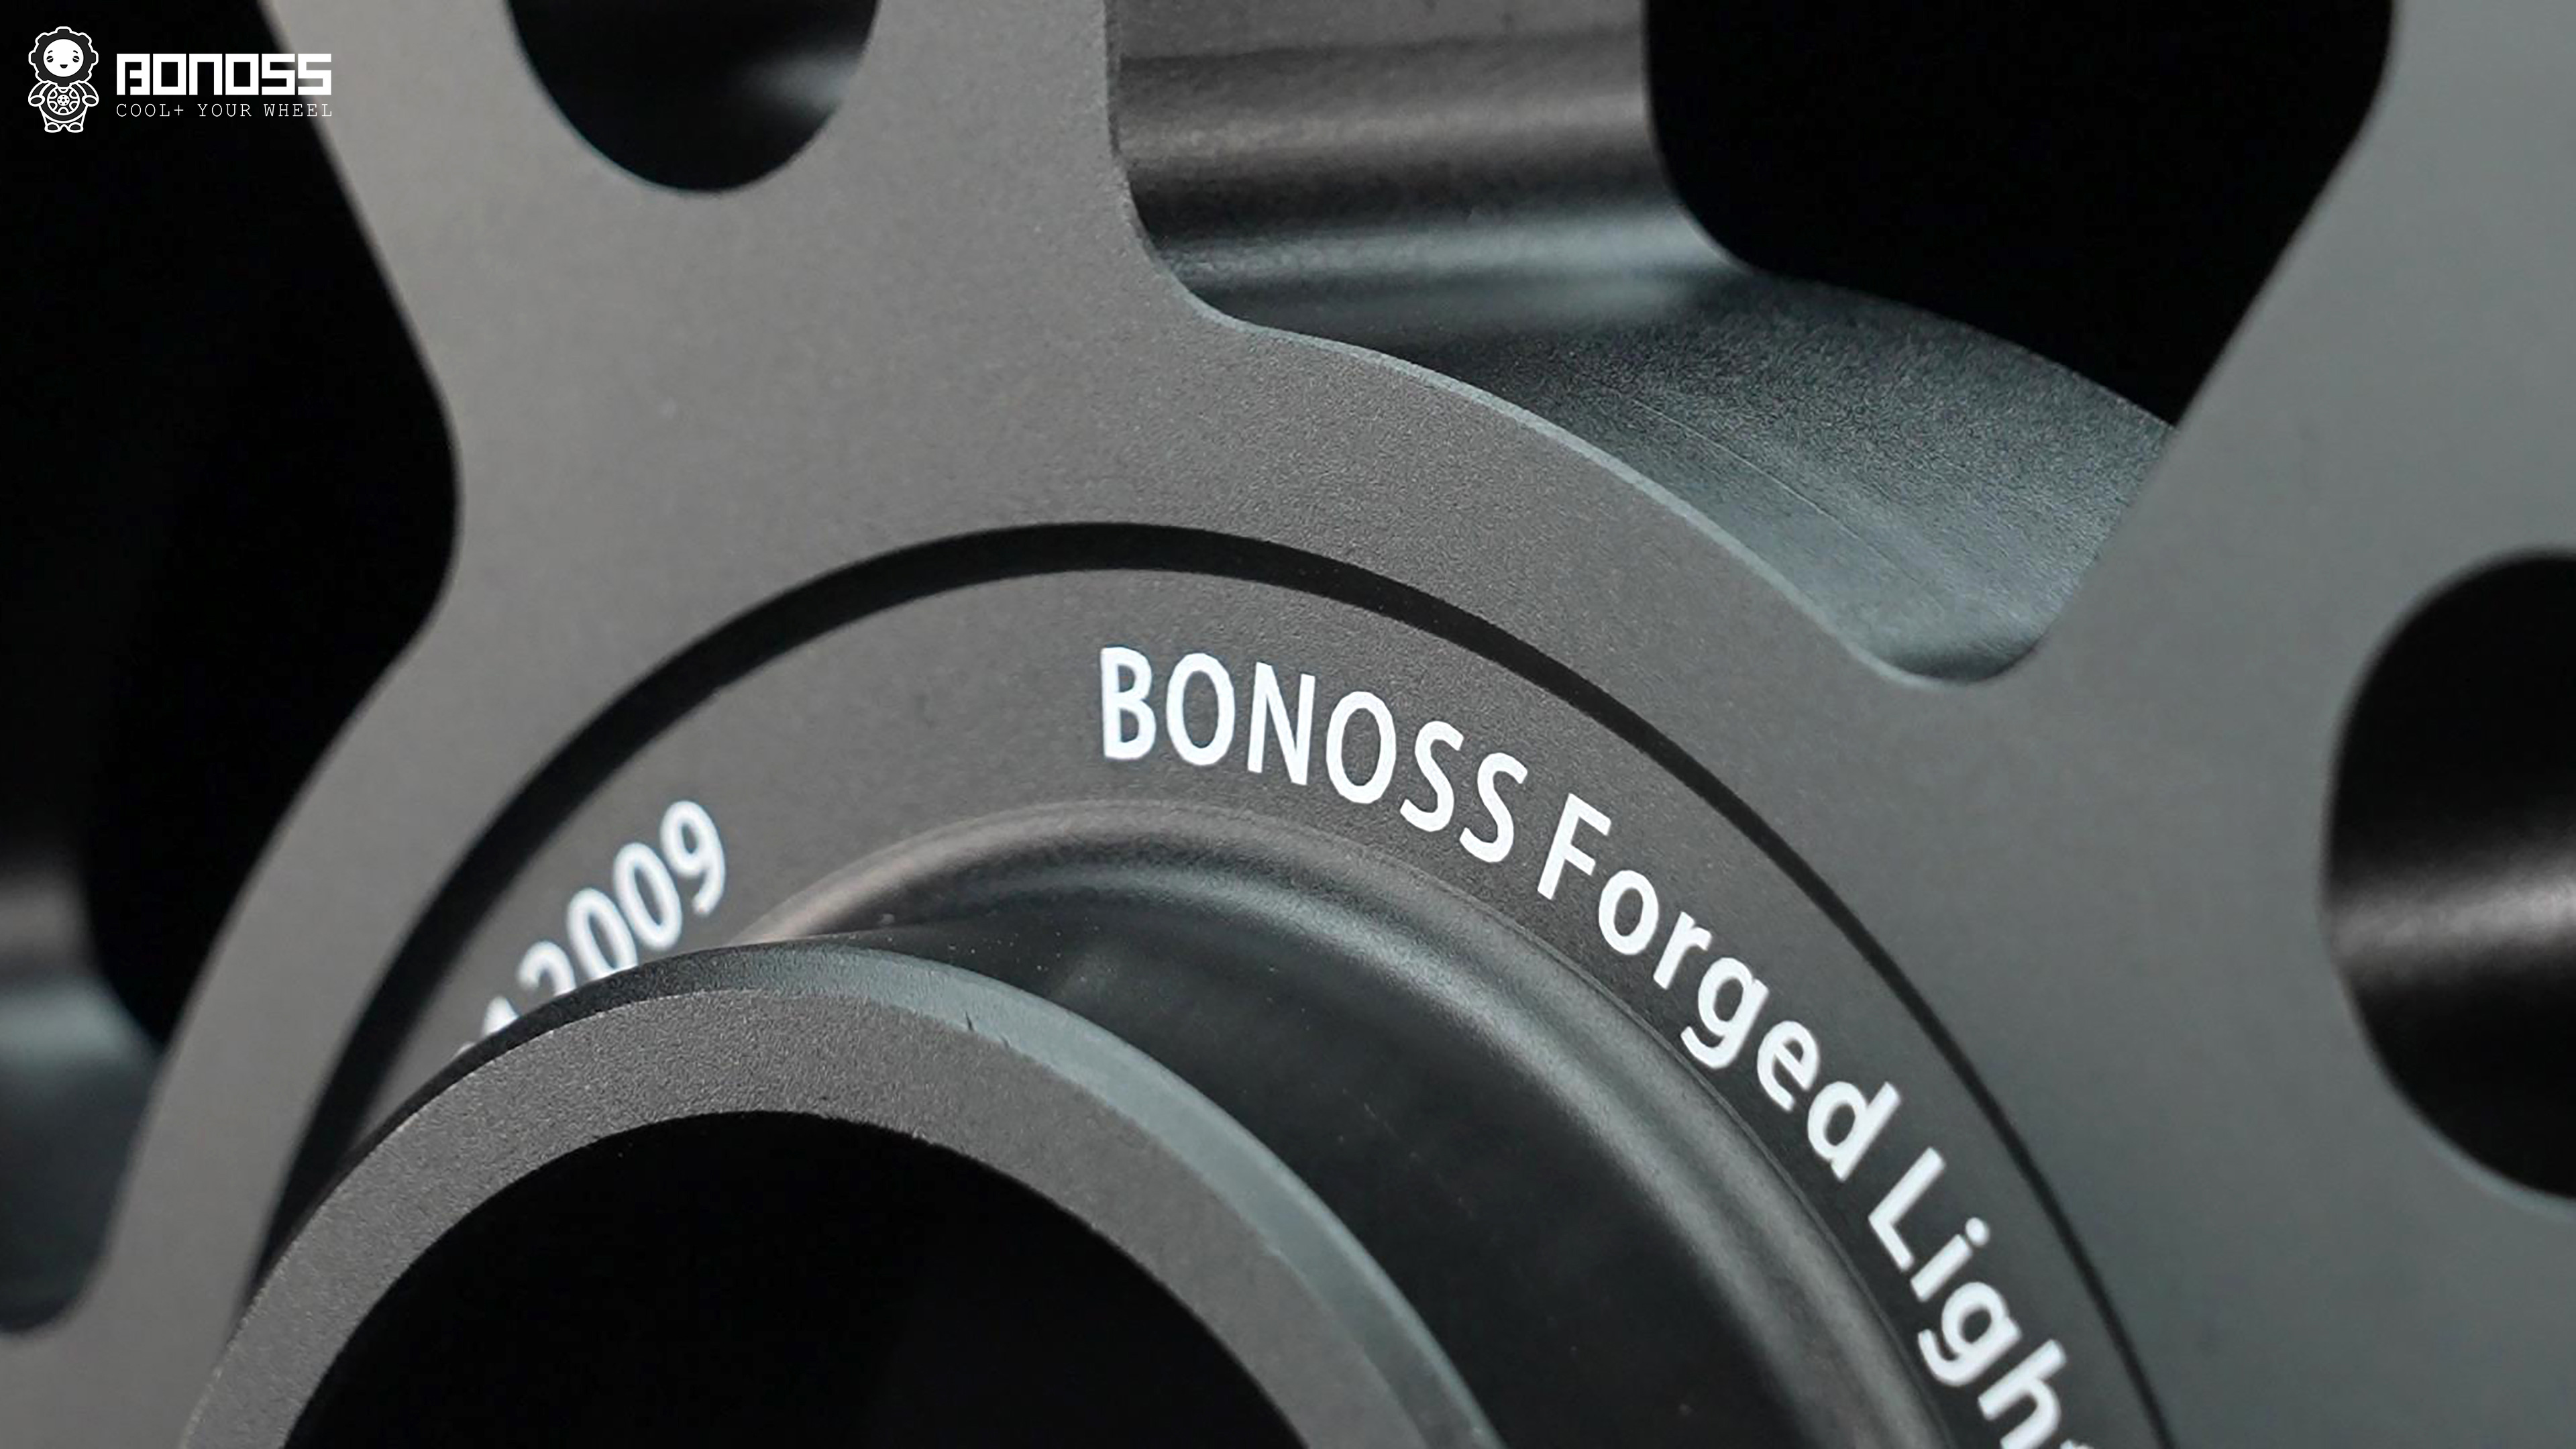
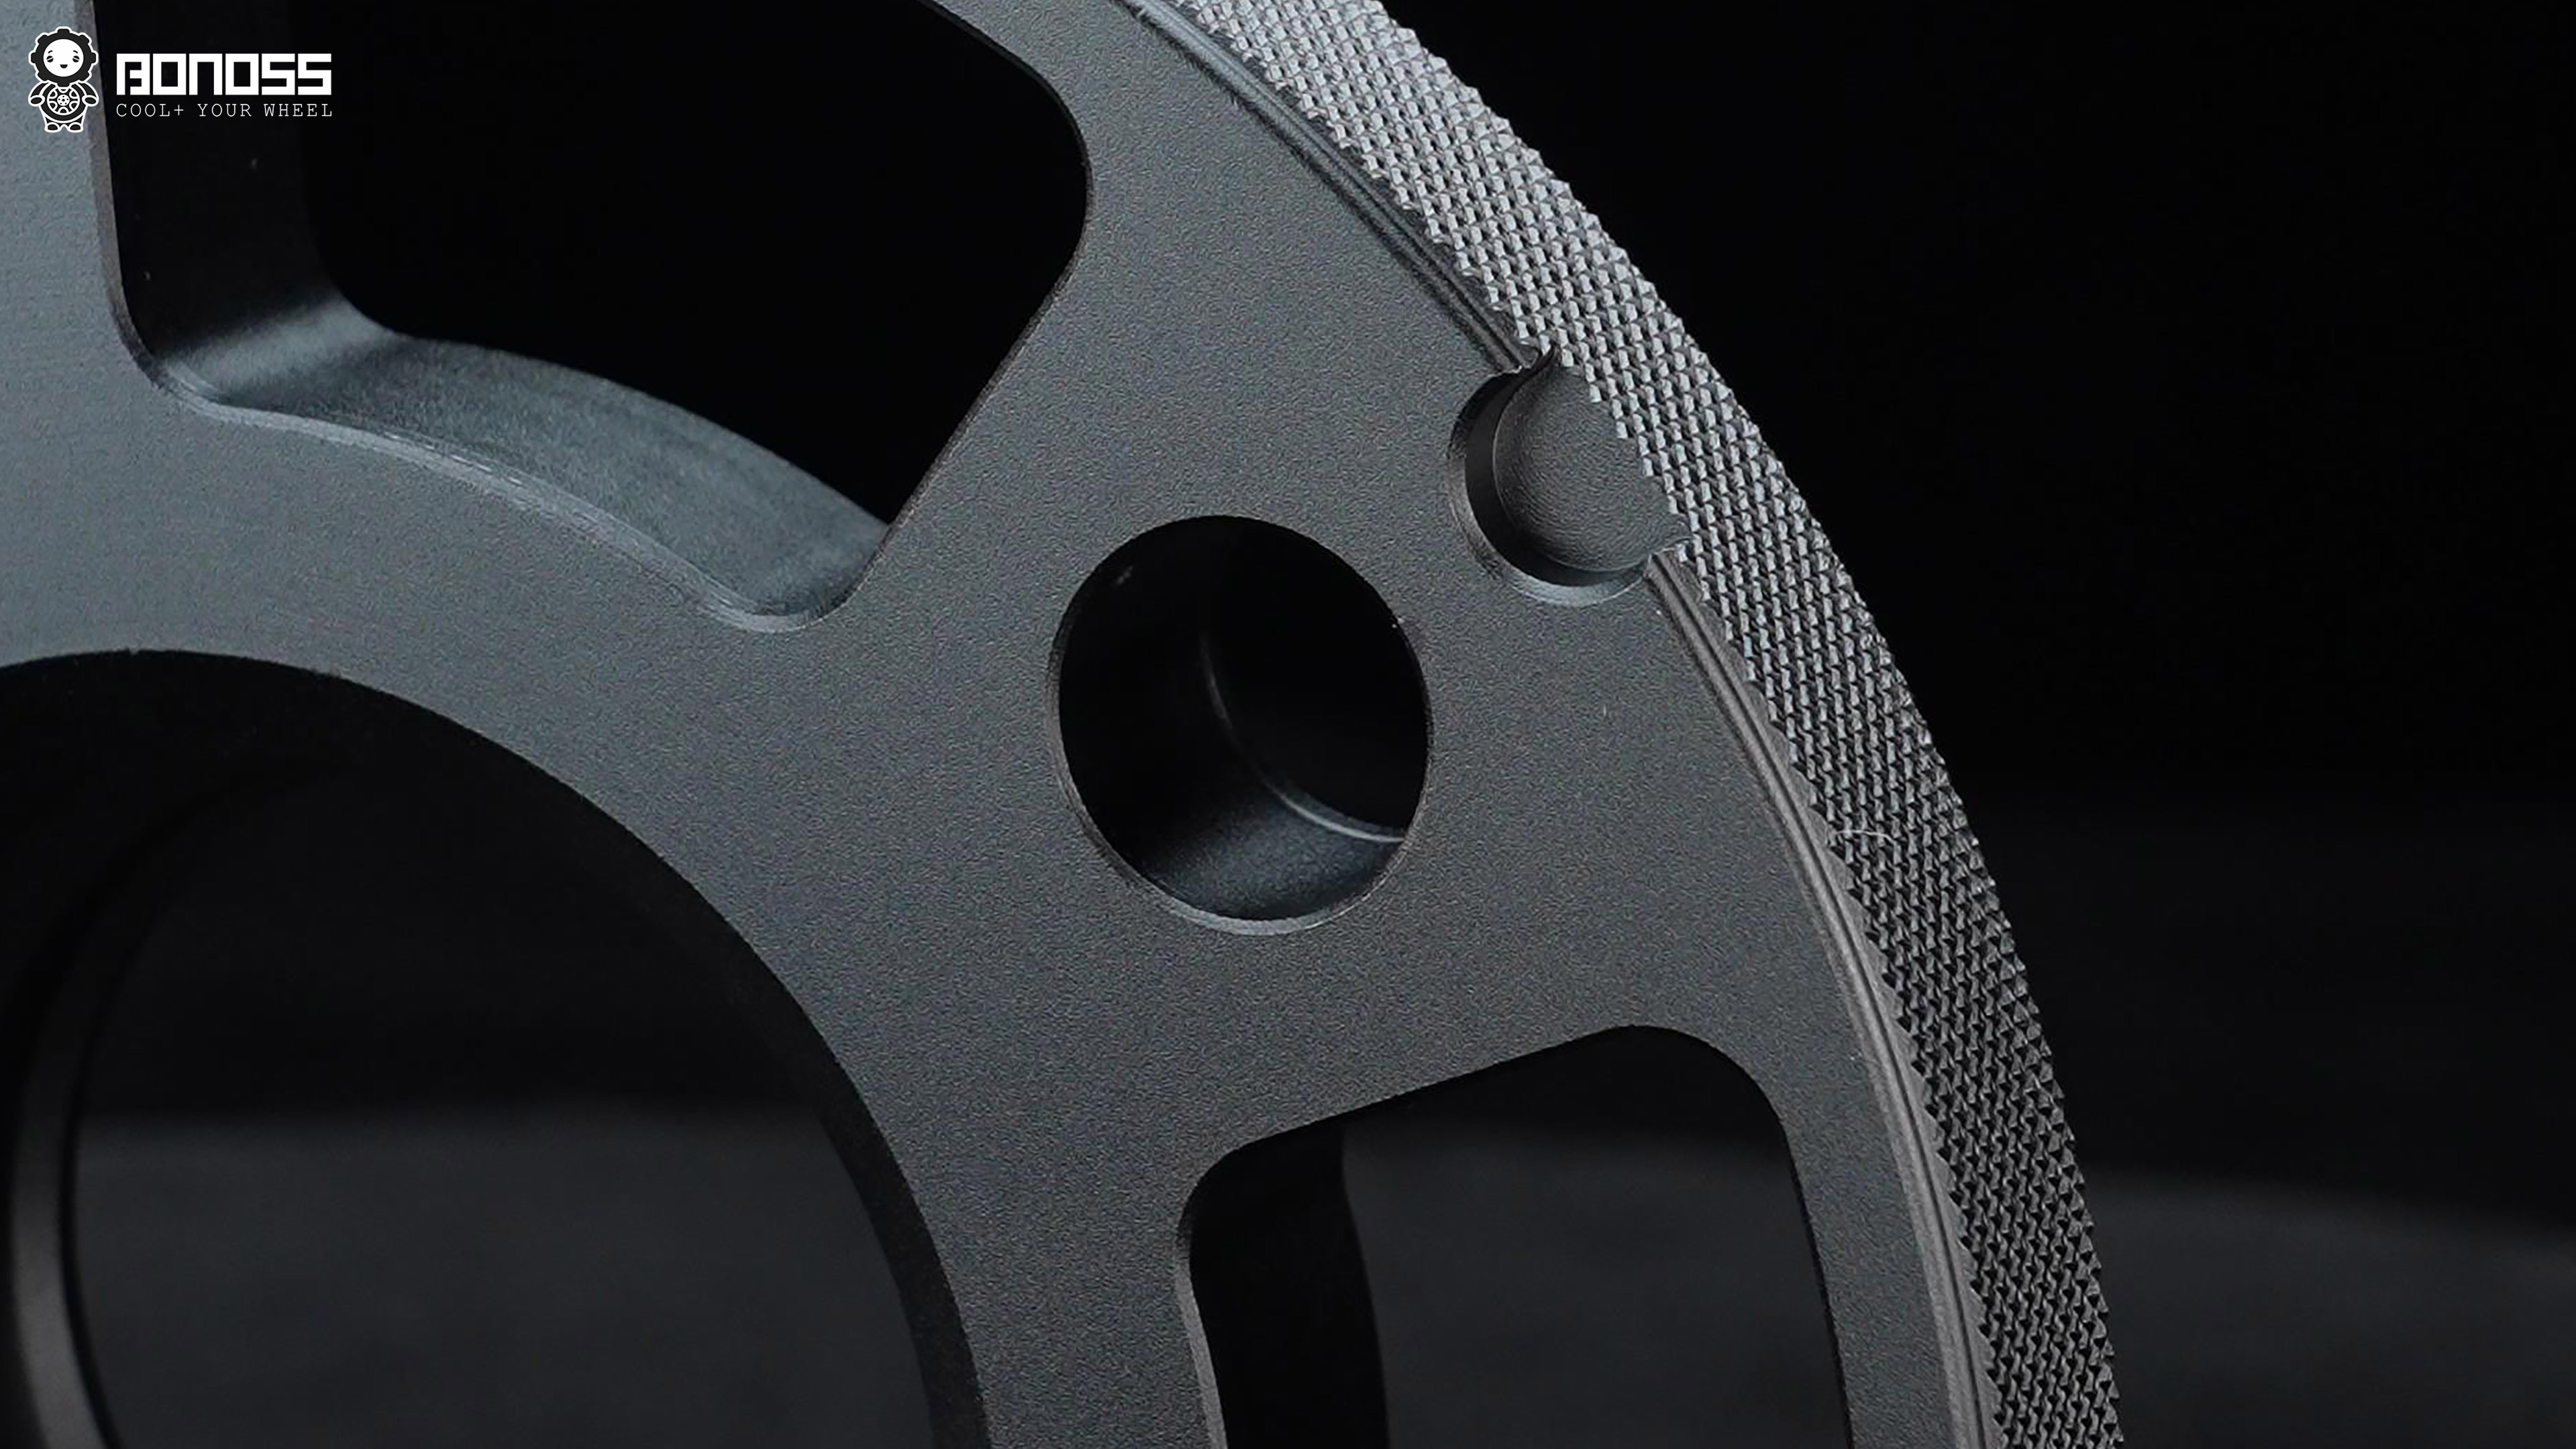
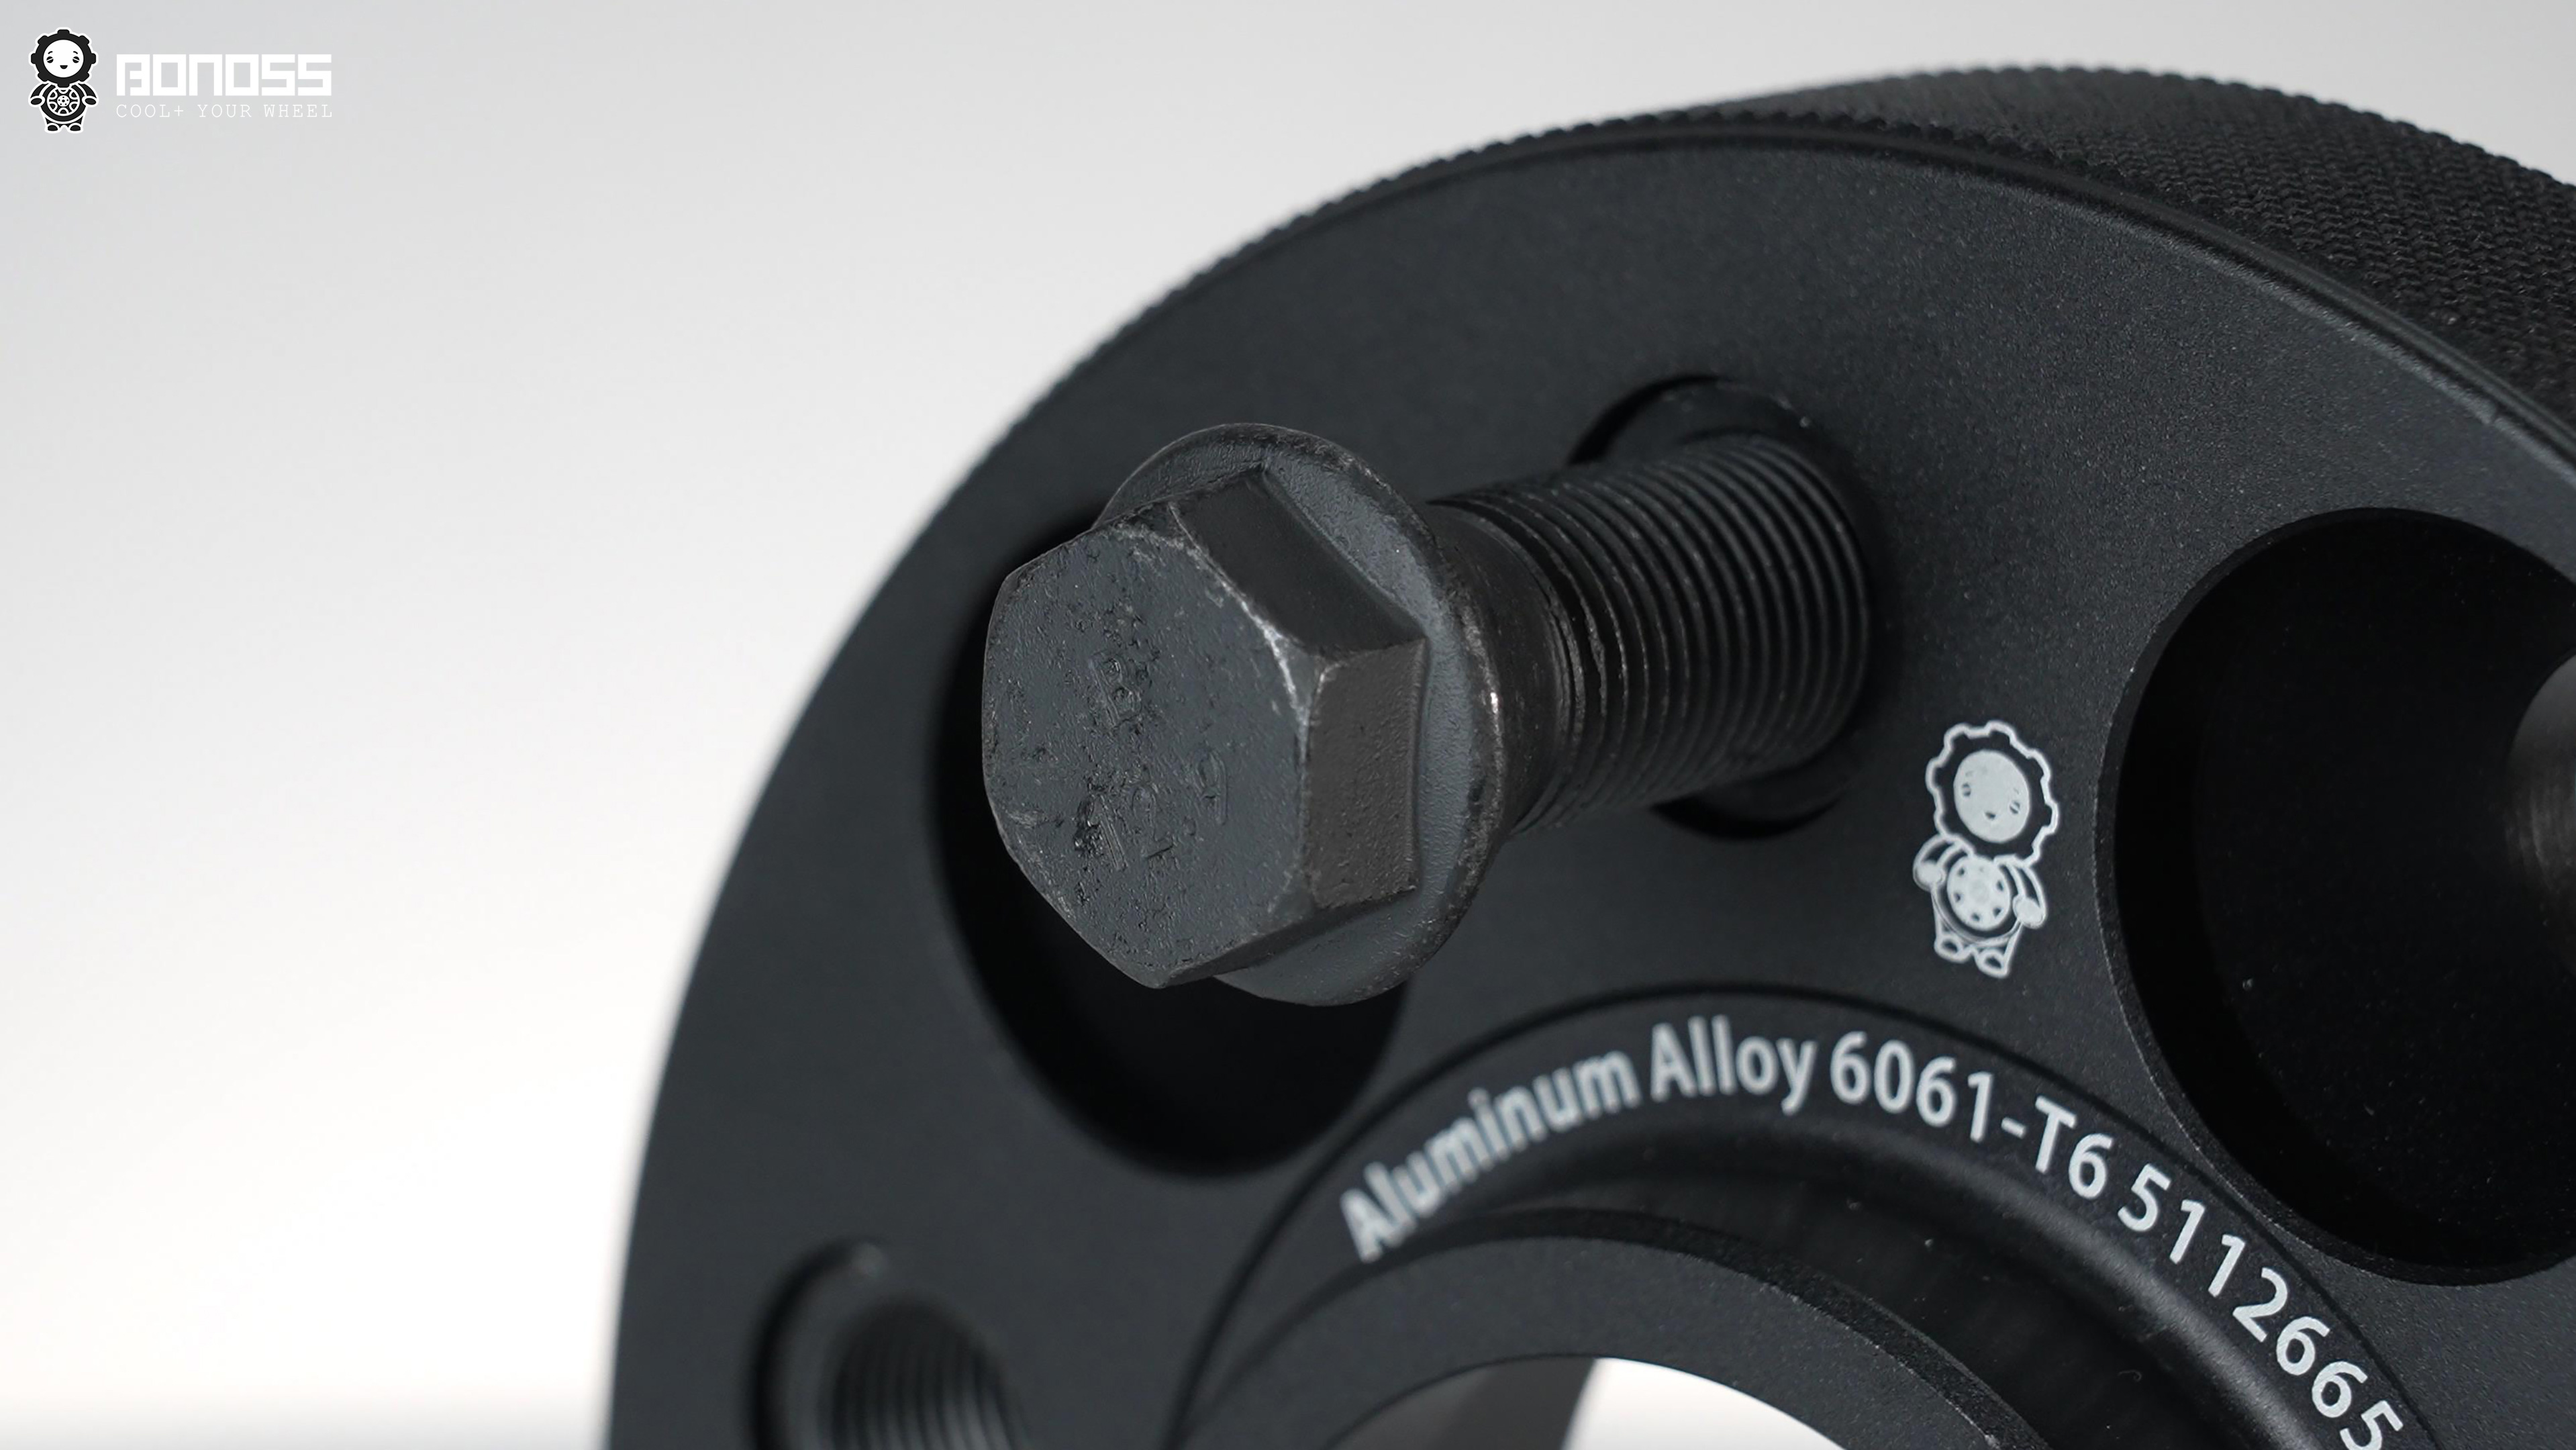
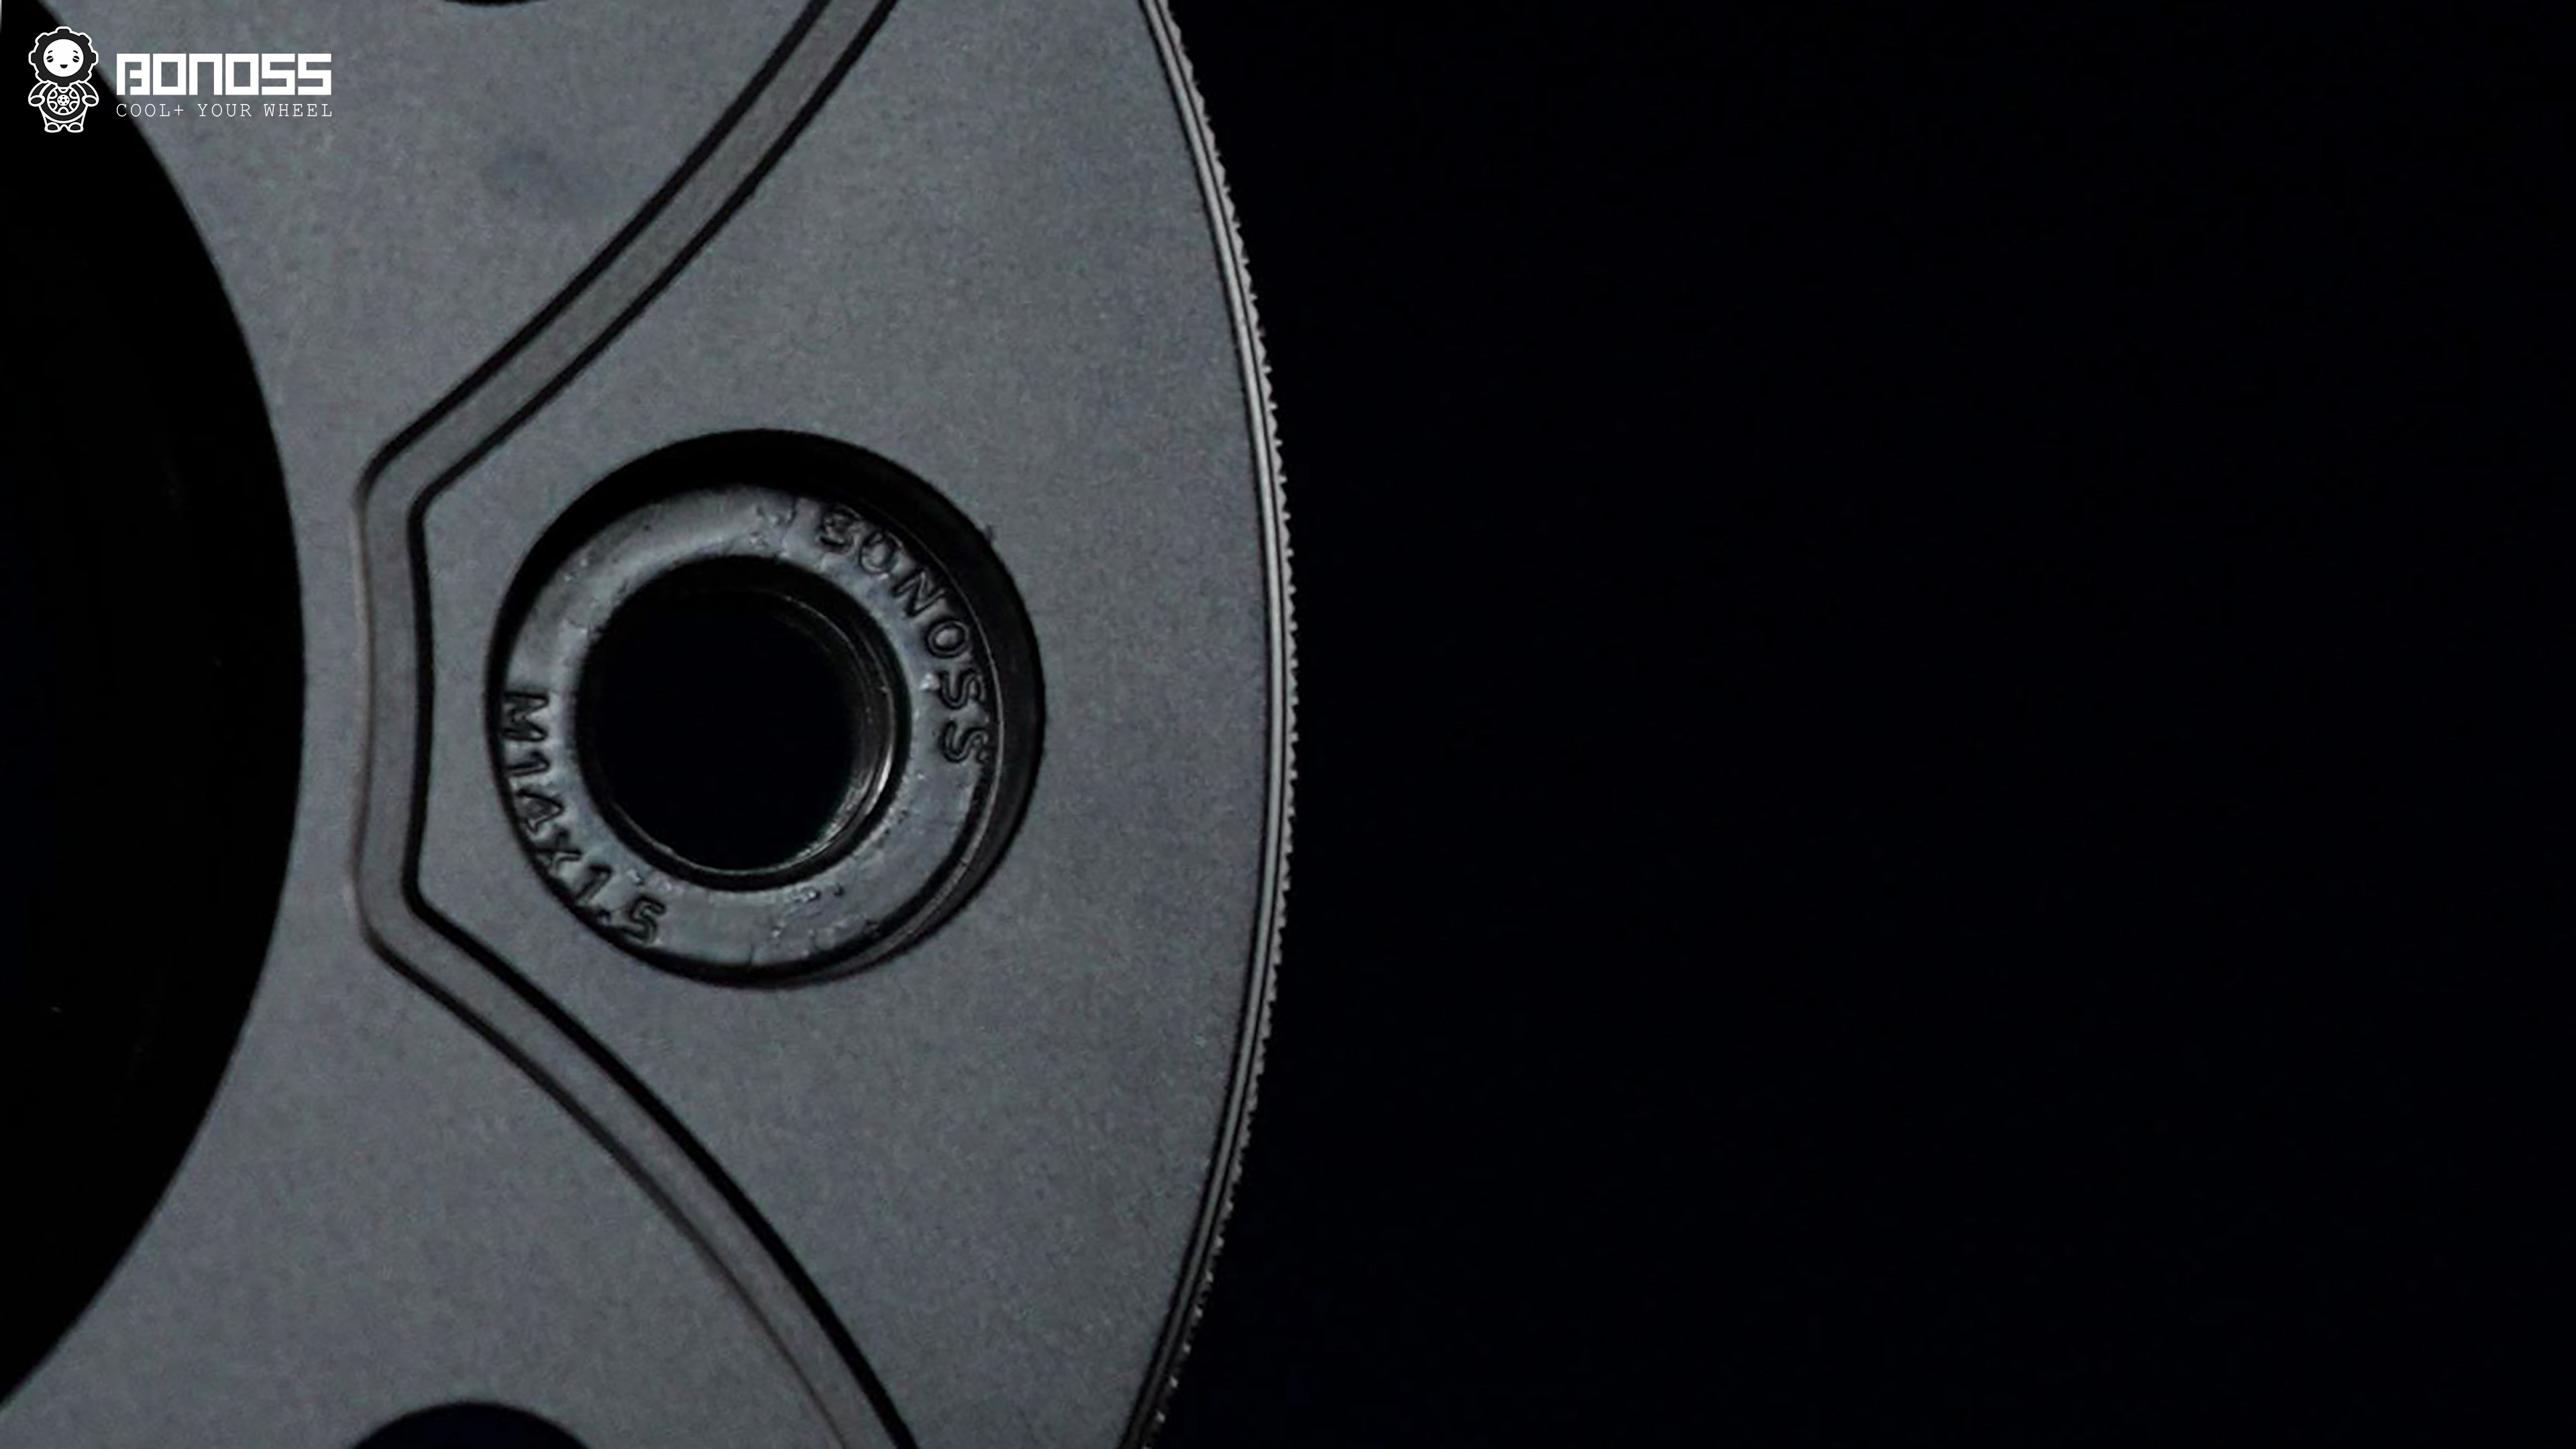
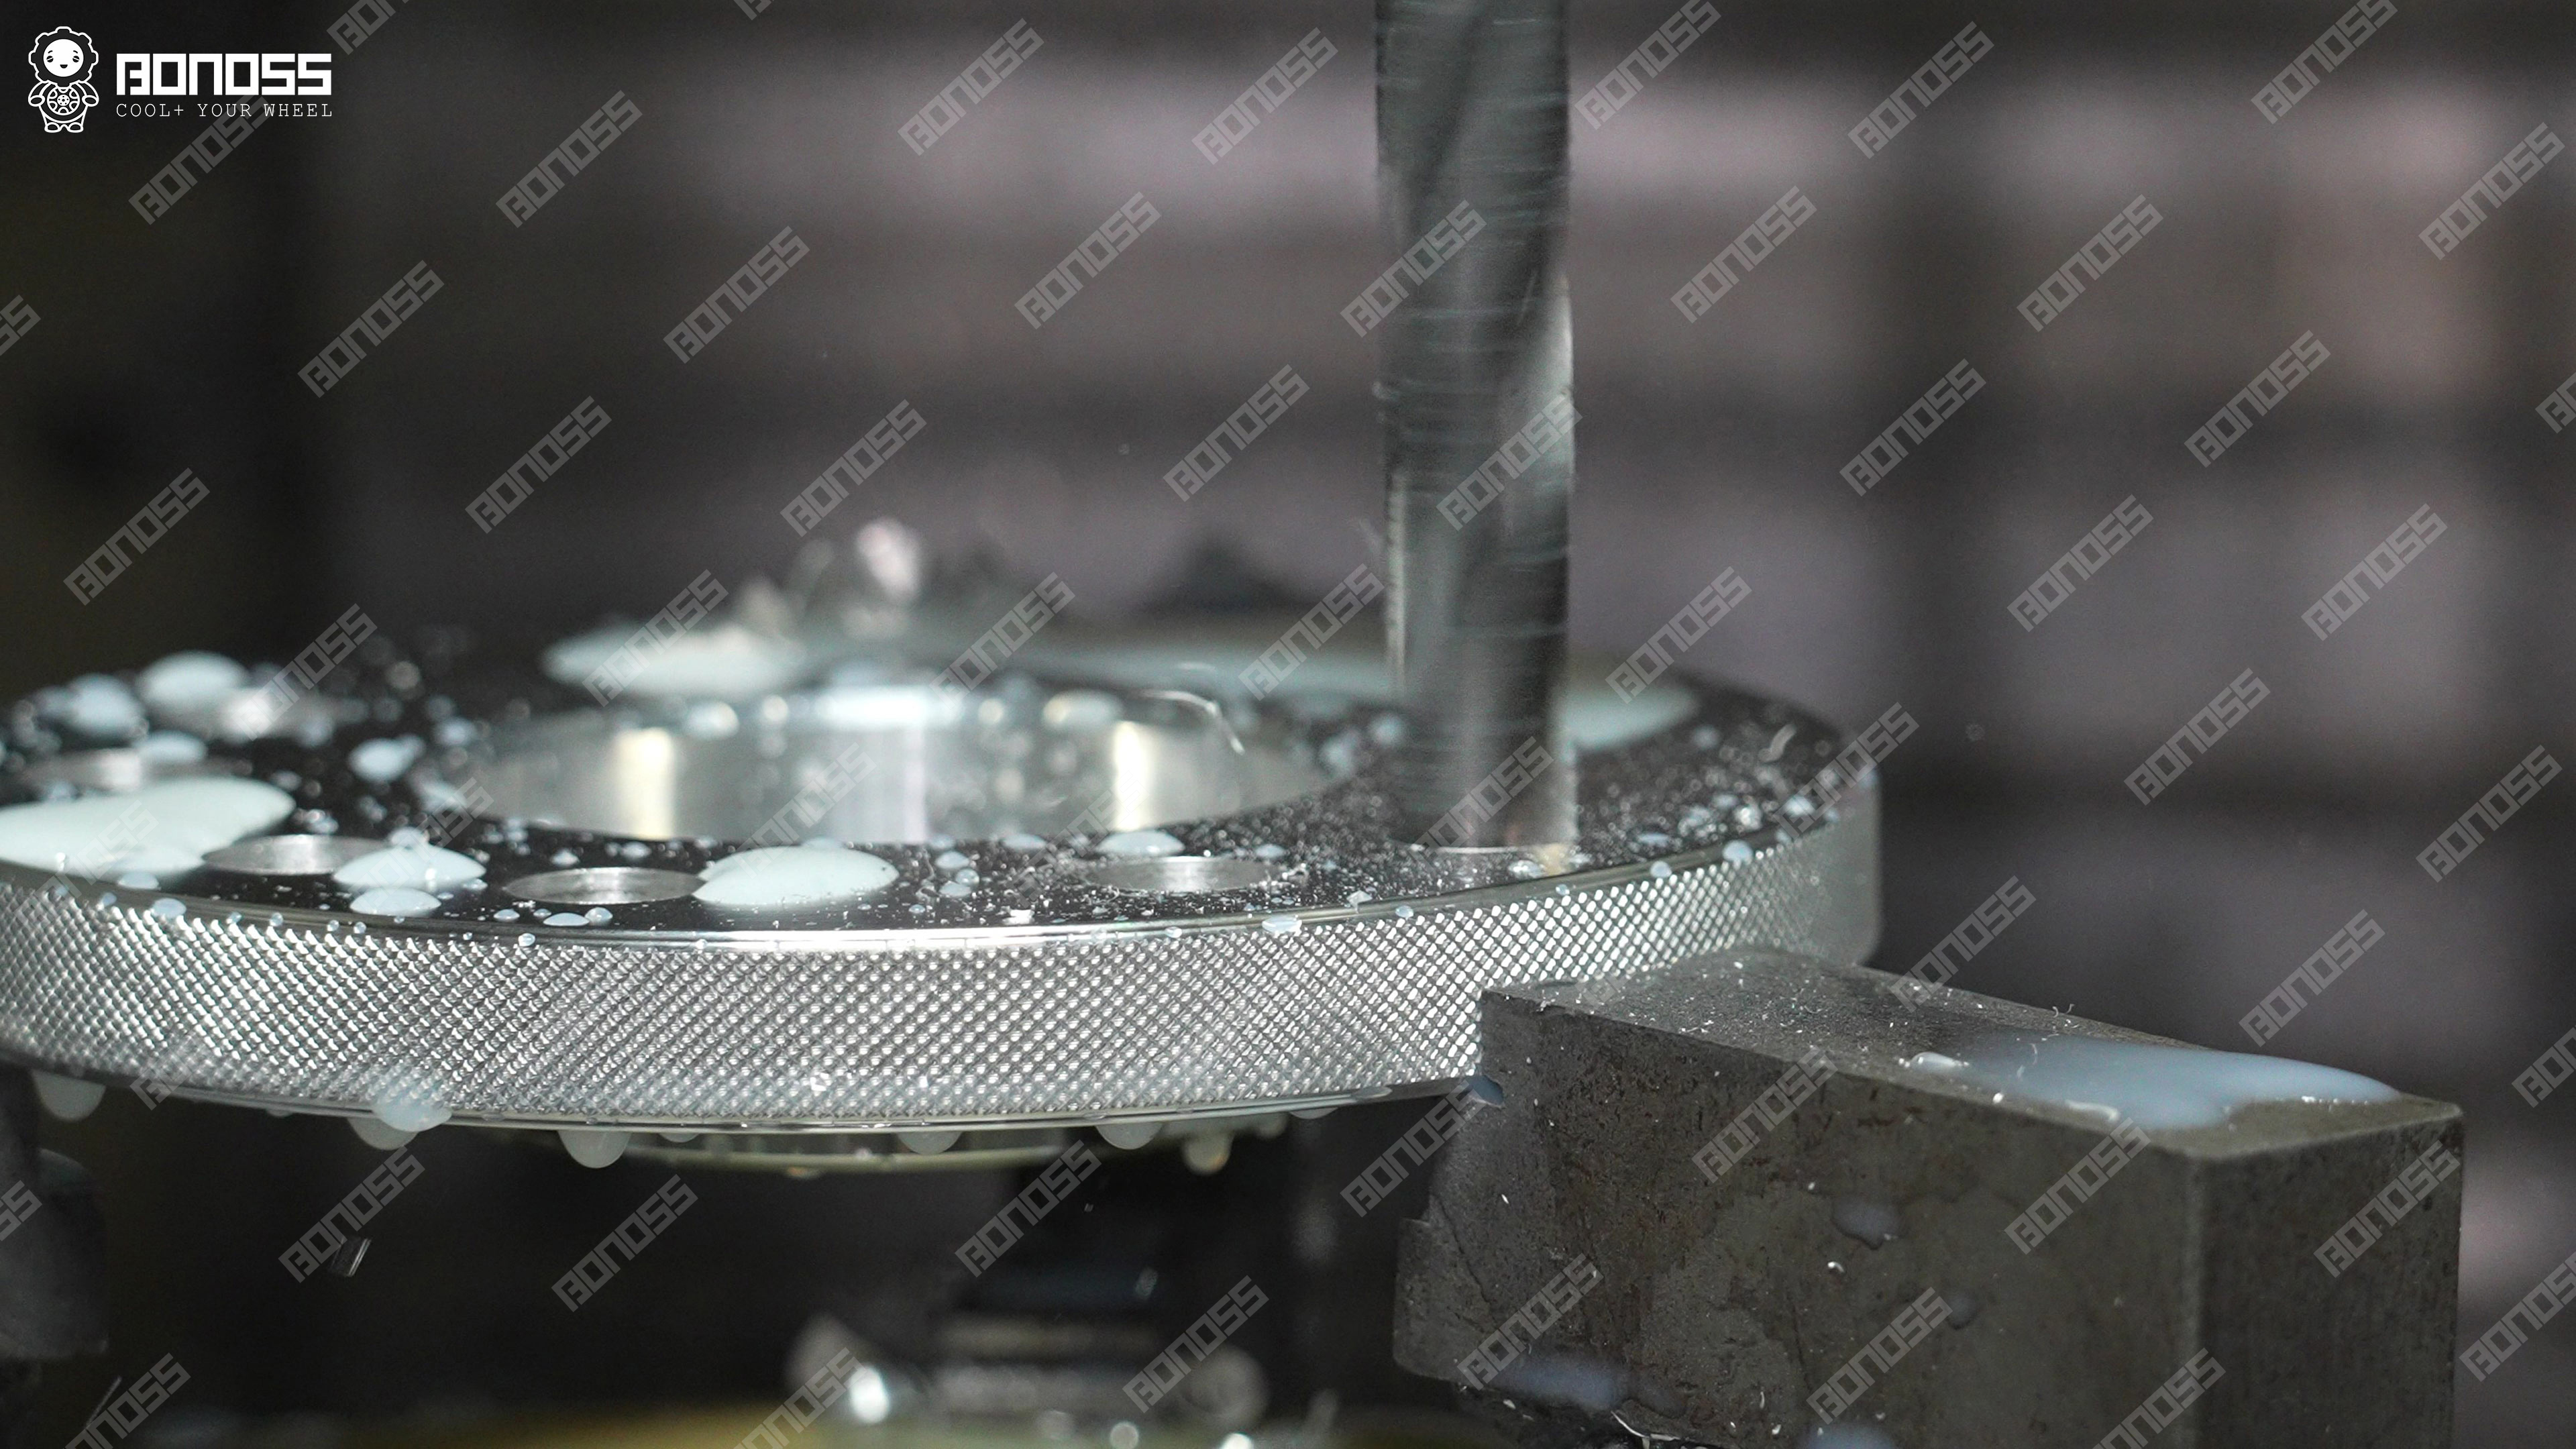
The active cooling design uses structural features intended to help air move around the spacer area during wheel rotation. It is a design feature, not a substitute for correct torque or clearance. Other practical details include side knurling for handling during installation and disassembly grooves to help separate the spacer from the hub later.
Those details matter more than a dramatic product claim. A spacer that fits precisely and can be serviced without a fight is more useful than one surrounded by vague performance language.
What the L461’s Wheel-Bolt Change Means in Practice
On an L320 or L494, the factory studs remain on the hub and the wheel is secured with nuts. A suitably designed bolt-on spacer can provide its own pressed-in studs, allowing a familiar nut-based wheel attachment at the spacer.
On an L461, the factory wheel bolts pass through the wheel and thread directly into the hub. With a thin slip-on spacer, the bolts must span the added thickness while maintaining suitable engagement, which is why correctly selected extended bolts are required.
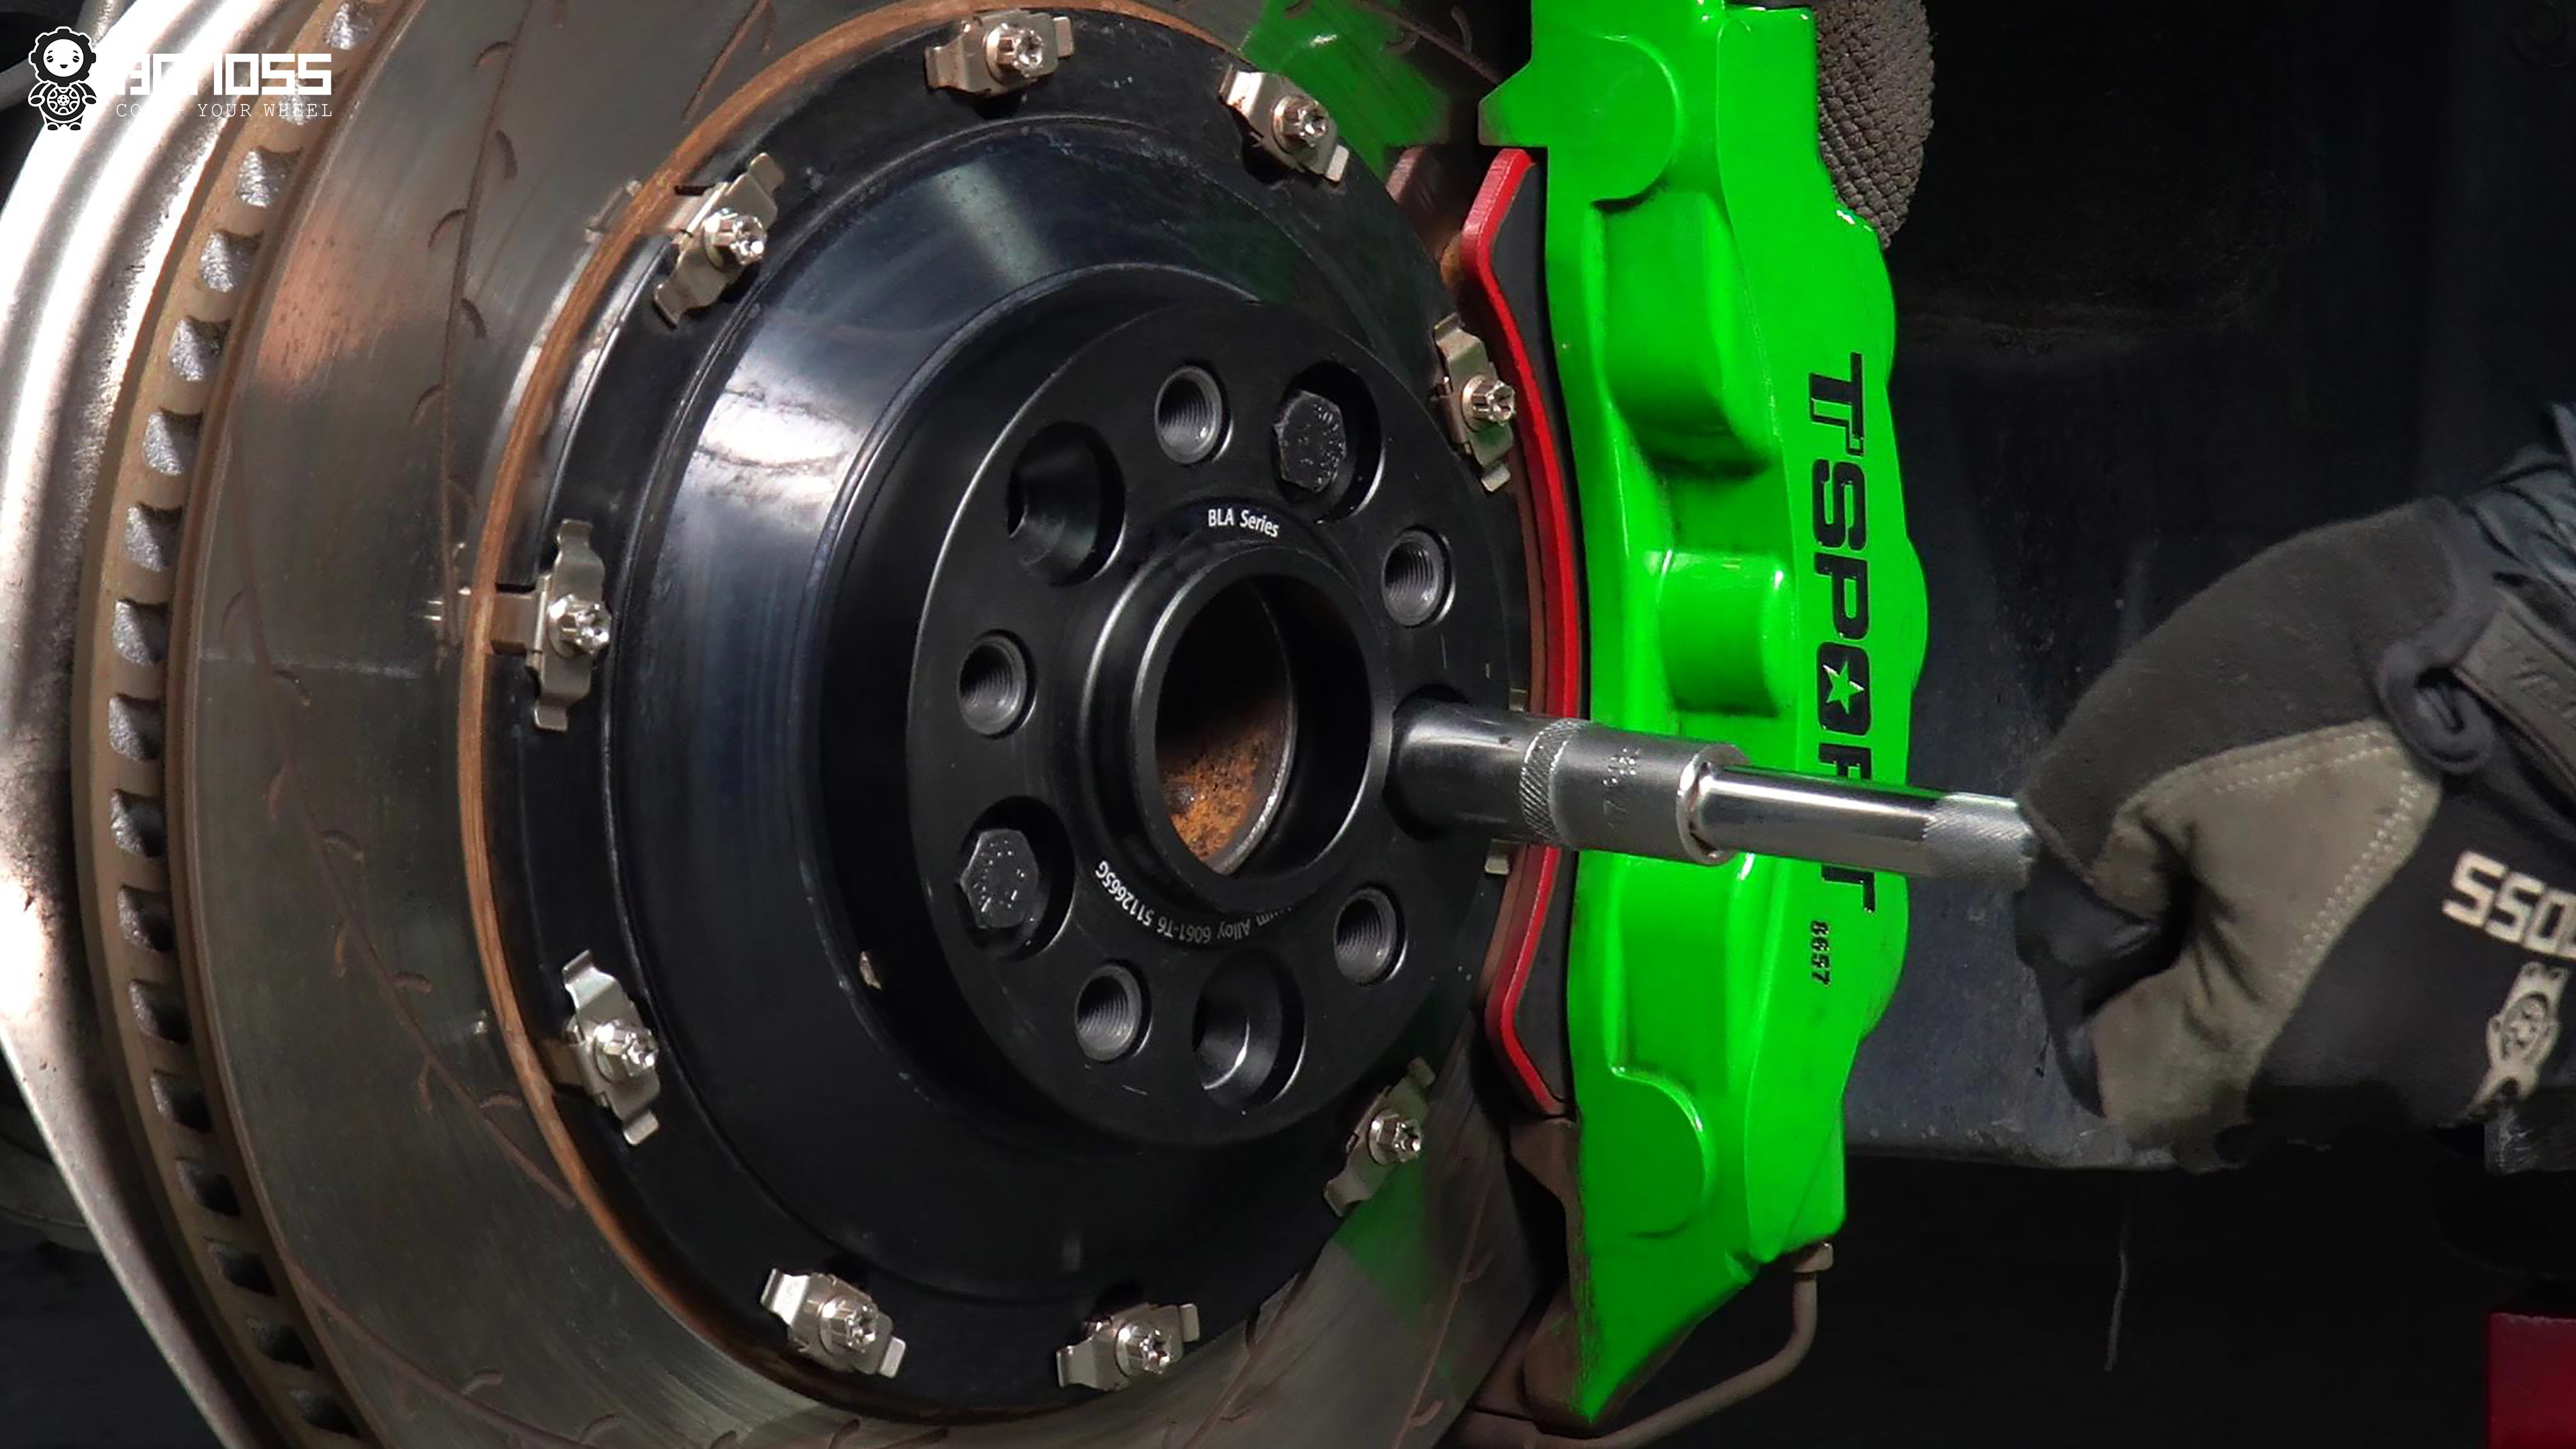
A BLA bolt-on spacer splits the mounting into two attachments. Supplied bolts secure the spacer to the hub. The wheel then uses the factory bolts with the spacer’s embedded nuts.
This is not merely a naming difference between Range Rover Sport slip-on wheel spacers and Range Rover Sport bolt-on wheel spacers. It determines which hardware belongs at each interface and whether the original wheel bolts can be reused.
Install the Spacers Without Mixing Fastener Procedures
Work on a level surface and follow the vehicle manufacturer’s safe lifting and support instructions. Use the correct tools, including a calibrated torque wrench. If you are not comfortable supporting the vehicle or verifying fastener engagement, have a qualified technician perform the work.
- Loosen the wheel fasteners slightly before lifting. Raise and support the vehicle correctly, then remove the wheel.
- Clean the mating surfaces. Remove corrosion, dirt and debris from the hub, spacer and wheel mounting faces. The surfaces should sit flat without trapped material.
- Test-fit the spacer. It should locate fully on the hub. Do not use the fasteners to pull a misaligned spacer into position.
- Check wheel and fastener compatibility. On L320/L494 vehicles, verify stud-to-wheel-pocket clearance. On L461 slip-on installations, confirm the extended bolt length and seat type.
- Attach the spacer where applicable. For a bolt-on kit, use the supplied spacer-to-hub fasteners and tighten them evenly in a crisscross pattern.
- Mount the wheel. Install the appropriate original or supplied wheel fasteners by hand, then tighten evenly to the specified torque.
- Check for interference. Rotate the wheel and inspect nearby components before lowering and driving.
For BONOSS M14x1.5 spacer-installation hardware, use 103.5 ft-lb / 140 Nm per BONOSS installation instructions. When reinstalling a wheel with original wheel nuts, use the original nut torque per the owner’s manual: 103.5 ft-lb / 140 Nm for L320 and L494. For the L461 factory wheel bolts, use 110 ft-lb / 150 Nm per the owner’s manual.
Use ONE torque value for the entire fastening operation being performed, according to the fastener and its instructions. Both the BONOSS-specified value for its hardware and the factory value for original hardware are acceptable in their respective applications; do not mix their sources or apply both procedures to one fastener.
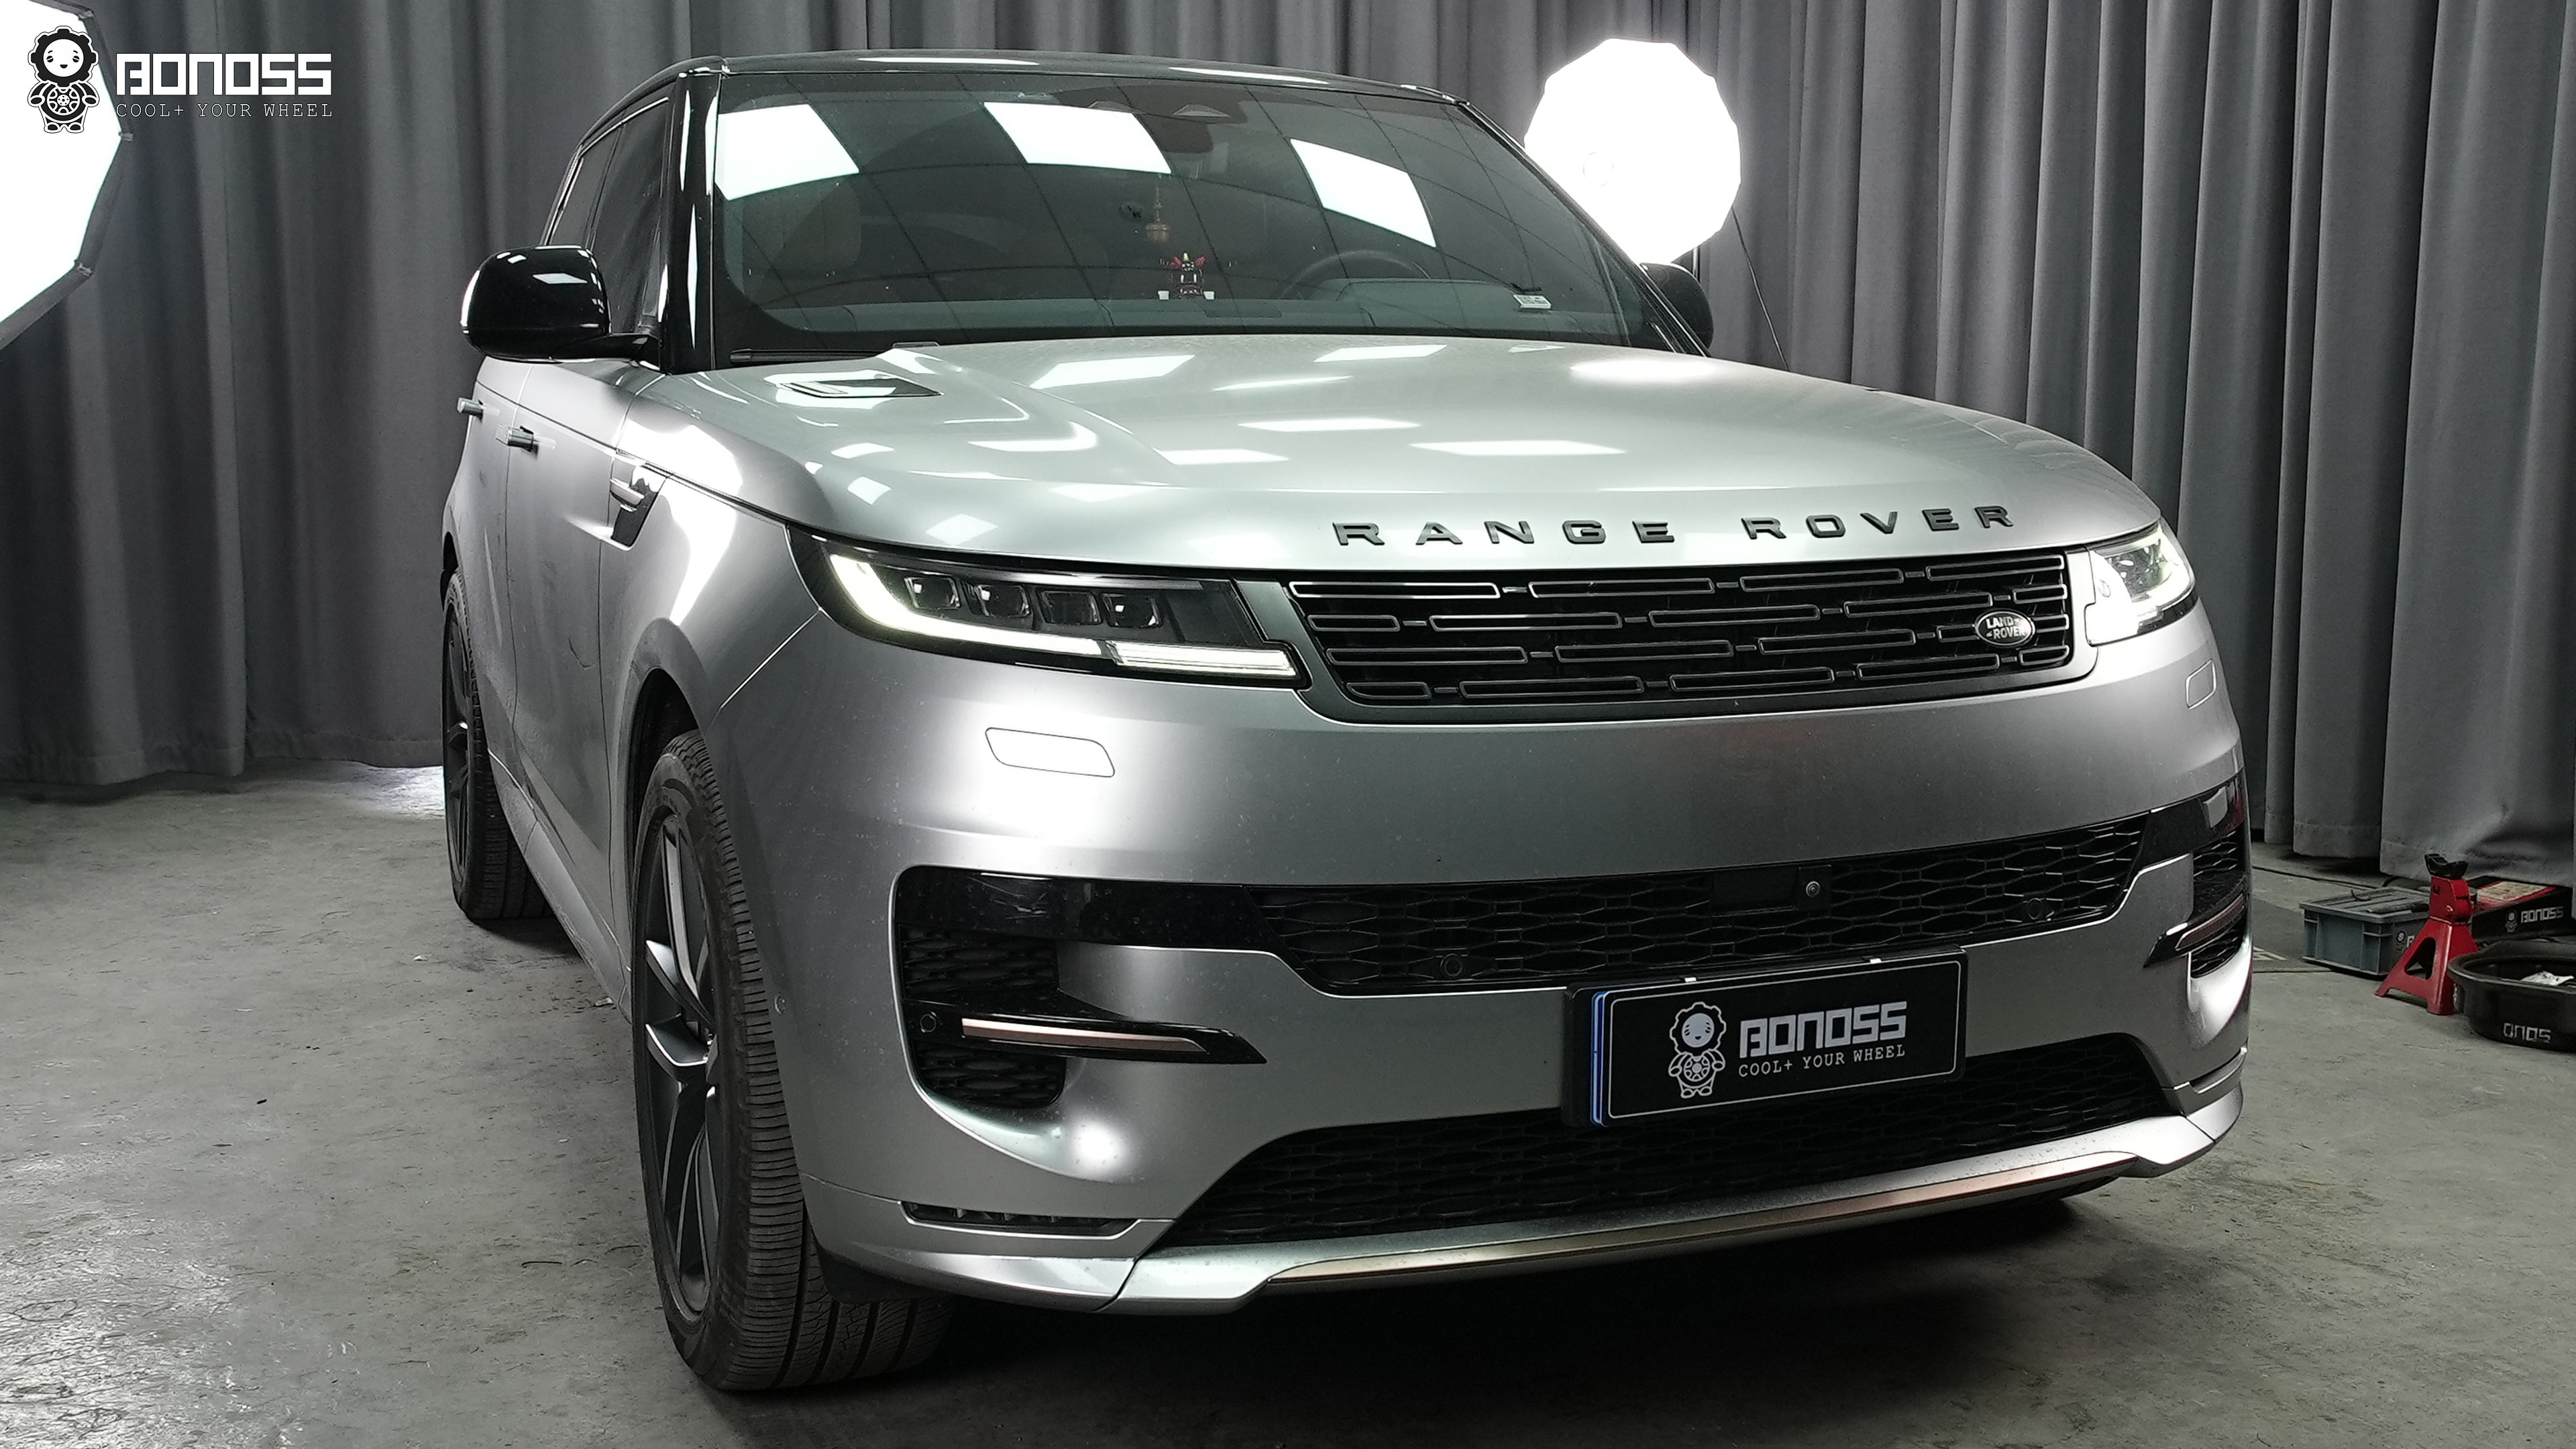
The 2026 Range Rover Sport spacer installation example is useful for seeing how an L461 installation comes together. Use it as a visual companion, not as a replacement for your vehicle’s instructions and measured clearances.
Recheck Everything After 60 Miles
After approximately 60 miles (100 km), recheck the fastener torque with the vehicle safely supported and the correct procedure for each fastening stage. Inspect both the spacer-to-hub attachment, where accessible, and the wheel-to-spacer attachment.
Look for more than loose fasteners. Check for uneven wheel seating, rust or debris disturbed during installation, abnormal tire contact marks and any fresh interference around the fender or suspension.
Vibration is not something to dismiss as “normal spacer behavior.” Recheck centering, mounting-surface cleanliness, fastener seating and torque. Also inspect the wheel and tire assembly itself, because balance or an existing wheel issue can produce similar symptoms.
If anything feels unstable, stop driving until the cause is identified. Retorquing blindly is not a diagnosis.
Range Rover Sport Wheel Spacer FAQ
Do the same spacers fit every Range Rover Sport generation?
No. All L320, L494 and L461 models here share 5×120, 72.6mm and M14x1.5 specifications, but their offsets, suggested thicknesses and wheel-fastening systems differ.
Are 10mm spacers safe on an L461?
They can be used when the complete fitment is correct, including hub-centric location, clearance and properly selected extended wheel bolts. Thickness alone does not establish safety.
What torque should I use for the installation?
Use the torque assigned to the specific fastener: BONOSS M14x1.5 installation hardware uses 103.5 ft-lb / 140 Nm per BONOSS instructions, while original wheel fasteners use the owner’s-manual value for the vehicle.
Can spacers cause vibration?
A correctly matched and installed hub-centric setup should not be treated as inherently vibration-prone. If vibration appears, inspect centering, seating, cleanliness, torque, fasteners and wheel balance.
Will 25mm or 30mm spacers make the wheels rub or stick out?
They can, depending on the wheel, tire, offset and available fender clearance. Measure the fender gap and check suspension clearance rather than relying on another owner’s setup.
Do wheel spacers and wheel adapters mean the same thing here?
Not necessarily. A spacer retains the vehicle’s bolt pattern and moves the wheel outward, while an adapter may also change the bolt pattern. The products discussed here retain the Range Rover Sport’s 5×120 pattern.
The Short Version Before You Buy
Start with your chassis code and wheel, not with a thickness somebody else recommends. L320, L494 and L461 models share the basic 5×120 hub geometry, but the L461’s wheel-bolt system changes the hardware decision completely.
Measure the front and rear fender gaps, confirm clearance and choose hub-centric spacers with the correct fastening structure. Use forged 6061-T6 for ordinary road use or step up to forged 7075-T6 for more demanding driving. Then follow the correct torque for each separate fastening operation and recheck the installation after 60 miles.
If you are ready to buy Range Rover Sport wheel spacers, compare the BL, BLM and BLA kit structures against your generation and measured thickness. The right choice is the one that fits both the hub and the way your vehicle actually secures its wheels.

About Daisy Harris
Daisy Harris has worked for 6 years at BONOSS as an automotive technician, installing and testing wheel spacers, wheel nuts, and wheel bolts. She has personally installed and verified more than 200 wheel-spacer setups across sport sedans, SUVs, and EVs. Her installation guides and reviews are built on real installs, measured clearances, and long-term wear notes — not on spec sheets.