The recommended torque specification for 5×120 wheel spacers is 83.3 ft-lbs (113 Nm) to 103.5 ft-lbs (140 Nm). This torque value is crucial as under-tightening or over-tightening the wheel spacers can have severe consequences. Under-tightened spacers can cause the wheel to become loose, potentially leading to a dangerous situation on the road. Conversely, over-tightening the spacers can damage the lug bolts or the wheel itself, resulting in costly repairs.
To ensure proper torque application, it’s recommended to use a calibrated torque wrench when tightening or loosening the 5×120 wheel spacers. Always follow the recommended torque specification provided by the manufacturer, and tighten the lug bolts/nuts in a star or criss-cross pattern to ensure even distribution of the clamping force.

5×120 Wheel Spacers Adapters Torque Chart
The torque spec of a wheel spacer depends on the thread size of the wheel bolts. It’s always best to double-check the exact torque specification for your specific model year in the owner’s manual or with a tire service advisor. The following 5×120 spacer torque chart can be a reference:
- M12x1.5mm lug nuts or bolts: 83.3 ft-lbs (113 Nm)
- M12x1.25mm lug nuts or bolts: 83.3 ft-lbs (113 Nm)
- 1/2″-20 UNF lug nuts or bolts: 83.3 ft-lbs (113 Nm)
- M12x1.75mm lug nuts or bolts: 83.3 ft-lbs (113 Nm)
- M14x1.5mm lug nuts or bolts: 103.5 ft-lbs (140 Nm)
- M14x1.25mm lug nuts or bolts: 103.5 ft-lbs (140 Nm)
- M15x1.25mm lug nuts or bolts: 103.5 ft-lbs (140 Nm)

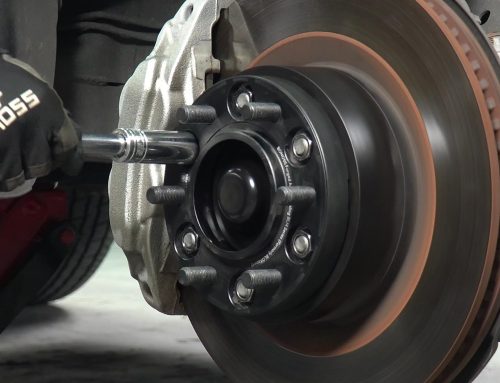
How to Properly Install 5×120 Wheel Spacers?
Installing wheel 5×120 wheel spacers is a simple process and most knowledgeable customers can install them without problems. The typical labor cost for installing wheel spacers in the USA is around $100 per hour. If you would like to save that money, you can install spacers yourself. If you never install spacers before, it is recommended to have a professional install those spacers for your vehicle.
Anyway, as long as you install them properly, high-quality wheel spacers are exactly safe to use. Here are some essential tips:
Prepare Necessary Tools:
You’ll need a jack, lug wrench, torque wrench, and the correct spacer kit.
Remove the Wheel:
Loosen the lug nuts and lift the vehicle to safely remove the wheel.
Install the Spacer:
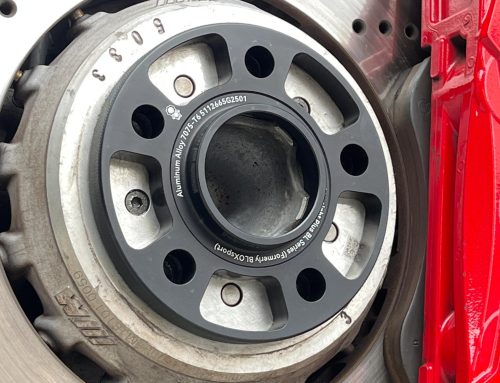
Place the spacer over the hub, ensuring it fits snugly and is properly aligned. Use the provided lug nuts to secure the spacer.

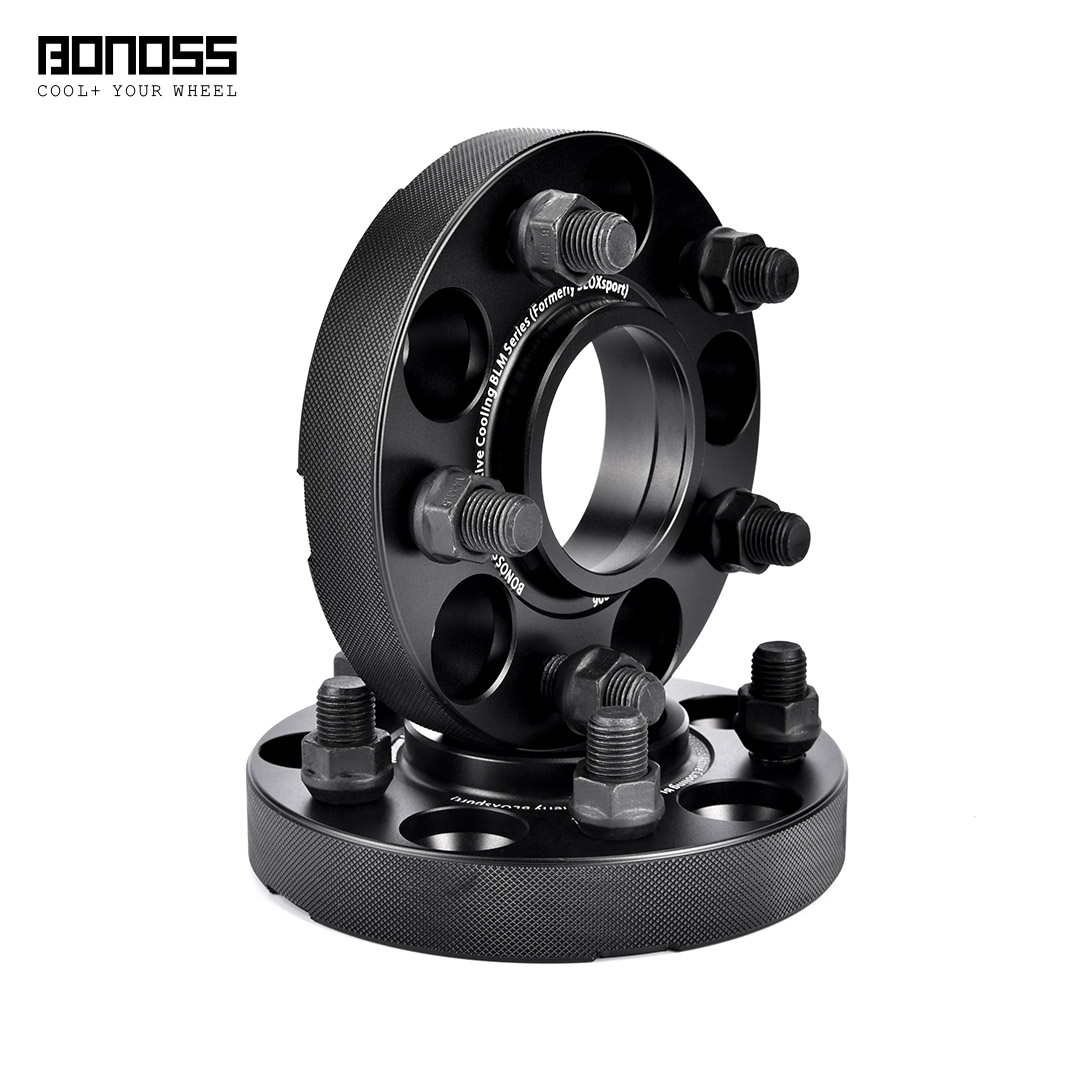
Always stick to genuine brand wheel spacers. For example, BONOSS is one of the most popular wheel spacer brands. Brands offer safety and reduce the risk of disappointment. BONOSS brand 5×120 wheel spacers strive to maintain top quality and the best user experience. These BONOSS forged active cooling spacers are made of top-quality forged 6061-T6 and 7075-T6 aluminum.
In addition, BONOSS forged active cooling 5×120 wheel spacers are CNC machined, precision at 0.02mm tolerance. This improves the fit and functionality of spacers. With the same price as most rim spacers, BONOSS forged active cooling spacers come with heat dissipation grooves to make brake cooling better. The heat dissipation grooves behind the spacers boost the cooling efficiency, reducing brake thermal decay, and improving road safety.
Remount the Wheel:
Install the wheel on the spacer and tighten the lug nuts gradually in a crisscross pattern to avoid imbalance.
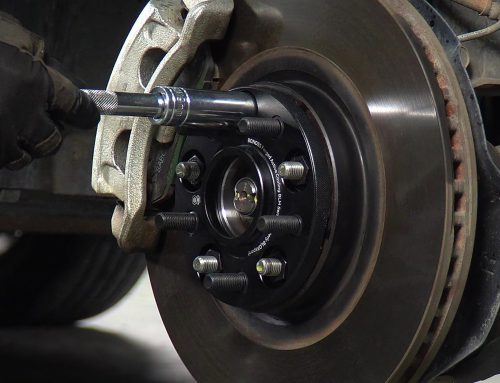
Torque the Lug Nuts:
Once everything is in place, use a torque wrench to tighten the lug nuts to the manufacturer’s specifications. This ensures a secure and safe fit.
Safety Check:
After completing the installation, take your vehicle for a short test drive to ensure that everything is functioning correctly. Check for any unusual noises, vibrations, or handling issues, and make any necessary adjustments if needed.