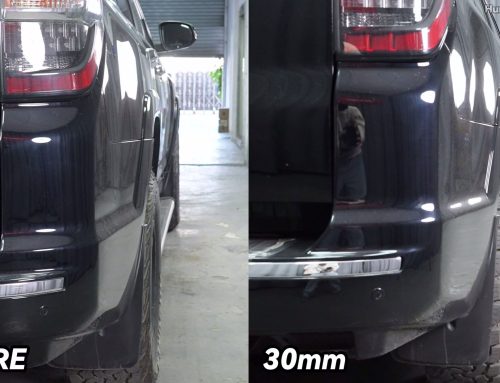
The wheel spacer is a wheel accessory installed between the wheel hub and the wheel. It is designed to reposition the wheel outward from the wheel hub to solve the clearance problem of suspension components. They come in various thicknesses and dimensions, commonly used to widen the track of the vehicle, leading to more stability and better handling performance, which is why they are often used on many racing cars. They can also make a car look better by pushing the wheel away in a more visually aggressive position. A wheel spacers install is easy work that has a good effect on your driving experience. If you’re ready to install your wheel spacers, the instructions below will help you walk through each step.
Before Installing Wheel Spacers
First of all, make sure the wheel spacers you’ve chosen are the right pattern for your vehicle, including vehicle bolt pattern, wheel bolt pattern, thread size, spacer thickness, and center bore. There are usually two types of spacers: One type simply slides into the hub and come with their own lug studs and nuts, while the other type bolts to the vehicle hub with another set of extended wheel bolts. BONOSS BLM Series Wheel Spacers are the first type mentioned above. Hub-centric wheel spacers are highly recommended. If your wheels are lug-centric, hub-centric spacers are available to transform them into hub-centric wheels.
Steps to Install Wheel Spacers
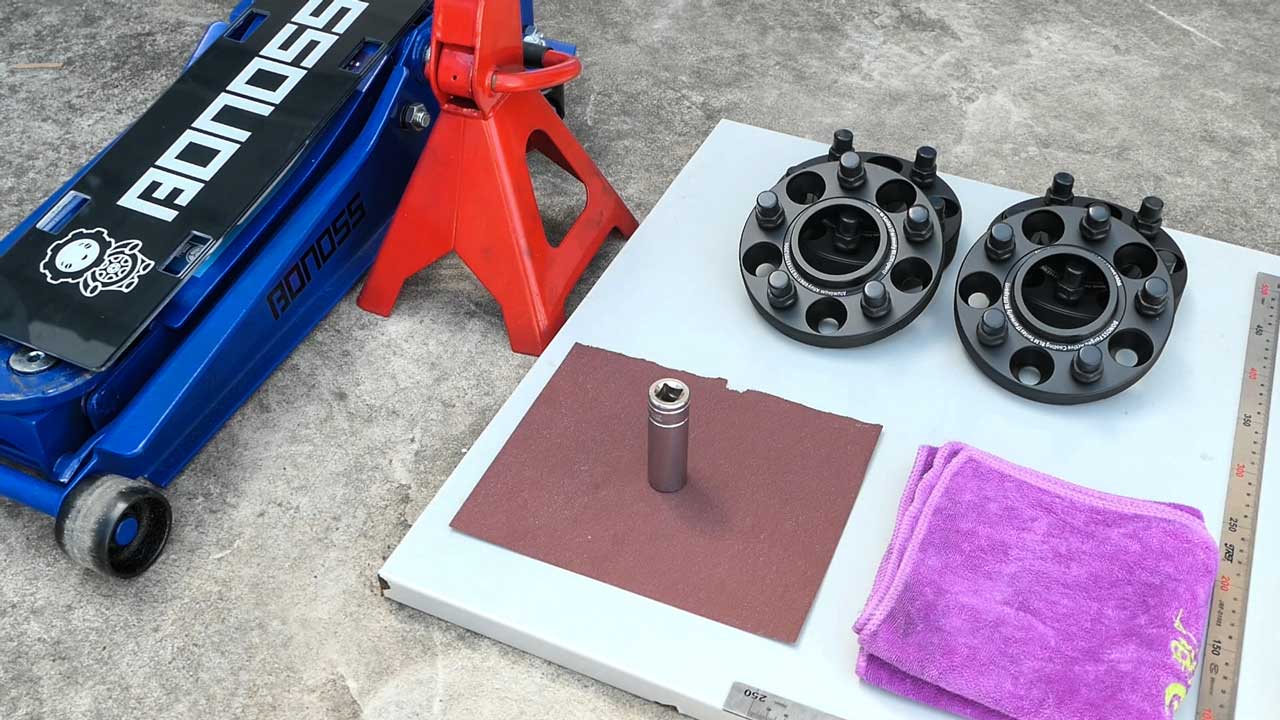
Park the car in a safe, well lit, level area, leave the wheels in contact with the ground. Wheel spacers installation is quite simple, almost can be done in an afternoon. You just need to prepare some hand tools and a way to lift your car.
Required Tools: Jack, Jack Stands, Lug Socket, Torque Wrench, Degreaser (Optional), Emery Cloth (Optional)
Step 1: Loosen All the Lug Nuts
Loosen all the lug nuts that fasten the wheel to the hub in the sequence of a “Star” shape pattern but do not fully remove them. Step on the brake pedal to prevent any chance of the vehicle rolling. Besides, it’s recommended to use the resistance of the tire against the ground to get enough torque to turn the lugs. Otherwise, you may meet the problem that the wheel would just spin if you try to loosen the lug nuts when it’s lifted.
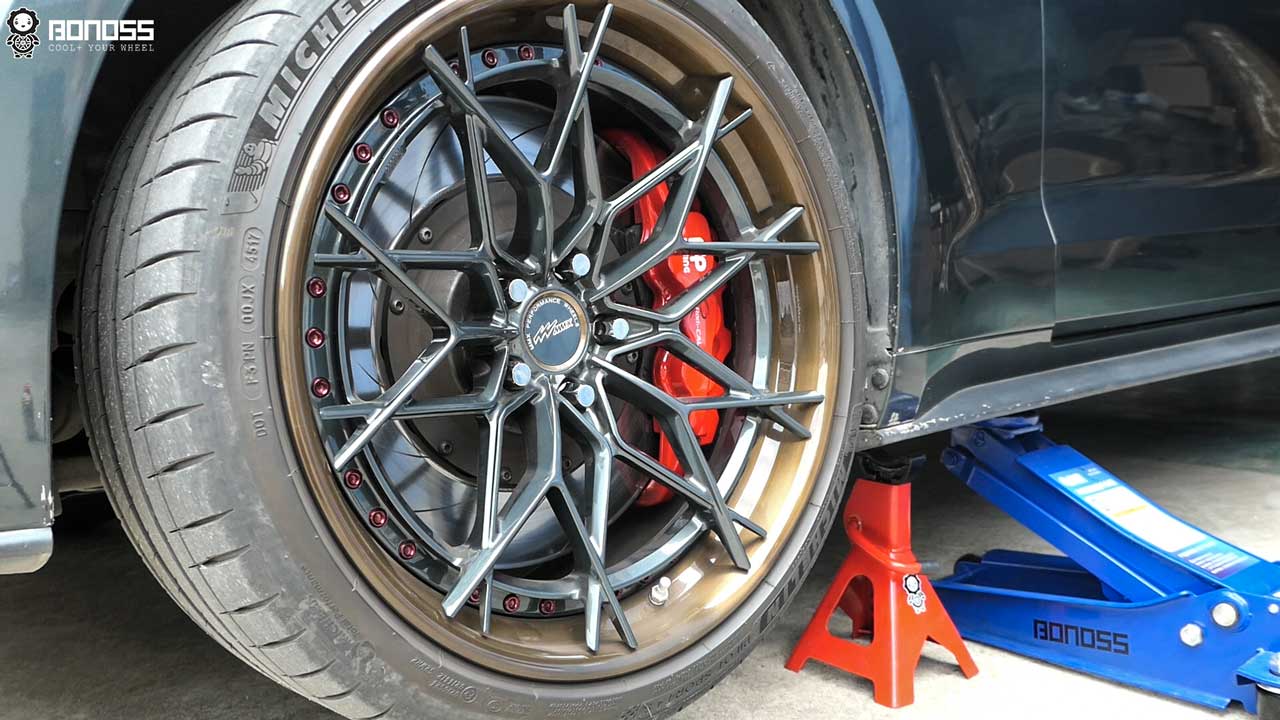
Step 2: Lift the Car
If you don’t have access to a car lift, a jack and a good set of jack stands will work just fine as well. Slide the jack under the vehicle to the appropriate lift point and raise the vehicle slowly to a height enough to lift a single wheel completely off the ground. Remember to place a jack stand under your vehicle, and adjust it until properly support the vehicle.
Step 3: Take the Wheel Off
Finish removing all the lug nuts on the raised wheel. Hold the wheels with your hands to prevent a sudden drop and slowly slide the wheel off the hub and set it to the side for now.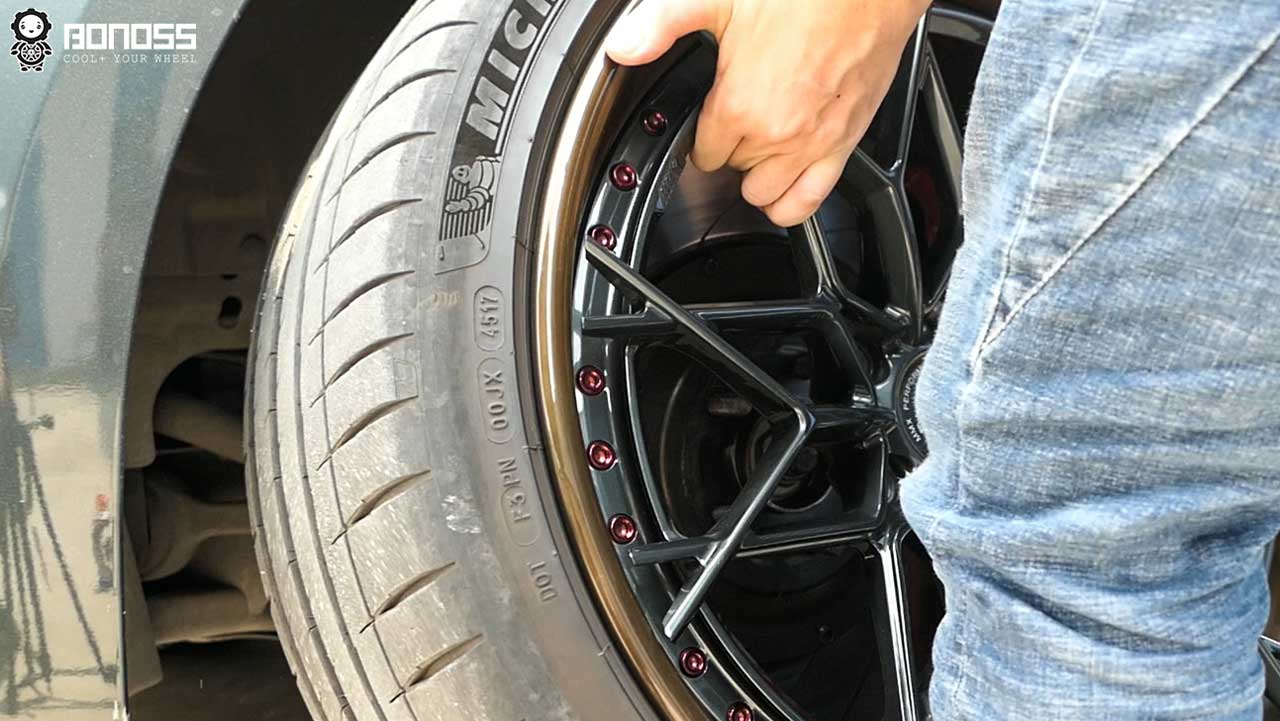
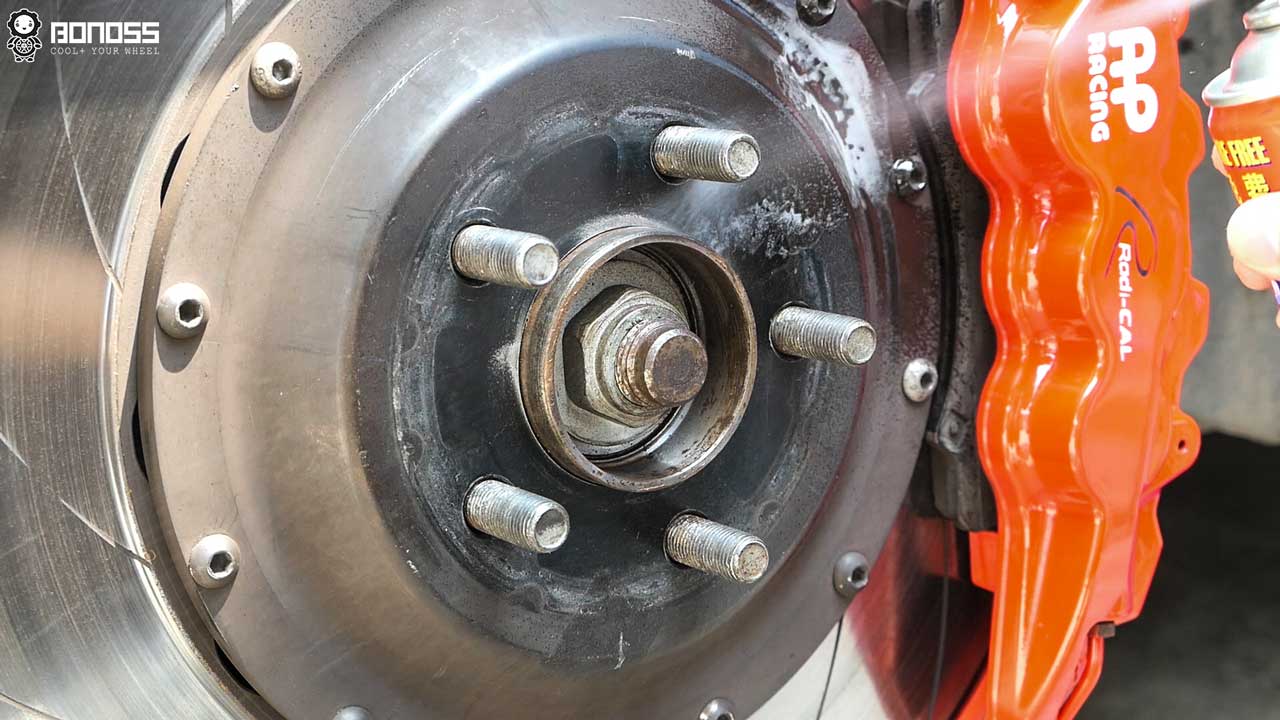
Step 4: Spray Degreaser
Now, it is a good time to do some cleaning for your vehicle hub. Spray degreaser on the axle hubs and the rotor hat and wipe them down with the emery cloth. If the hub is dirty, rusted, or pitted use the emery cloth to clean up the surface. Wipe down the entire hub surface, ensuring it is clean and smooth.
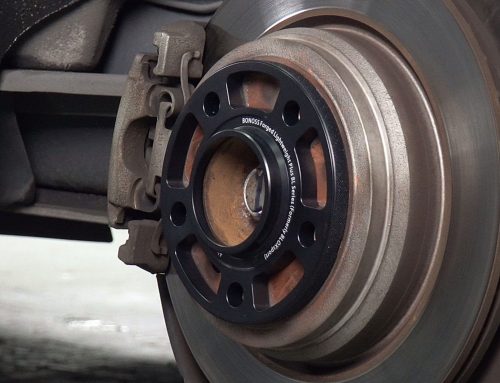
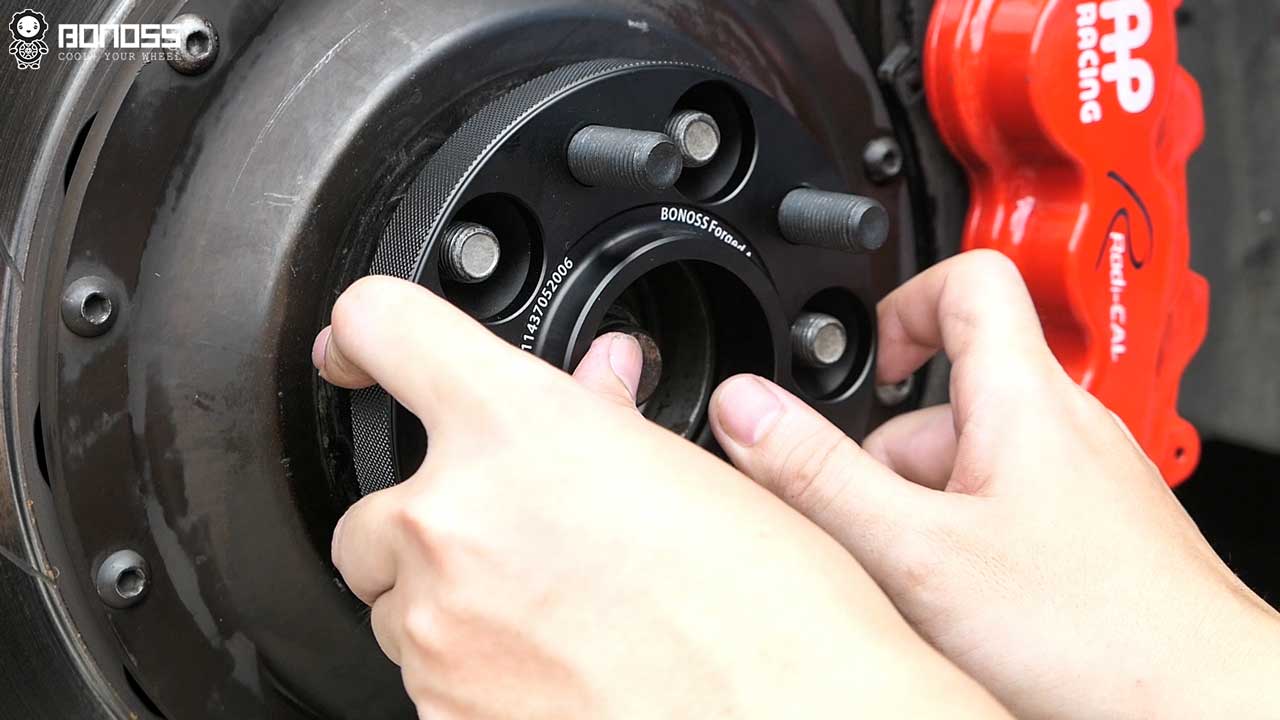
Step 5: Install the Wheel Spacer in Place
Place the BONOSS BLM Series Wheel Spacer on the hub and align the holes in the spacer with the wheel studs, and ensure that the wheel spacer is firmly seated and flush against the hub. Use the matching lug nuts to tighten the wheel spacer to original studs. Carefully turn the lug nuts by hand to ensure they are easy to thread in to avoid cross-thread. Tighten by hand, but do not torque the lug nuts completely. Just put them in place and fasten them a bit.
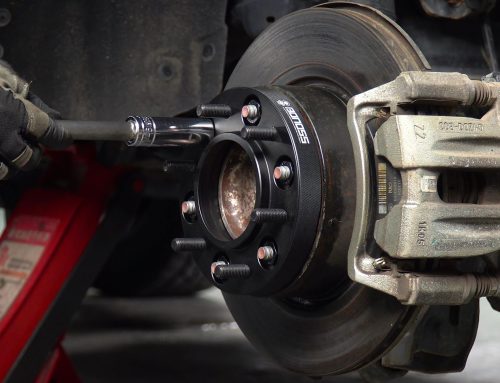
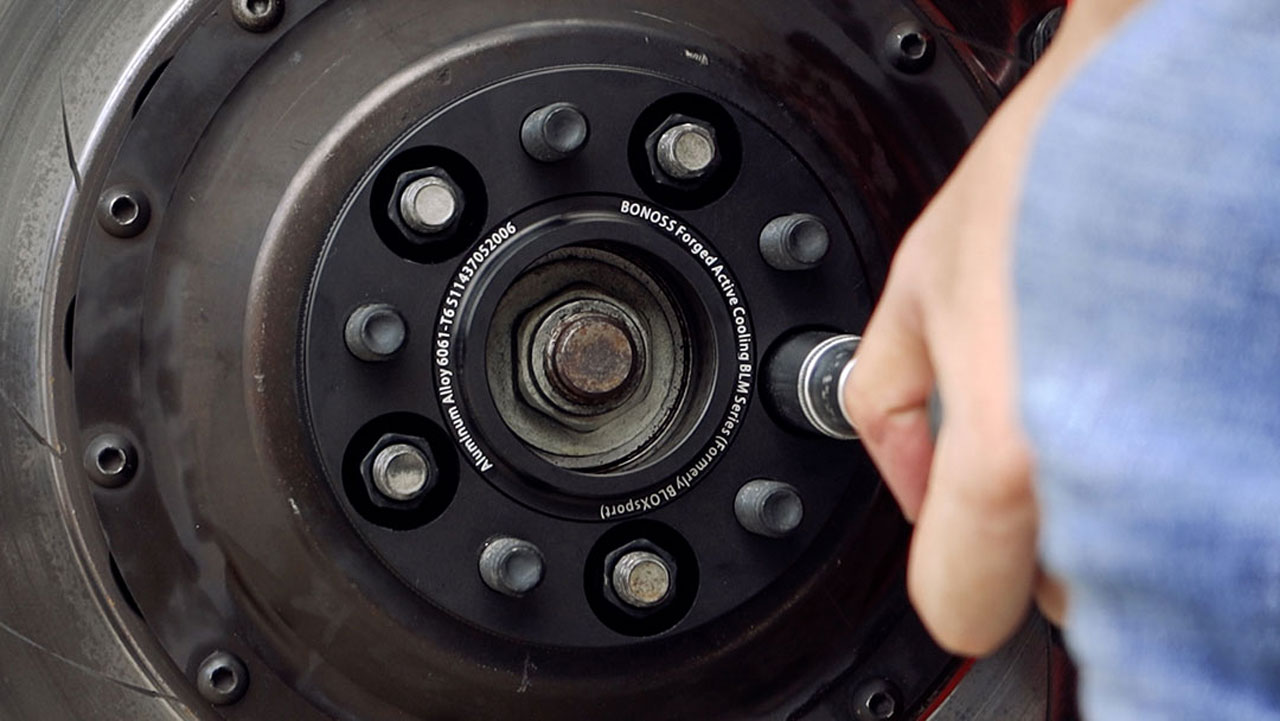
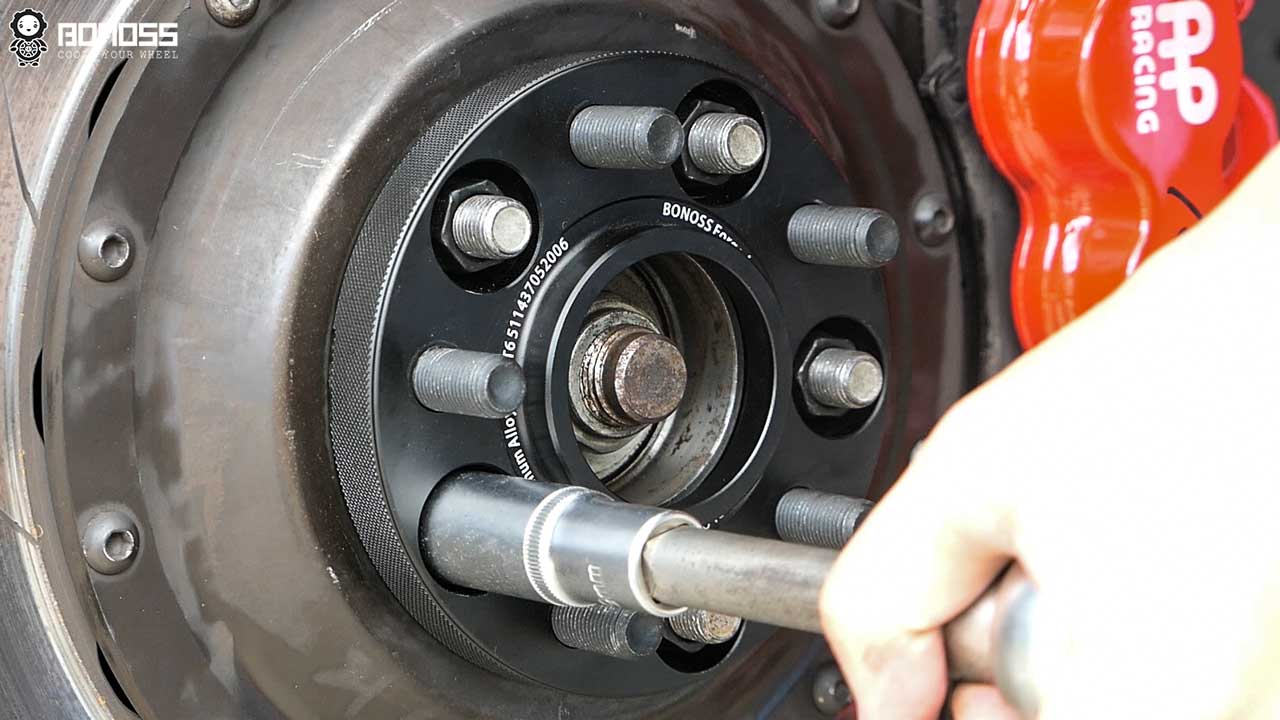
Step 6: Torque the Matching Lug Nuts to Spec
Use a torque wrench with the manufacturer-recommended torque specification to snug up the lug nuts in a star pattern. Do not overtighten the nuts. In addition, ensure the original studs do not protrude past the wheel spacer surface. If you meet problems that the hubs roll while tightening the nuts, you can ask an assistant to press the brake pedal to prevent the hub from rolling.
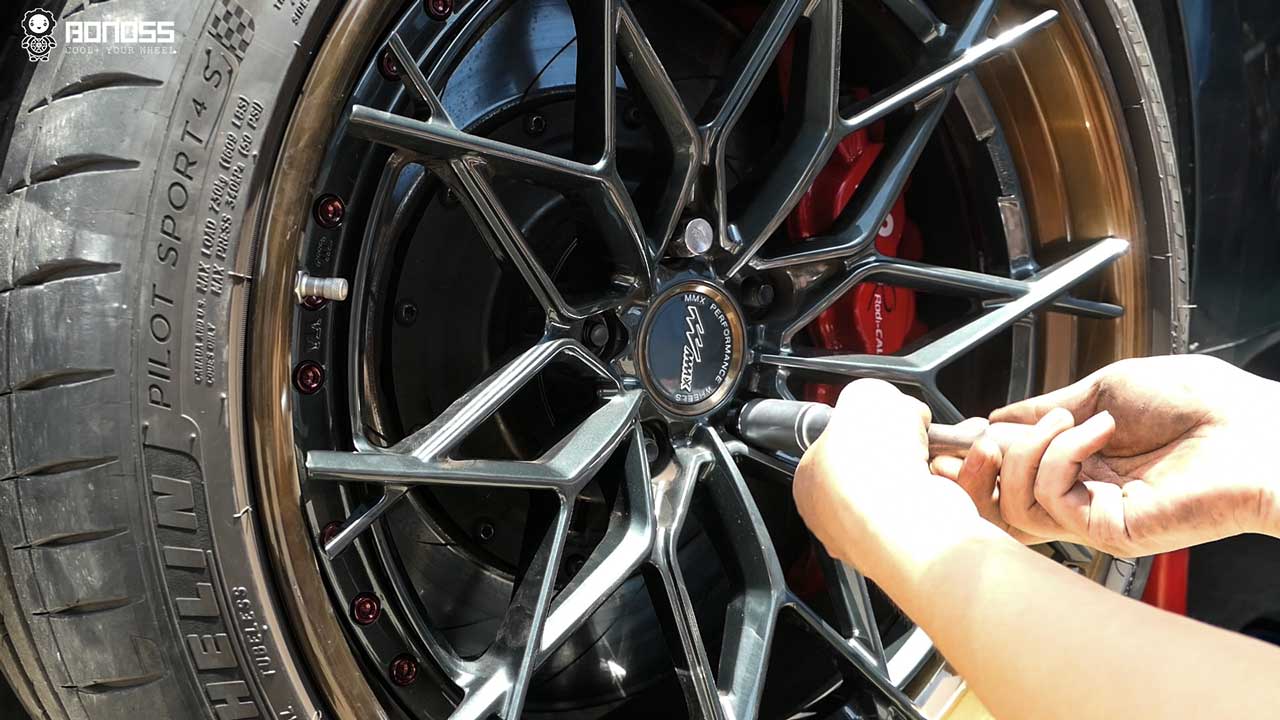
Step 7: Remount the Wheel
Slide the wheel onto the new studs that protrude from the wheel spacer and make it seat firmly against the wheel spacer. Secure the wheel with the factory lug nuts by hand, but do not torque the lug nuts fully. Just put them in place and fasten them a bit. Repeat this step with the rest of the lug nuts.
Step 8: Carefully Lower the Vehicle
Remove the jack stand, use the jack to lower the vehicle slowly until the wheel is in full contact with the ground, and then remove the jack.
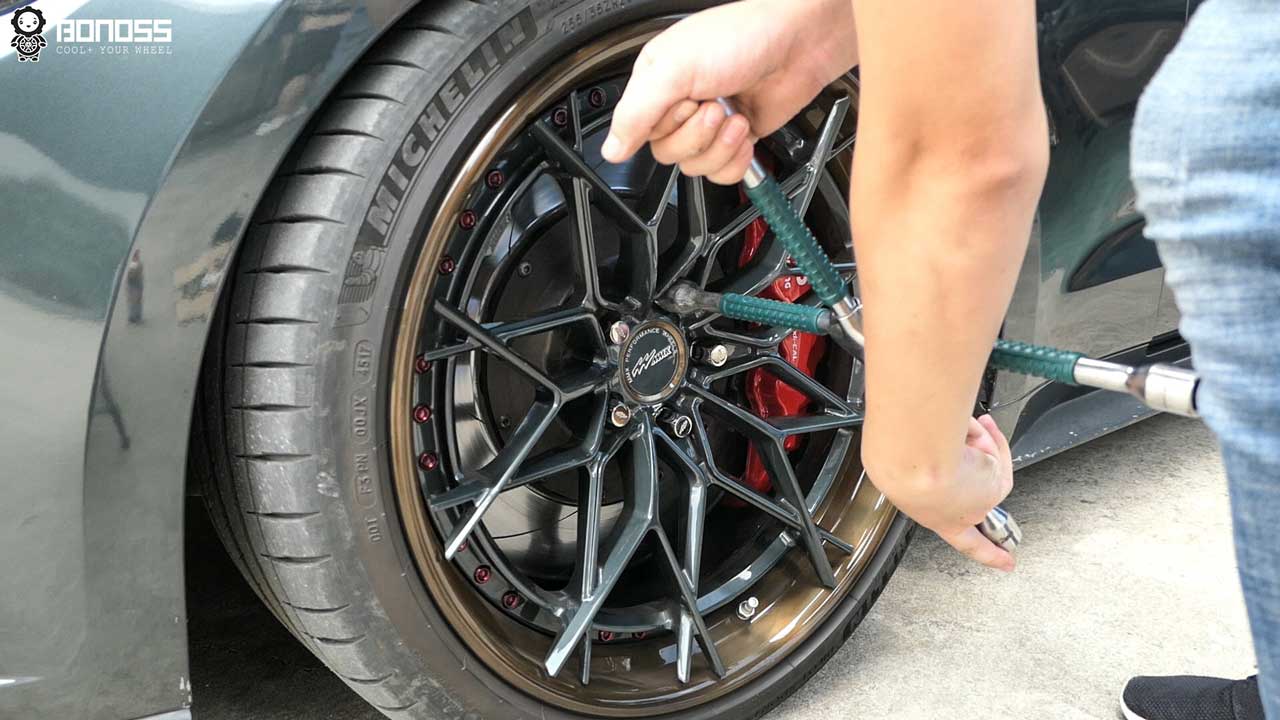
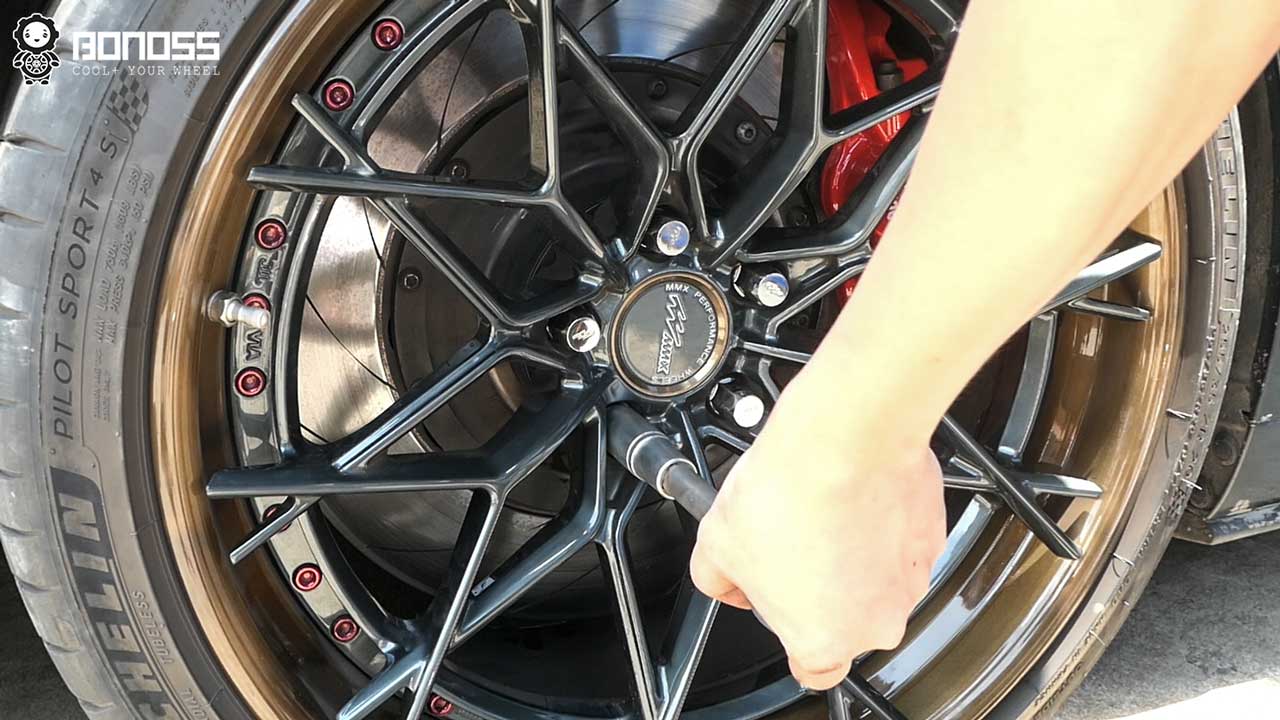
Step 9: Torque the Lug Nuts to Spec
Use a torque wrench with the manufacturer-recommended torque specification to snug up the lug nuts in a star pattern to ensure that the load is applied evenly. But do not overtighten the nuts.
Step 10: Repeat Steps 1-8 for the Remaining Wheels
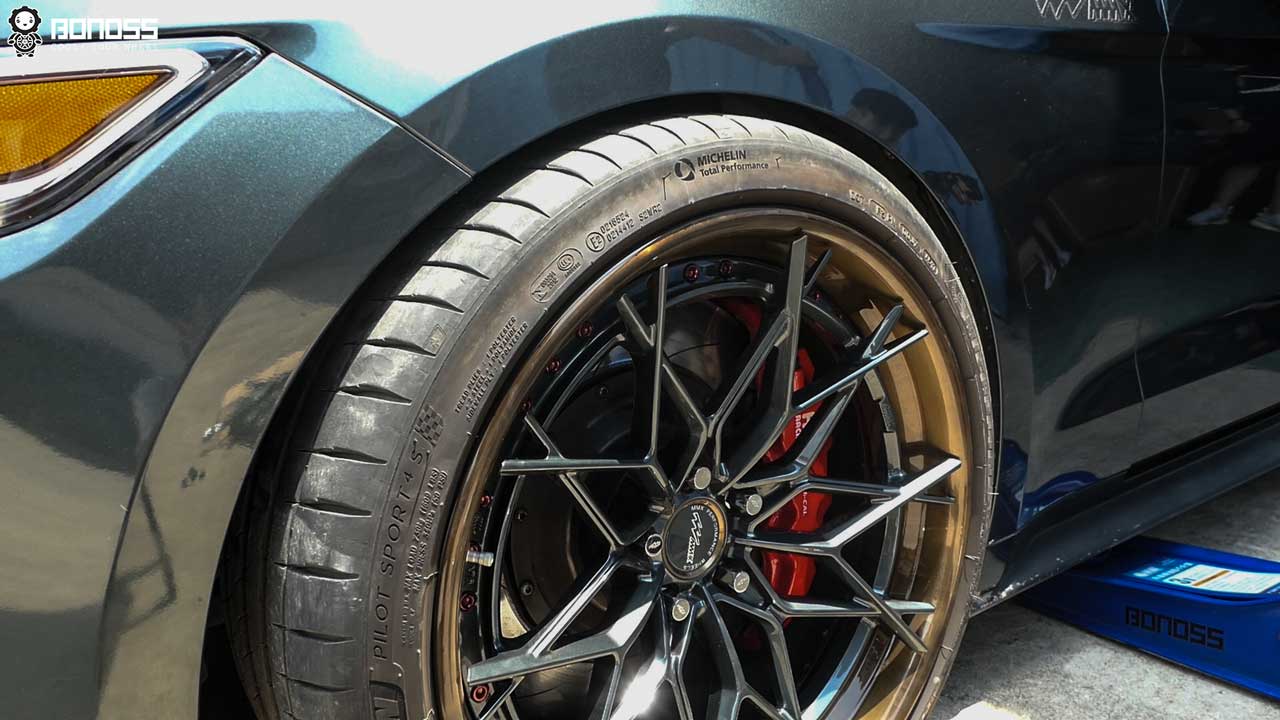
Now, you’ve completed the installation for one wheel! Repeat the same process for the rest of the wheel and then it’s recommended to take a test ride to do a quick check for vibration or wobbling. Also, experience a new handling performance.

Follow-up Safety Information
- Wheel spacers are a safe mod for your vehicle as long as you use high-quality spacers and install them properly.
- This instruction is provided as a general guideline only and may not be specific to your vehicle. Please always follow the vehicle manufacturer’s installation instructions.
- DO NOT ATTEMPT to install, service, or replace your wheels, tires, or wheel spacers unless you are a professional or under the guidance of a Qualified Mechanic.
- NEVER operate on or under a vehicle that is raised only by a jack, as it has chances to fall or tip, leading to serious injury.
- Double-check that all lug nuts are tightened to the manufacturer’s specification with a properly calibrated torque wrench in a crisscross, star pattern.
- CHECK and CONFIRM the proper alignment and function of your wheels and tires before driving.
- EXAMINE the performance of your wheels, tires, and wheel spacers in a controllable environment before driving.
- NEVER operate the vehicle if wheels, tires, or wheel spacers are damaged or worn.
- It is always a great idea to regularly inspect the tightness of the lug nuts, especially soon after installation. Give the spacers another check after 100 miles of driving to make sure they’re still in place well and the lug nuts are tight.