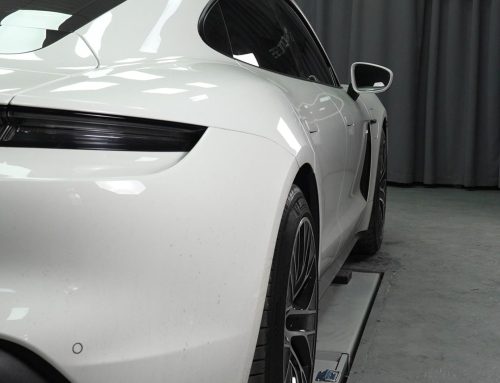
12mm wheel spacers are very useful to push your wheels out for a wider stance. Most cars will leave a certain clearance between the tires and fenders to adopt slight changes in tire size. When adding a wide-body kit, this clearance is even larger which makes your car look like there is a big hole in the wheel assembly. This is clearly not what a performance car should be like. If the wheels are stuck in too much, your tires may hit the inner fender when turning.
In addition, once you upgrade the brake system, you would need more backspacing to accommodate those big brake calipers. Changing to low offset wheels is a good idea. However, this will cost more. In this case, 12mm wheel spacers will be the most cost-effective solution. By relocating the wheels outwards, they can clear these issues easily and quickly.
Before Installing 12mm Wheel Spacers
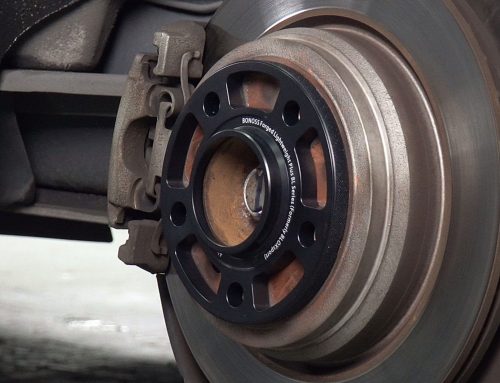
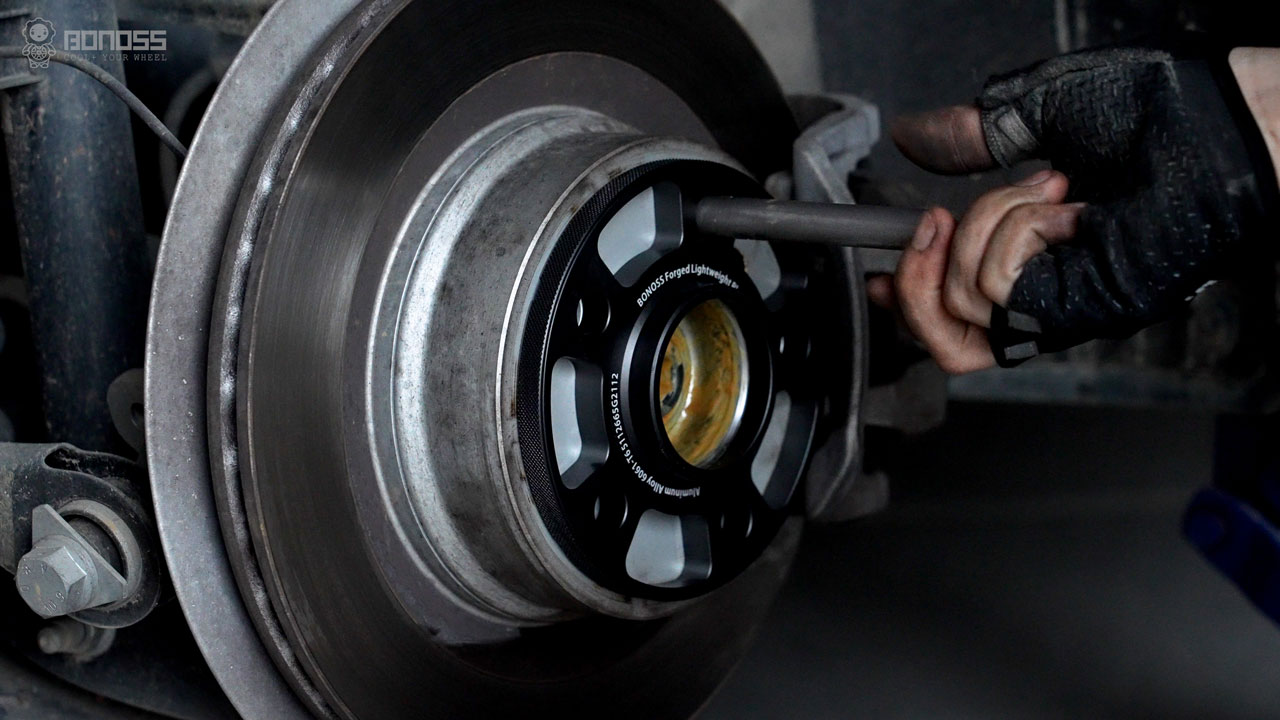
When removing the wheels, the vehicle hub exposes. It is important to keep the vehicle hub clean before you put 12mm wheel spacers on it. This is helpful to prevent wheel spacers from rusting or corrosion. Spray degreaser on the wheel hub, use a brush to clean as much as the rust. Then wipe it down with the emery cloth. Make sure the contact surfaces are smooth. This needs to be done thoroughly. Any rust that exists will cause the spacer to be installed not completely parallel to the hub. Always remember to put anti-seize on both surfaces of the 12mm wheel spacers and the inner bore of the wheel.
In addition, check if the extended wheel bolts are ready. Generally, it is dangerous to run 12mm wheel spacers with stock wheel bolts. Because stock bolts are not able to provide enough thread engagement to safely secure the spacers. To properly lock 12mm wheel spacers, the bolts should be extended at least 12mm. If your stock wheel bolts are 35mm long and you get 12mm wheel spacers installed, then you would need 47mm wheel bolts to keep safe. As a rule of thumb, the engagement must equal the thread diameter, for example, M14x1.25 bolts would need 14mm of engagement.
After Installing 12mm Wheel Spacers
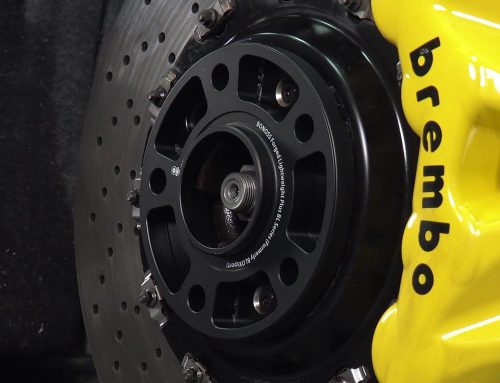
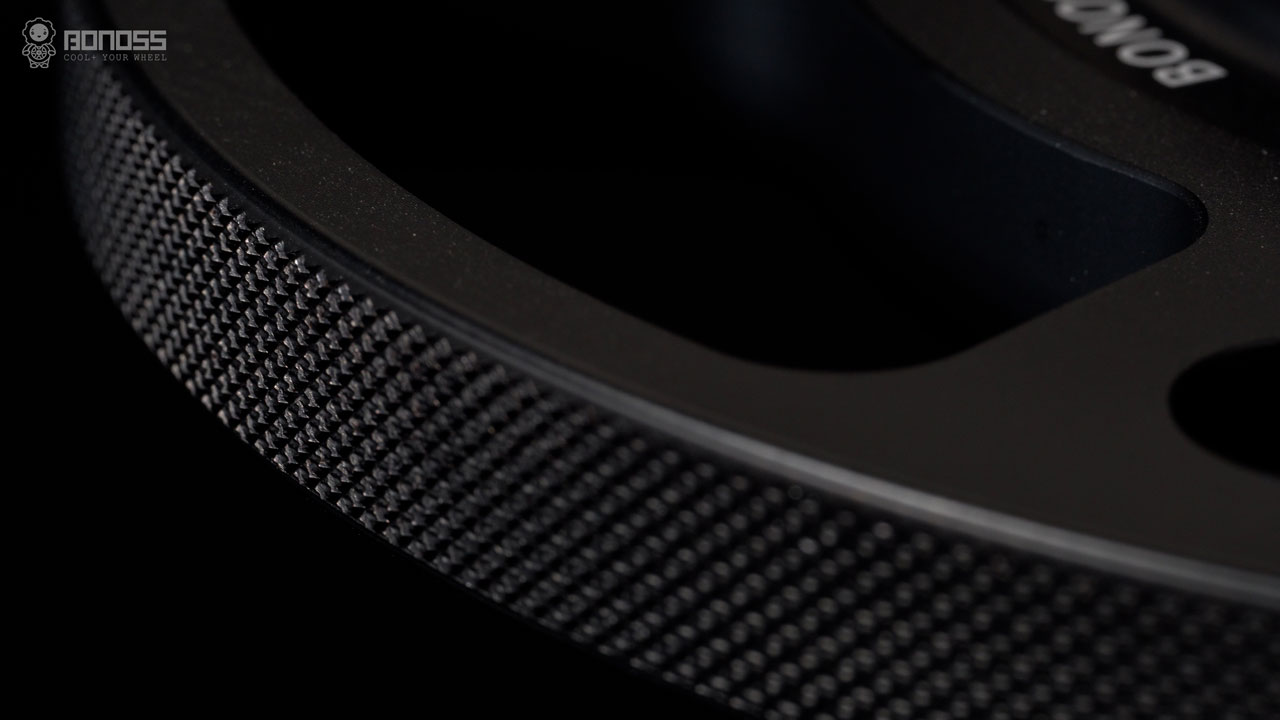
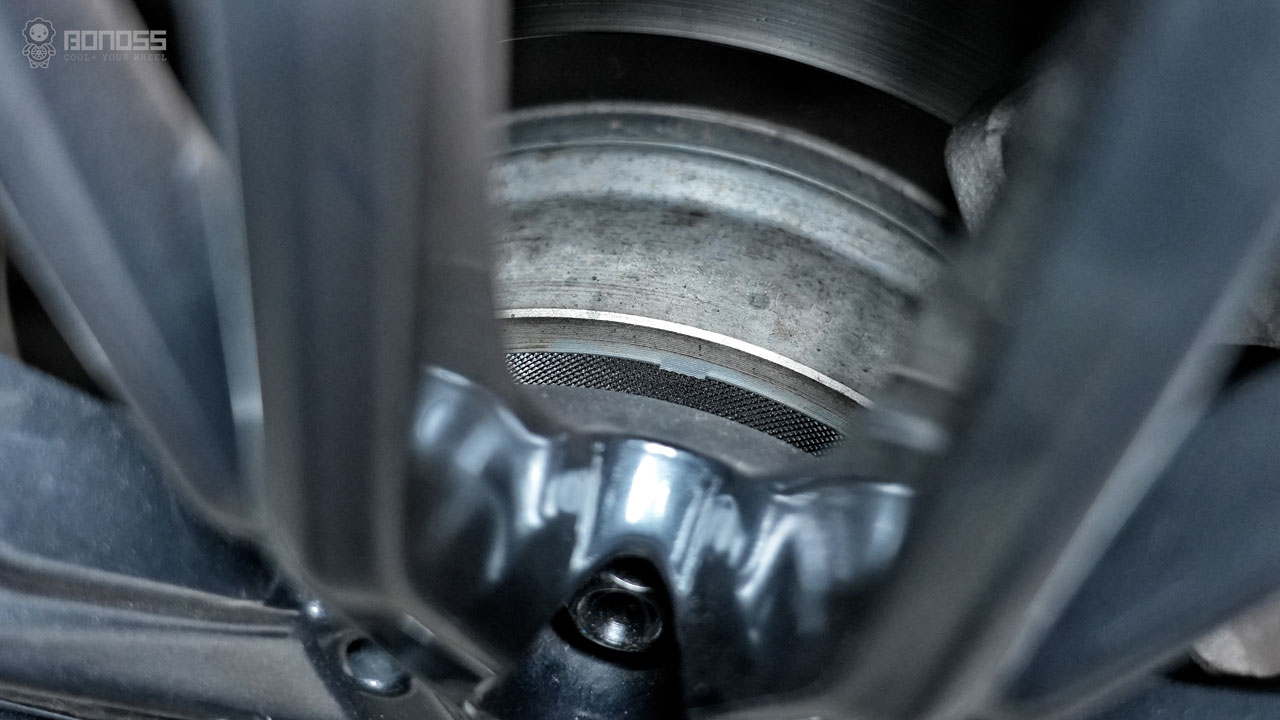
Knurling 12mm wheel spacers offer more advantages than normal ones. They are finished with a textured surface on the sides. The knurling surfaces can enhance the aesthetics by introducing an attractive pattern to their surface. Most people will agree that textured finishes are more attractive than smooth finishes. Aside from aesthetics, the knurling surfaces improve grip and usability. This is more convenient especially when installing or removing the spacers.
It is highly recommended that get the 12mm wheel spacers to be re-torqued to the manufacturer’s recommended values after driving approximately 50 to 100 miles. To test the tightness of the new extended wheel bolts, use a torque wrench to check the torque settings. Put the torque wrench (set to proper torque) on one lug bolt and then spin it clockwise to check out how tight the bolts are. Torqued the loose lug bolts straightway.