When Ryan Shade started shopping for 2015 Volkswagen Beetle wheel spacers, he thought the hard part was choosing a thickness. It wasn’t. The hard part was discovering that the 8mm spacers already sitting in his garage physically could not fit his car — and that the reason why was hiding in a measurement most spacer listings never mention.
Ryan is a store manager from La Plata, Maryland. He’s not a professional mechanic, but he’s the kind of owner who measures twice and asks questions before bolting anything to his car. This is the story of how his stalled spacer project turned into a finished install — front 12mm, rear 15mm — with a flush stance on the stock 18-inch wheels, and what other Beetle owners can learn from the two problems he hit along the way.
The Owner and His 2015 Beetle
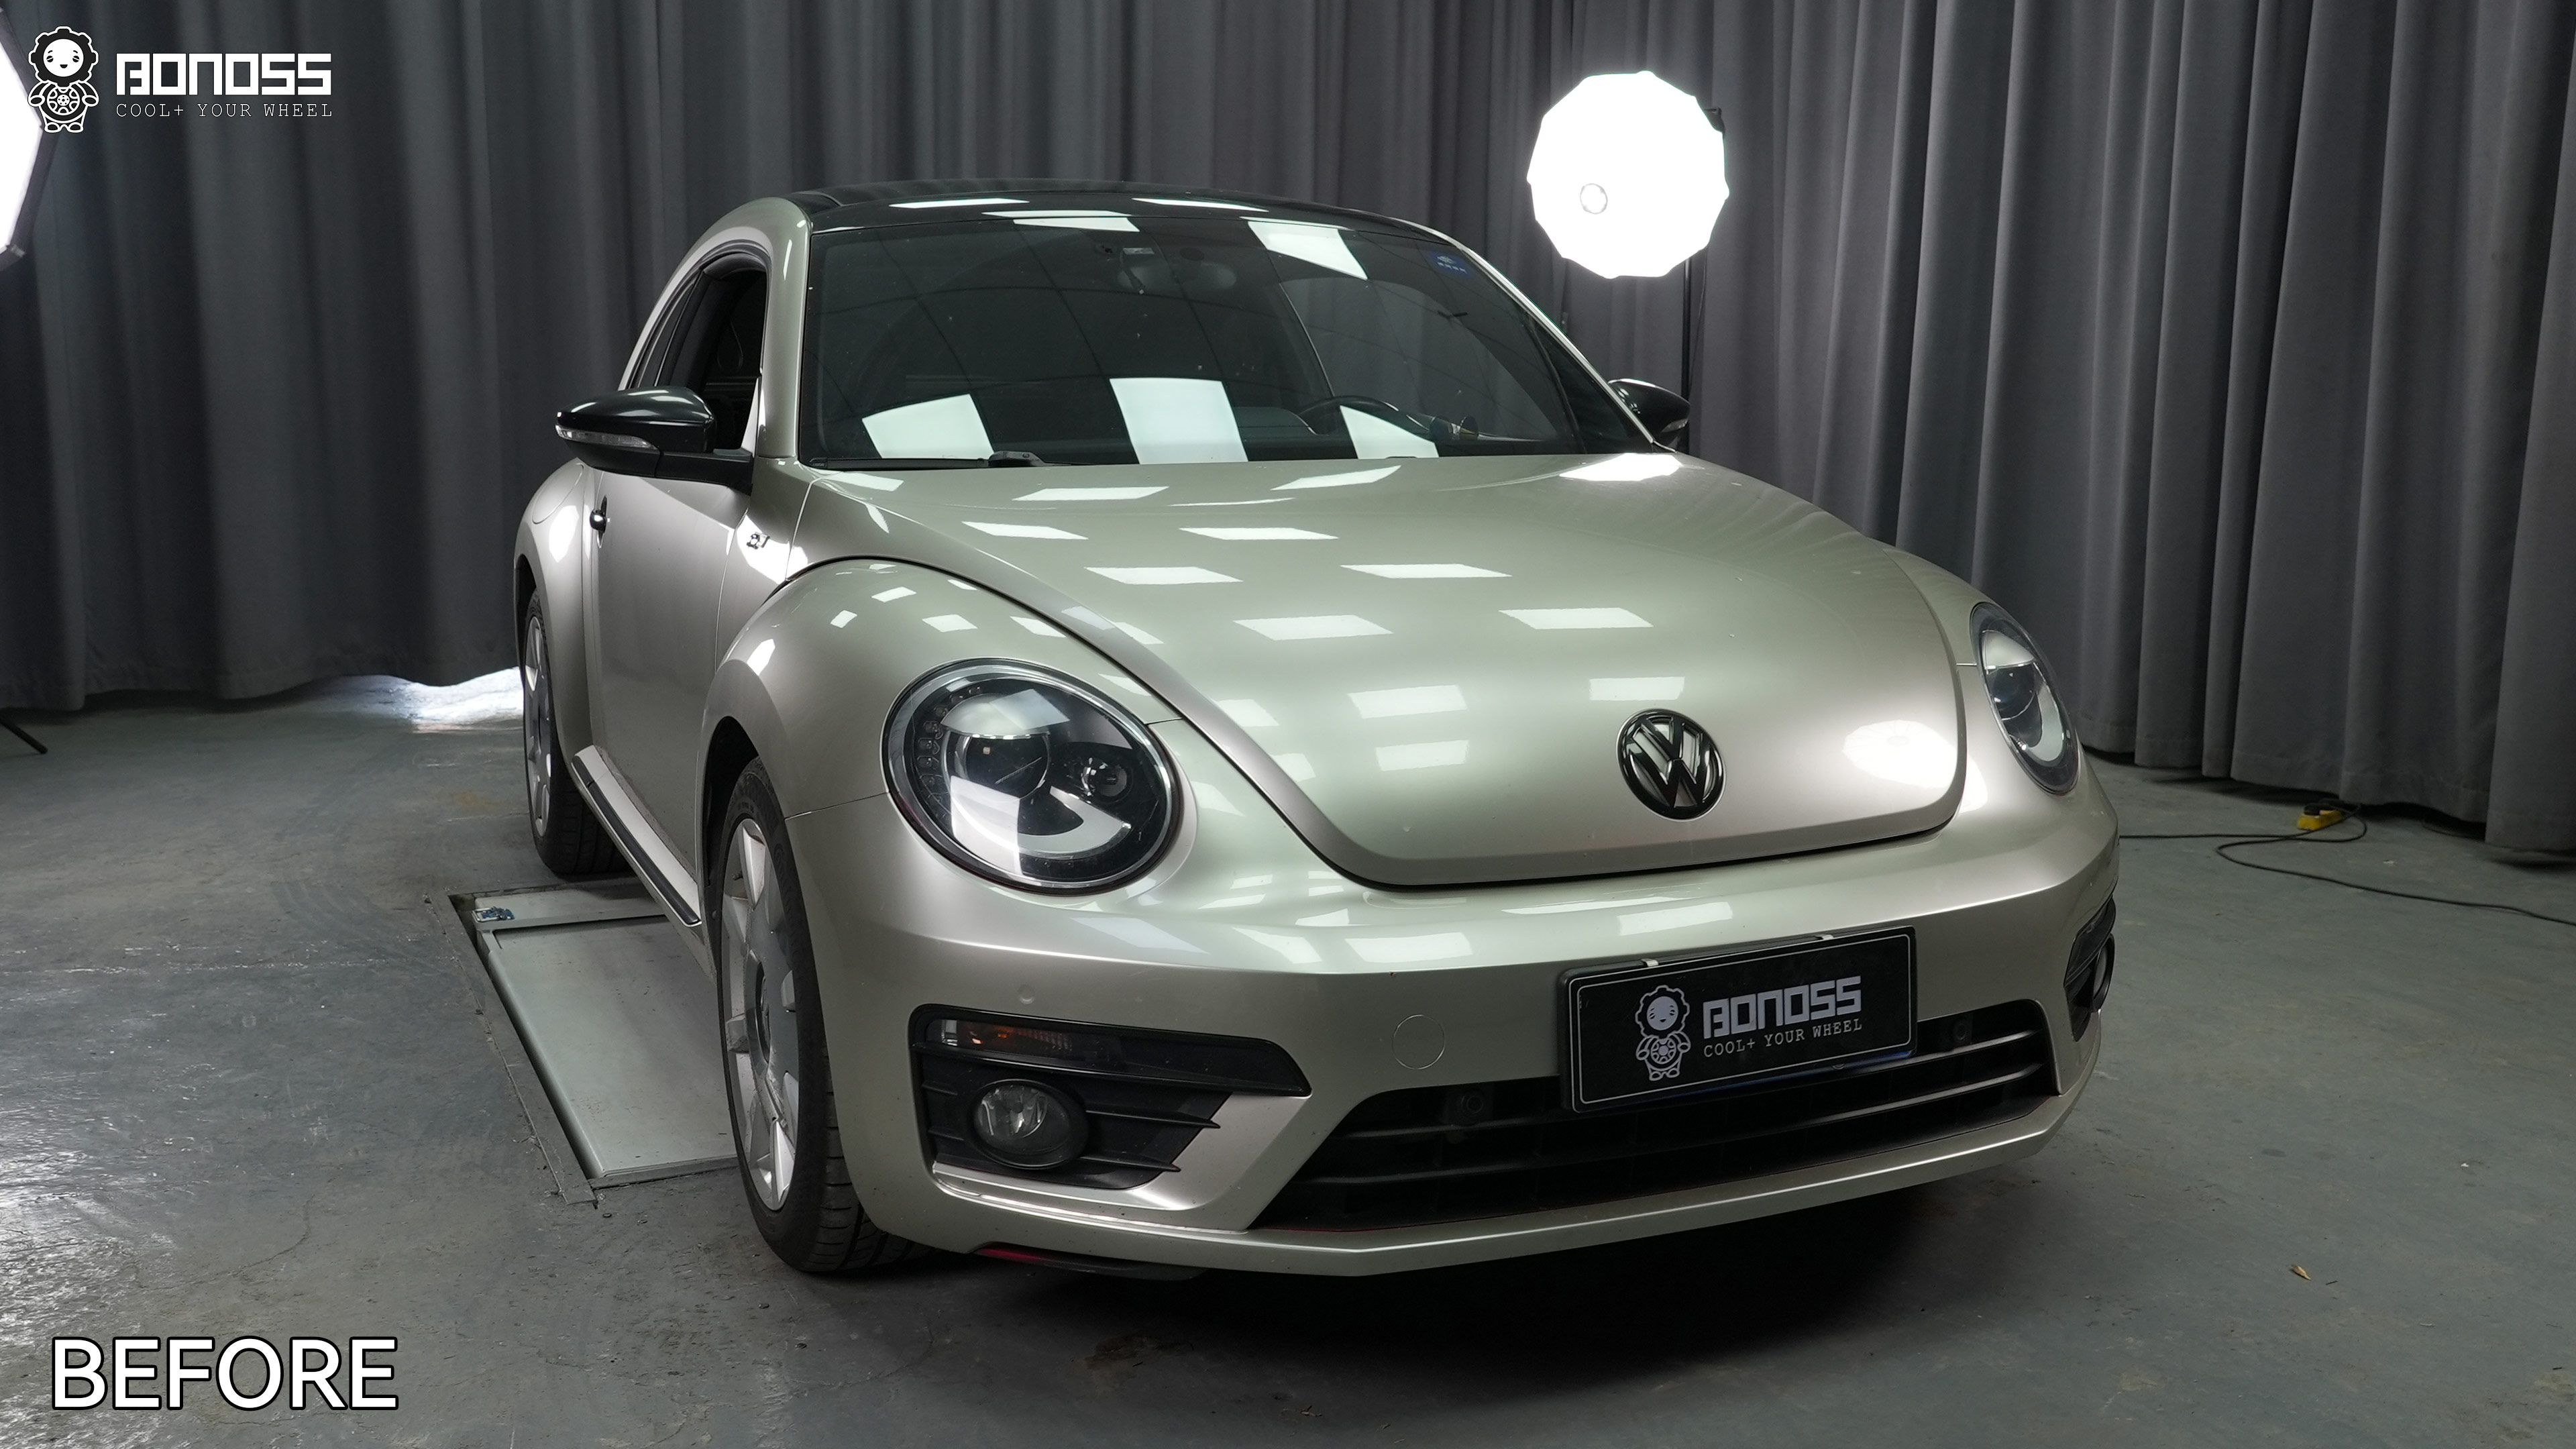
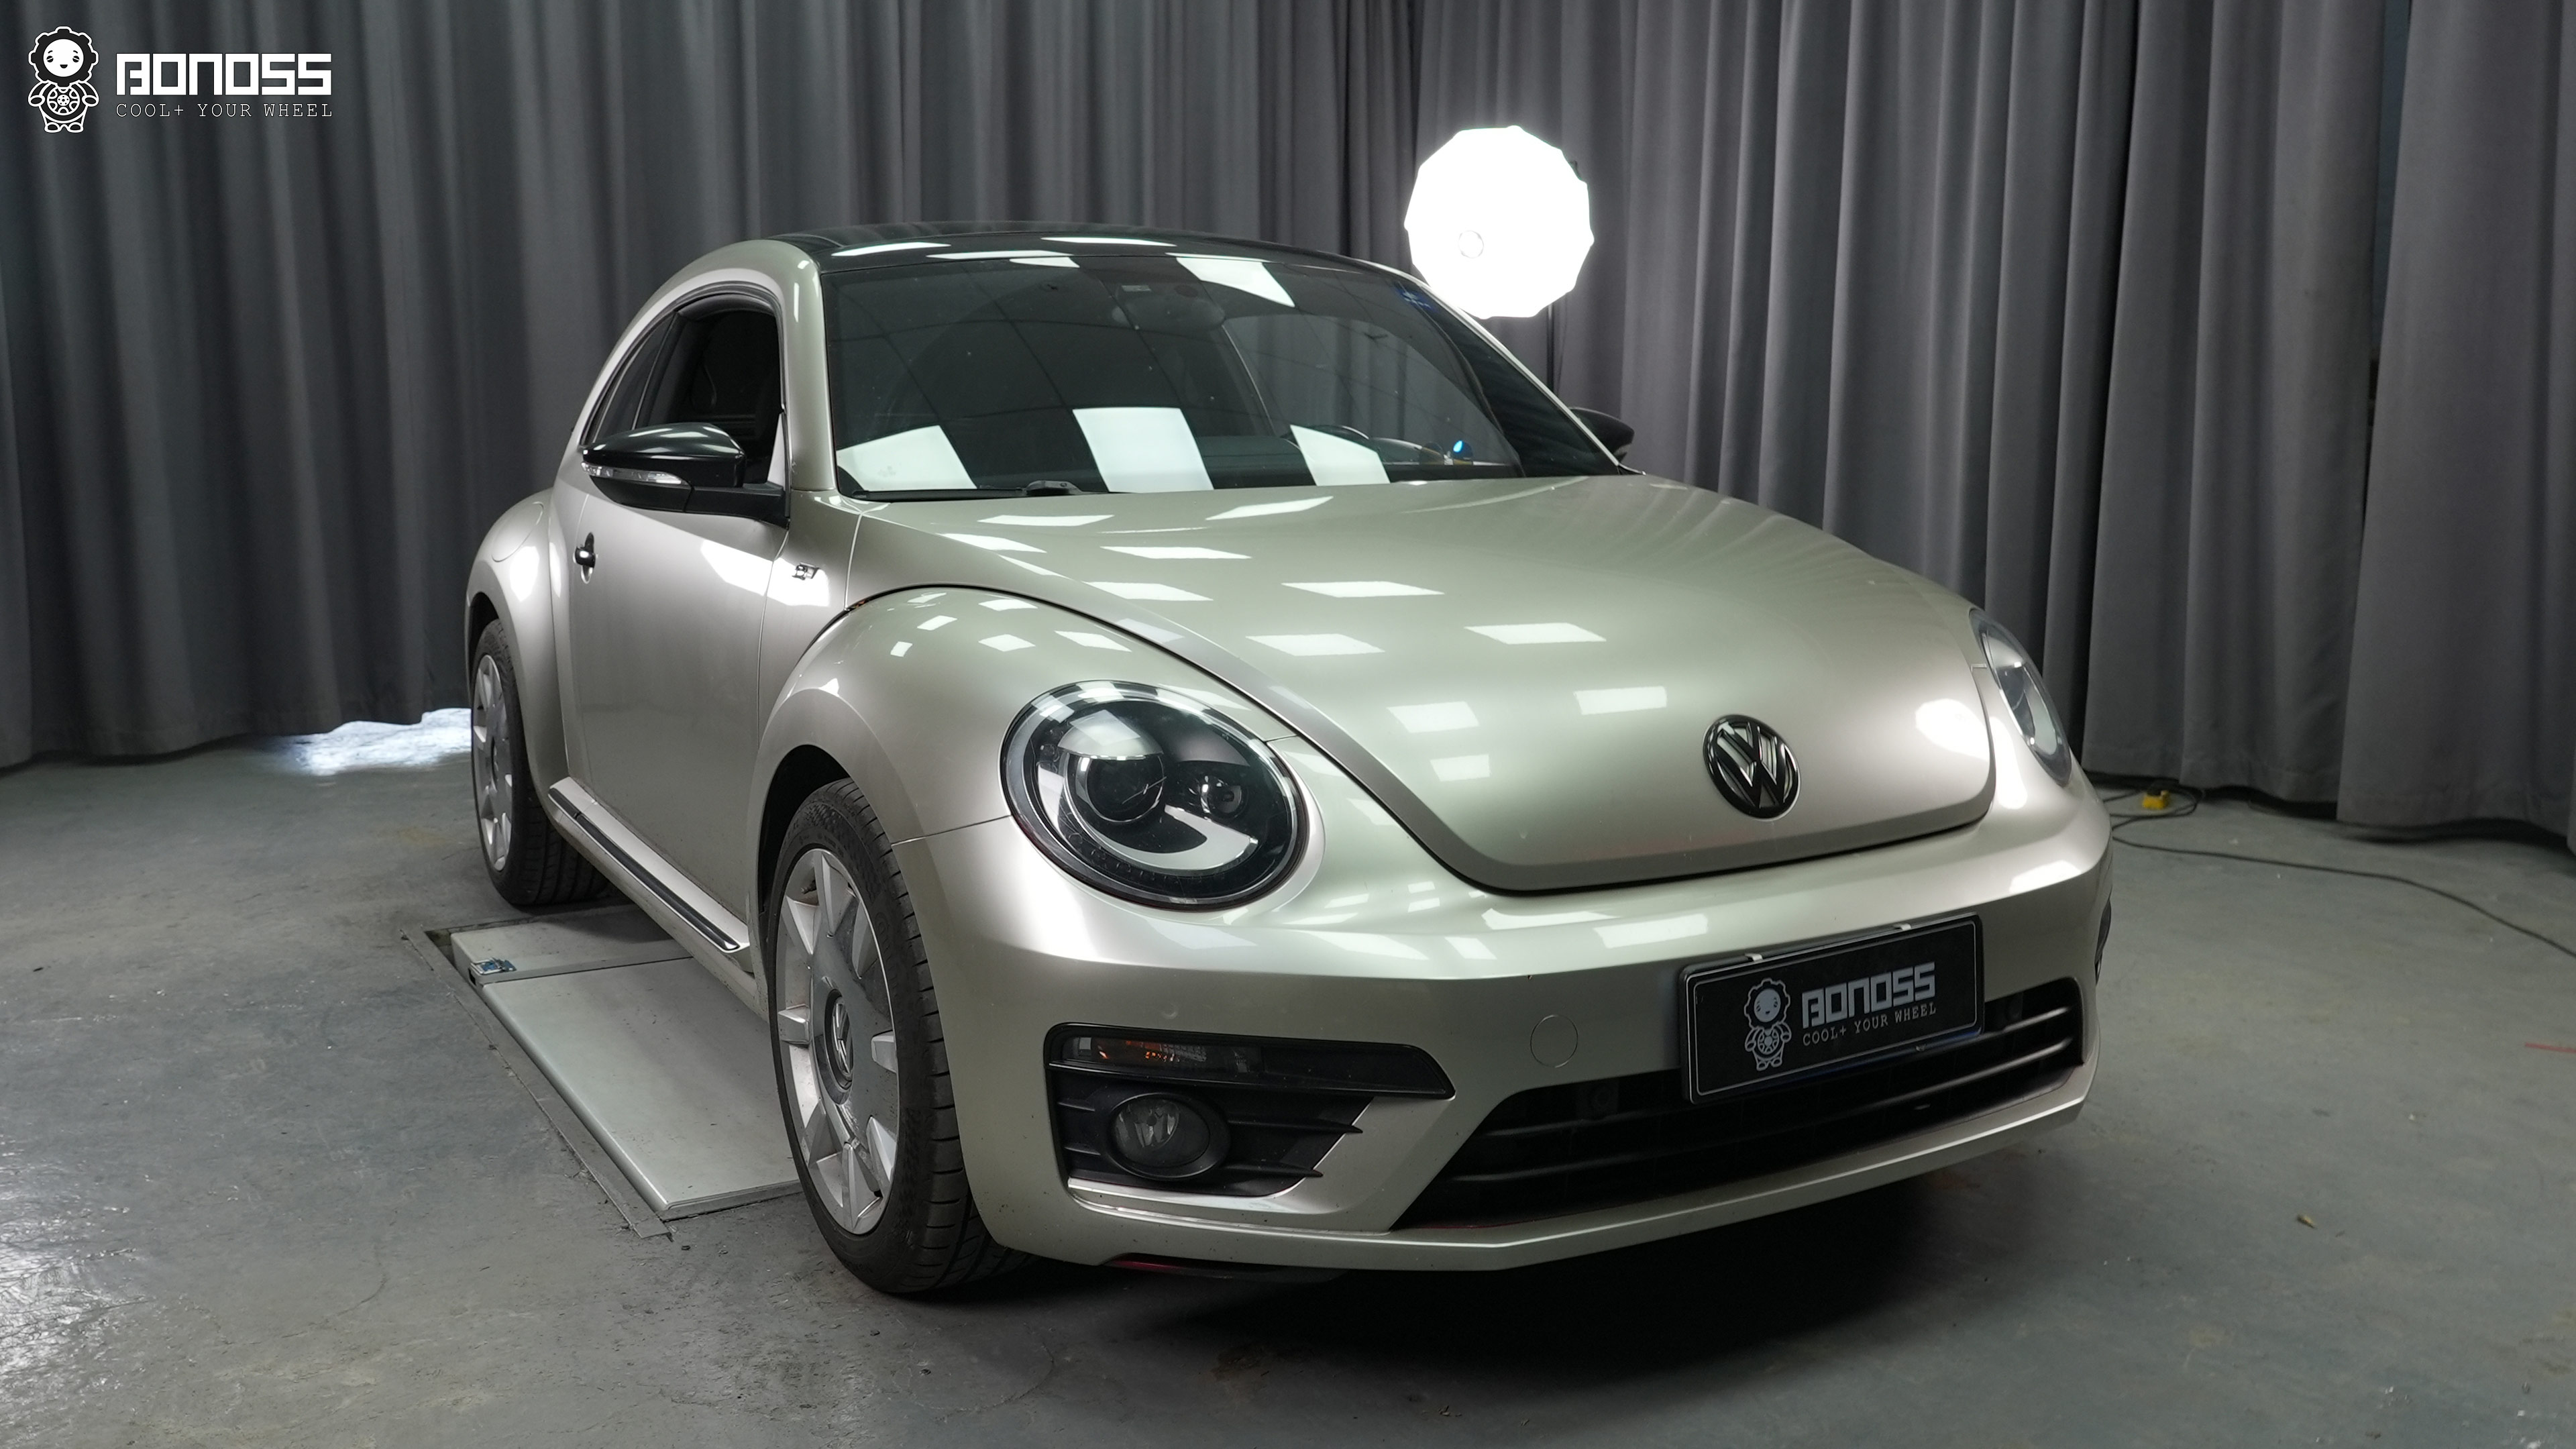
Ryan’s car is a 2015 Volkswagen Beetle, still running the factory 18x8J wheels with an ET+48 offset. It’s his daily driver, and he likes it largely the way Volkswagen built it — with one exception. From the side, the wheels sat tucked noticeably inside the fenders, giving the car a slightly sunken look that never matched the Beetle’s wide, rounded arches.
“I go with 12mm and 15mm to get that flush look on the stock 18s,” he told us. “No drivability issues, and it does give it better handling.”
Getting there, though, required answering a question his first set of spacers couldn’t.
| Item | Detail |
|---|---|
| Vehicle | 2015 Volkswagen Beetle (A5) |
| Bolt pattern (PCD) | 5x112mm |
| Hub center bore (CB) | 57.1mm |
| Factory wheel bolt size | M14x1.5, R13 ball seat |
| Torque Spec | 140 Nm |
| Miles since install | 1,600 miles |
How an 8mm Spacer Led Him to BONOSS
Like a lot of owners, Ryan started with what seemed like the safe, conservative option: a set of 8mm spacers he’d picked up before talking to anyone. Thin, subtle, hard to get wrong — or so he thought.
When he tried to mount them on the front axle, they simply would not seat. The spacer’s center bore would meet the hub and stop, sitting proud of the mounting surface no matter how he lined it up. Nothing was cross-threaded, nothing was damaged. It just didn’t fit.
So he did what most of us do: he went to the forums. Thread after thread of Beetle and VW owners arguing about spacer thickness, vibration, and bolt length. Then a friend reached out with a more useful data point — he’d tried the exact same 8mm setup on his own car, hit the exact same wall, and eventually learned the cause was the hub lip height, not the spacer brand. His advice was direct: stop guessing, and talk to BONOSS.
Ryan did two things in parallel. He contacted the BONOSS support team with his measurements, and he started reading everything he could find about the brand. He also reached out to a few other spacer companies at the same time. BONOSS replied first — and the reply wasn’t a sales pitch. It was a measurement request and an explanation.
The Real Reason 8mm Didn’t Fit: The 11.8mm Hub Lip
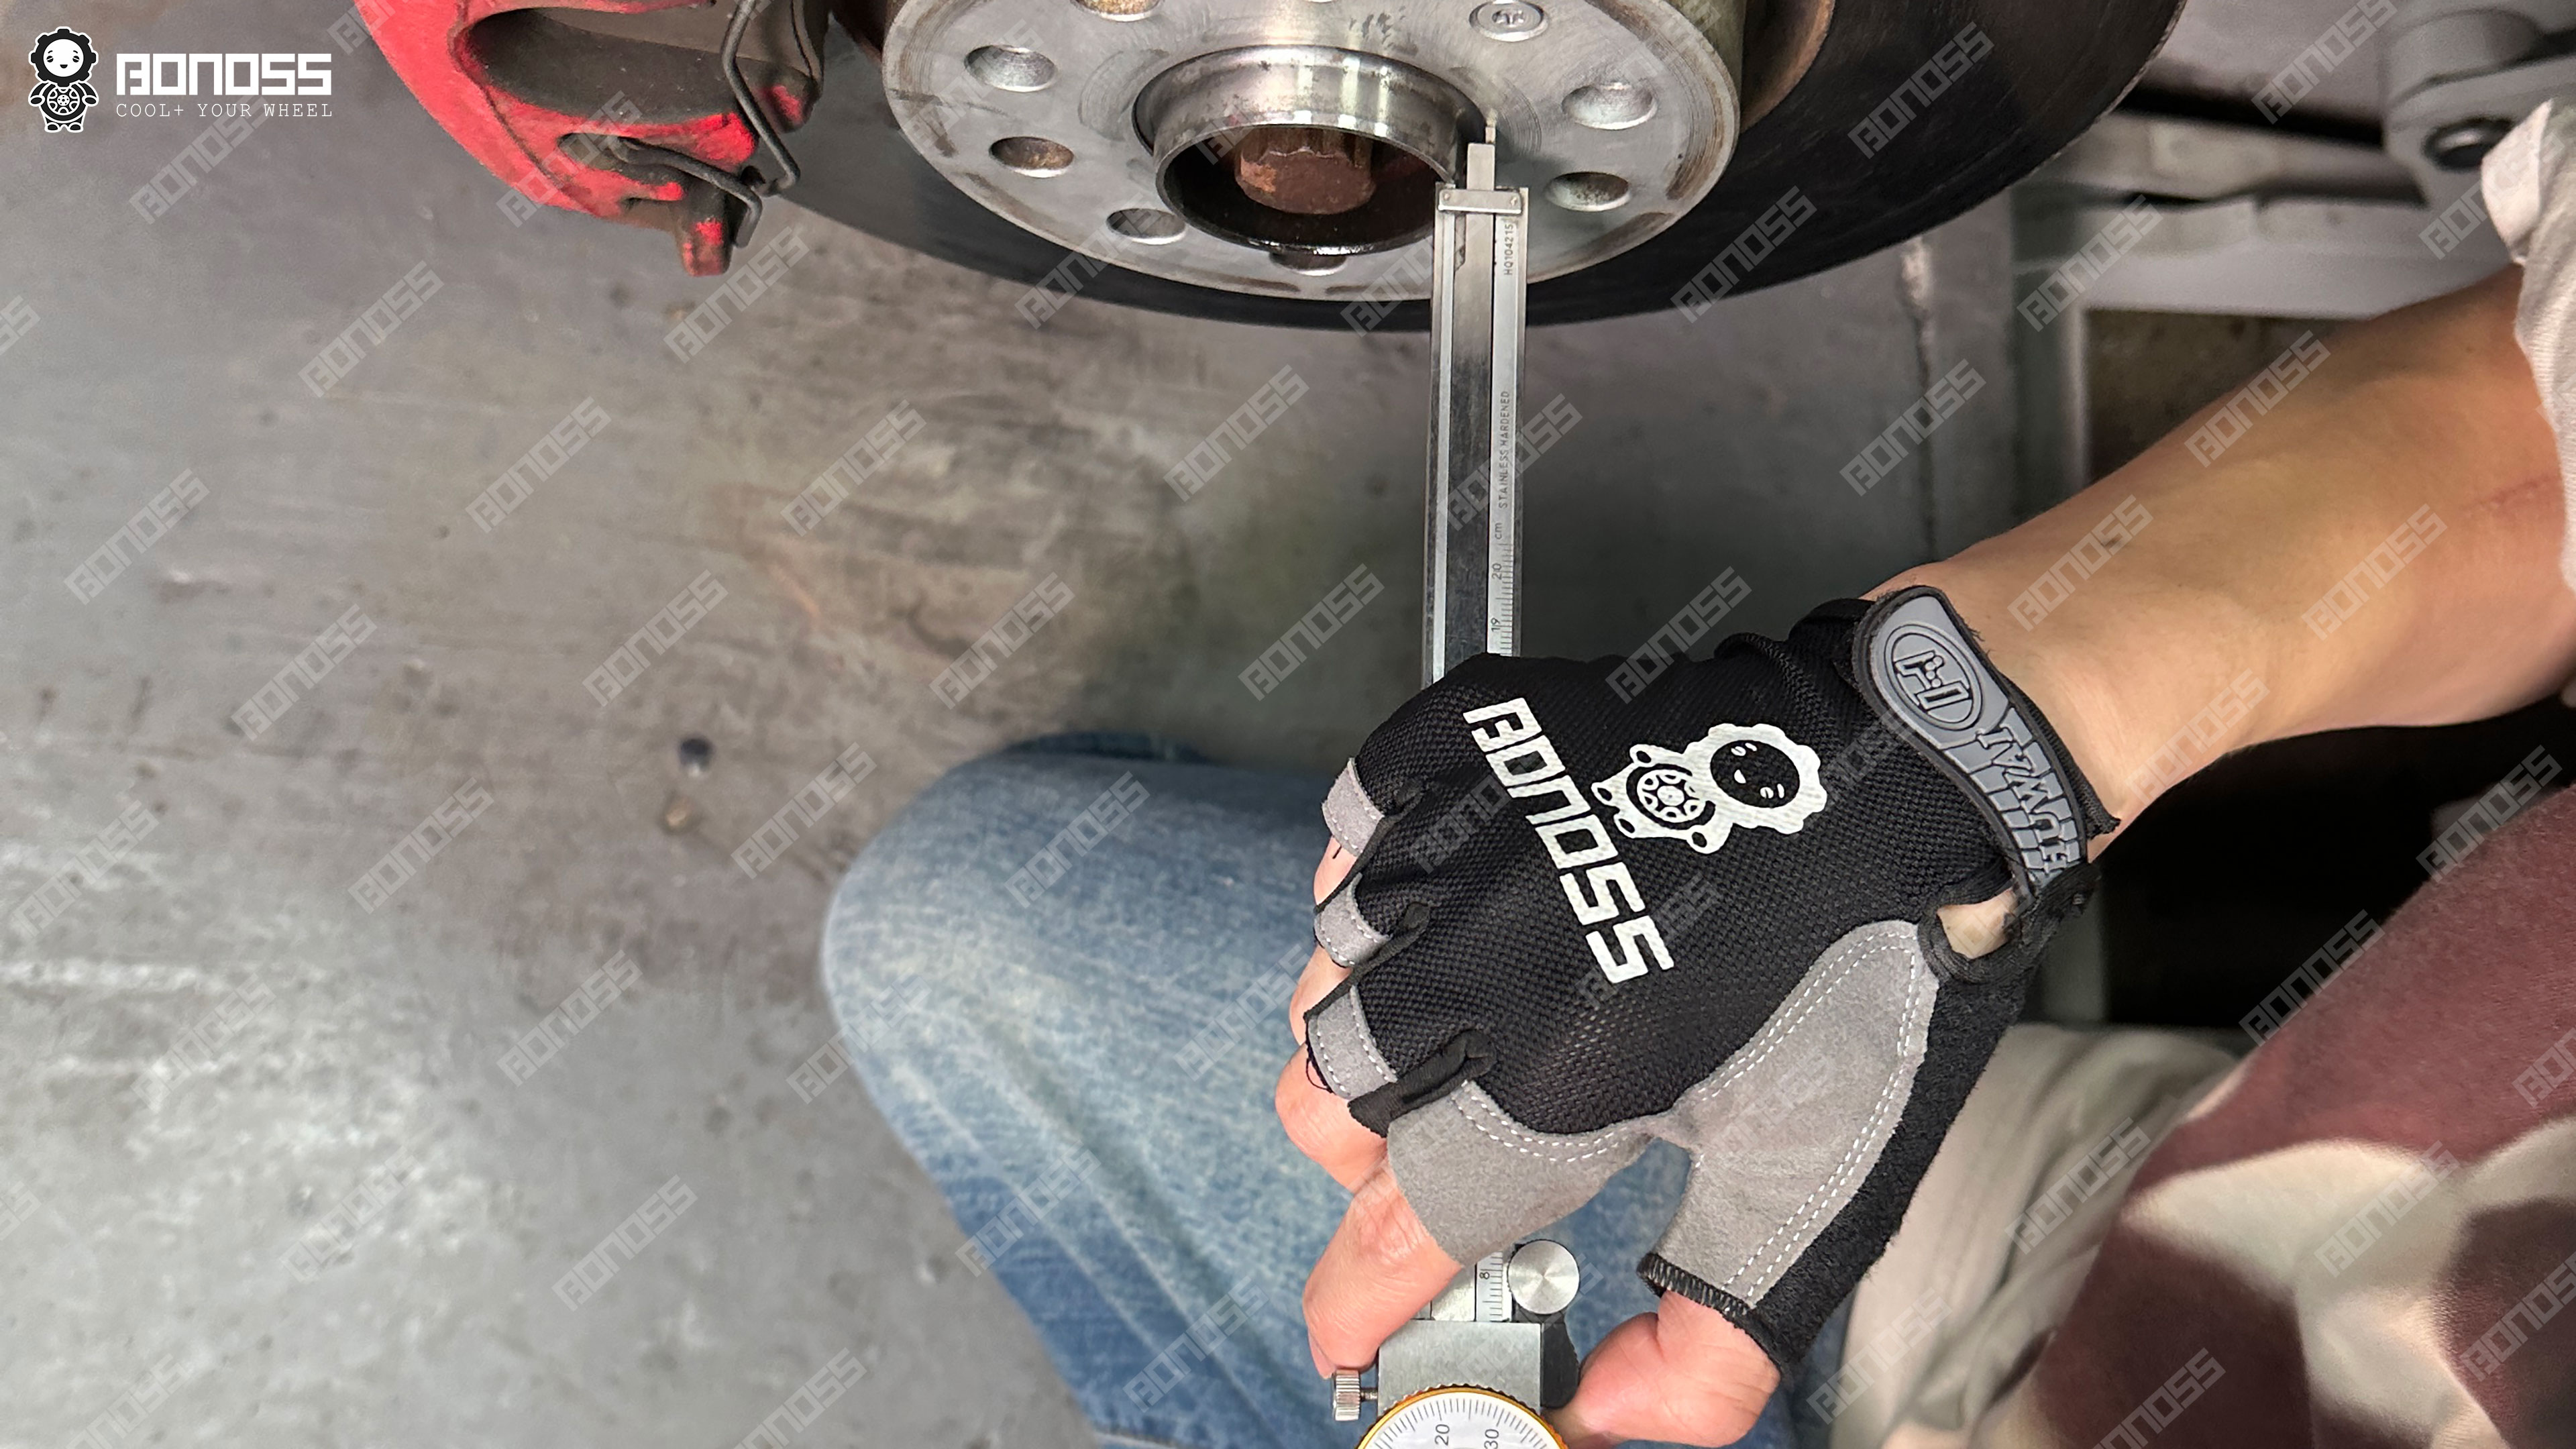
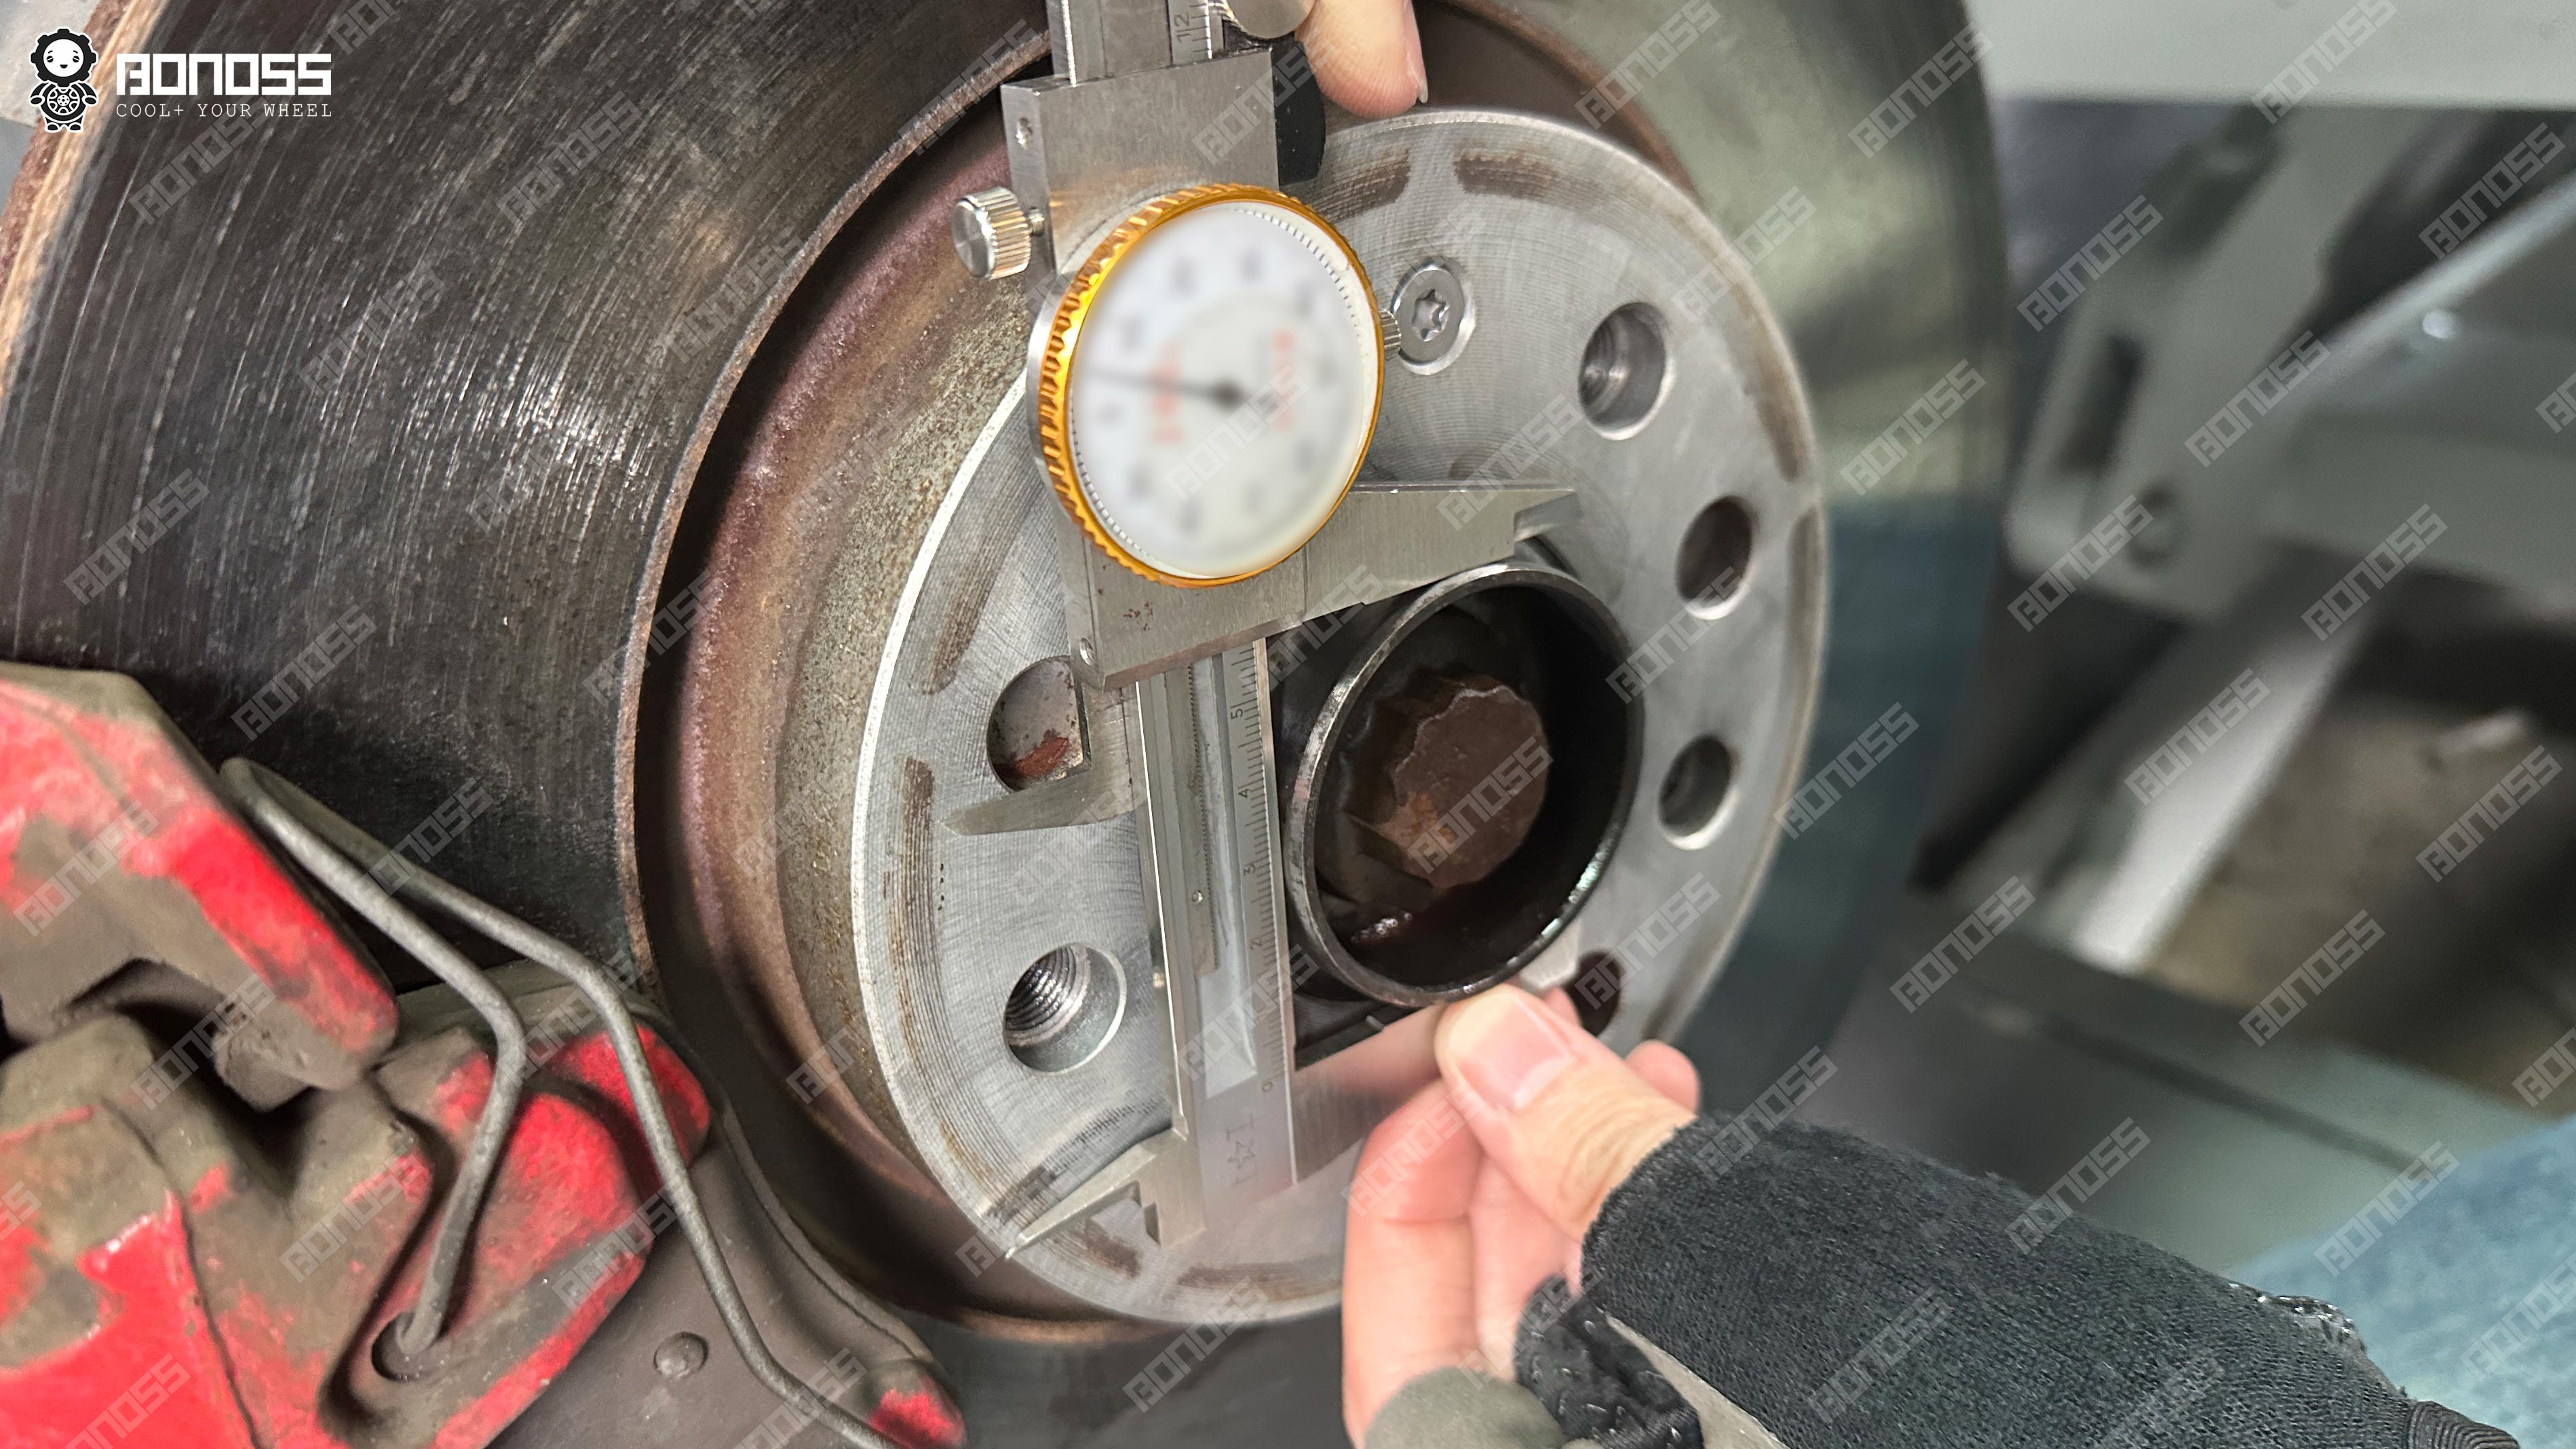
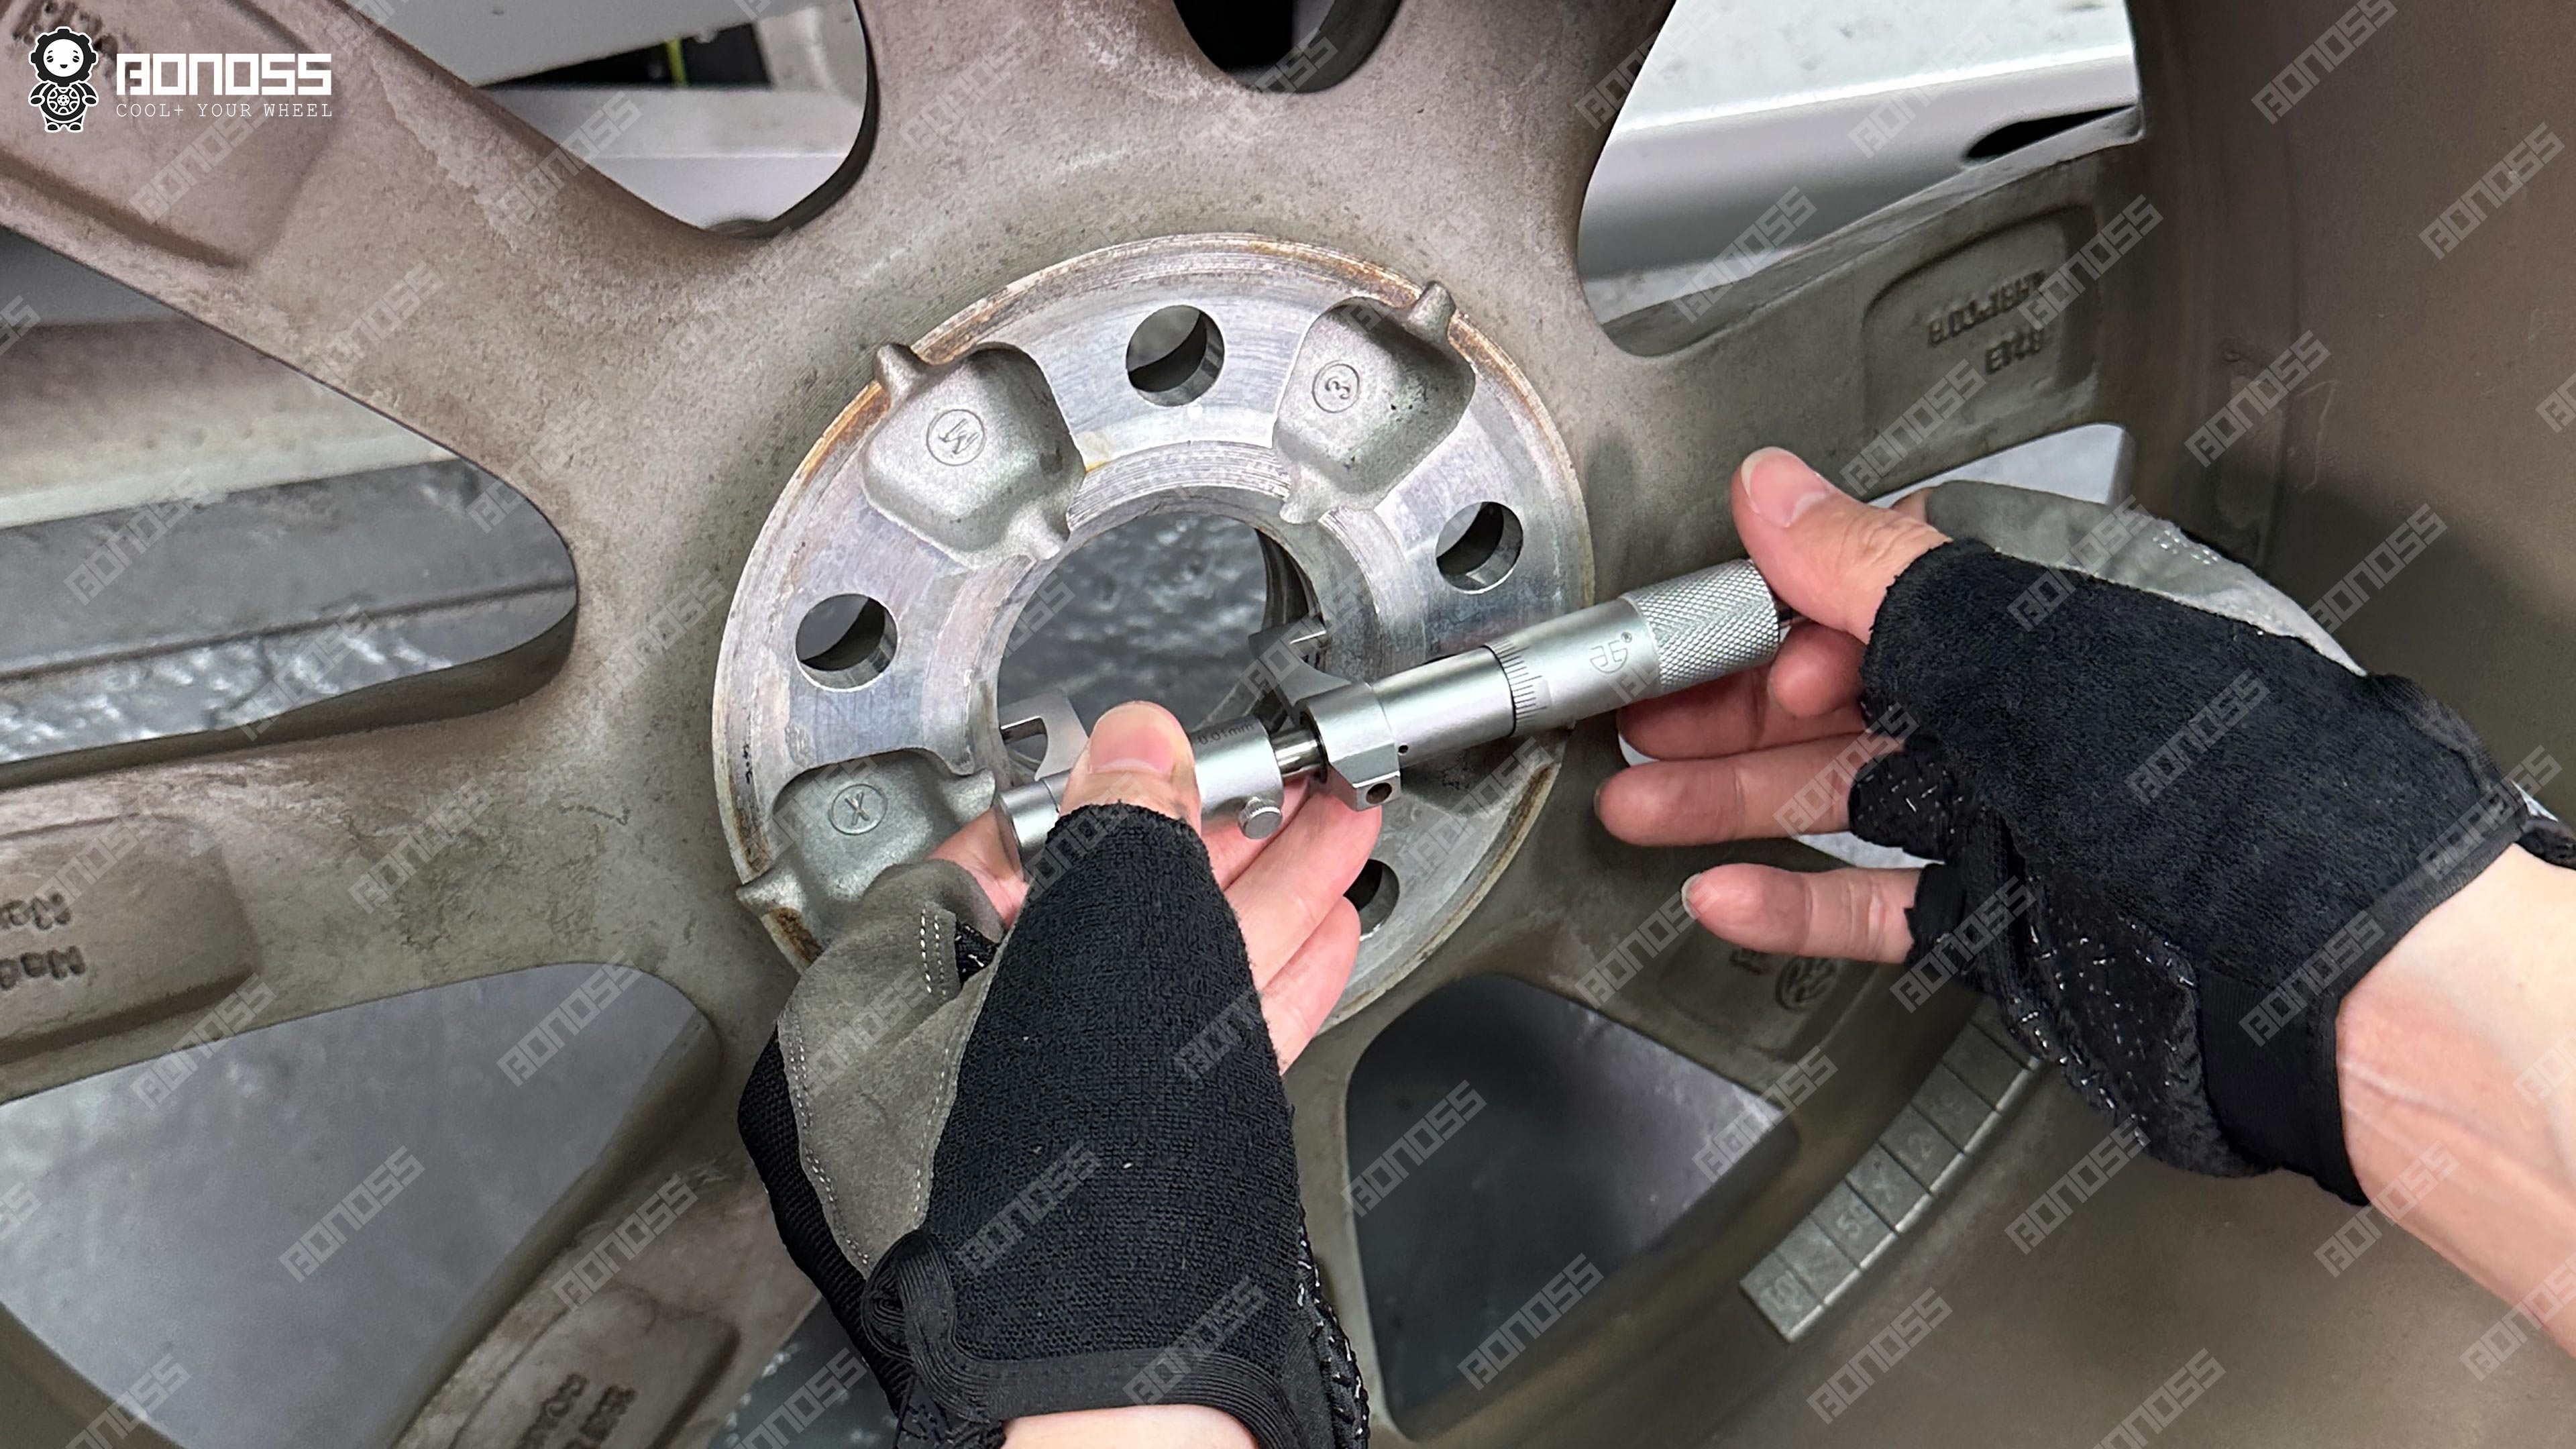
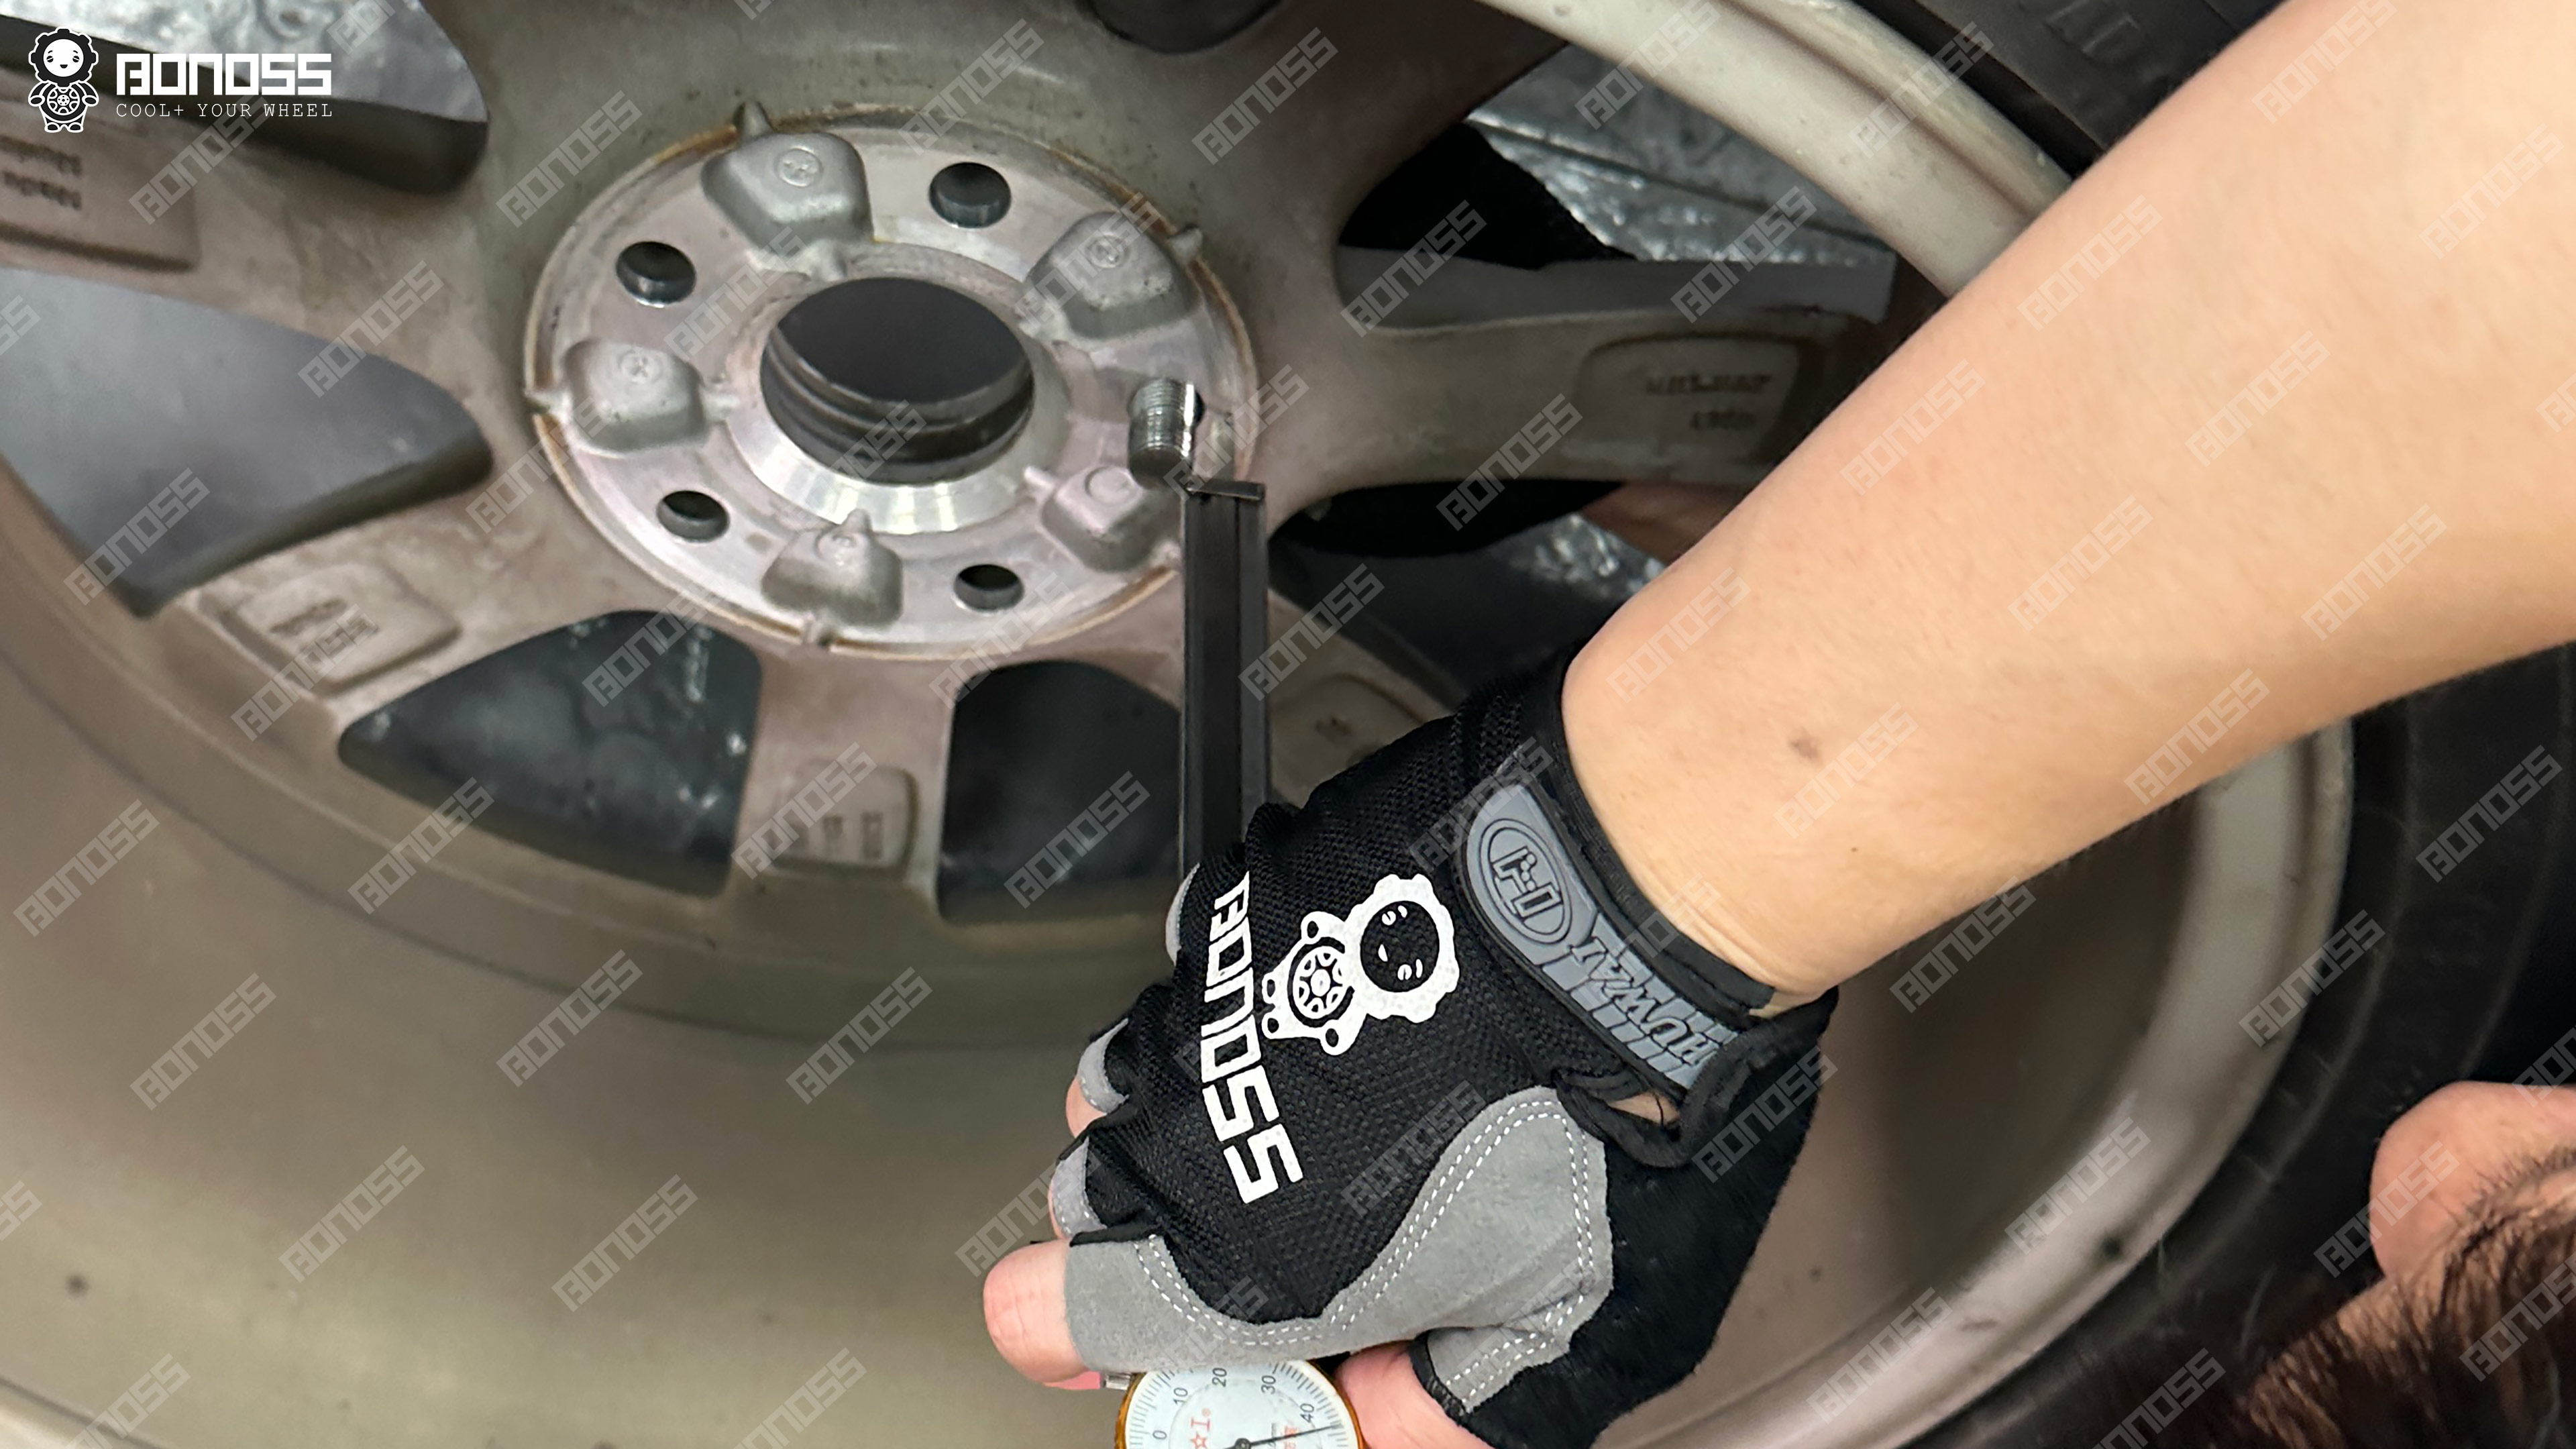
Here’s the detail the whole story hinges on. The front hubs on Ryan’s Beetle have a raised hub-centric center lip — the machined ridge that centers the wheel — that measures 11.8mm tall.
An 8mm spacer is only 8mm thick. Its center bore is designed to slide over the hub lip, but when the lip is taller than the spacer is thick, the lip bottoms out against the spacer before the spacer’s mounting face can sit flat against the hub. The spacer physically cannot seat. No amount of force fixes geometry.
Once our team measured Ryan’s hub lip at 11.8mm, the answer was straightforward: the front axle needed spacers of 12mm or thicker to clear the OEM lip. The rear, with its own measurements, called for 15mm to reach the flush line he wanted. We also measured the hub bore at 57.1mm and the wheel center bores to confirm a true hub-centric match, and checked the flush gap at all four corners before committing to the final thicknesses.
“The 8mm front spacers did not fit at all,” Ryan said. “They tell me that the front hubs require 12mm or larger spacers to properly clear the OEM hub-centric lip. The 12mm front spacers fit fine using 39mm lug bolts.”
Why He Finally Chose BONOSS
Ryan is the first to admit he hesitated. He’d never run BONOSS products before. He’d seen the name in forums and YouTube comments, but seeing a brand mentioned and trusting it with your daily driver are two different things. He compared several options and contacted more than one company before deciding.
Three things tipped the scale.
First, the fitment problem actually got solved. Instead of a generic “our spacers fit most vehicles” answer, he got a specific diagnosis — lip height, bore diameter, bolt thread — with measurements to back it up. For a guy stranded with a set of useless 8mm spacers, that mattered more than any discount code.
Second, he’d already watched several BONOSS installation videos on YouTube while researching. Seeing real installs, on real cars, with the same torquing steps his own job would need, took the mystery out of the process.
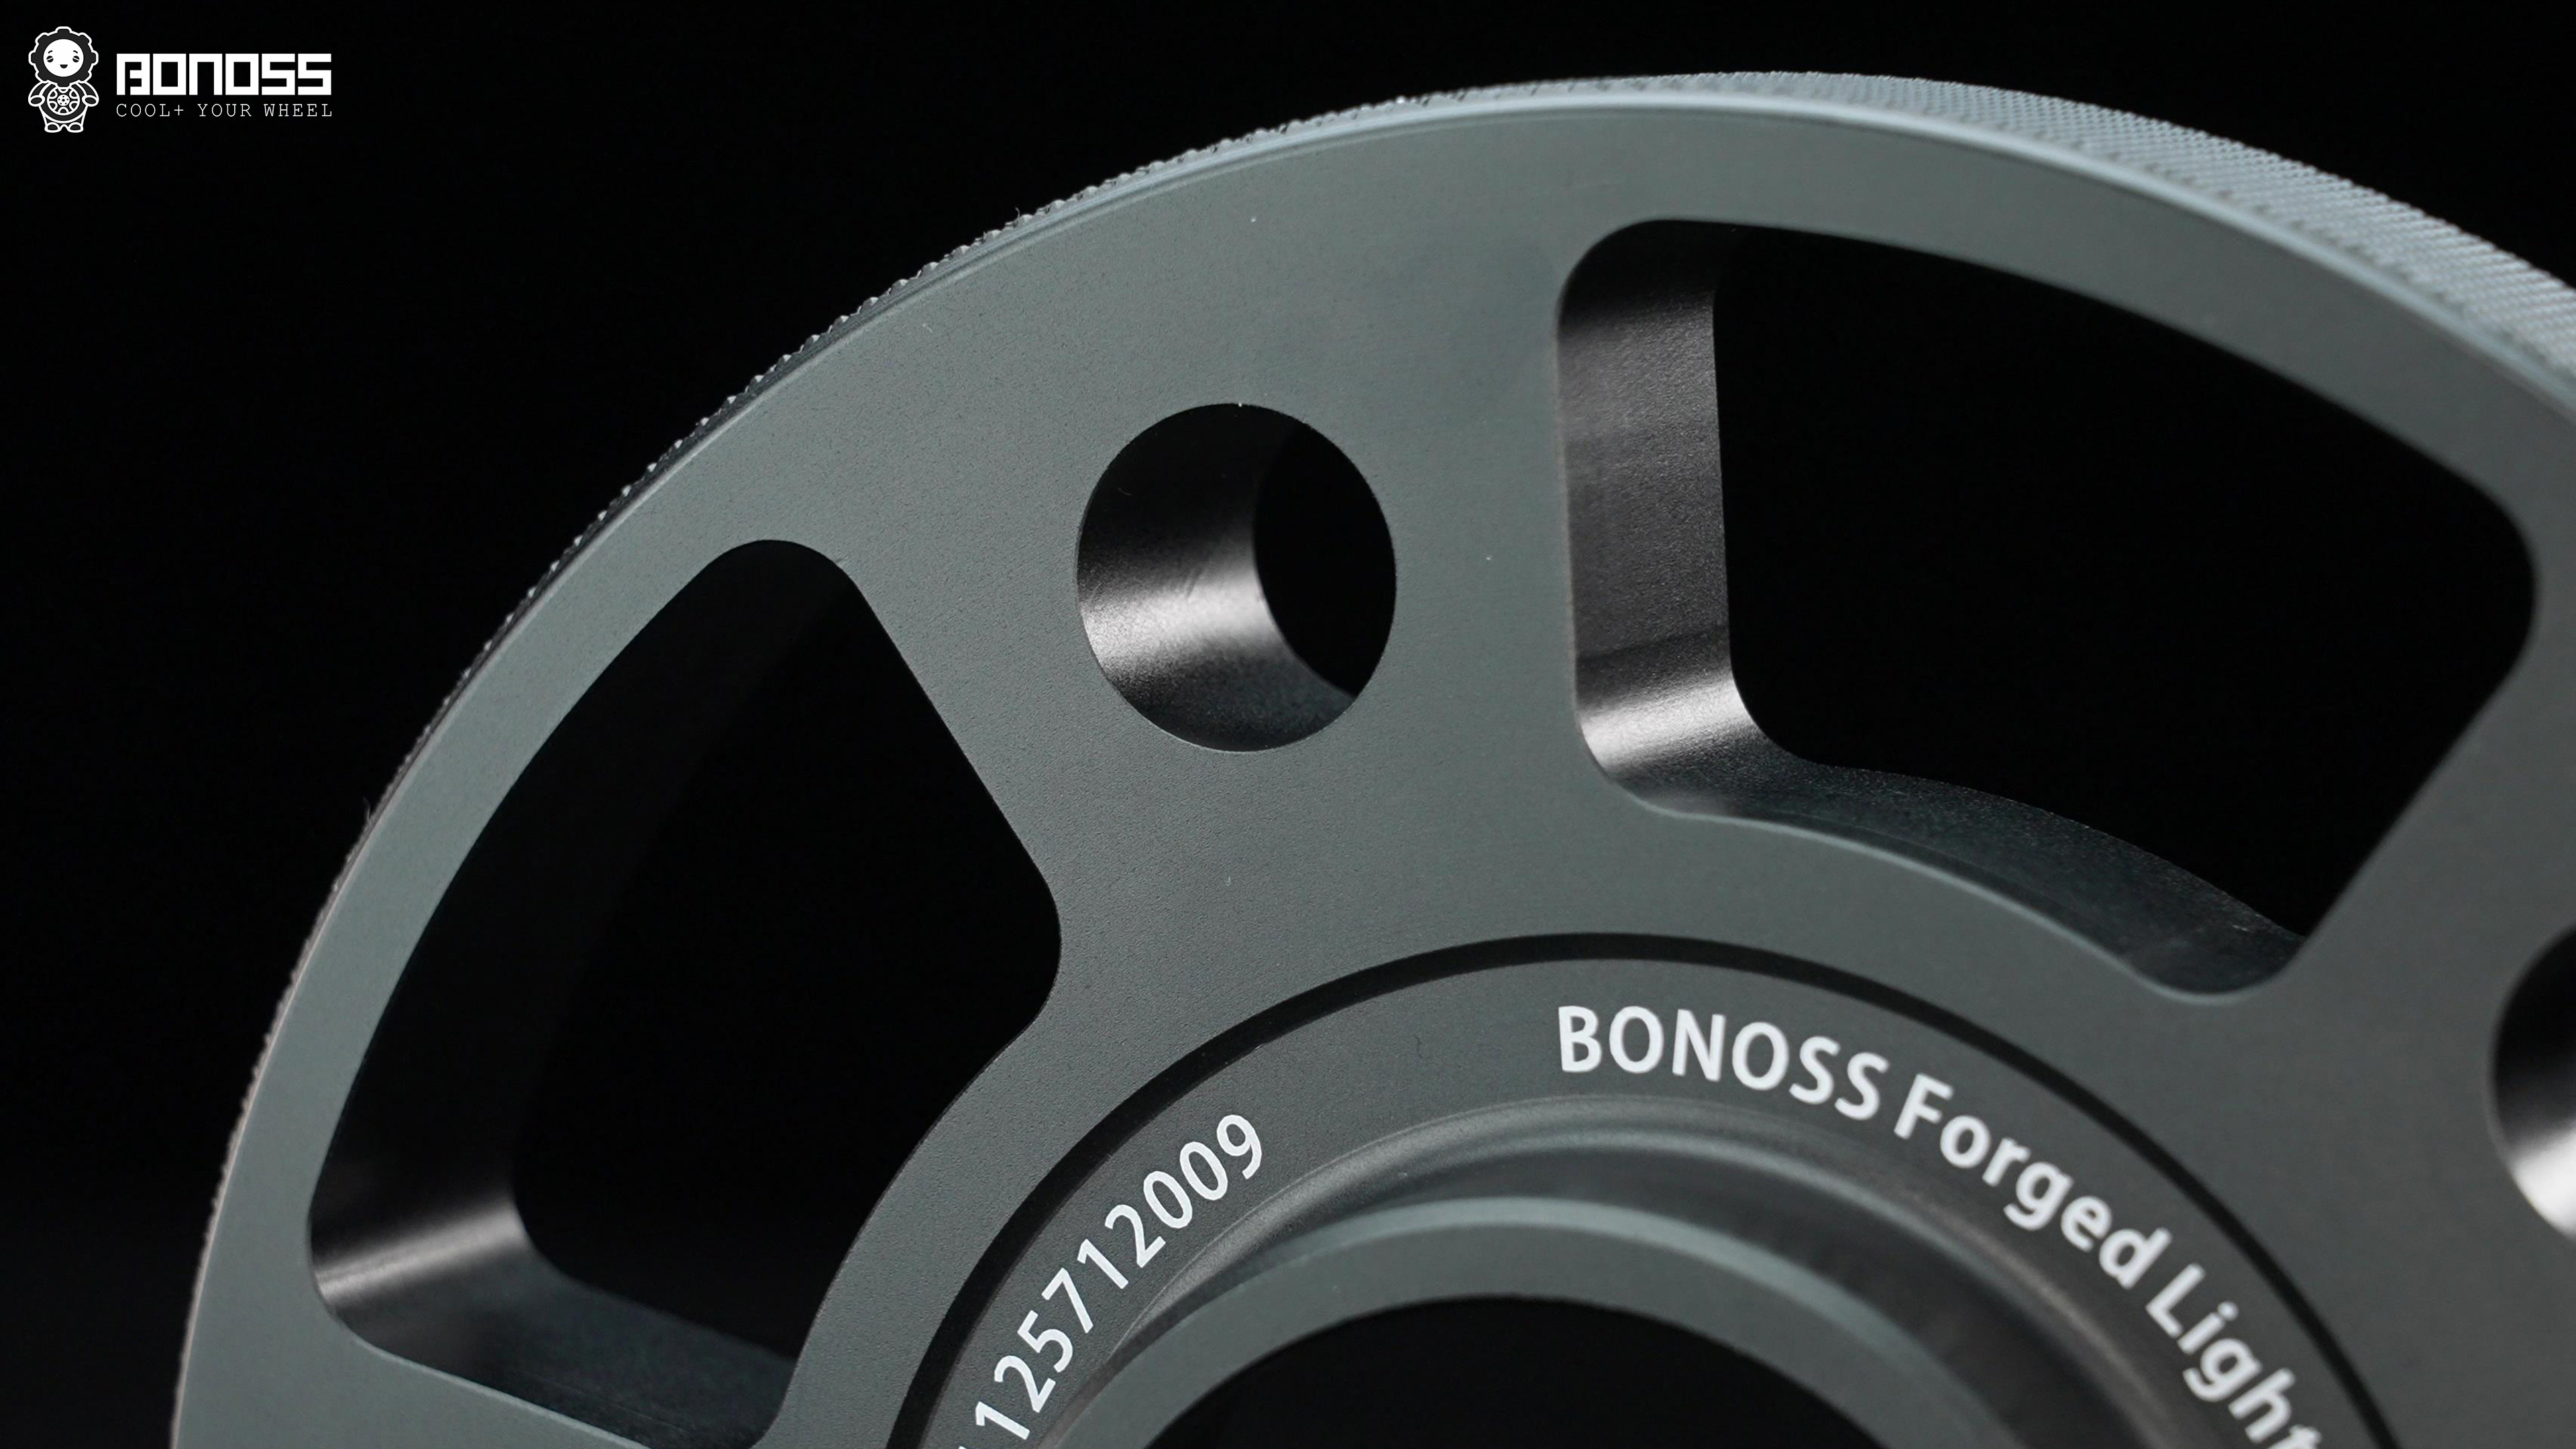
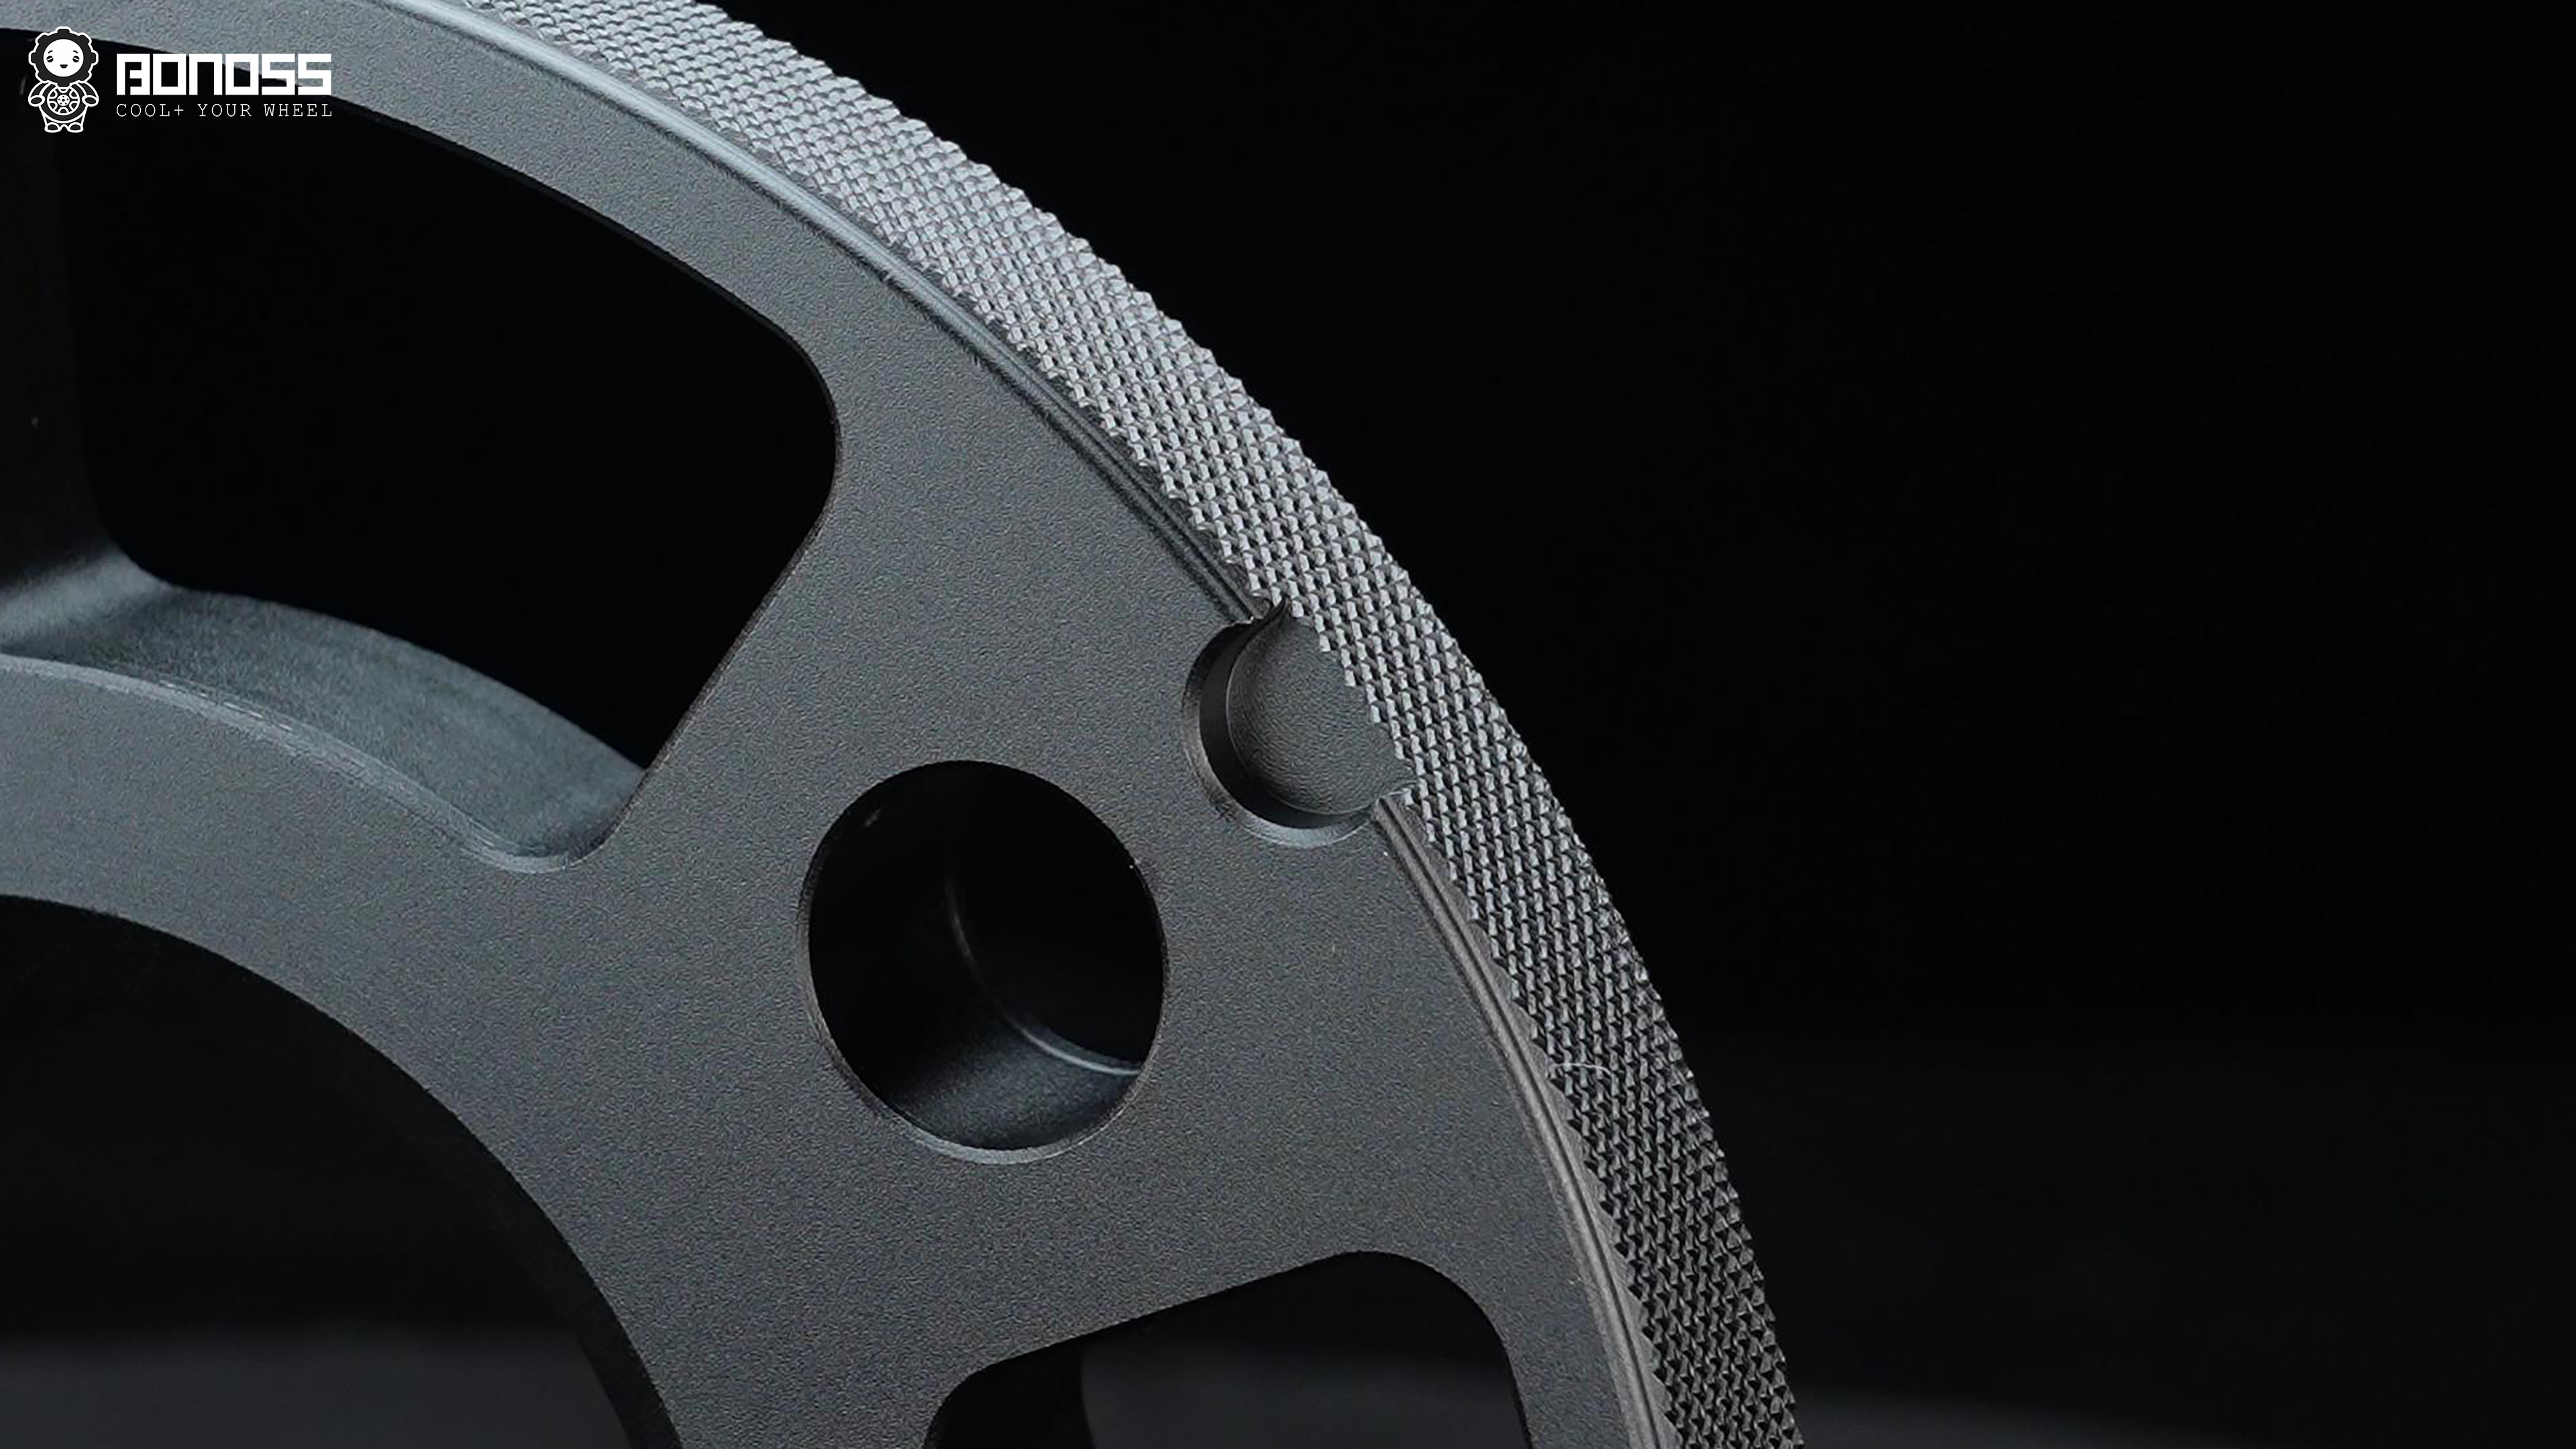
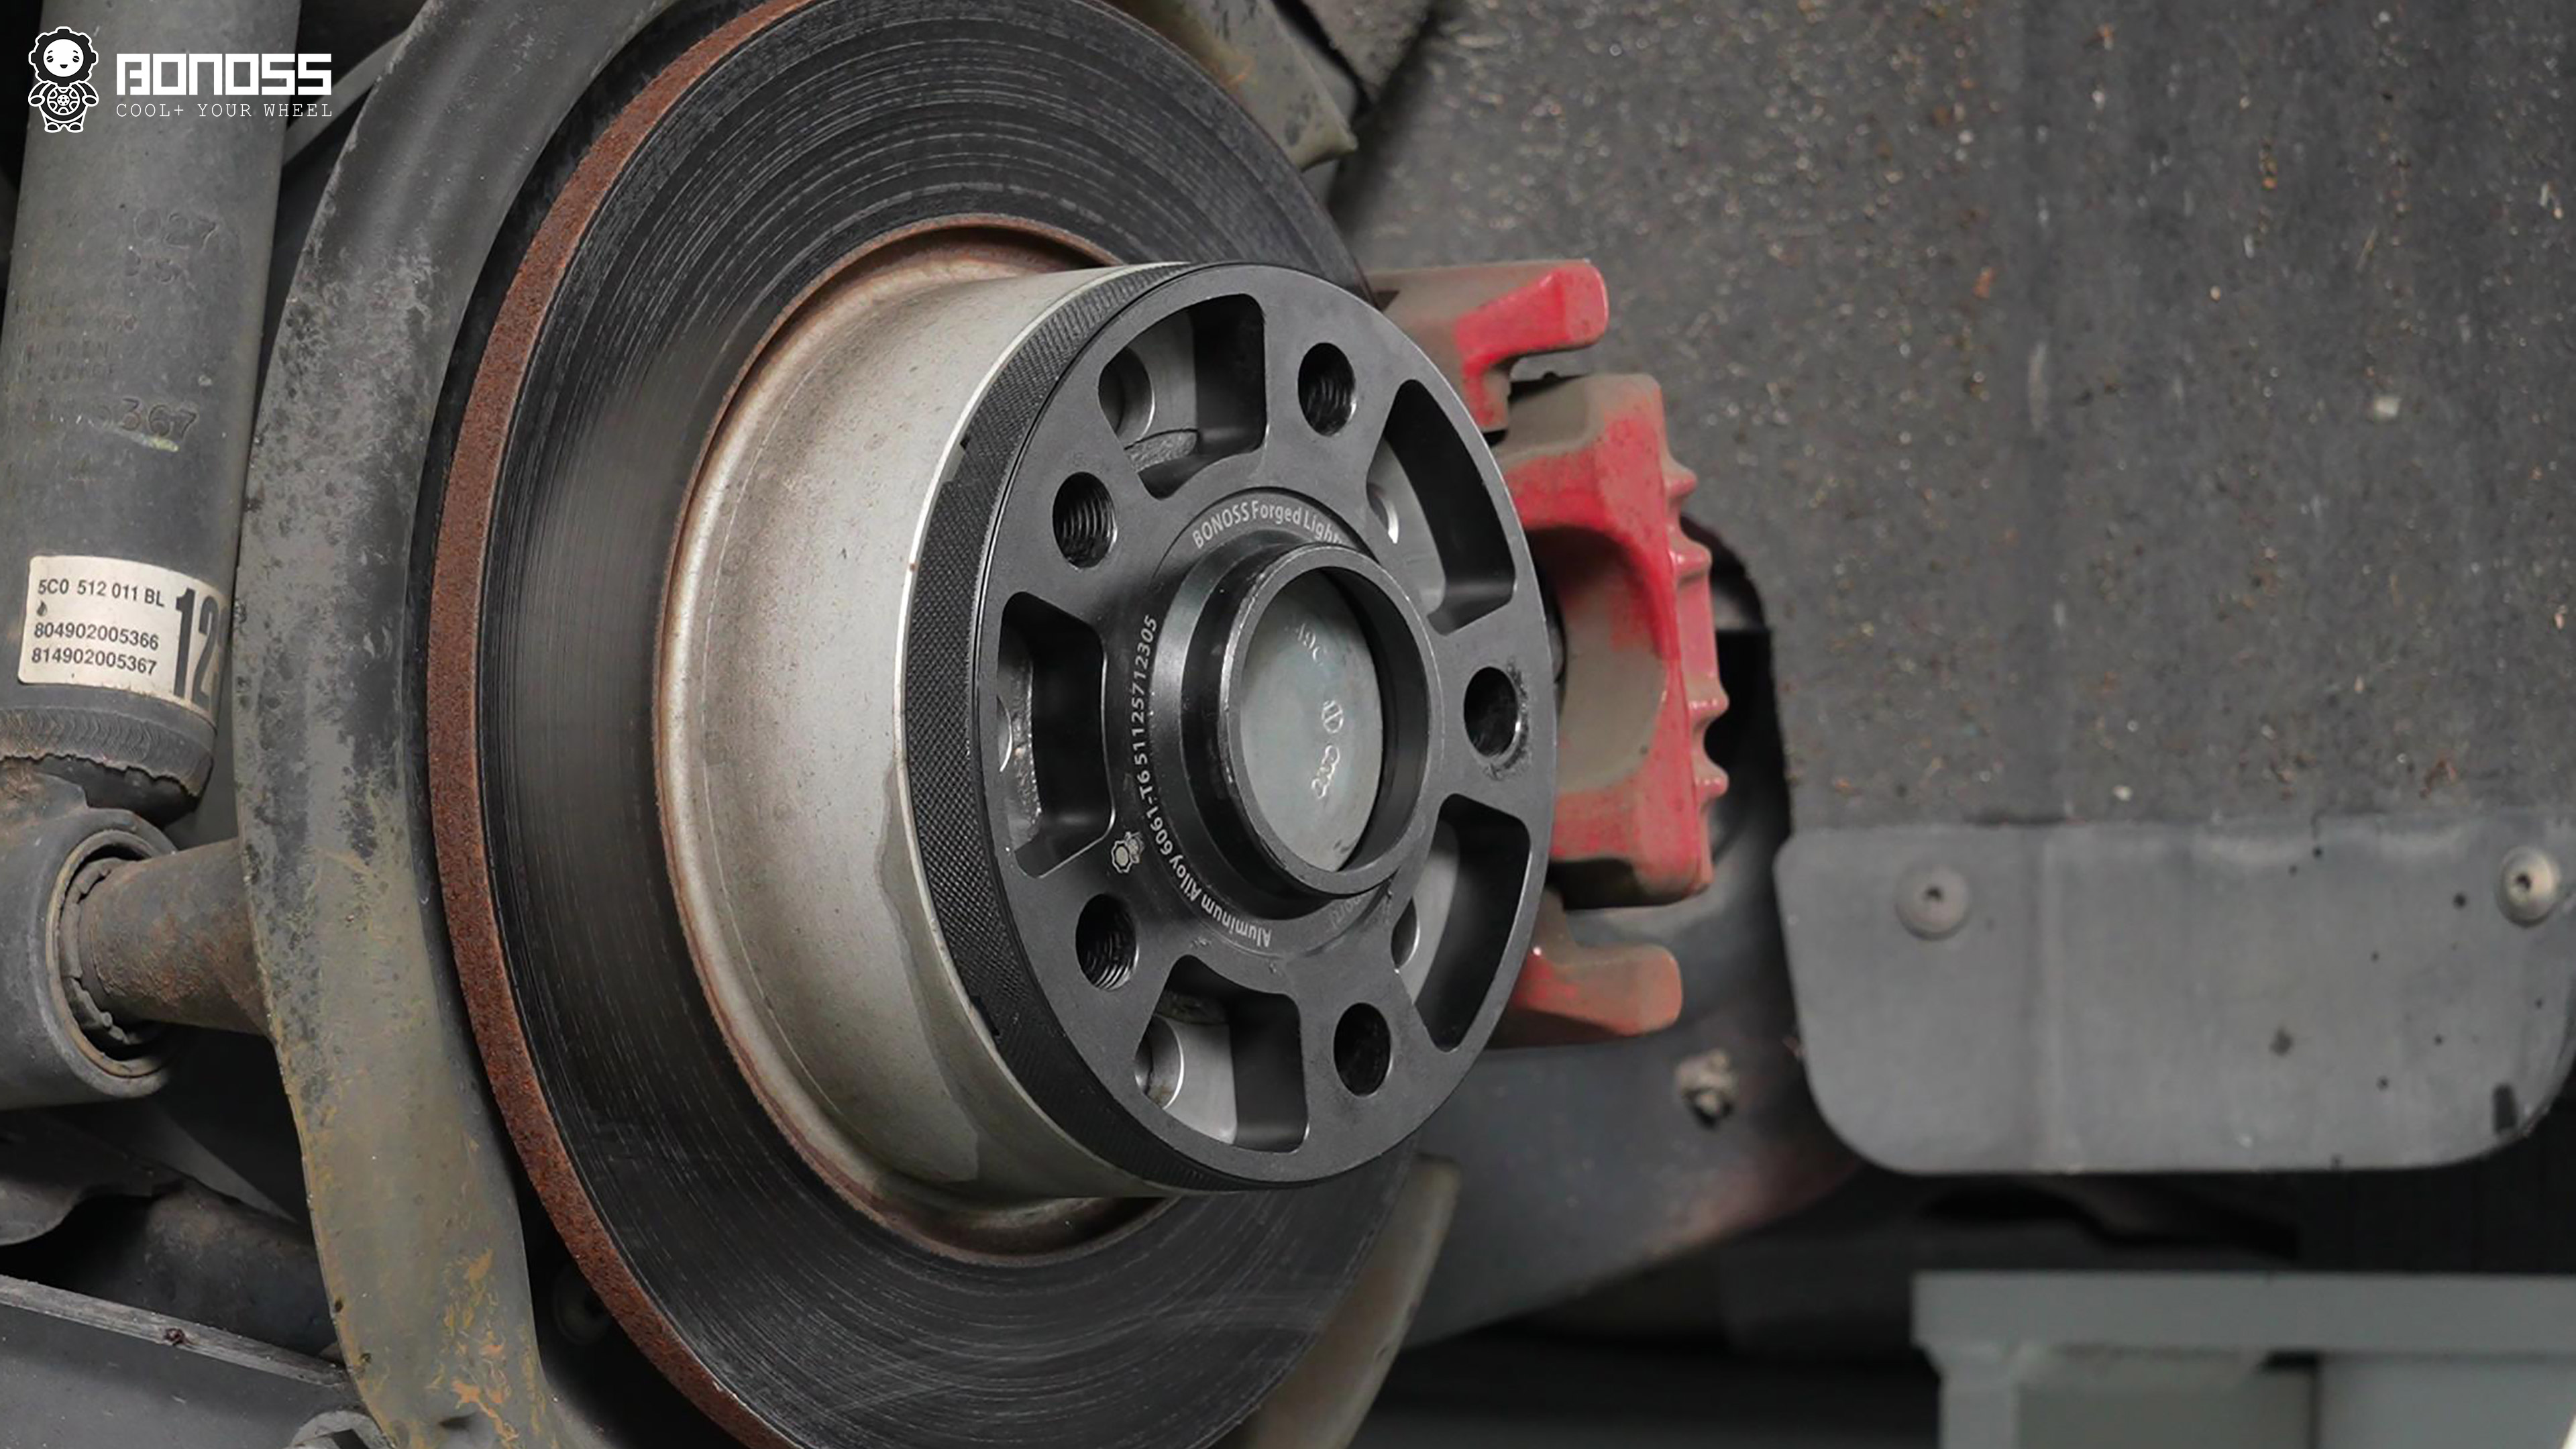
Third, the product itself. When he looked at the BONOSS forged lightweight plus wheel spacers, the lightweight plus design caught his attention — the hollowed pocket structure removes material where it isn’t structurally needed, cutting unsprung weight without thinning the load-bearing faces. The spacers are hub-centric, machined to match the 57.1mm hub bore, so the wheel centers on the hub rather than hanging on the bolts. They ship with ISO grade 12.9 extended wheel bolts matched to the spacer thickness, and the back side even has machined removal slots so a stuck spacer can be popped off years down the road instead of being hammered at.
“Hub-centric wheel spacers will be good,” he said, summing up his own research. “You might run into issues if you go lug-centric… they are cheaper, but I wouldn’t want to deal with problems.”
He placed the order: 12mm front, 15mm rear.
Installation: What Actually Happened
The install took place on May 22, 2026, and ran about one hour from start to finish. It wasn’t entirely uneventful — which is exactly why it’s worth documenting. Here’s how it went, problem by problem:
1. Problem: The existing 8mm spacers wouldn’t seat on the front hubs.
Solution: Measure before you buy. The hub-centric lip measured 11.8mm, which means any spacer under 12mm will bottom out on the lip before its mounting face sits flat. We confirmed the lip height, the 57.1mm hub bore, and the flush gaps at all four corners, then swapped the plan to 12mm front spacers — which fit the lip.
2. Problem: Ryan was worried about highway vibration.
Solution: Vibration almost always comes from the wheel centering on the bolts instead of the hub, or from uneven torque. The fix is twofold: use hub-centric spacers matched to the hub bore — we have a full breakdown of why hub-centric wheel spacers matter — and torque every bolt to spec in a star pattern. With a true hub-centric fit, the spacer behaves like part of the hub itself. “Make sure to torque the spacers to spec,” Ryan emphasizes.
3. Problem: Even the correct 12mm spacer wouldn’t seat fully at first.
Solution: This one surprised everyone. The new 12mm spacer went onto the front hub but wouldn’t sit perfectly flush, and Ryan briefly worried he’d hit a second fitment failure — he didn’t want to go any thicker. On inspection, the culprit was a thin layer of rust on the hub face, just enough to hold the spacer a fraction of a millimeter off. We sprayed rust remover, lightly sanded the surface clean, and the spacer seated tight against the hub exactly as designed. If your spacer “almost fits,” check the hub surface before blaming the part.
4. Problem: The stock wheel bolts were too short.
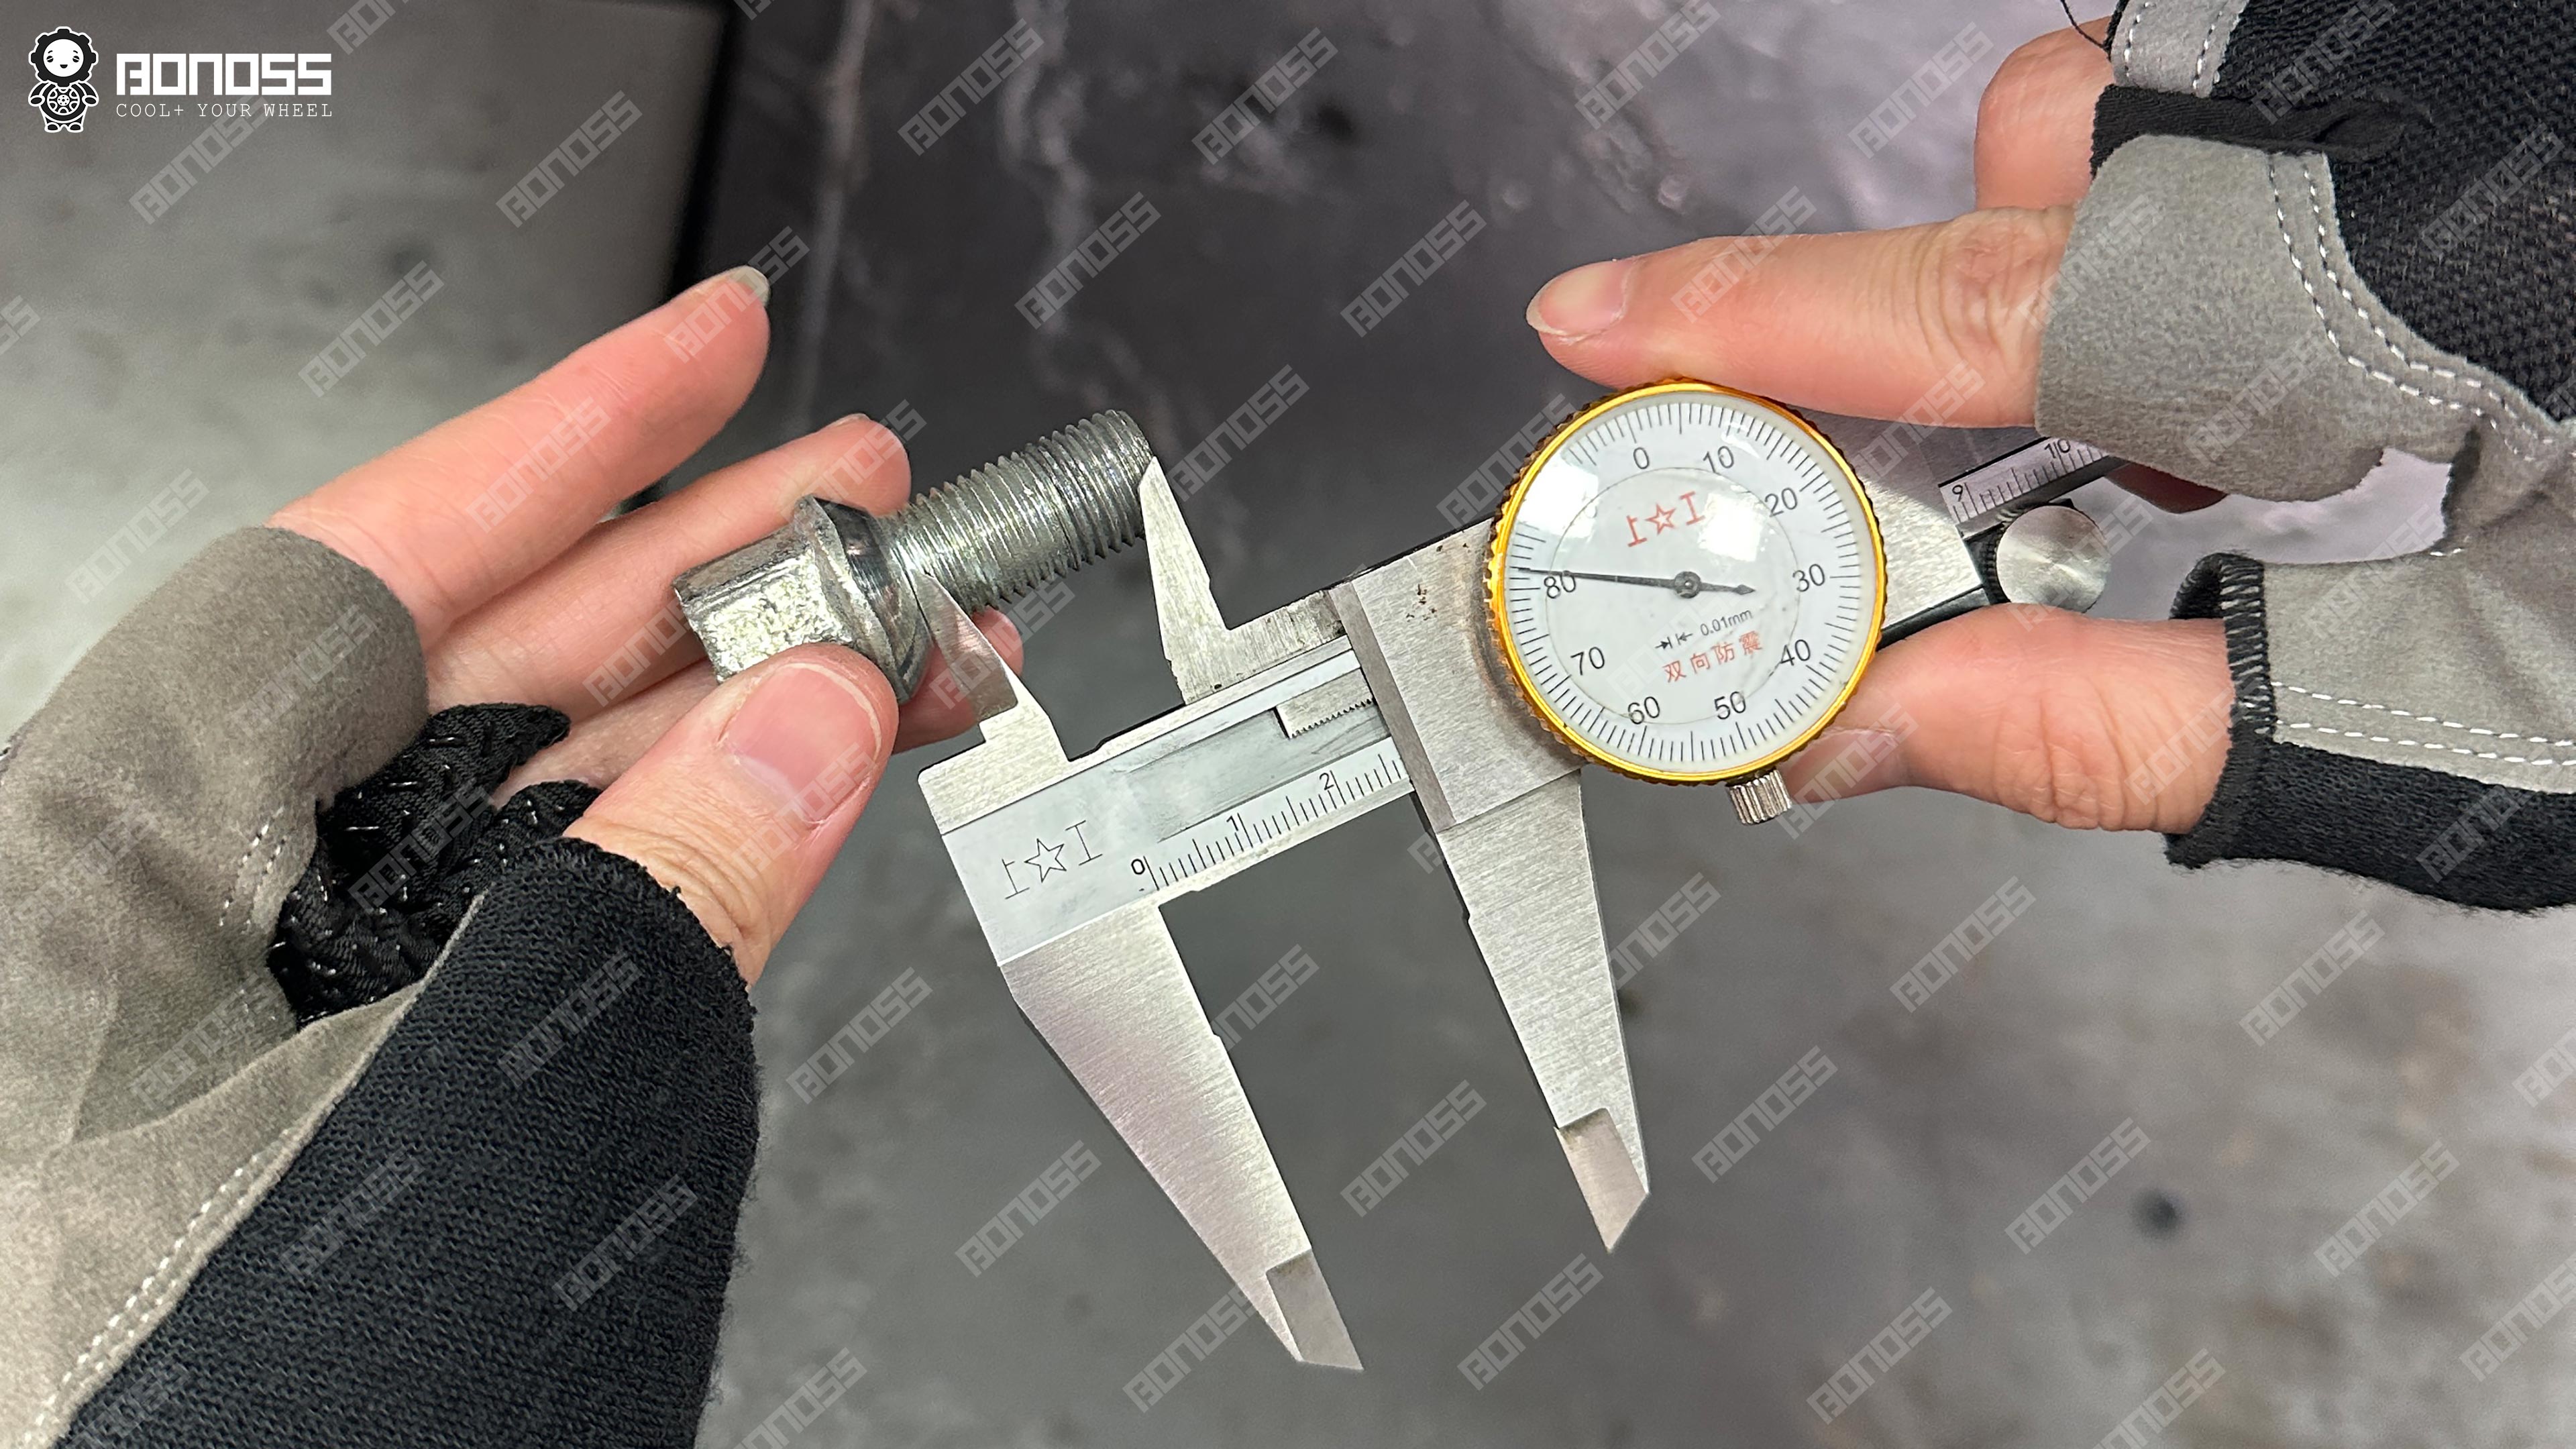
Solution: The factory bolts have an R13 ball seat and a 27mm thread length. Once a spacer goes between the hub and the wheel, that remaining thread engagement drops below the safe minimum. We fitted ISO grade 12.9 extended bolts — 39mm thread for the 12mm front spacers, 42mm for the 15mm rears — restoring full thread engagement with the correct ball seat profile. Torque, then verify. Every bolt torqued to 140 Nm in a star pattern, wheels re-fitted, and a short road test to confirm zero vibration and zero rubbing before calling it done.
Front 12mm, Rear 15mm: The Fitment Math
For owners who like to see the numbers, here’s the geometry on Ryan’s car.
The stock 18x8J wheels carry an ET+48 offset. A spacer subtracts its thickness from the effective offset: with 12mm up front, the wheels sit at an effective ET+36; with 15mm in the rear, ET+33. That moves each front wheel outward 12mm and each rear wheel 15mm — just enough to bring the tire face level with the fender edge without pushing past it.
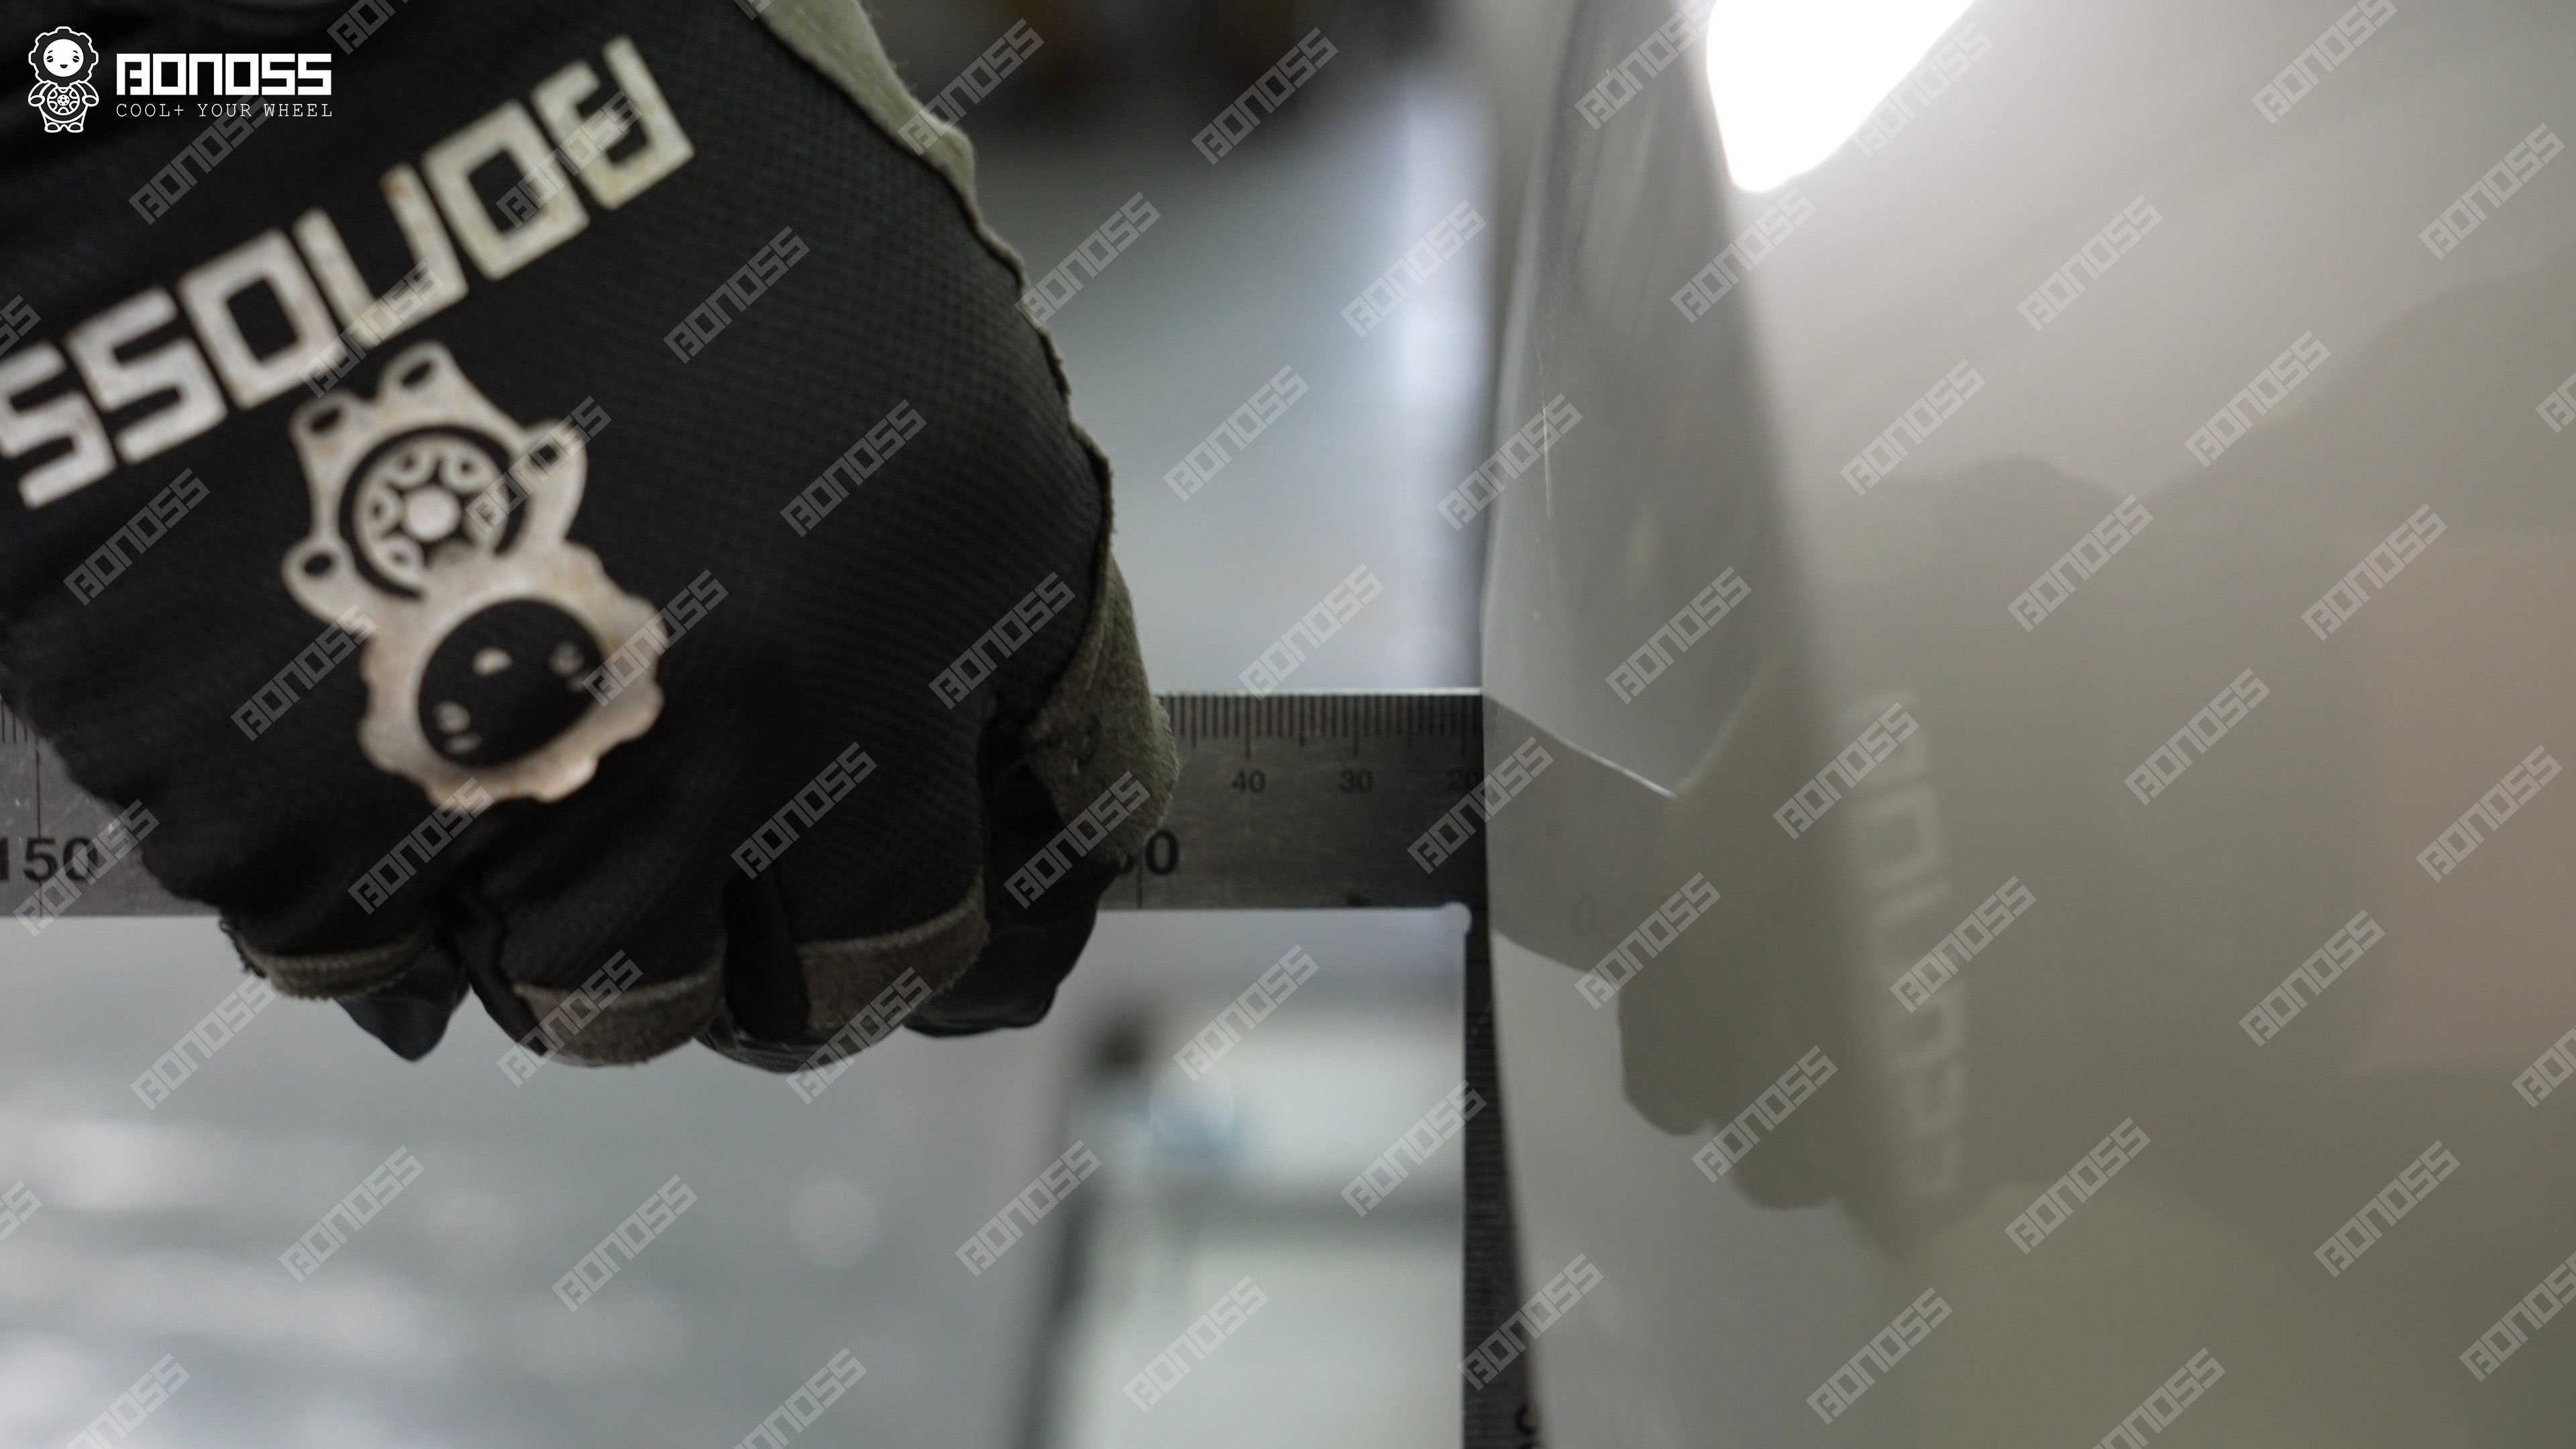
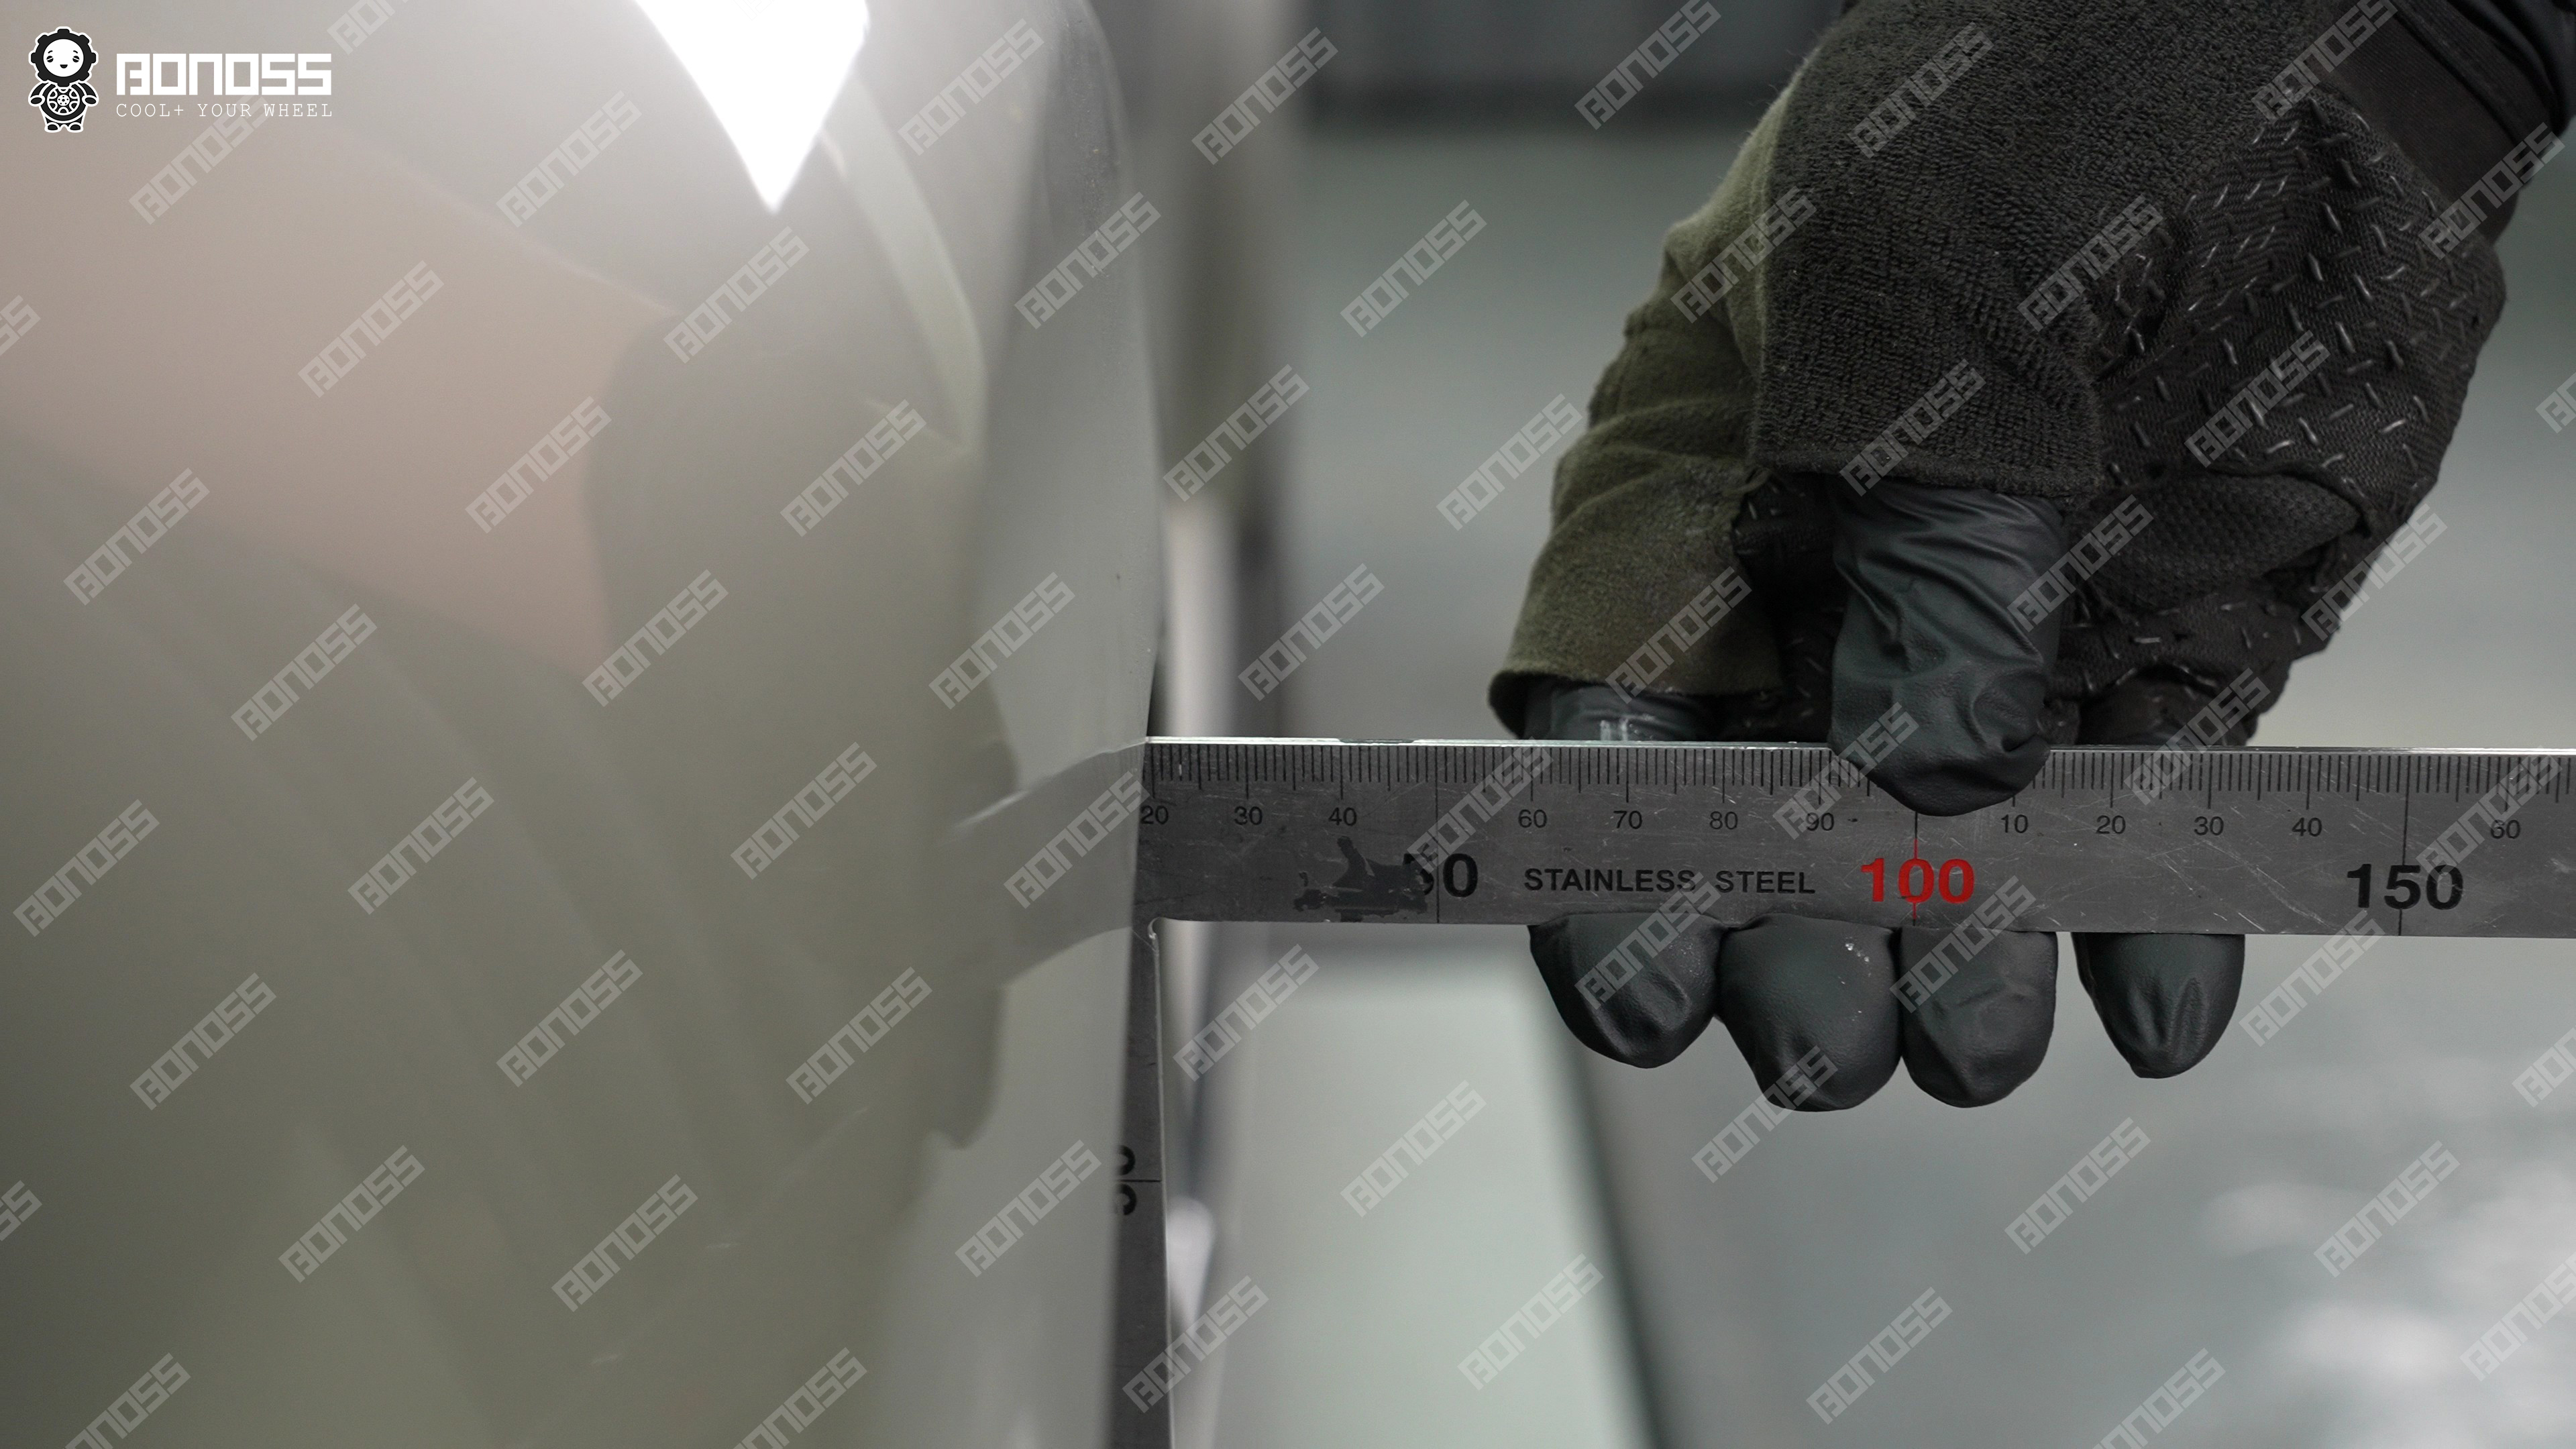
Those numbers didn’t come from a chart. They came from measuring the actual gap between the tire and fender at all four corners, which is why the front and rear ended up with different thicknesses — the car’s factory stance isn’t symmetrical, so the spacers shouldn’t be either. If you’re planning your own setup, our guide on how to measure for your wheel spacers walks through the same measurement process step by step.
The Result: More Stable, Better Looking
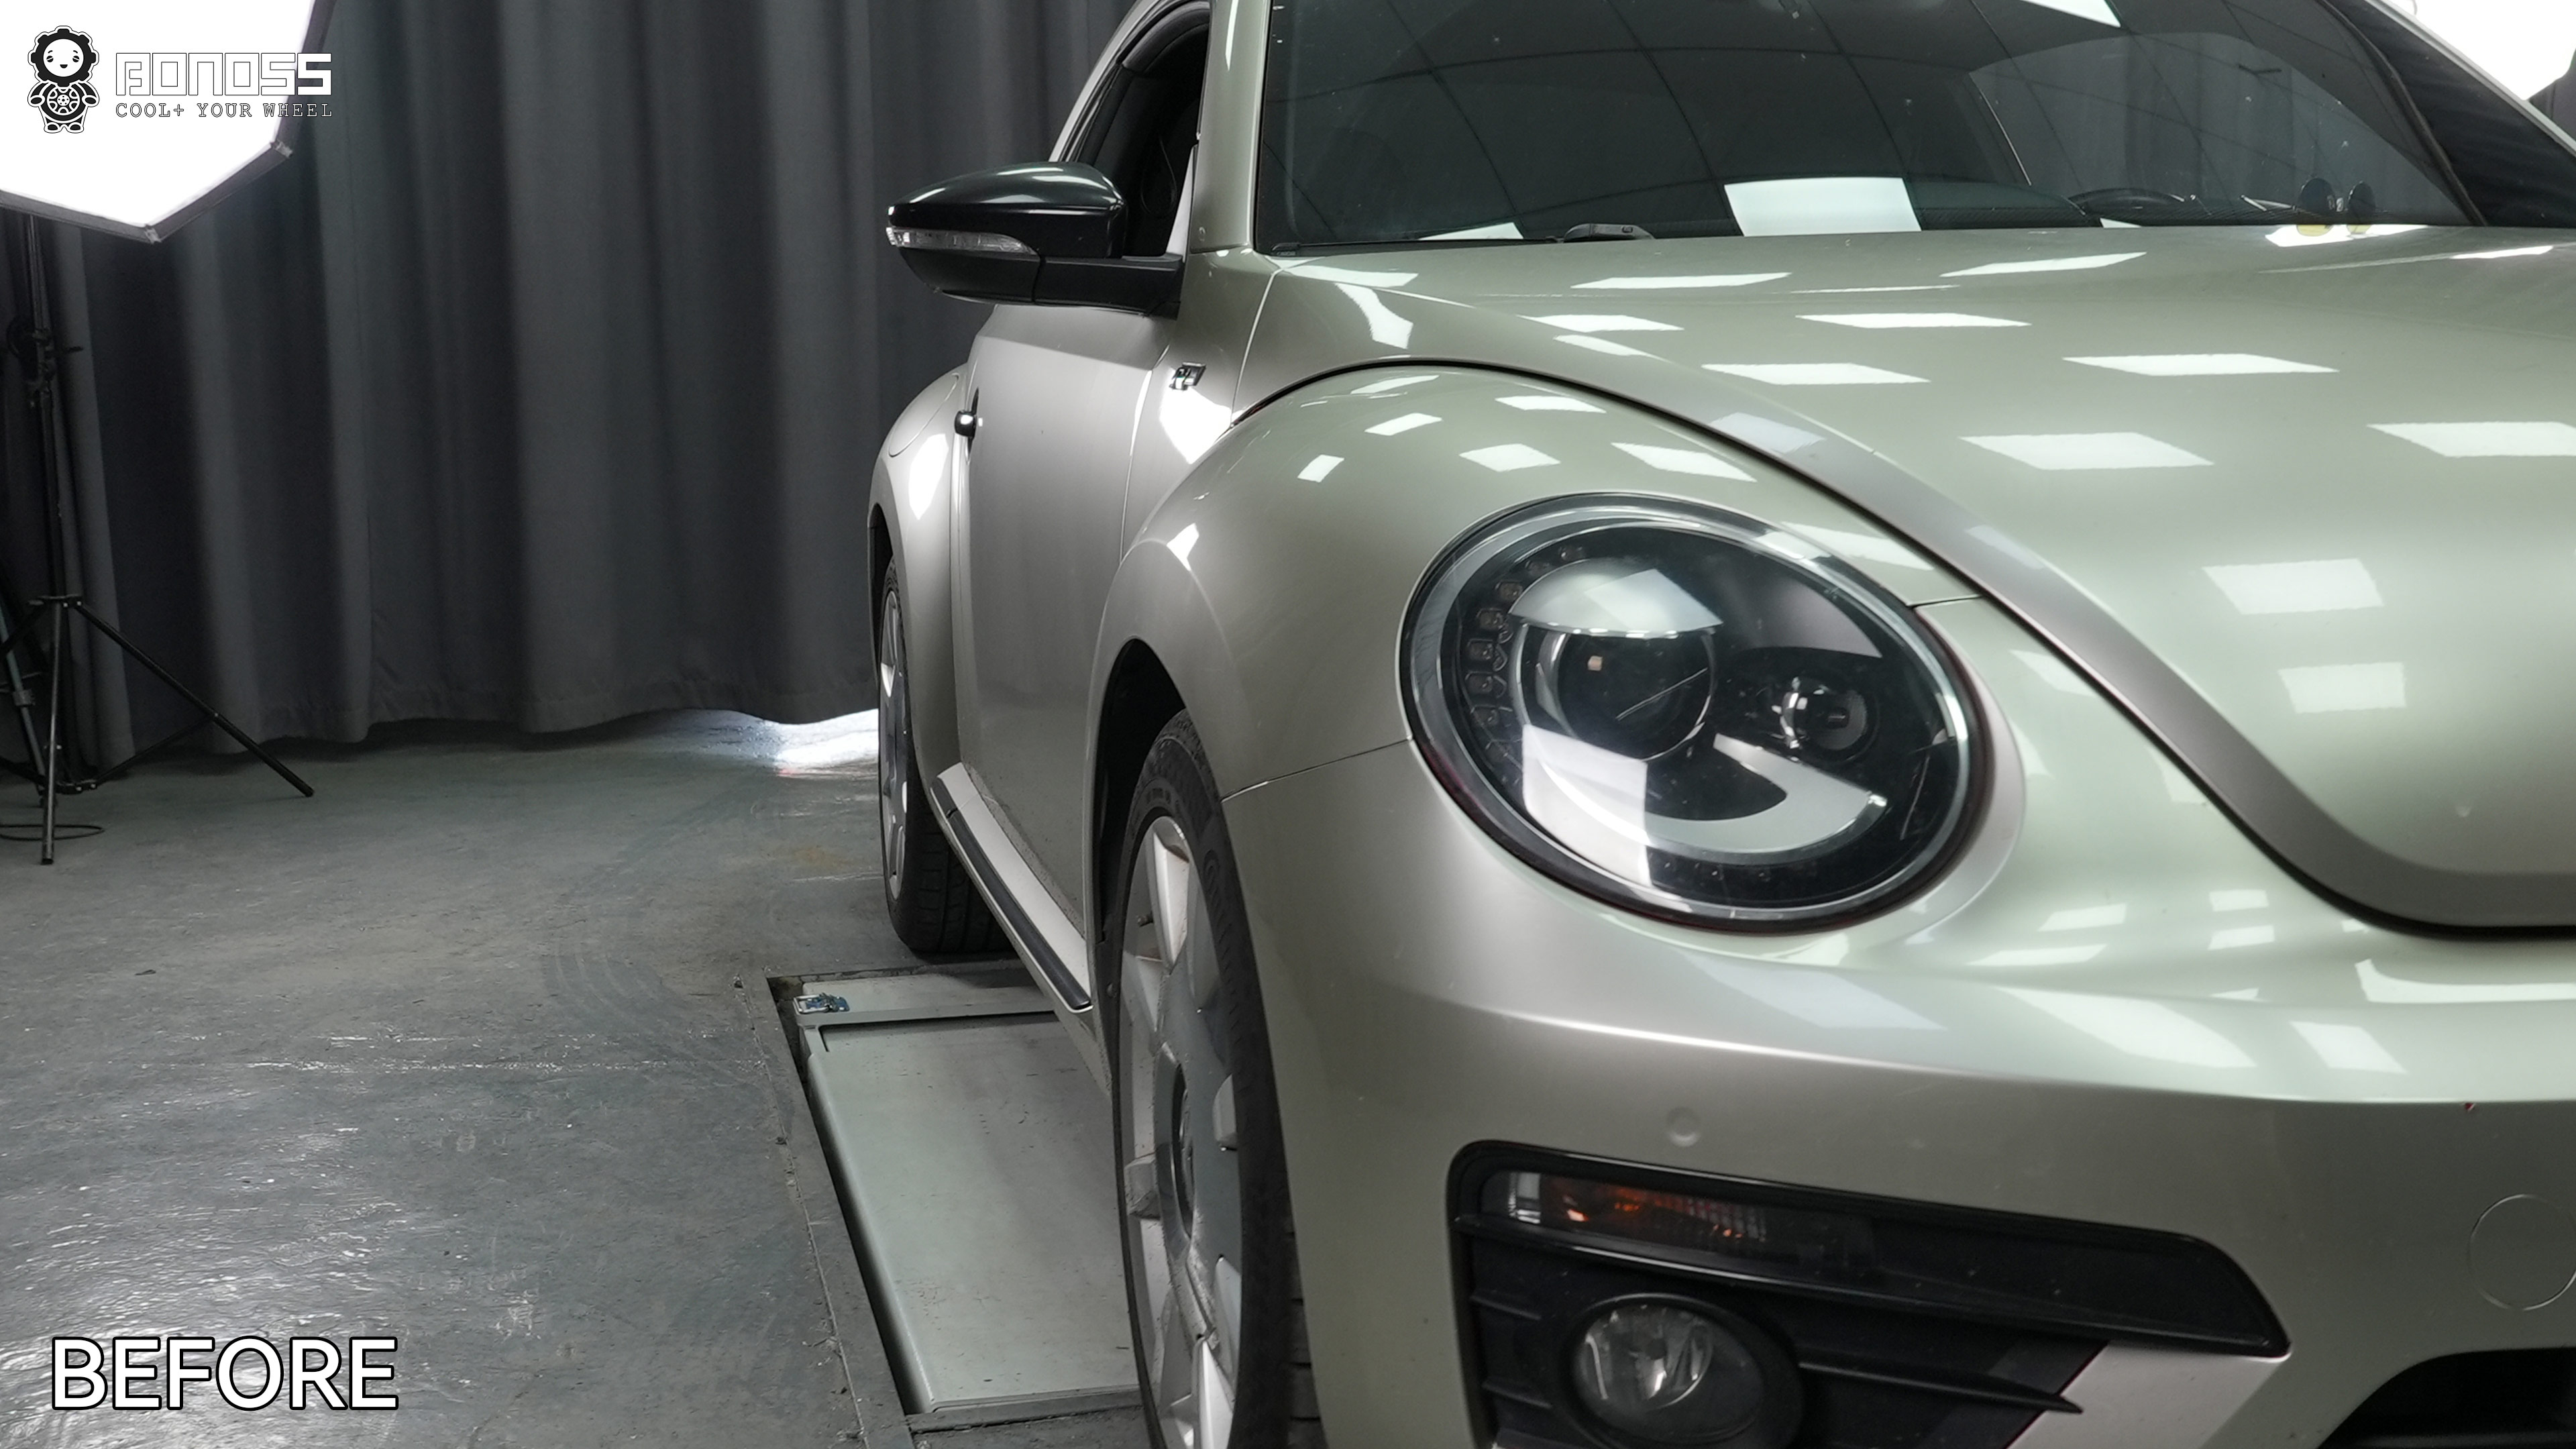
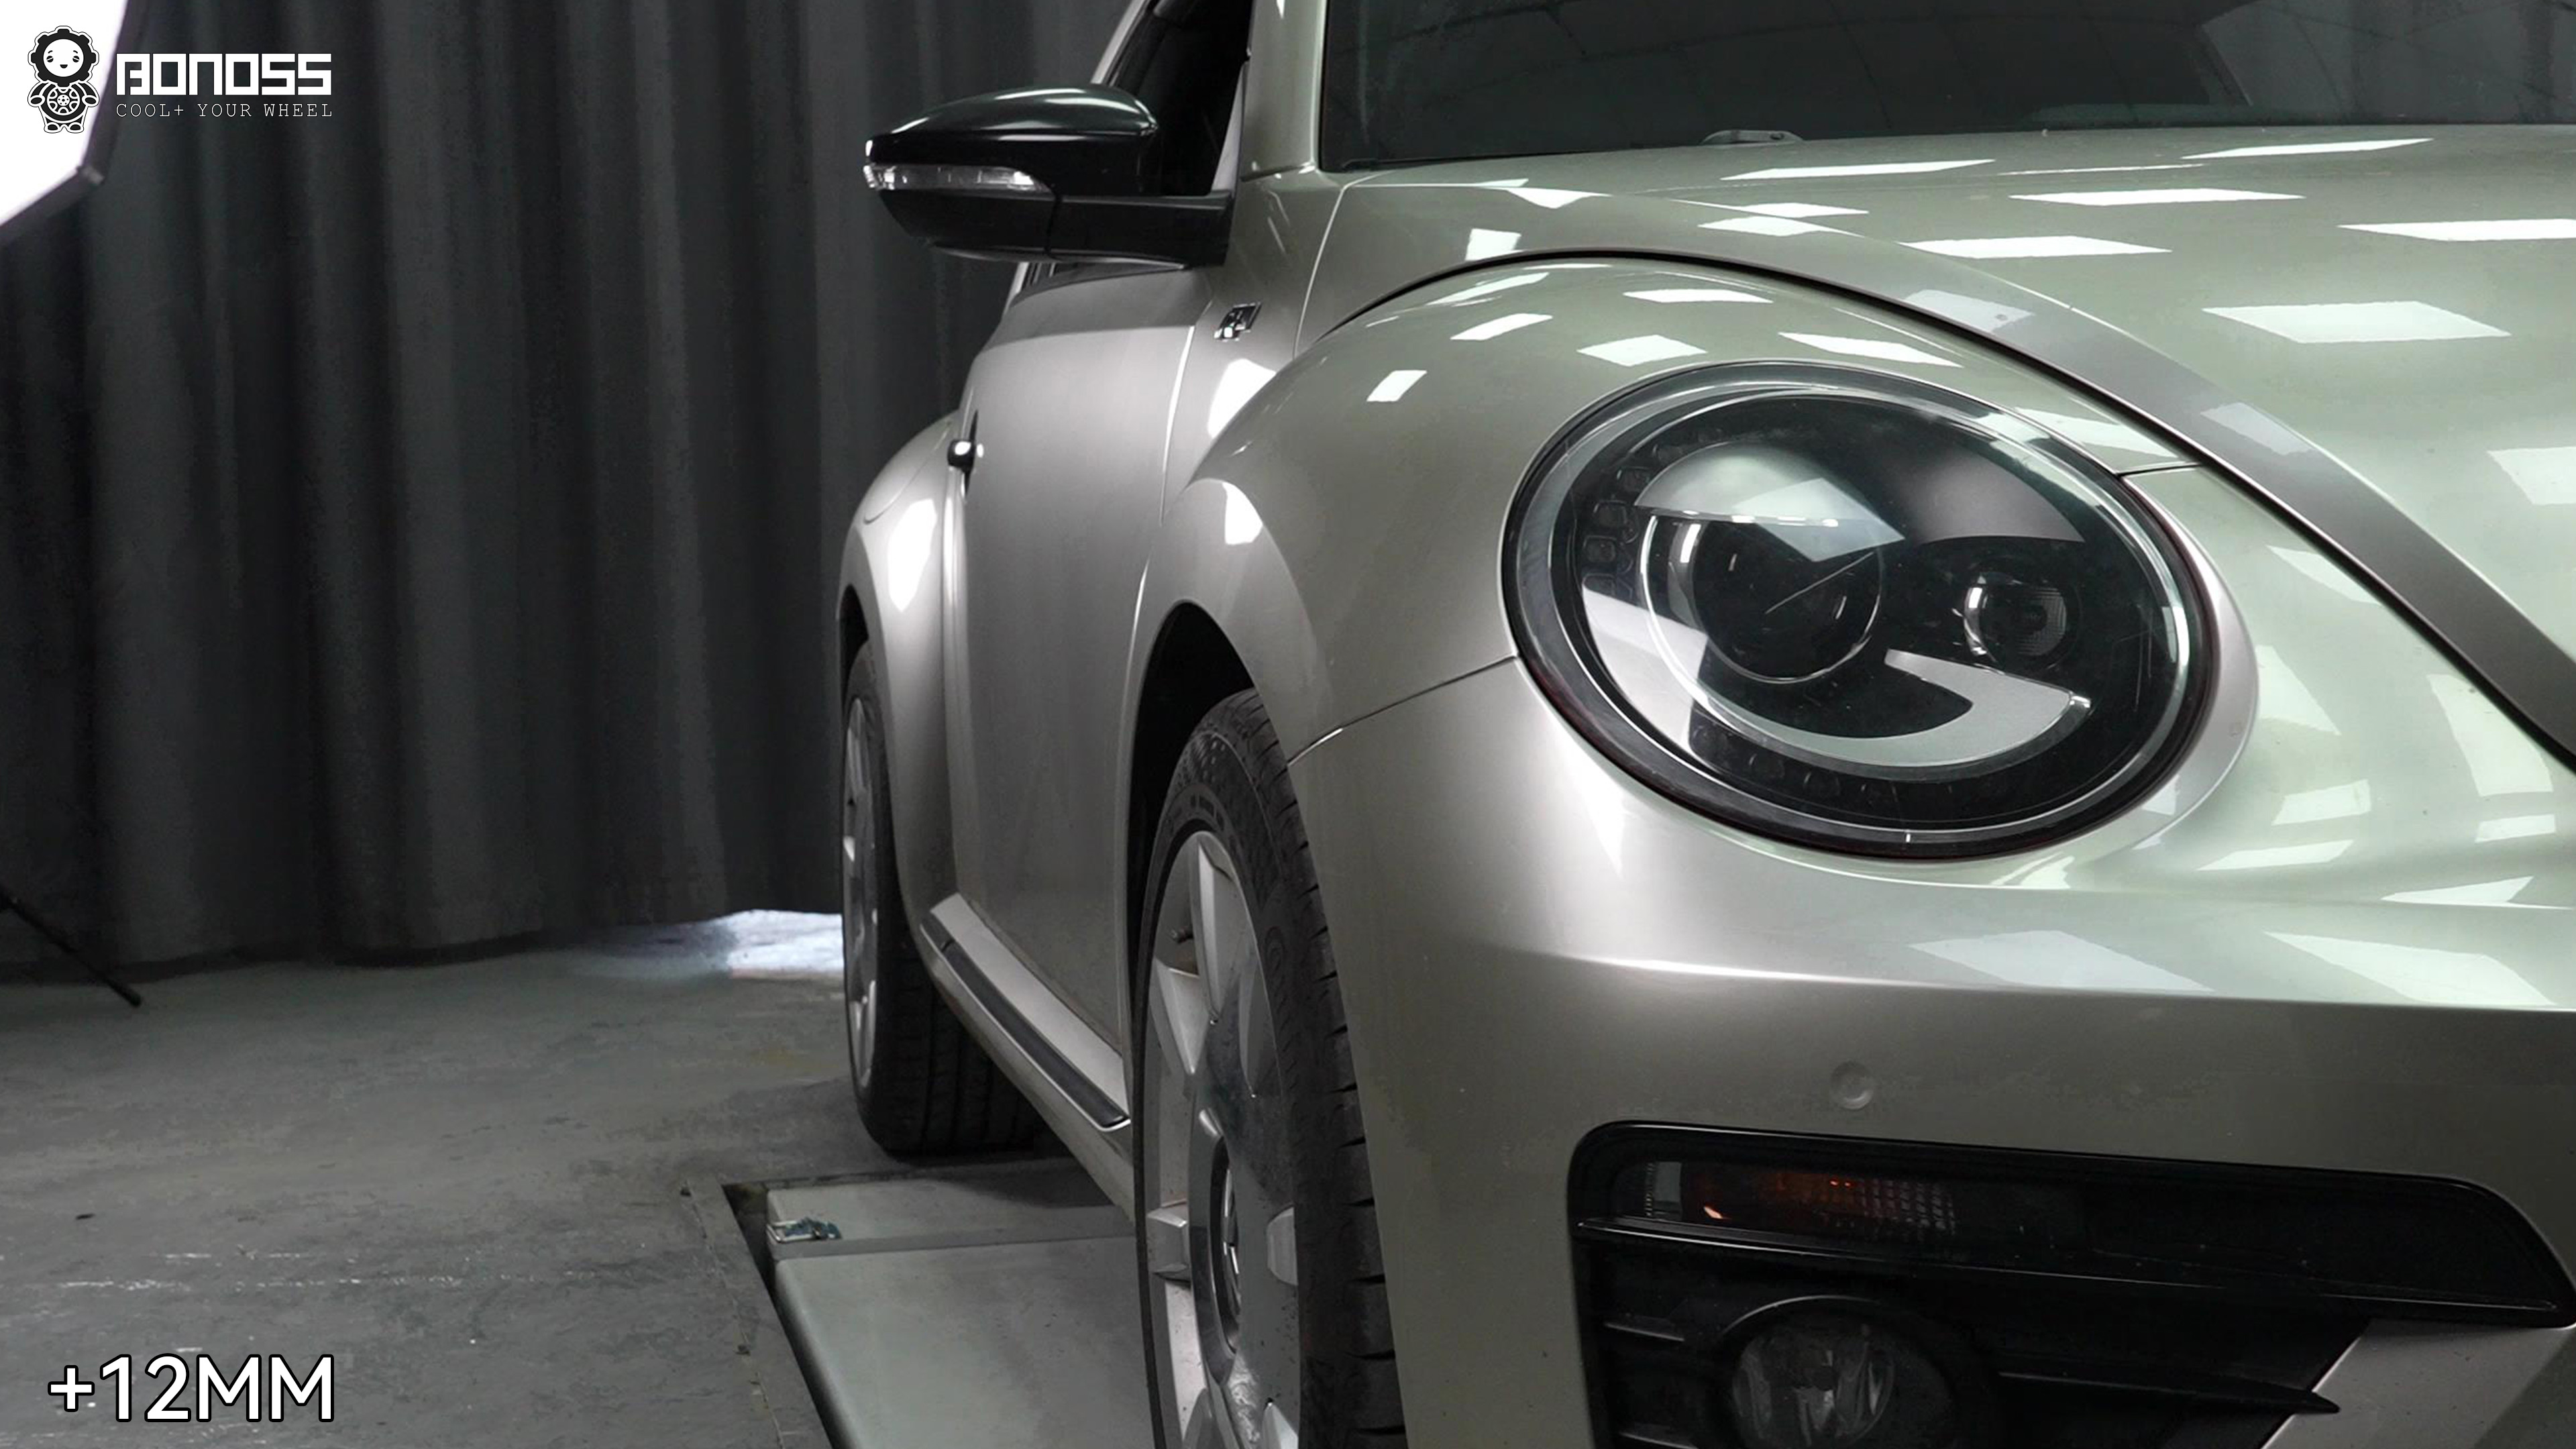
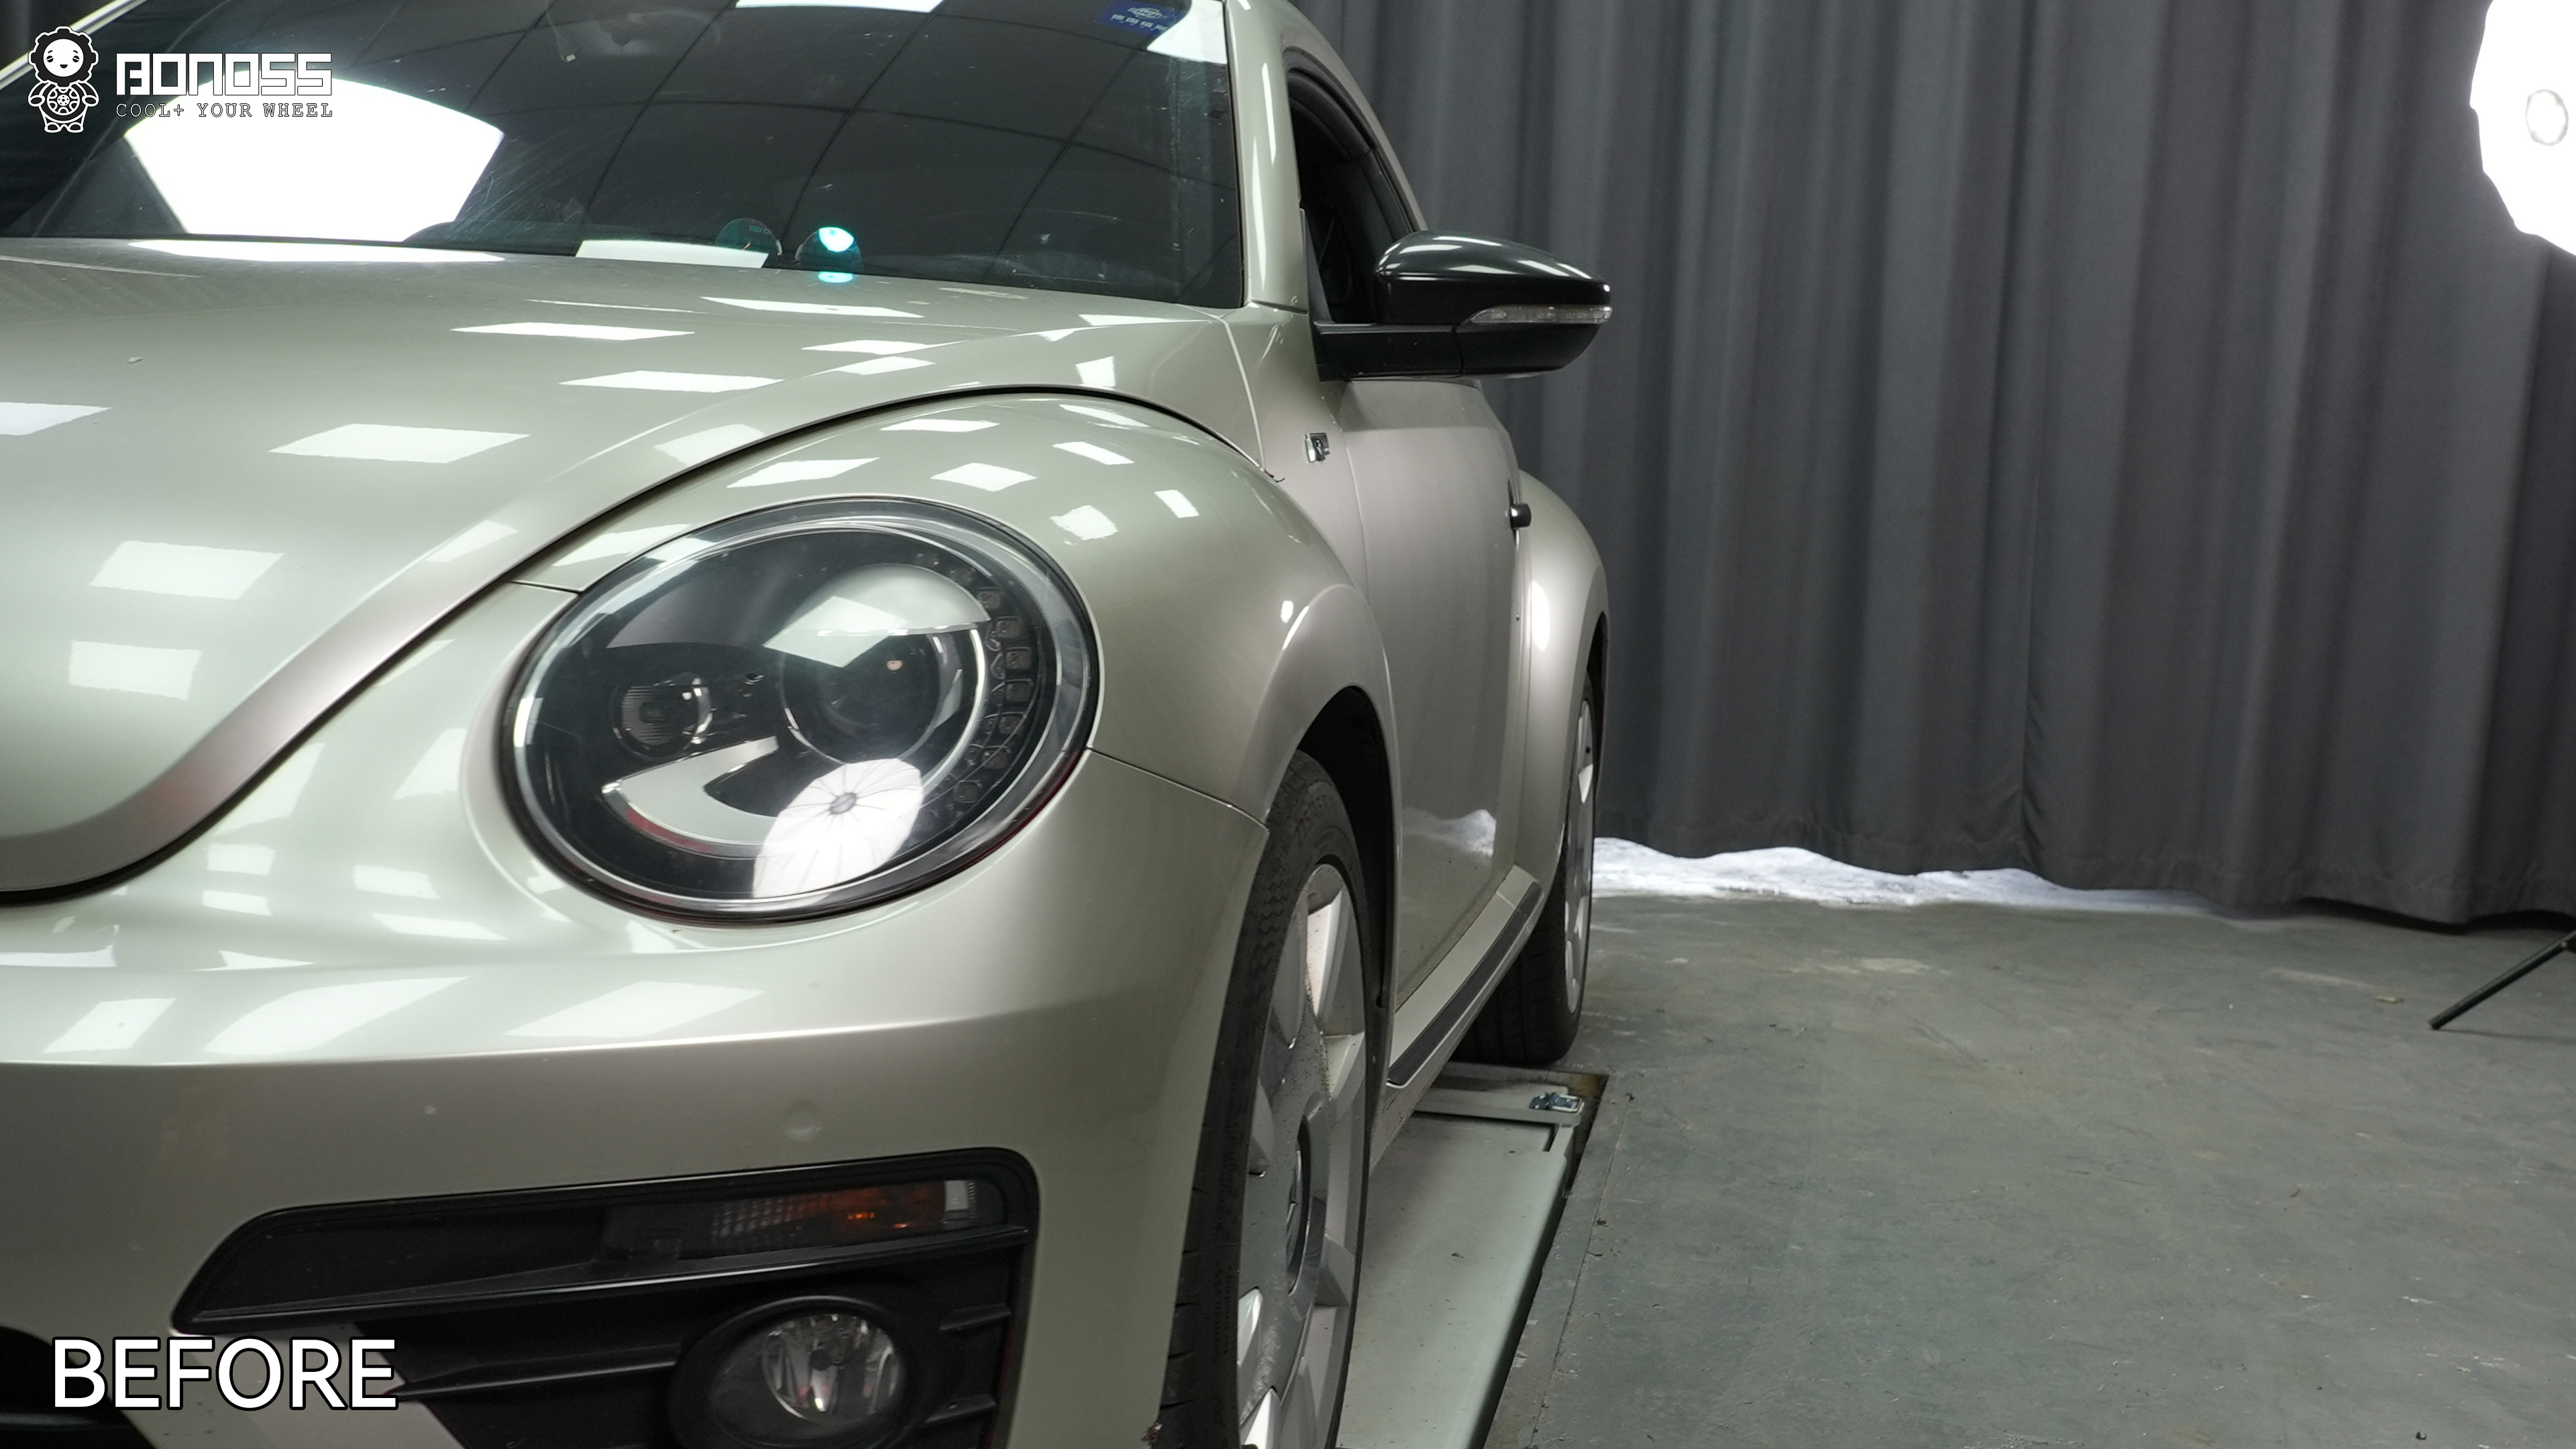
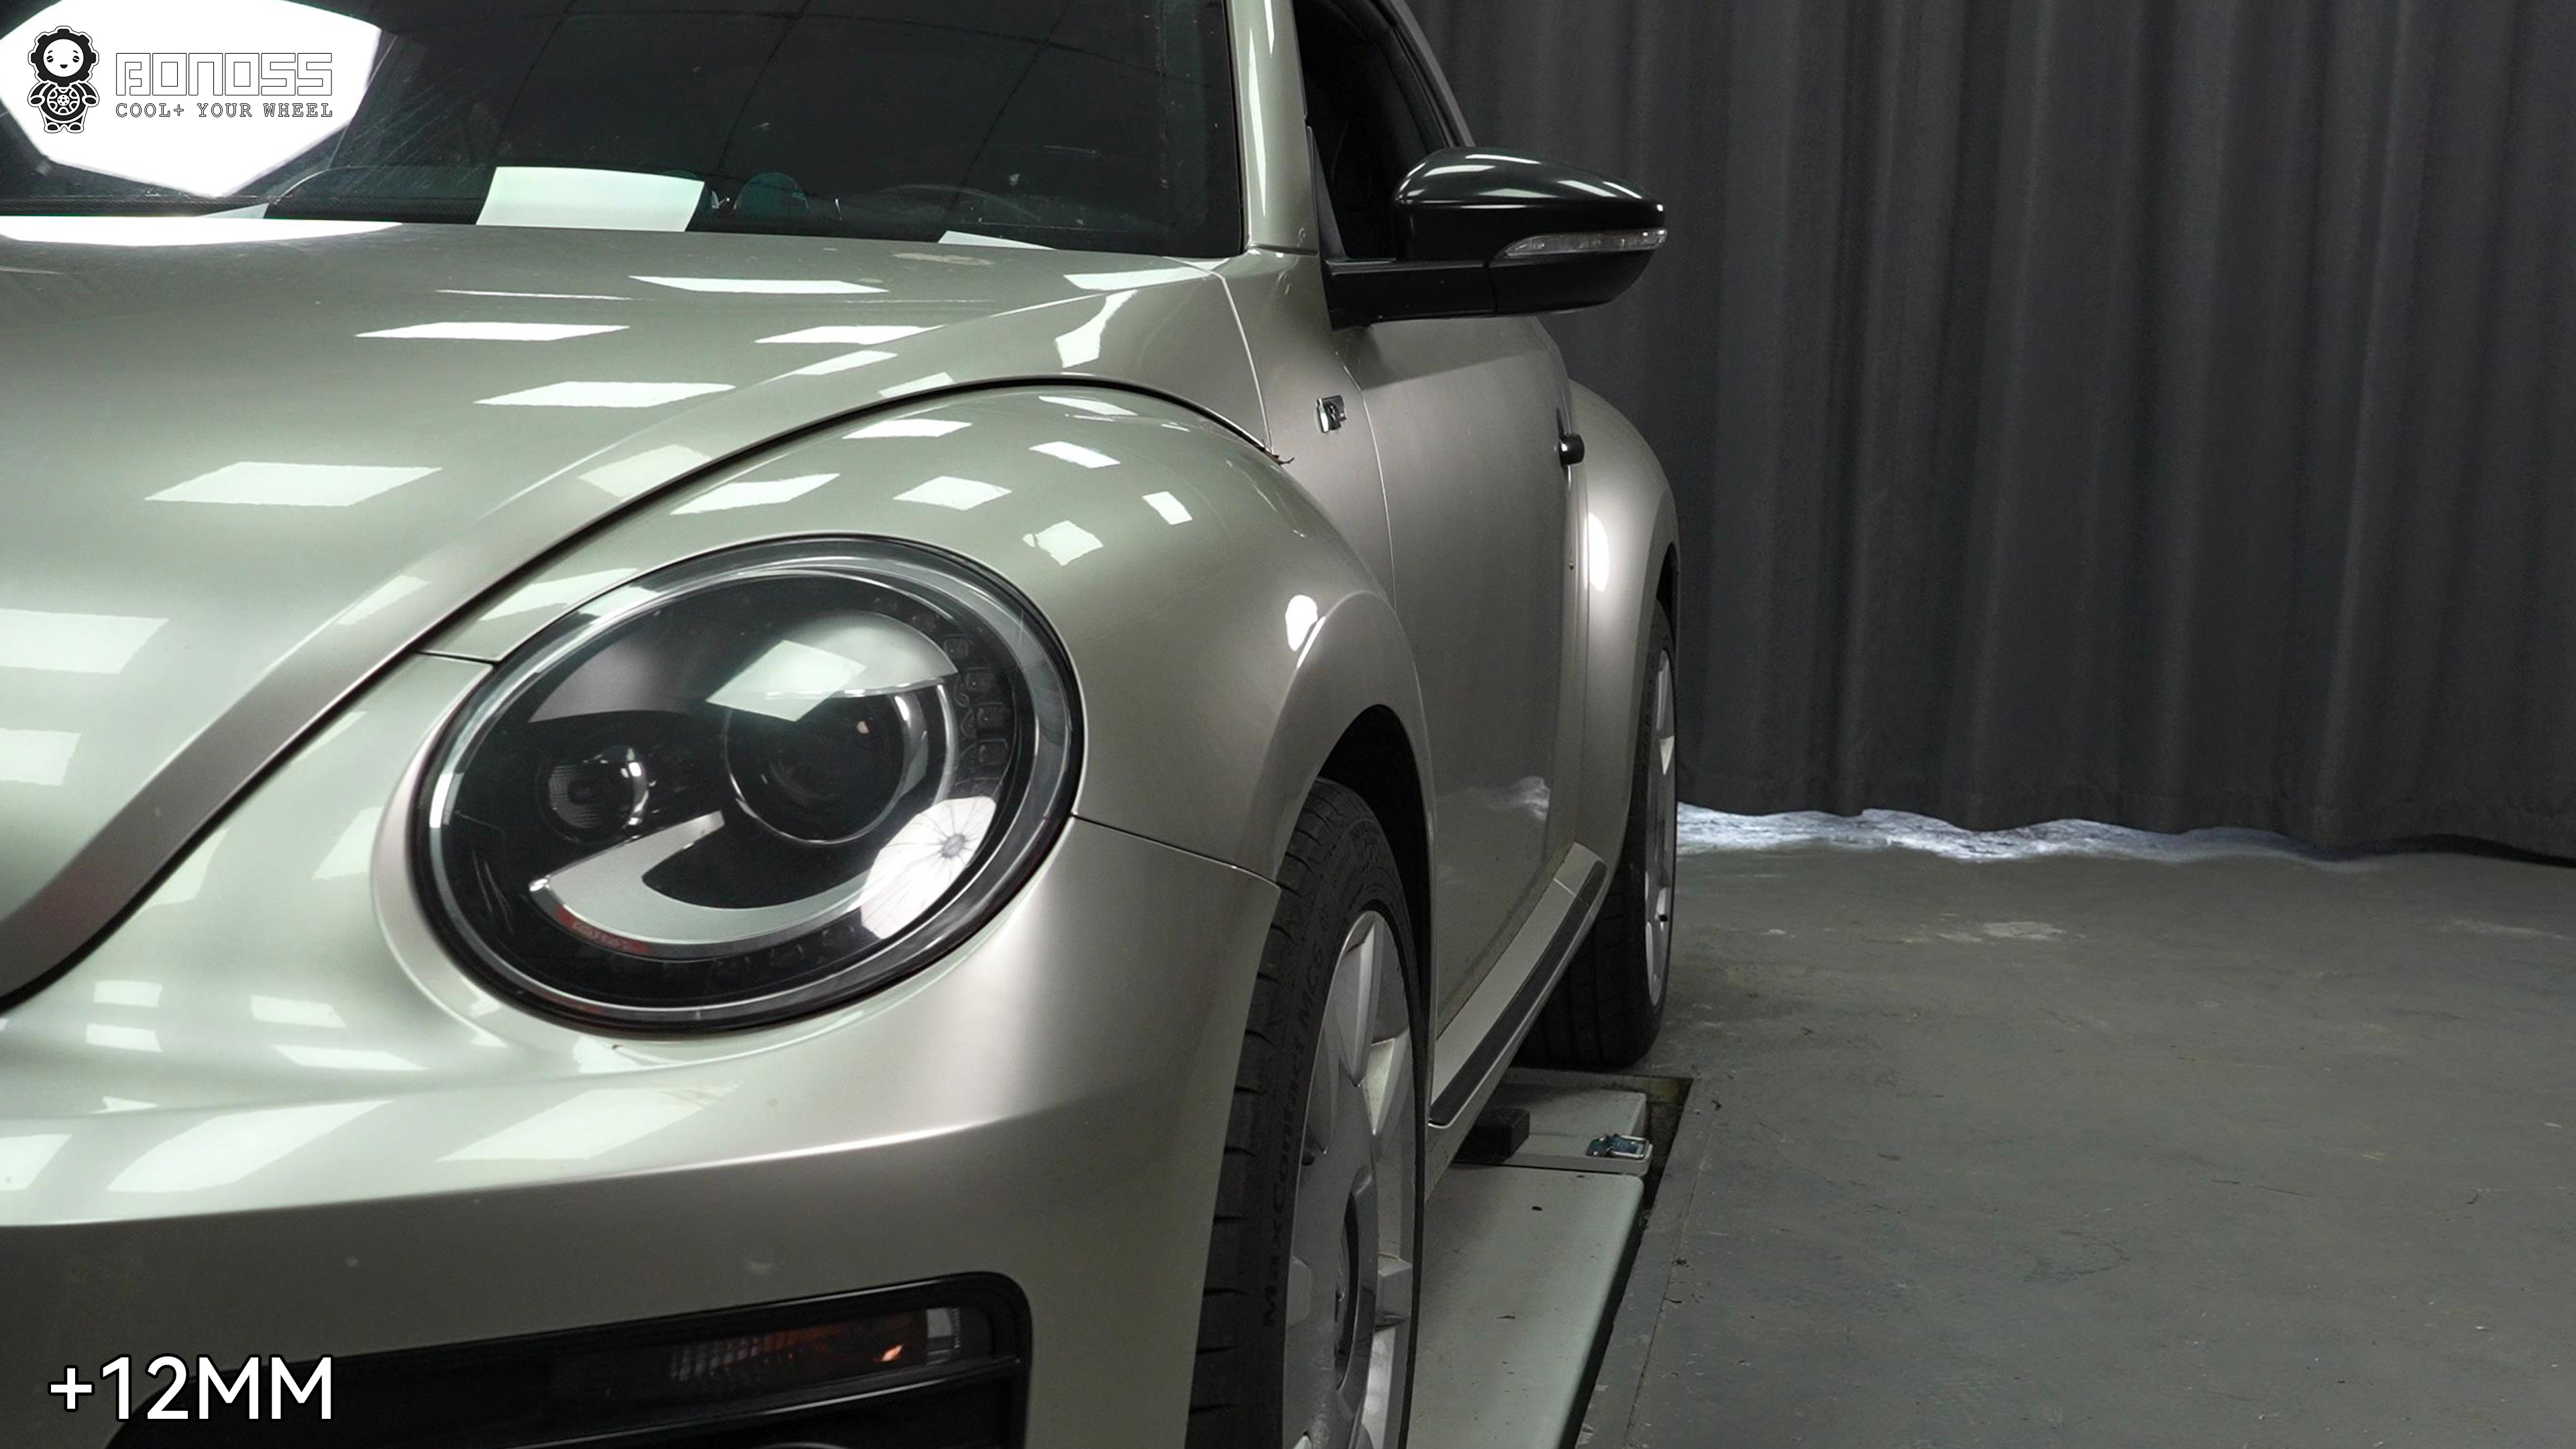
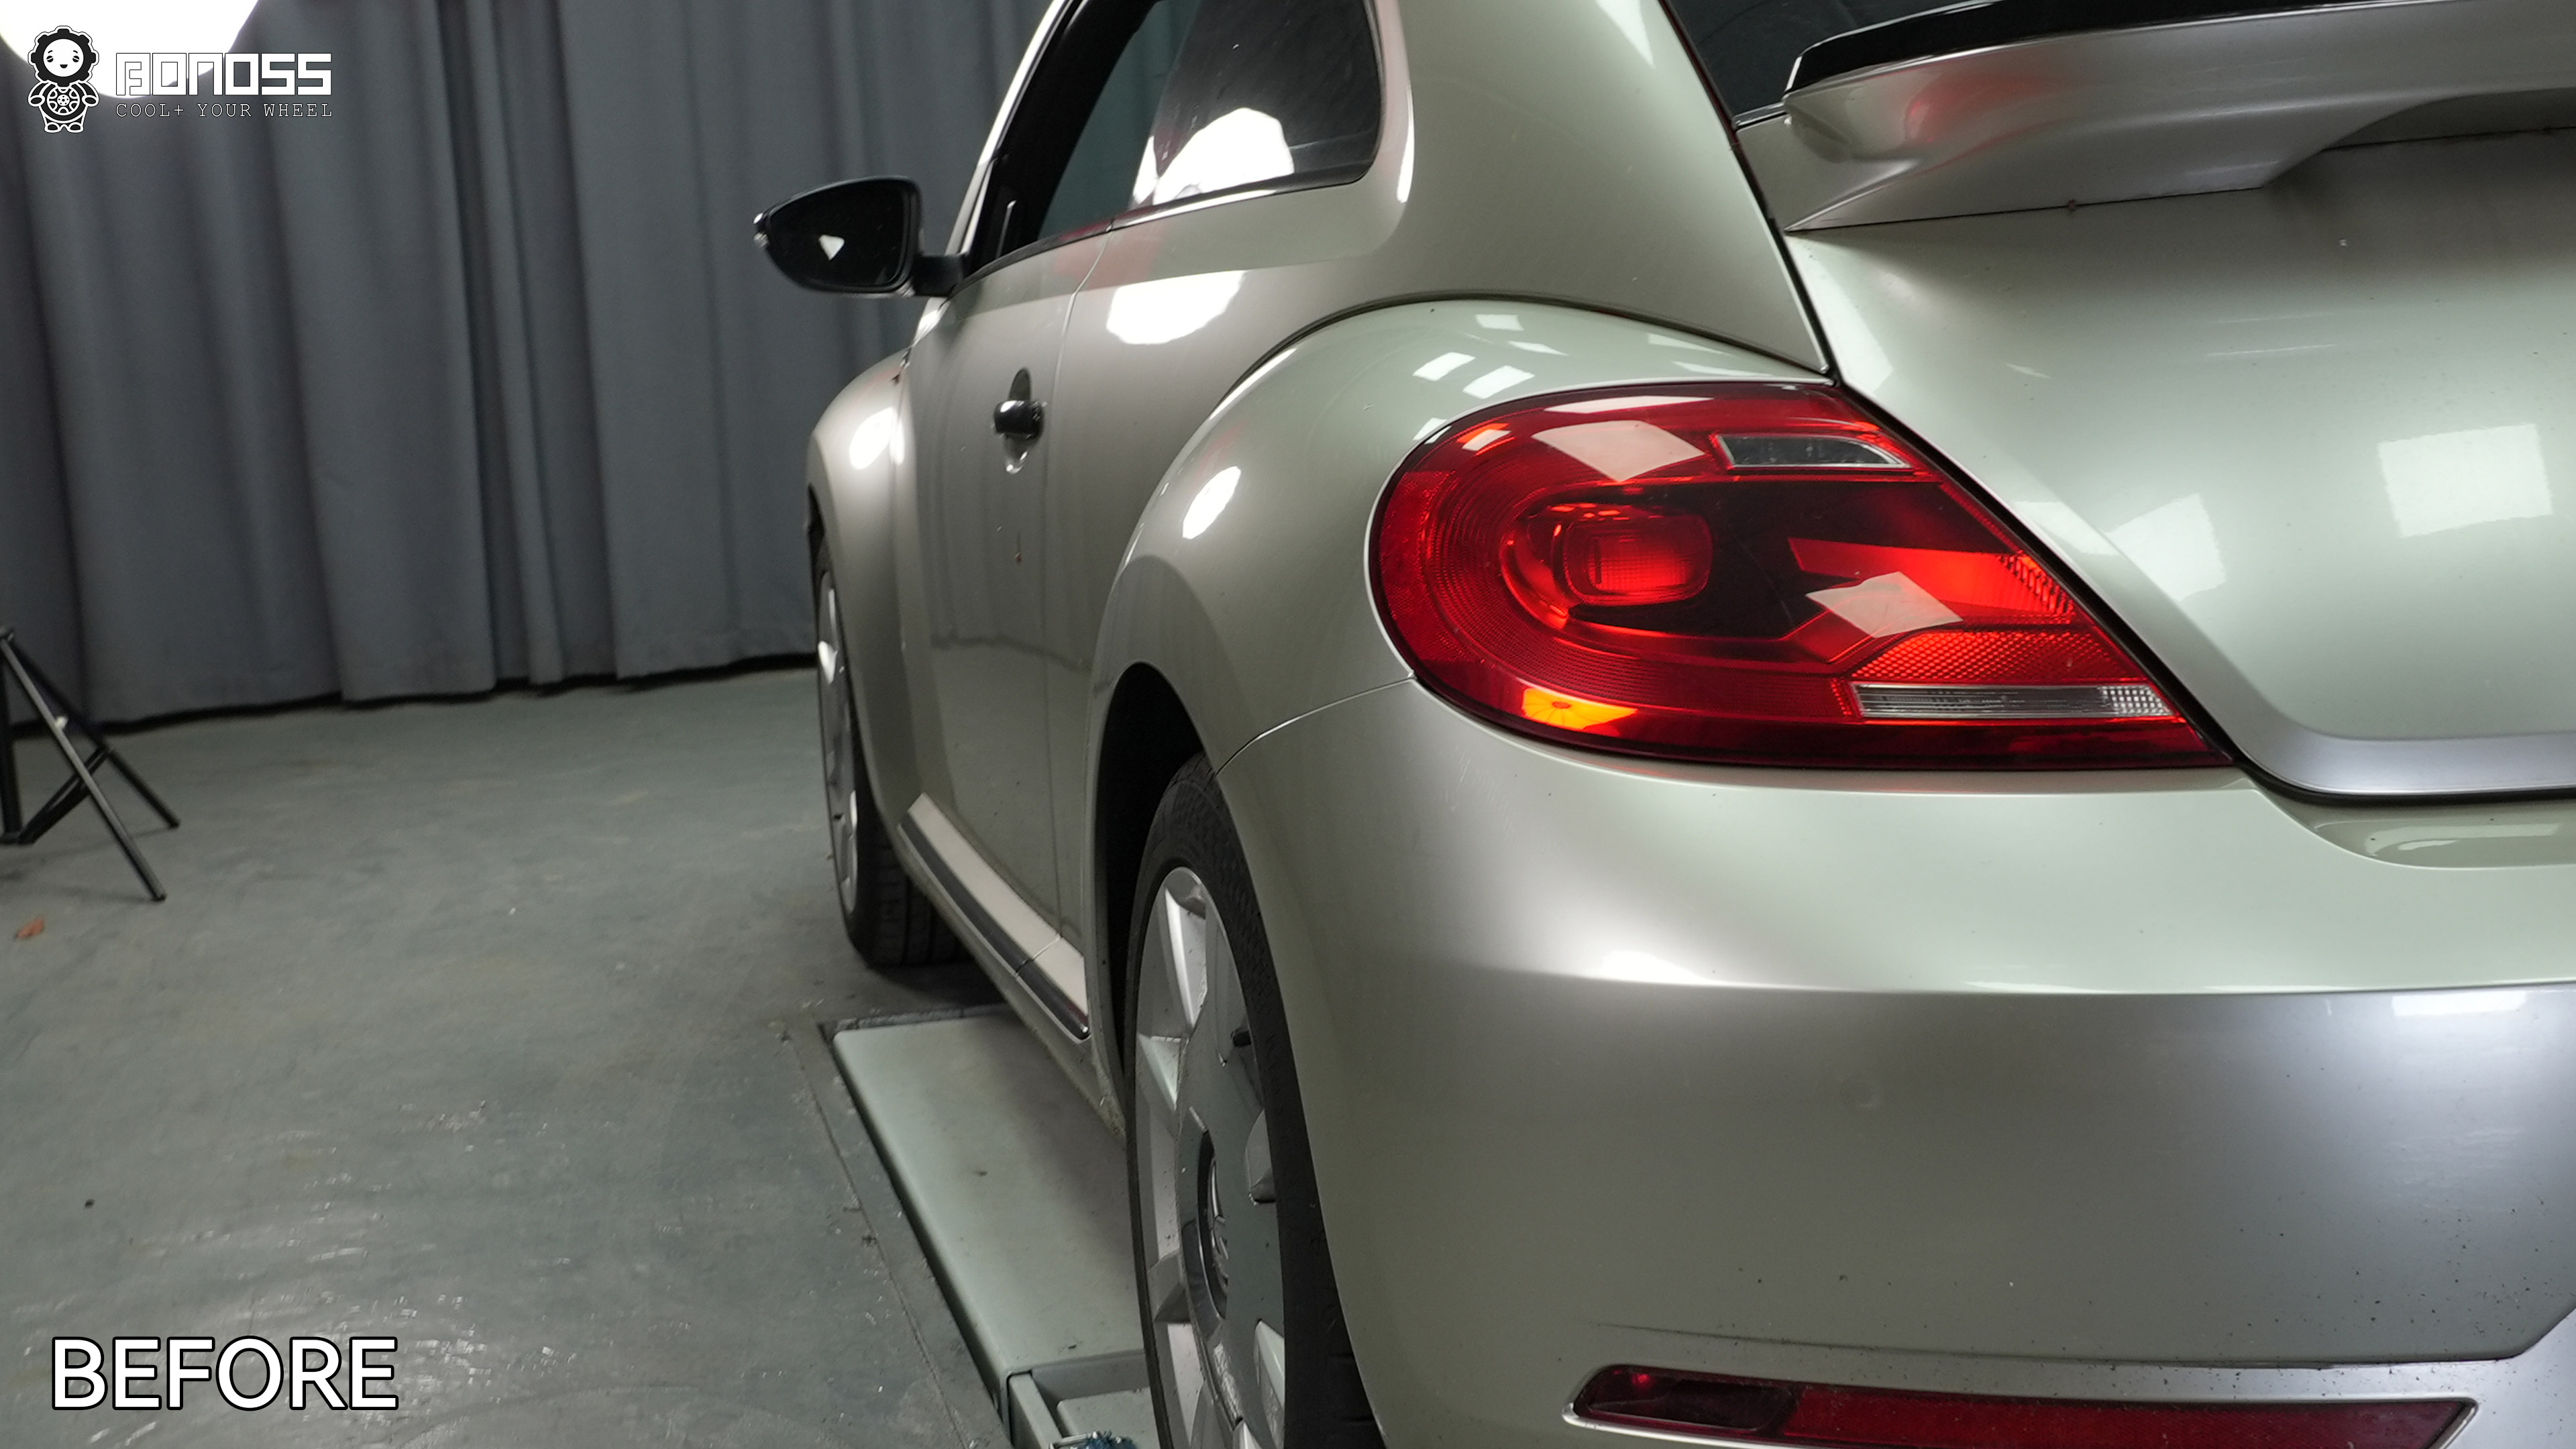
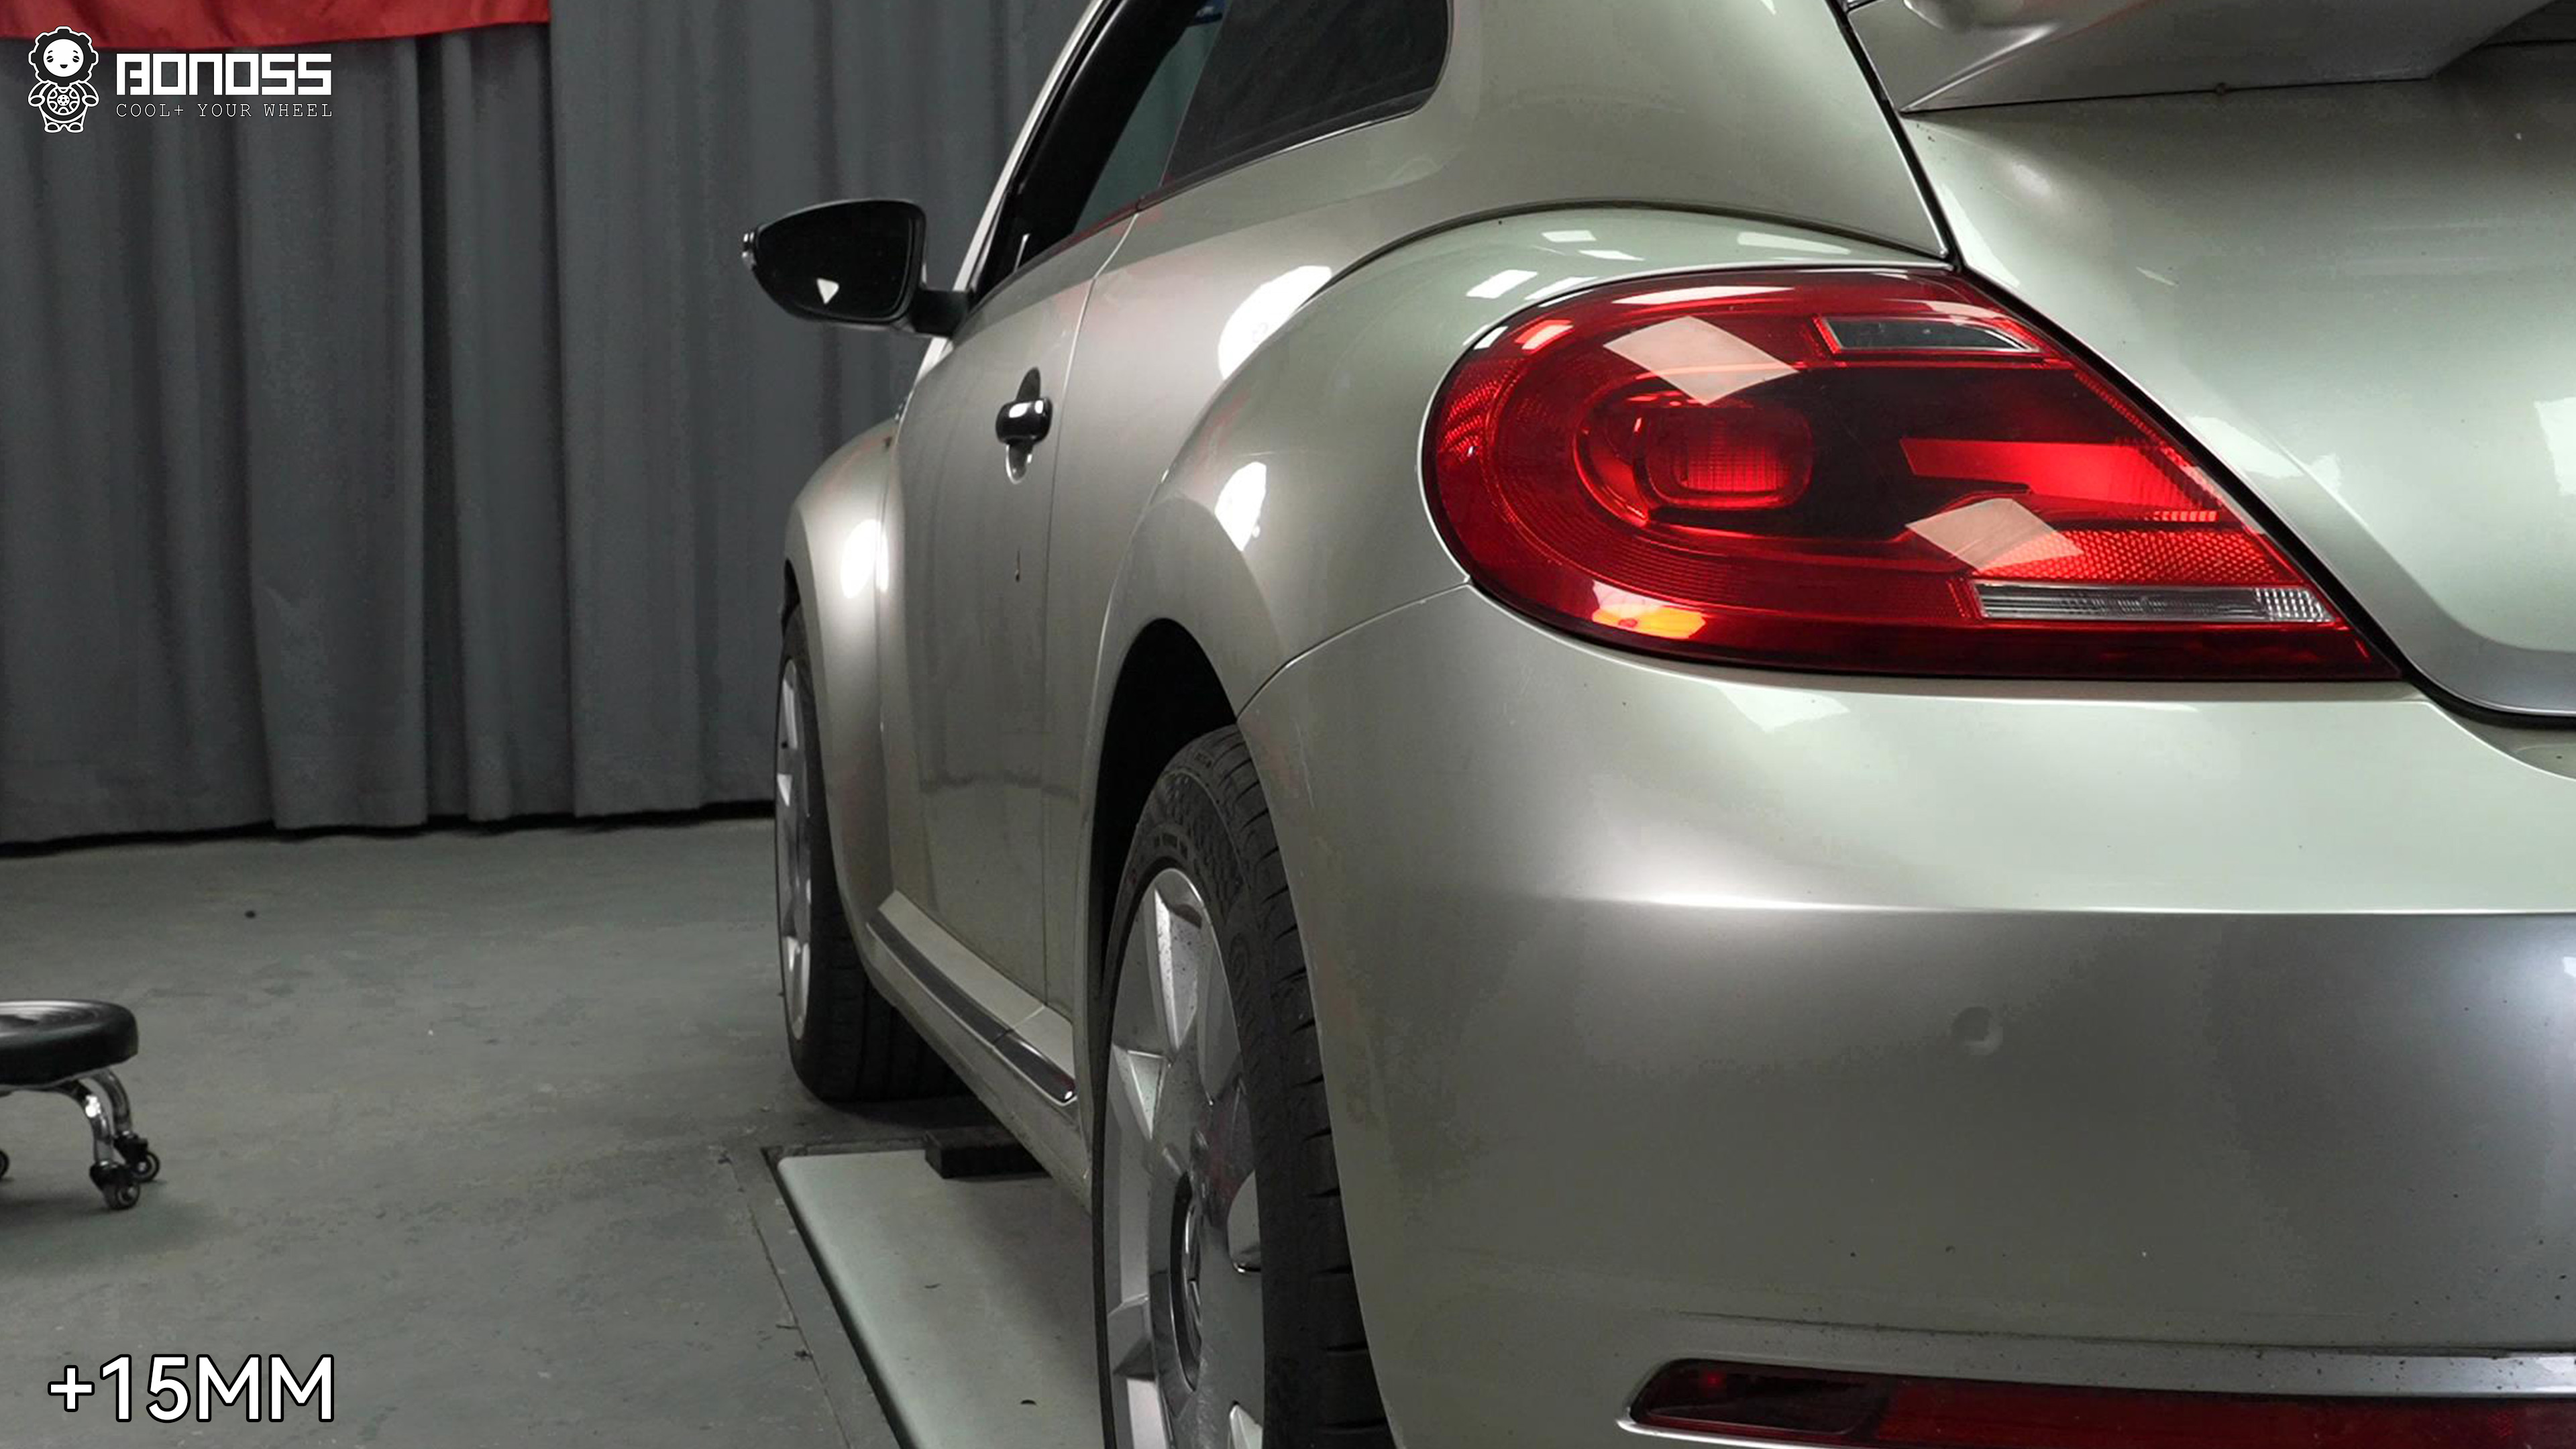
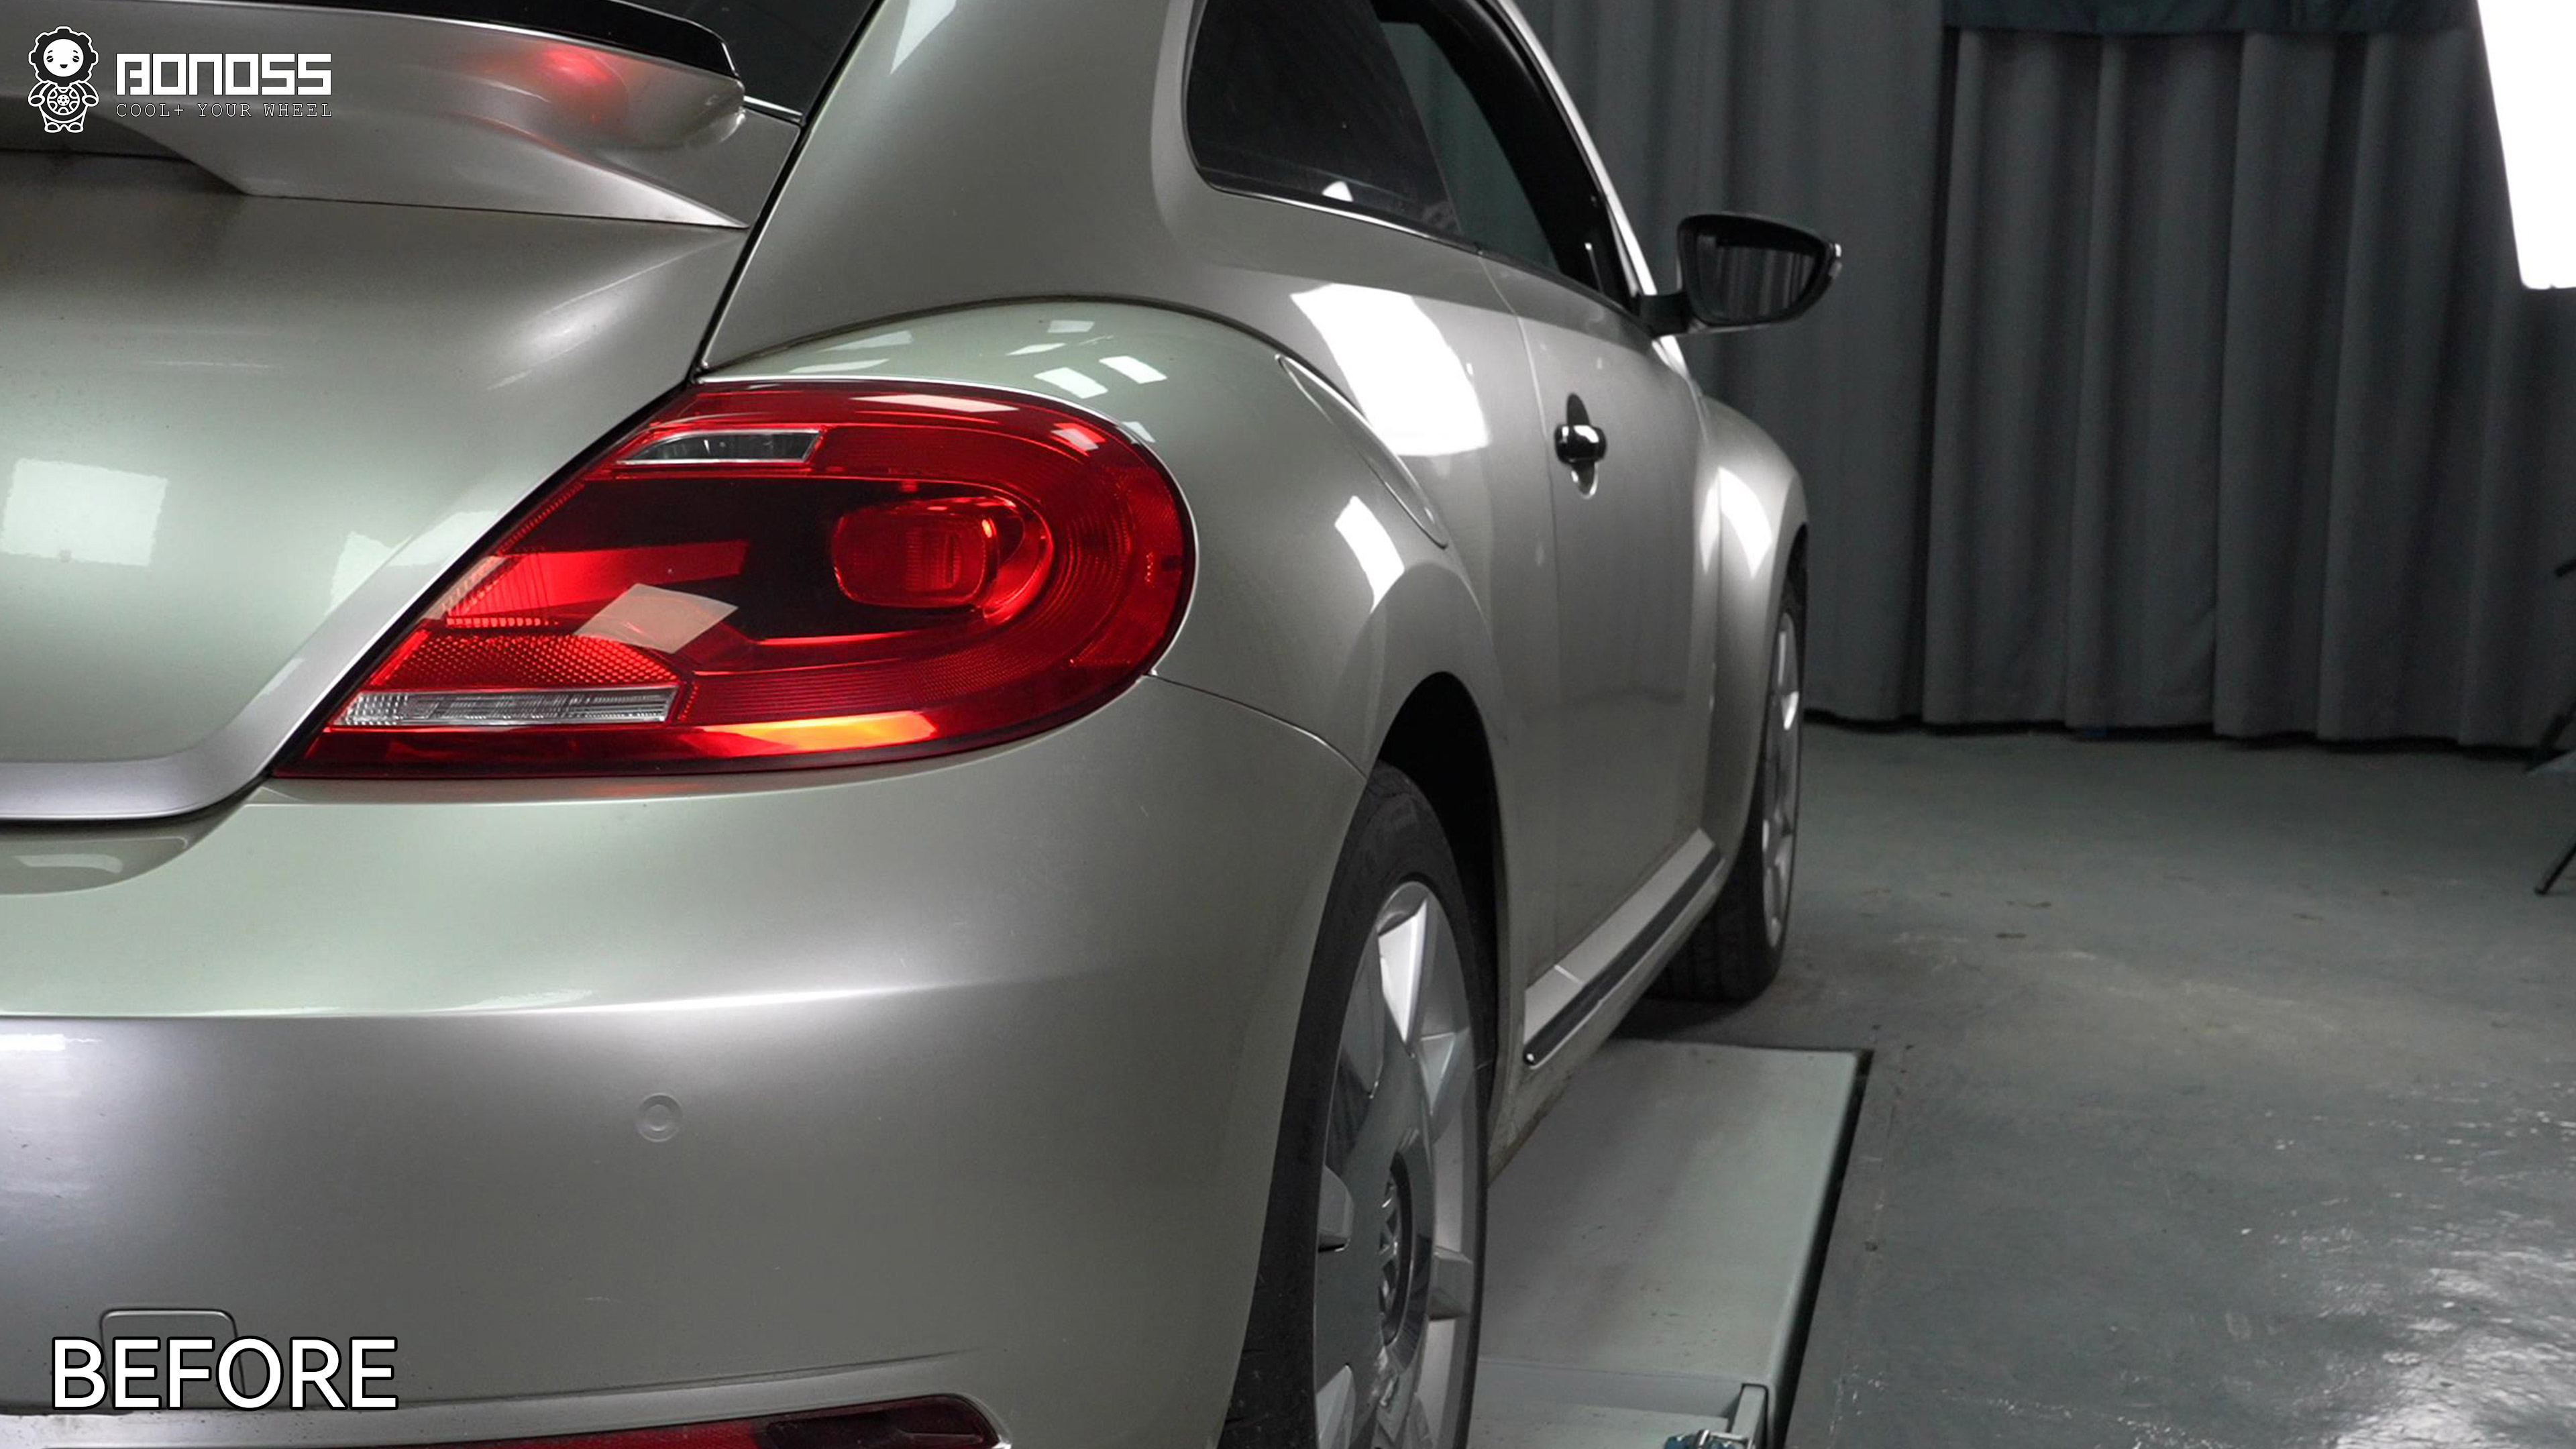
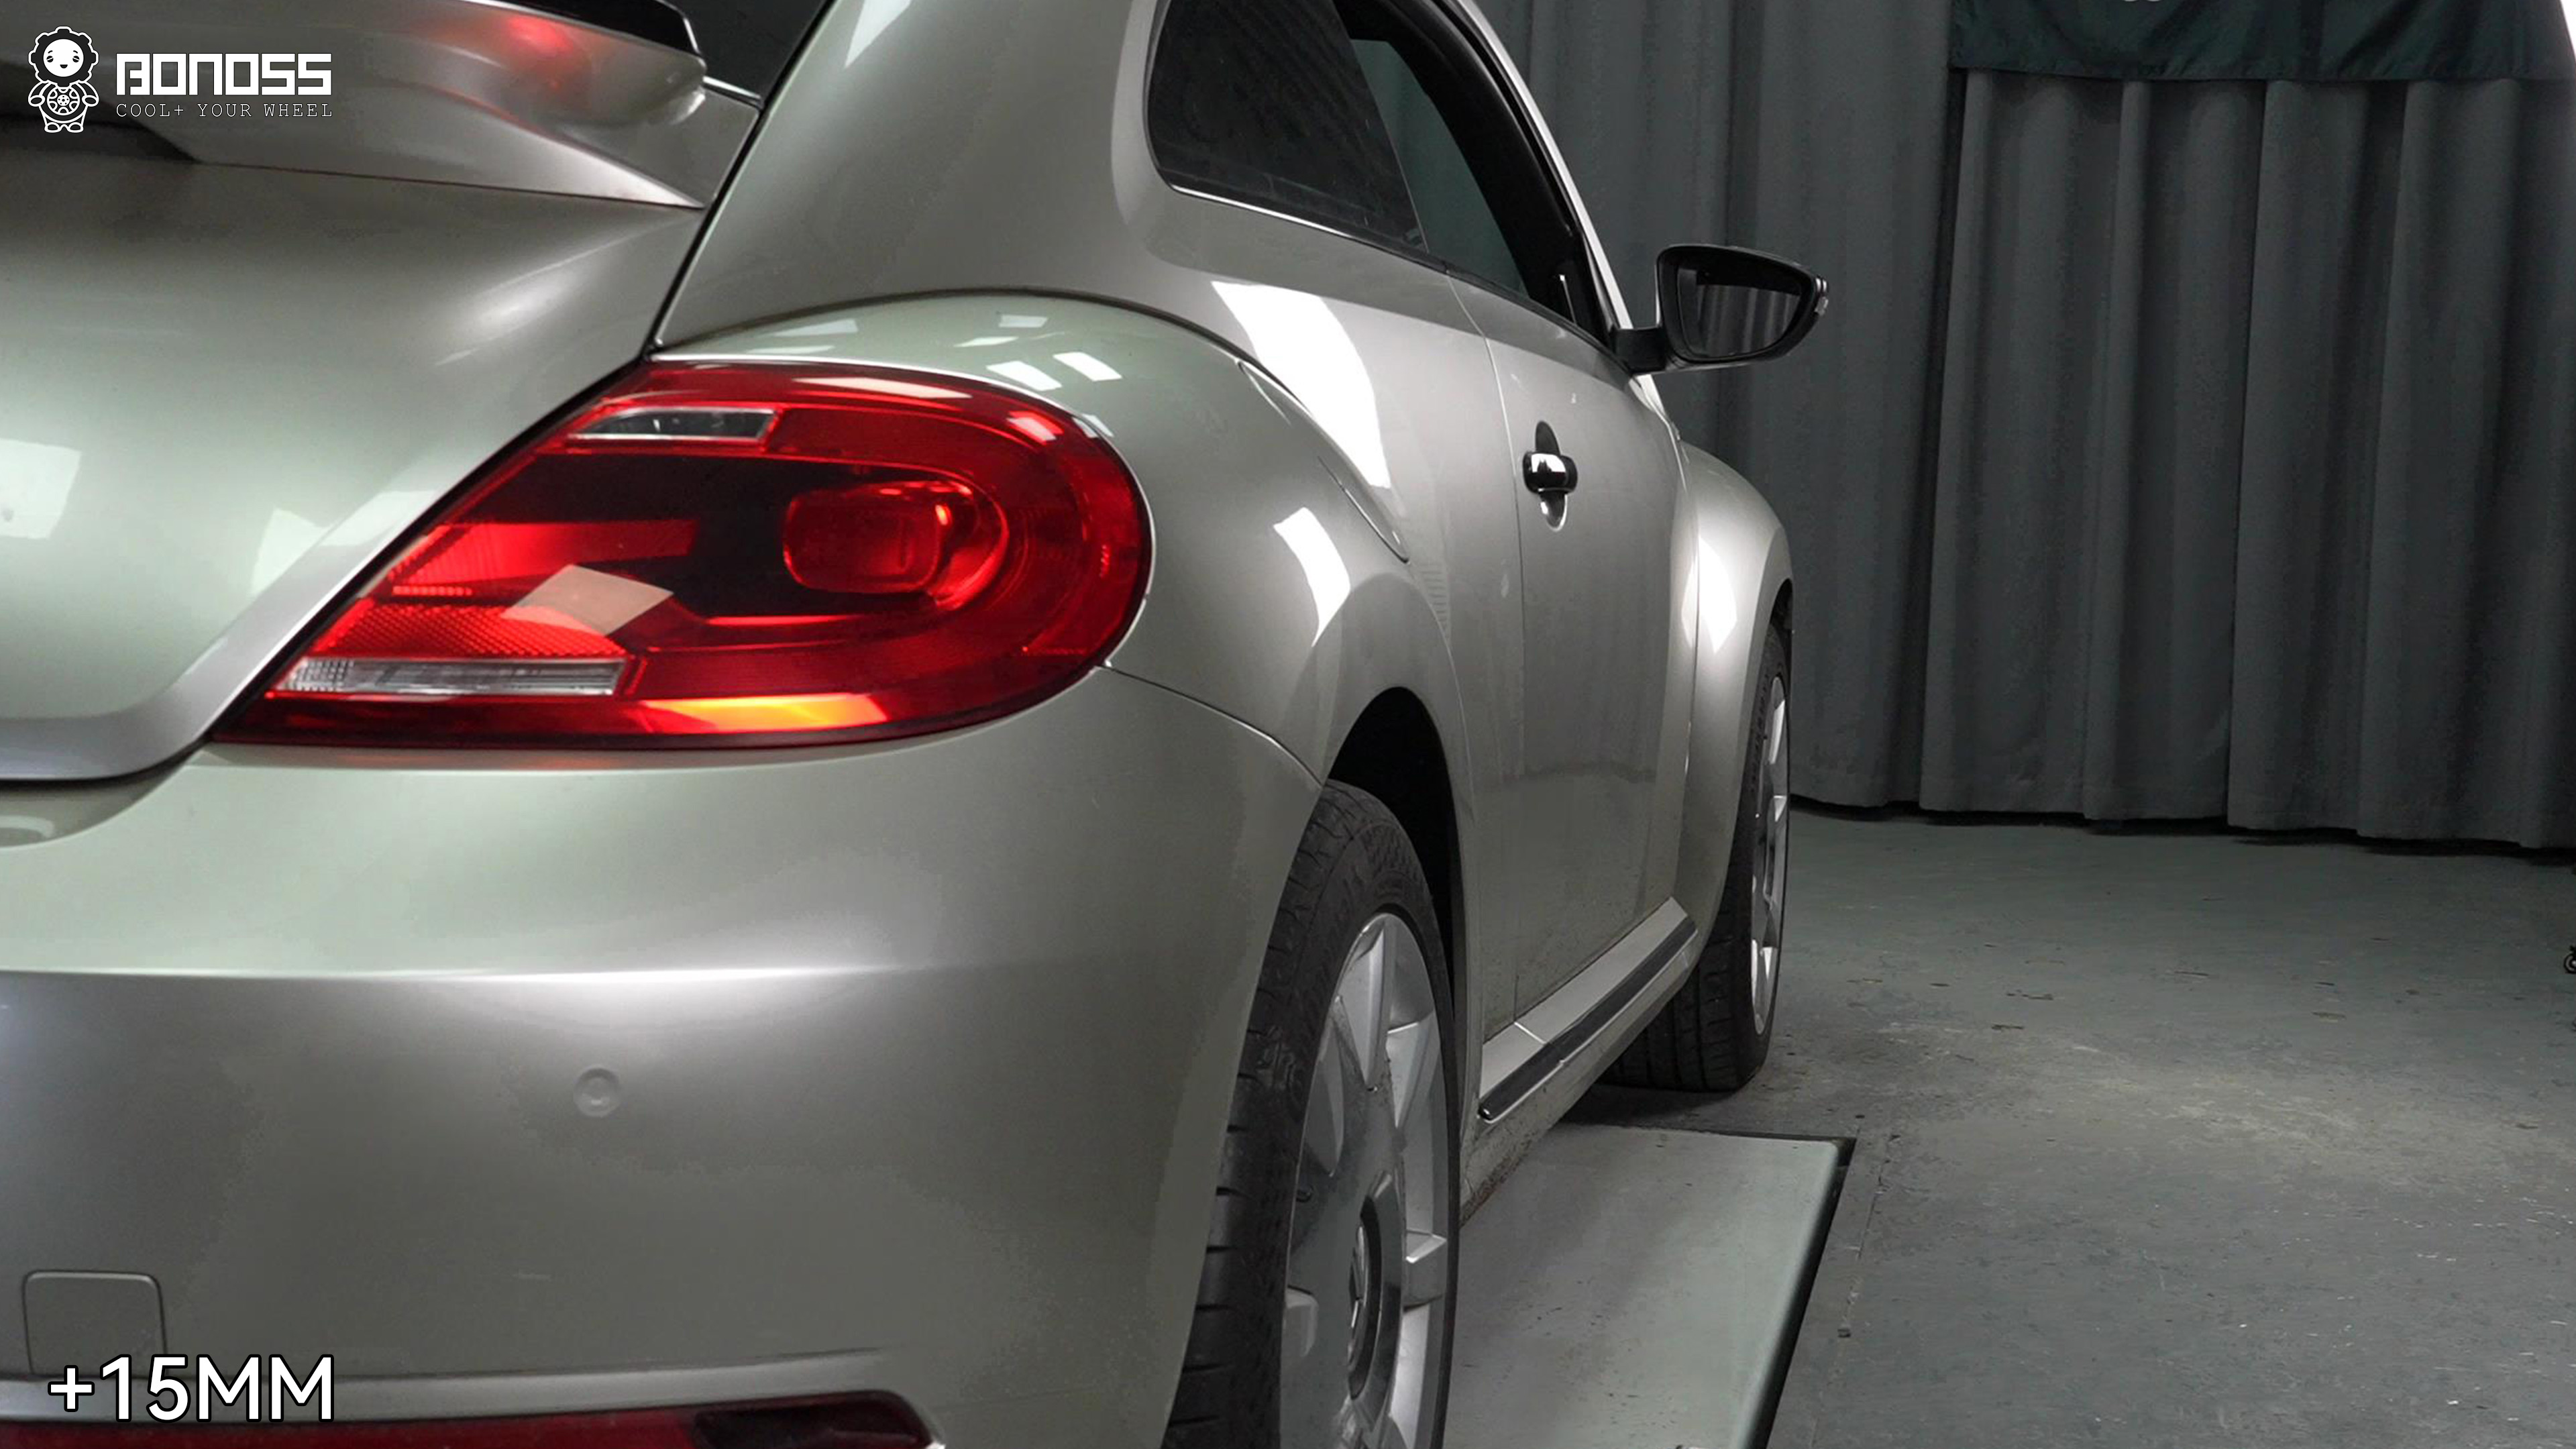
From the side, the transformation is exactly what Ryan was chasing. The 235 tires now sit flush with the fender arches on the stock 18s — no poke, no tuck, just a planted, deliberate stance that looks like the car should have left the factory this way. The before-and-after photos tell the story better than adjectives can.
But the change he talks about most isn’t visual.
“It feels more stable on highways,” Ryan said after driving on the setup for a while. “The car looks cooler with the wheel spacers on. I should install them sooner, haha.”
That tracks with the physics: a wider track lowers the car’s tendency to roll in transitions and puts the tires squarely under the fenders where the suspension geometry works best. Combined with hub-centric centering and correctly torqued grade 12.9 bolts, the result is a daily driver that feels settled at speed rather than nervous.
His verdict on the hardware itself is short and unpolished, which is why we trust it: “They’re high-quality wheel spacers. Put 1,600 miles on them—no vibes, no rubs, zero issues.”
No drivability issues. No rubbing. No vibration. One hour of install time, two small problems diagnosed along the way, and a stance that finally matches the car.
FAQ: 2015 Beetle Wheel Spacers
Are wheel spacers safe on a 2015 Volkswagen Beetle?
Yes — provided three conditions are met: the spacer is hub-centric and matched to the Beetle’s 57.1mm hub bore, the thickness clears the front hub lip (11.8mm on this car, so 12mm minimum up front), and extended wheel bolts of the correct length and seat type are torqued to spec. Ryan’s install has run without drivability issues, vibration, or rubbing because all three boxes were checked.
What size wheel spacers do I need for a flush fit on a 2015 Beetle?
On the stock 18x8J ET+48 wheels, this car needed 12mm front and 15mm rear to sit flush — but the right answer comes from measuring your own car, not copying someone else’s numbers. Measure the gap between the tire face and the fender edge at each corner, and always confirm your hub lip height first: on many Beetles it’s around 11.8mm, which rules out anything thinner than 12mm on the front axle.
Do wheel spacers cause vibration?
They can, but the spacer itself is rarely the real cause. Vibration usually traces back to lug-centric spacers that let the wheel hang on the bolts, debris or rust preventing the spacer from seating flat, or uneven bolt torque. A hub-centric spacer on a clean hub, torqued in a star pattern to spec, should be as smooth as stock — Ryan’s car runs vibration-free at highway speeds.
Do I need extended wheel bolts for 12mm wheel spacers?
Almost certainly yes. The Beetle’s stock bolts have a 27mm thread with an R13 ball seat. Add a 12mm spacer and the remaining thread engagement drops below the safe minimum. The rule is simple: stock thread length plus spacer thickness. Ryan’s car uses 39mm bolts with the 12mm front spacers and 42mm with the 15mm rears, in ISO grade 12.9 with the correct ball seat.
Will wheel spacers rub with 235 tires on stock 18-inch wheels?
On this setup — 12mm front, 15mm rear, effective offsets of ET+36 and ET+33 — there is no rubbing at any ride height, including during street driving over real road surfaces. Rubbing becomes a risk when you go significantly thicker than the flush measurement calls for, which is another argument for measuring the actual gap rather than buying the thickest spacer that sounds good.
Ready to get your own flush fit?
Ryan’s setup — hub-centric, lightweight plus design, ISO grade 12.9 extended bolts included — is available for the 2011–2019 Beetle.

About Robert Wall
Robert Wall is a Senior Automotive Engineer at BONOSS with over 9 years of experience in automotive component R&D, specializing in the structural design and safety validation of wheel spacers, wheel adapters, and high-strength fasteners. He is actively involved in product testing and on-track evaluation and is dedicated to translating engineering expertise into accessible modification knowledge — helping enthusiasts upgrade their vehicle’s stance and handling without compromising safety.