
Most 2017–2027 Model 3s use a 5×114.3mm bolt pattern, 64.1mm center bore and M14x1.5 hardware, but the right Tesla Model 3 wheel spacers thickness is the one your own fender, wheel-pocket and hub measurements support, not the thickest number in a forum post. As a starting range, many pre-Highland cars suit 15–20mm, Long Range and Performance applications can extend to 25mm, and current Highland fitments commonly start around 15–20mm; measure both axles because stock offset, wheel design, tire section and brake package change the result. For installation, torque BONOSS M14x1.5 spacer-to-hub nuts to 140Nm (103.5 ft-lb) per BONOSS installation instructions, then torque the factory wheel nuts holding the wheel to the spacer to 175Nm (129 ft-lb) per the owner’s manual; those are two separate joints, not two options for one nut.
What Are the Bolt Pattern, Center Bore, Thread, Offset, and Torque Specs?
Every variant covered here uses 5×114.3mm PCD, a 64.1mm nominal center bore and M14x1.5 threads. The suggested thicknesses are starting ranges for measuring, not guaranteed flush sizes. Factory offset belongs to the wheel, so check the actual wheel casting and tire package before ordering.
| Generation / Year | Bolt Pattern | Center Bore | Thread Pitch | Wheel Offset | Suggested Spacer Sizes | Factory Lug Nut Torque |
|---|---|---|---|---|---|---|
| 2017-2023 Model 3 Long Range | 5×114.3mm | 64.1mm | M14x1.5 | ET40 / ET34 | 15mm to 25mm | 129 ft-lb / 175 Nm |
| 2018-2023 Model 3 Mid Range | 5×114.3mm | 64.1mm | M14x1.5 | ET40 | 15mm to 20mm | 129 ft-lb / 175 Nm |
| 2019-2023 Model 3 Standard Range | 5×114.3mm | 64.1mm | M14x1.5 | ET40 | 15mm to 20mm | 129 ft-lb / 175 Nm |
| 2019-2021 Model 3 Standard Range Plus | 5×114.3mm | 64.1mm | M14x1.5 | ET40 | 15mm to 20mm | 129 ft-lb / 175 Nm |
| 2024-2027 Model 3 Long Range | 5×114.3mm | 64.1mm | M14x1.5 | ET38 | 15mm to 25mm | 129 ft-lb / 175 Nm |
| 2018-2027 Model 3 Performance | 5×114.3mm | 64.1mm | M14x1.5 | ET40 / ET34 / ET45 | 10mm to 25mm | 129 ft-lb / 175 Nm |
| 2024-2027 Model 3 Standard Range | 5×114.3mm | 64.1mm | M14x1.5 | ET38 | 18mm to 20mm | 129 ft-lb / 175 Nm |
| 2025-2027 Model 3 Premium | 5×114.3mm | 64.1mm | M14x1.5 | ET40 / ET34 | 15mm to 25mm | 129 ft-lb / 175 Nm |
The year ranges describe supplied catalog application coverage, not every trim’s sales history. Tesla’s current wheel specifications list 175Nm and a 21mm socket for factory nuts. Offsets vary by wheel package, which is why the wheel itself gets the final vote.
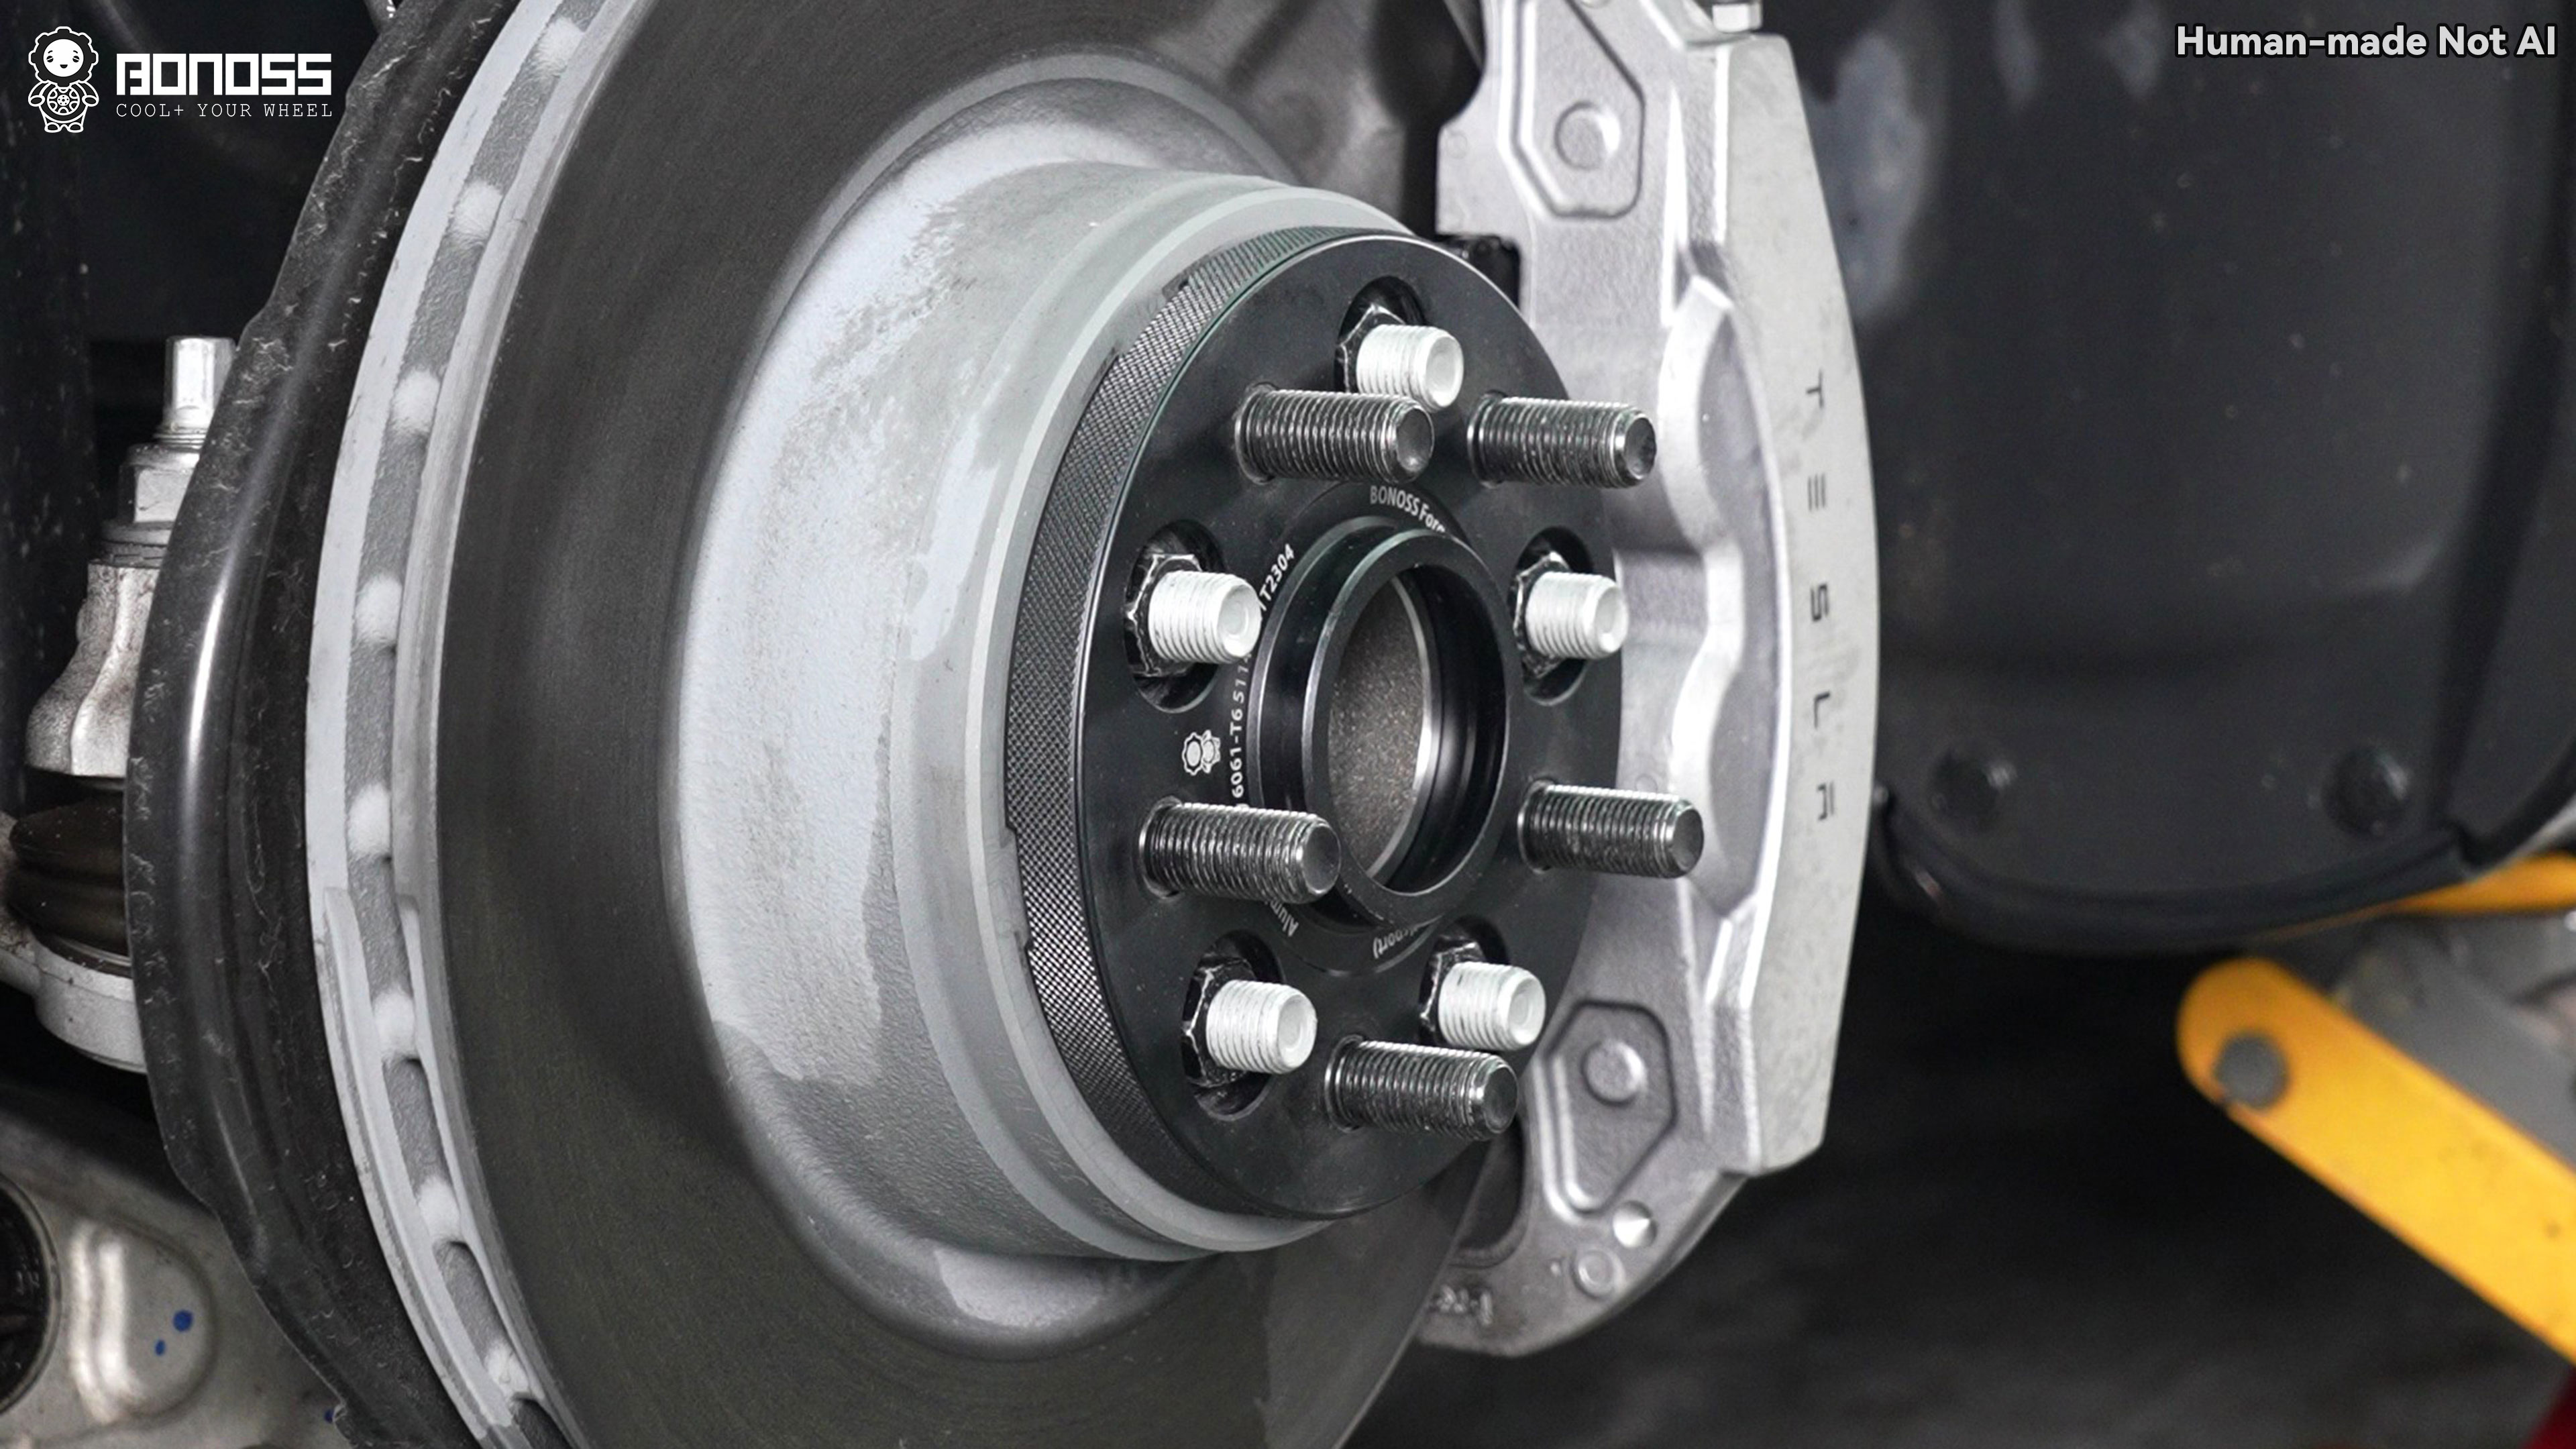
Which Model 3 Generation Do I Have?
The 2024 Highland refresh keeps the same basic spacer interface, but factory wheel and trim details still affect thickness. Identify the car by build date and equipment rather than registration year alone.
| Generation | Years covered here | Useful identification cues | Spacer implication |
|---|---|---|---|
| Original Model 3 | 2017–2023 | Split rear lamps and earlier front lighting treatment | ET40 is common in the supplied data; verify each wheel package |
| Model 3 Highland | 2024–2027 | Slimmer headlights with integrated fog lamps and one-piece liftgate taillights | ET38 appears on current 18-inch and 19-inch factory wheels |
These lighting cues appear in both the North American launch report and Tesla-attributed refresh coverage. Use a VIN-based build-date check near a model-year changeover.
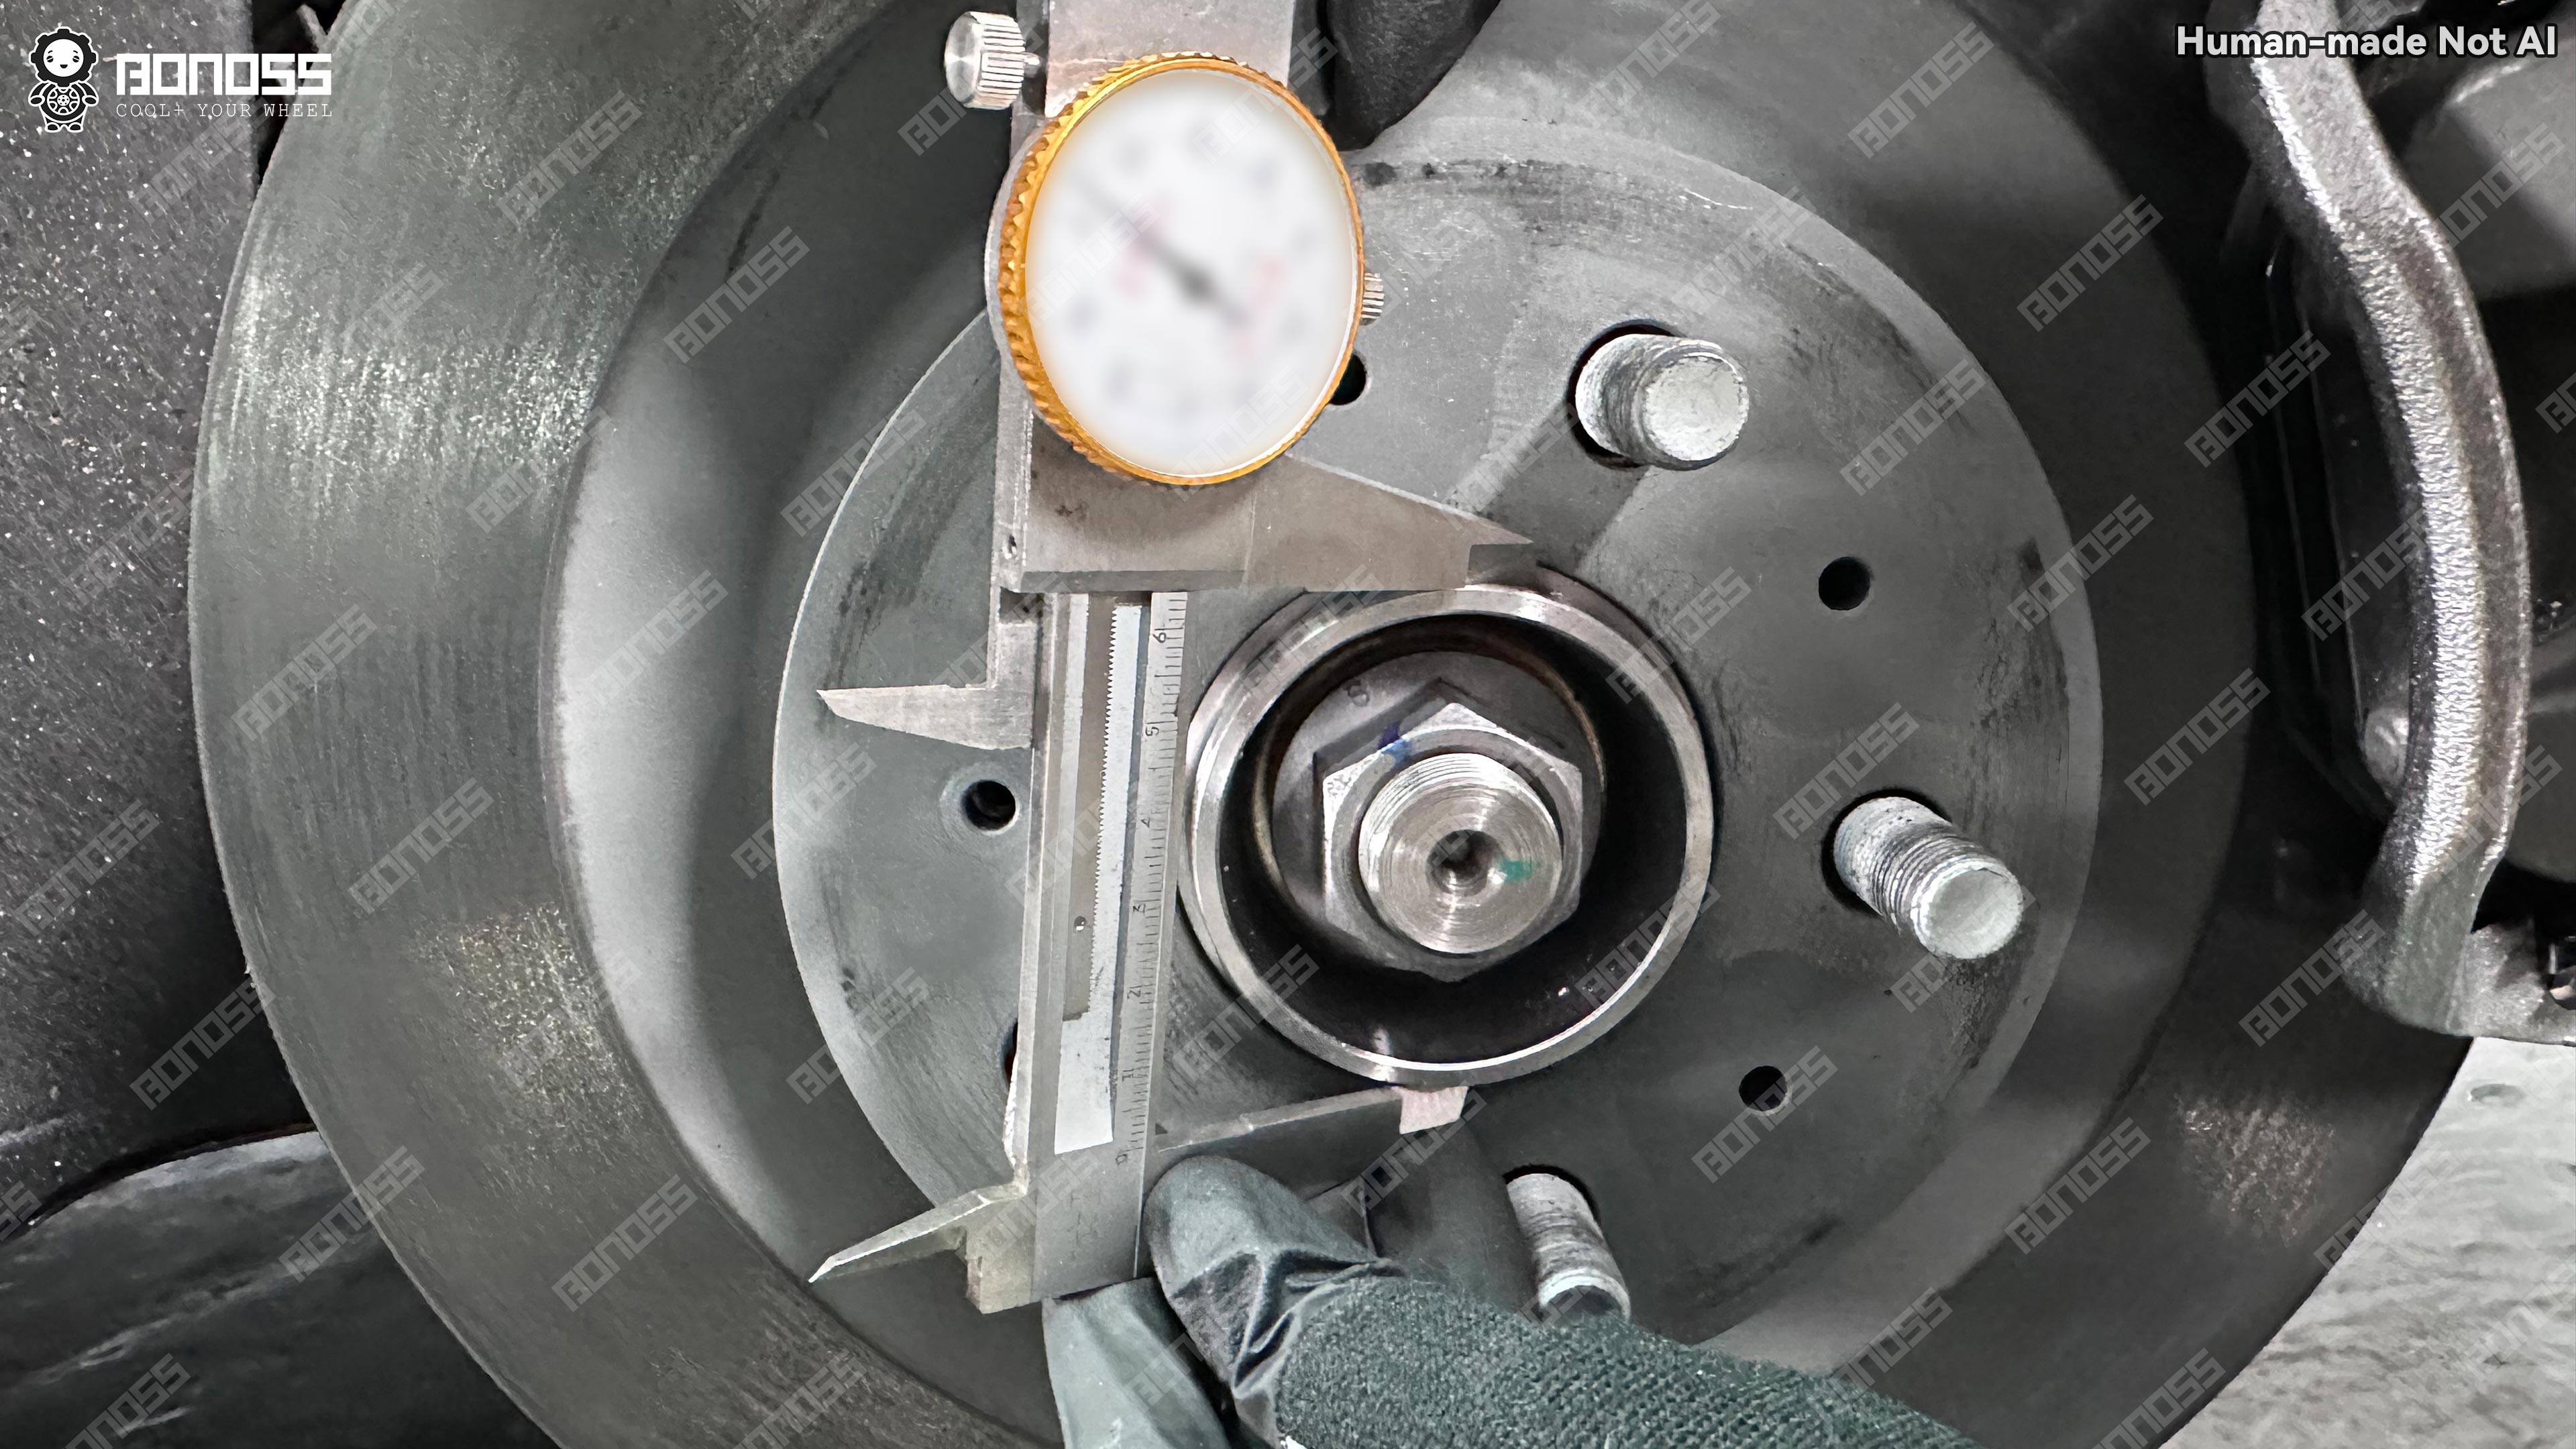
A caliper reading of the physical hub register is more useful than a trim badge when confirming center-bore fit. Record hub diameter, hub-lip height and wheel bore before selecting 64.1mm hub-bore spacers for a Tesla Model 3.
How Thick Can Each Model 3 Generation Go?
There is no safe universal maximum: use the ranges to narrow the options, then choose the smallest thickness that produces the clearance or stance you want. Fitting 20mm on both sides of an axle increases total track width by 40mm.
What Works on a 2017–2023 Pre-Highland Model 3?
Standard Range, Standard Range Plus and Mid Range applications generally start at 15–20mm, while Long Range cars have a supplied range of 15–25mm. A 25mm spacer is not an automatic upgrade; on a wheel already near the arch, it can create tire contact under suspension compression.
What Changes With Tesla Model 3 Highland Wheel Spacers?
The supplied data suggests 15–25mm for Long Range, 18–20mm for Standard Range and 15–25mm for Premium. Current offsets can place a wheel farther outward than an older ET40 package, so copying a pre-Highland 20mm setup can produce a different result.
What Changes With Tesla Model 3 Performance Wheel Spacers?
Performance applications span 10–25mm, with ET40, ET34 and ET45 appearing across wheel positions and packages. Check brake caliper clearance, front and rear offsets separately, and the tire shoulder at full steering lock. The badge alone does not determine fit.
To measure for a flush stance, park at normal ride height with correct tire pressures. Hold a straightedge against the fender line and measure to the tire’s outermost shoulder, not merely the rim lip. Repeat at both axles, leaving margin for steering, tire flex and suspension travel instead of chasing a zero-gap look.
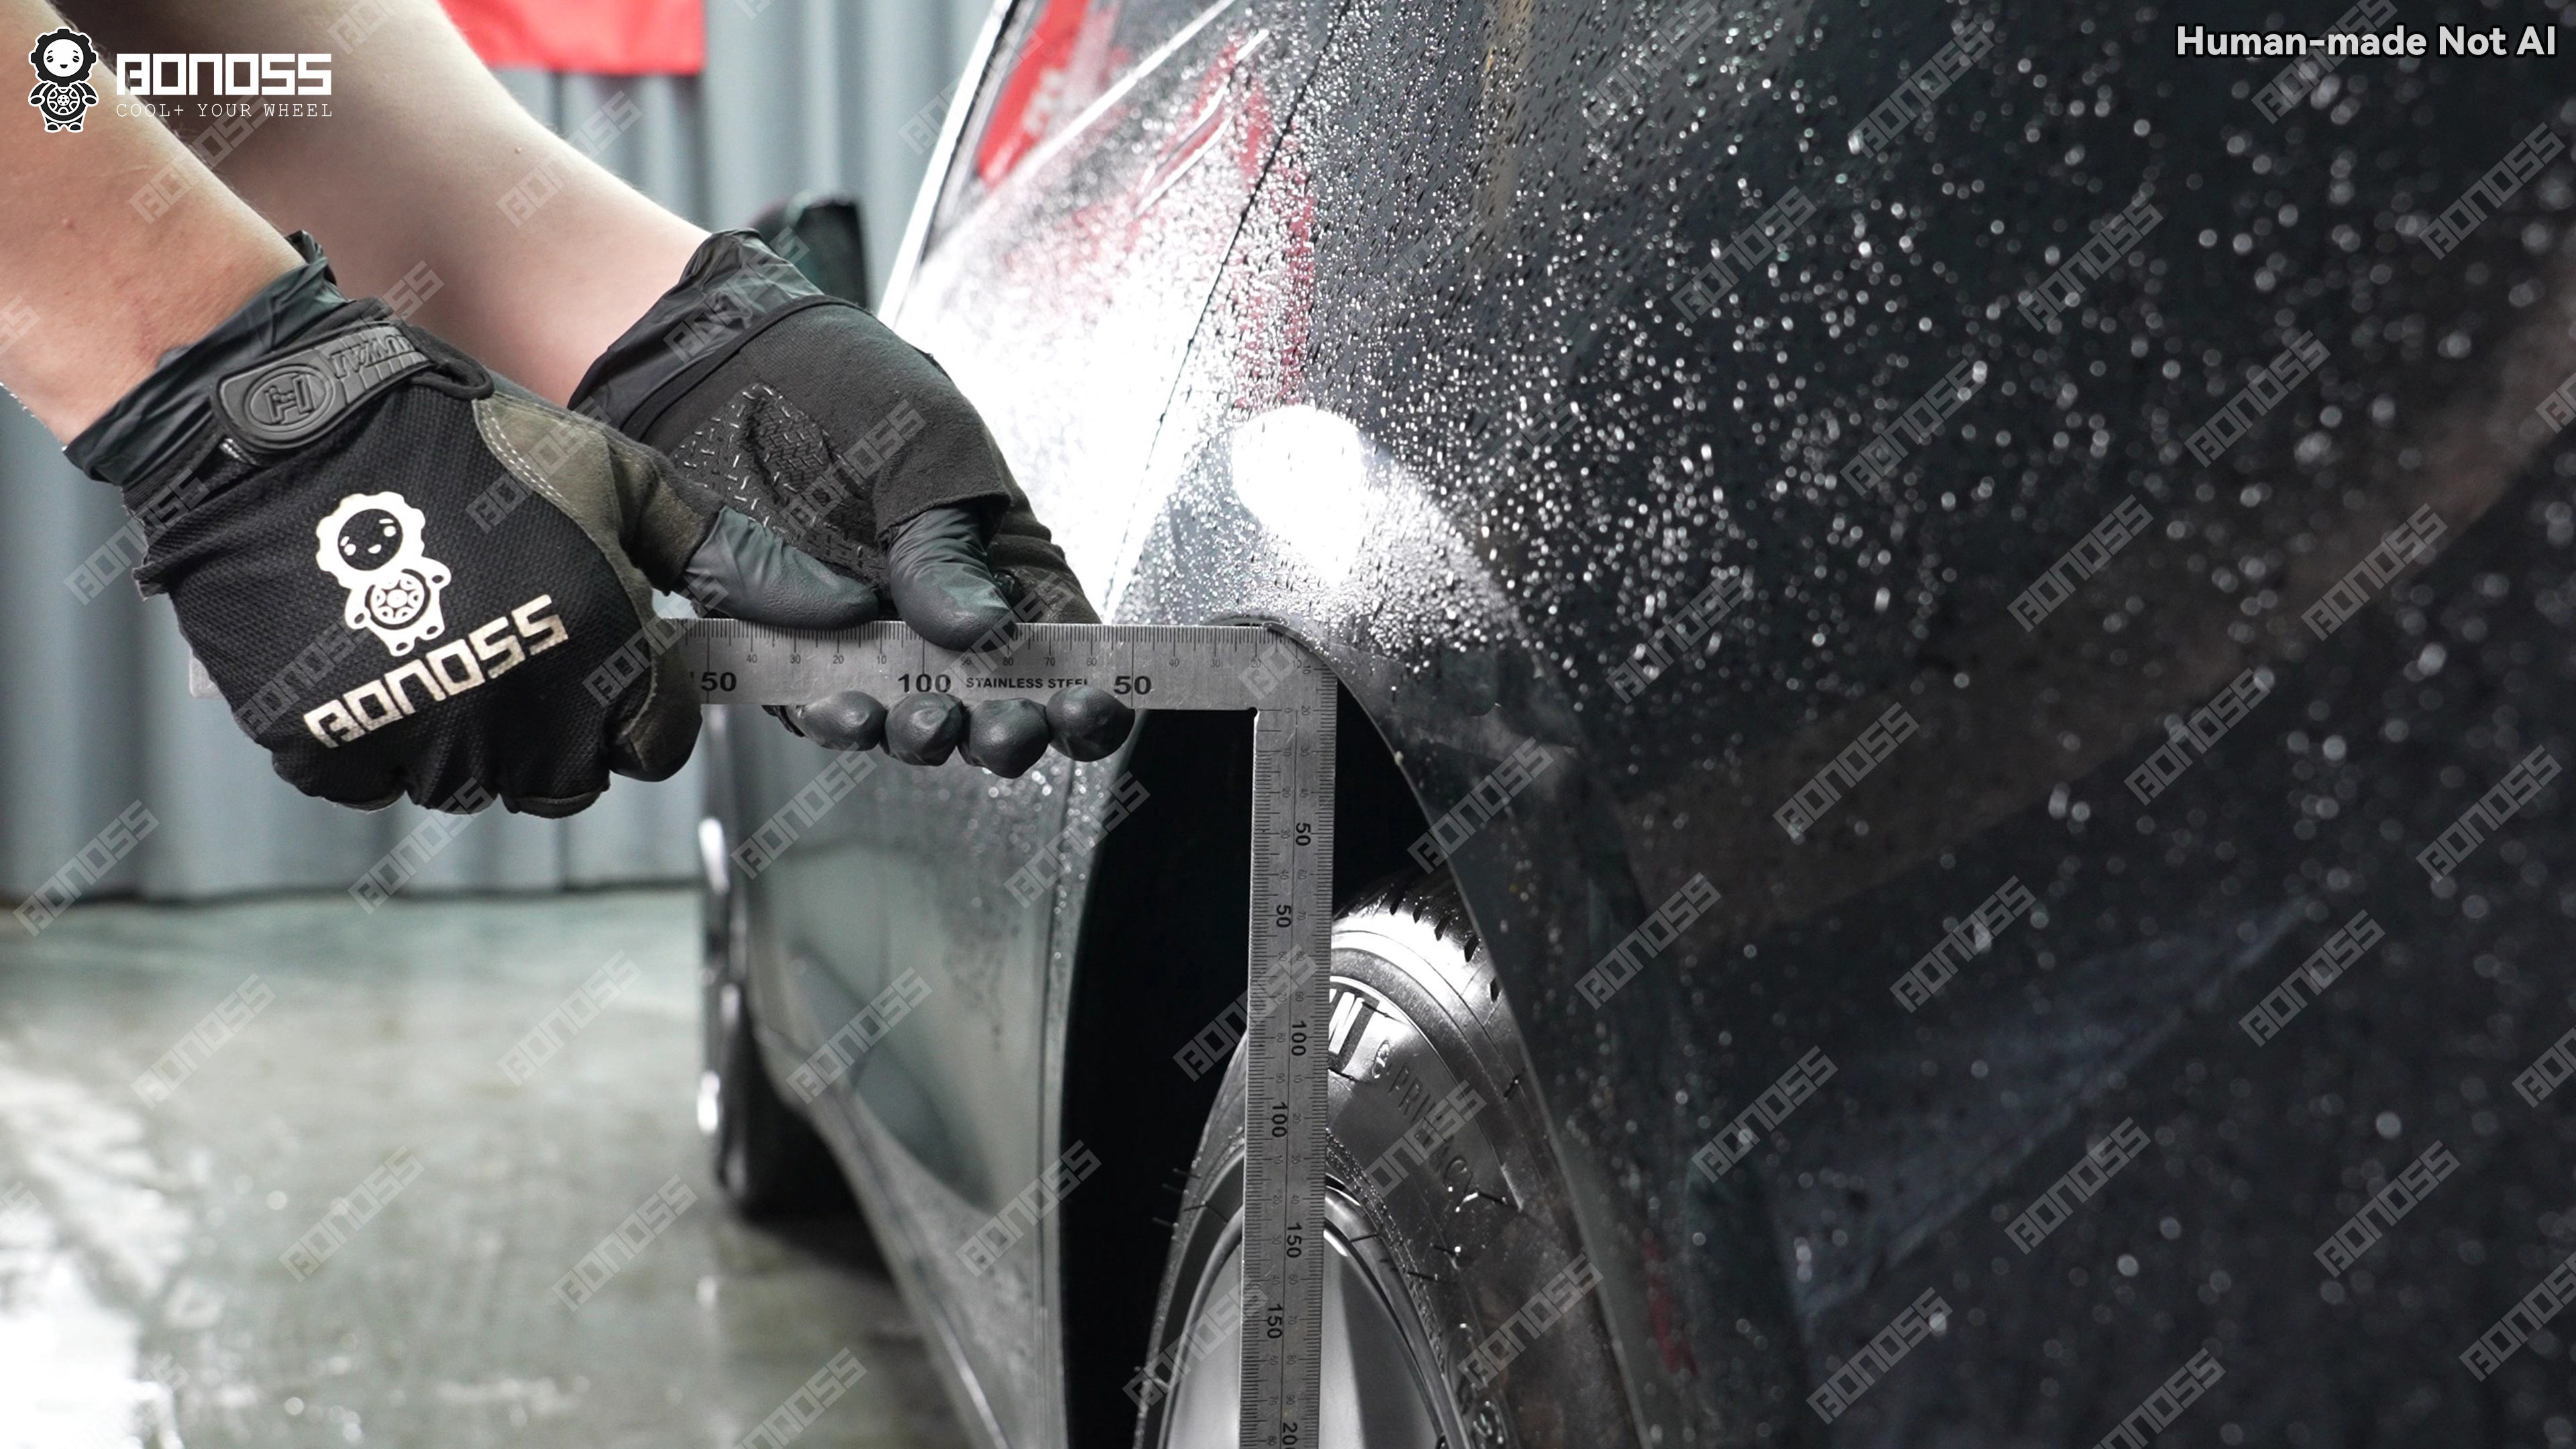
One documented 2023 Model 3 RWD on stock 18-inch ET38 wheels used 18mm on the rear only. Its 2023 Tesla Model 3 18mm rear-wheel spacer measurements show why a real comparison beats a generic size chart.
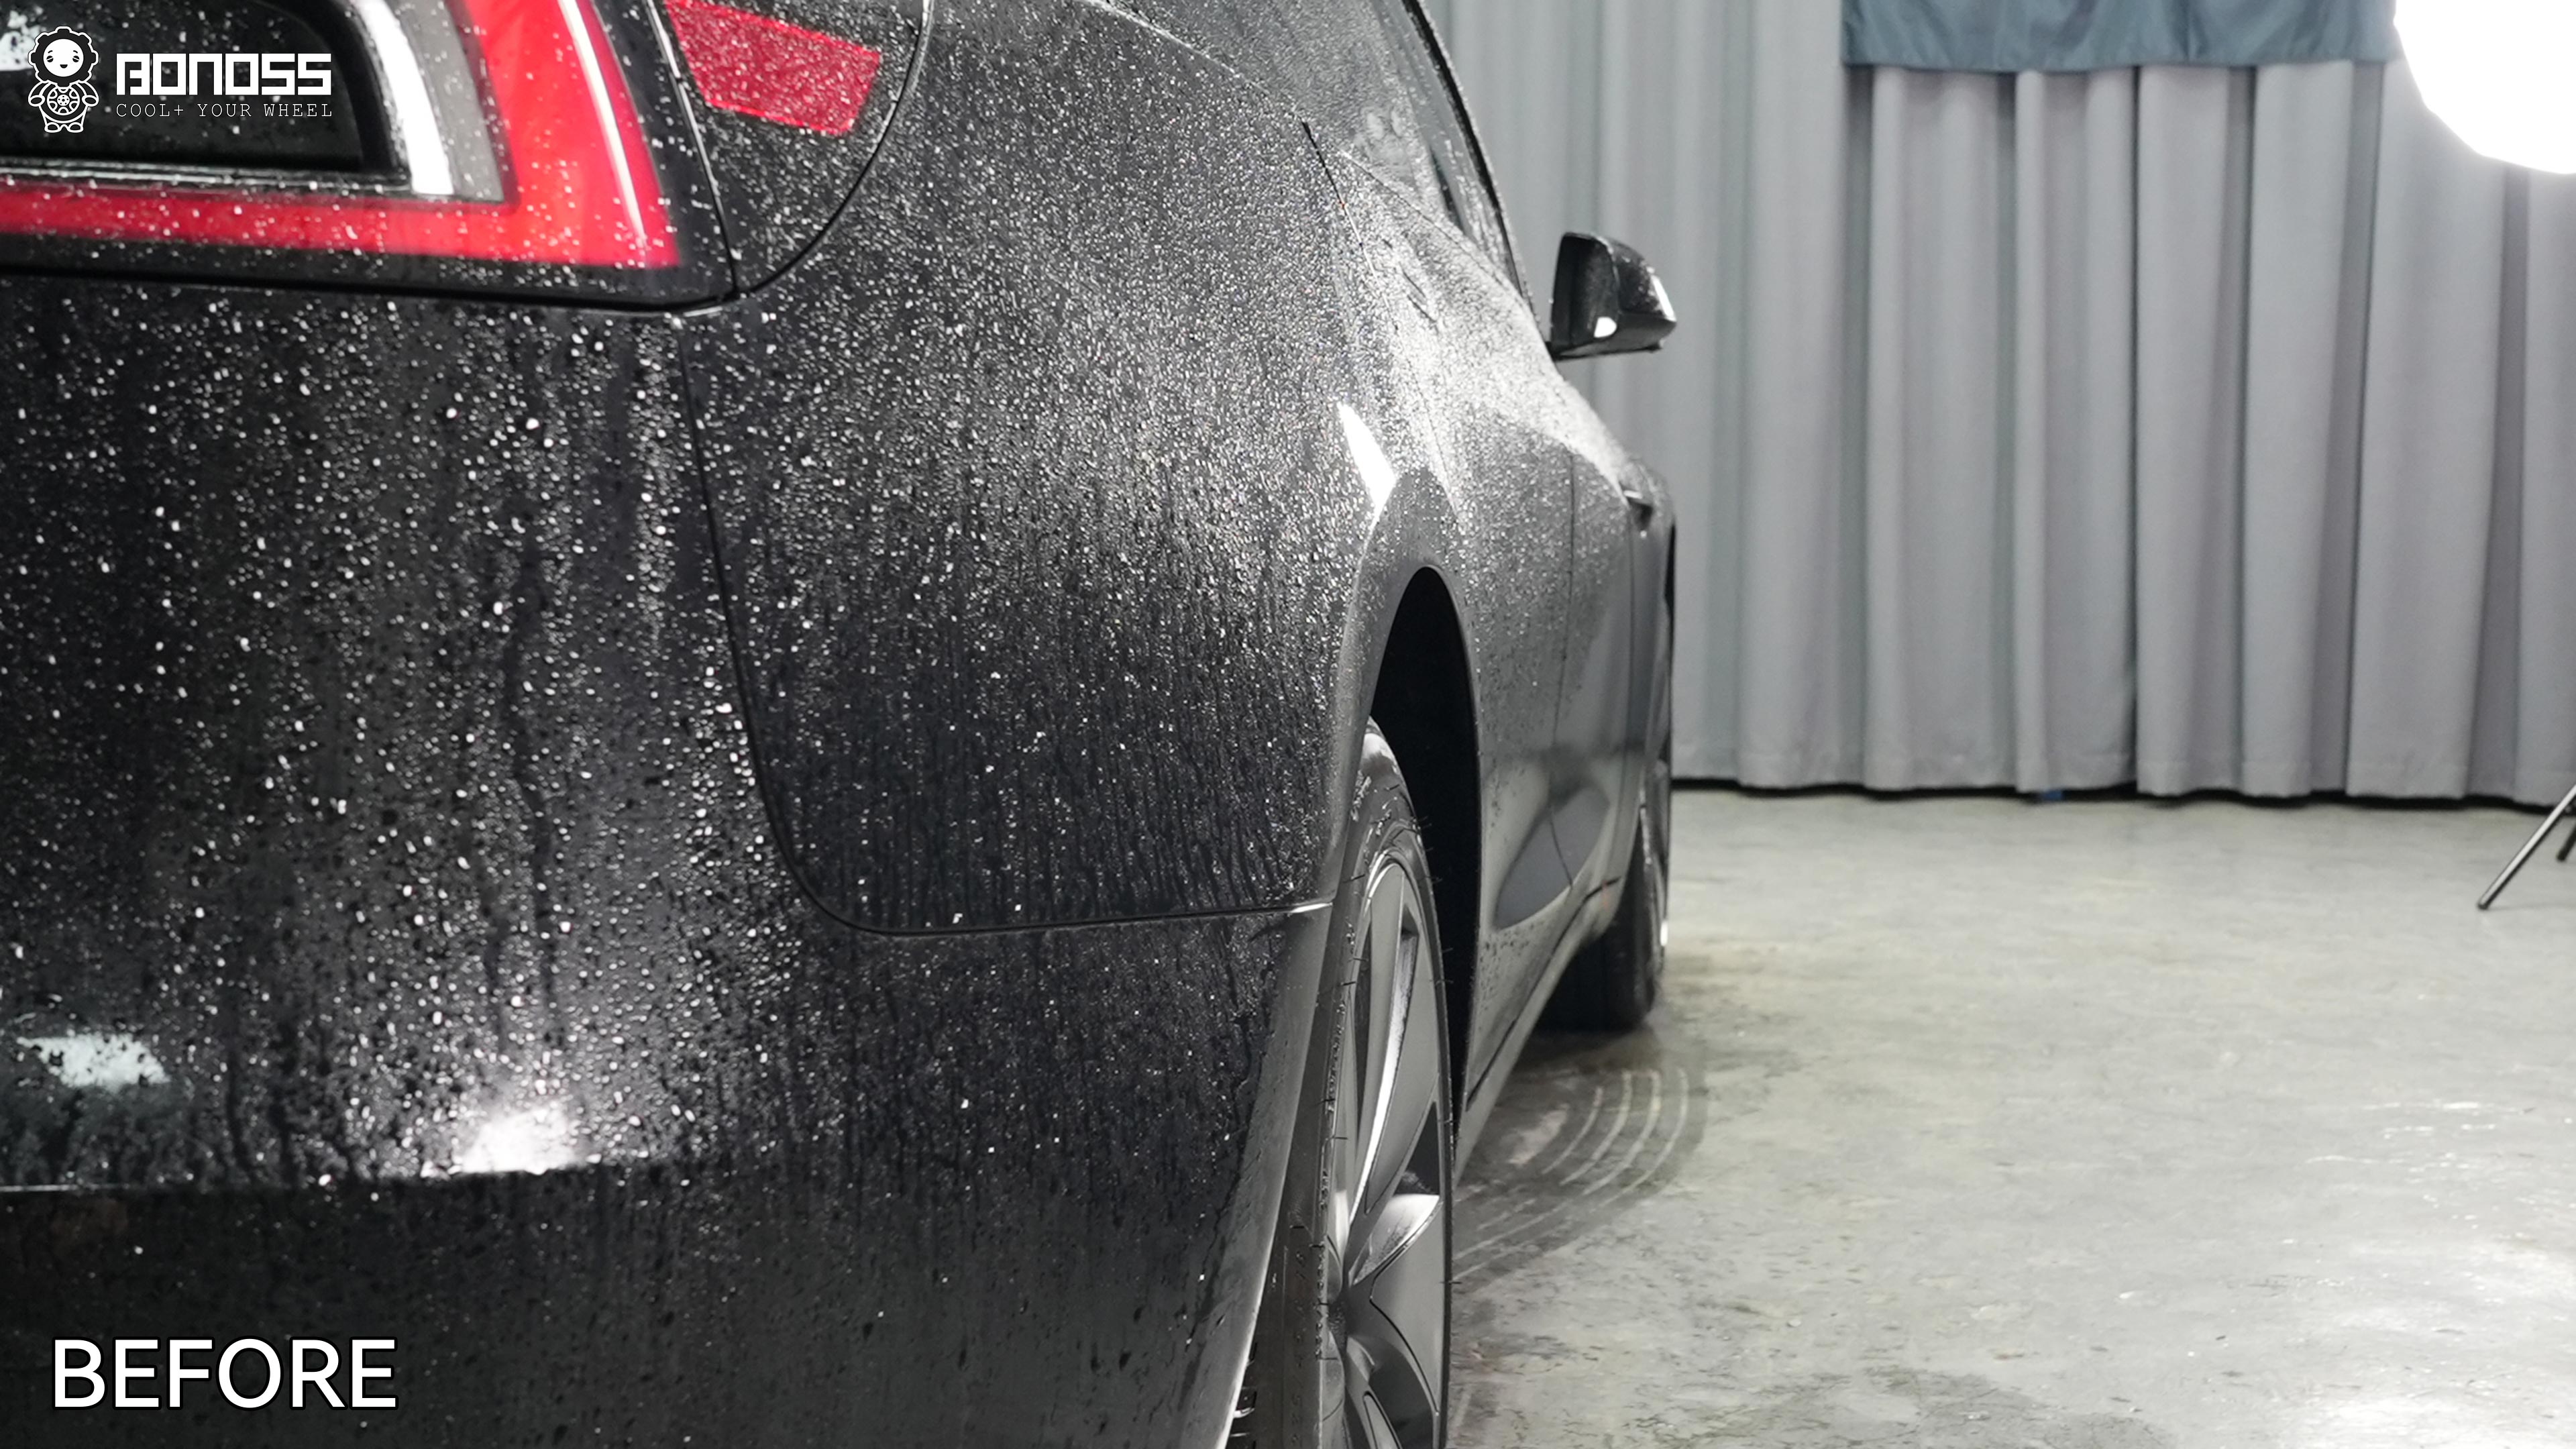
The baseline photograph records the right rear tire sitting inside the arch.
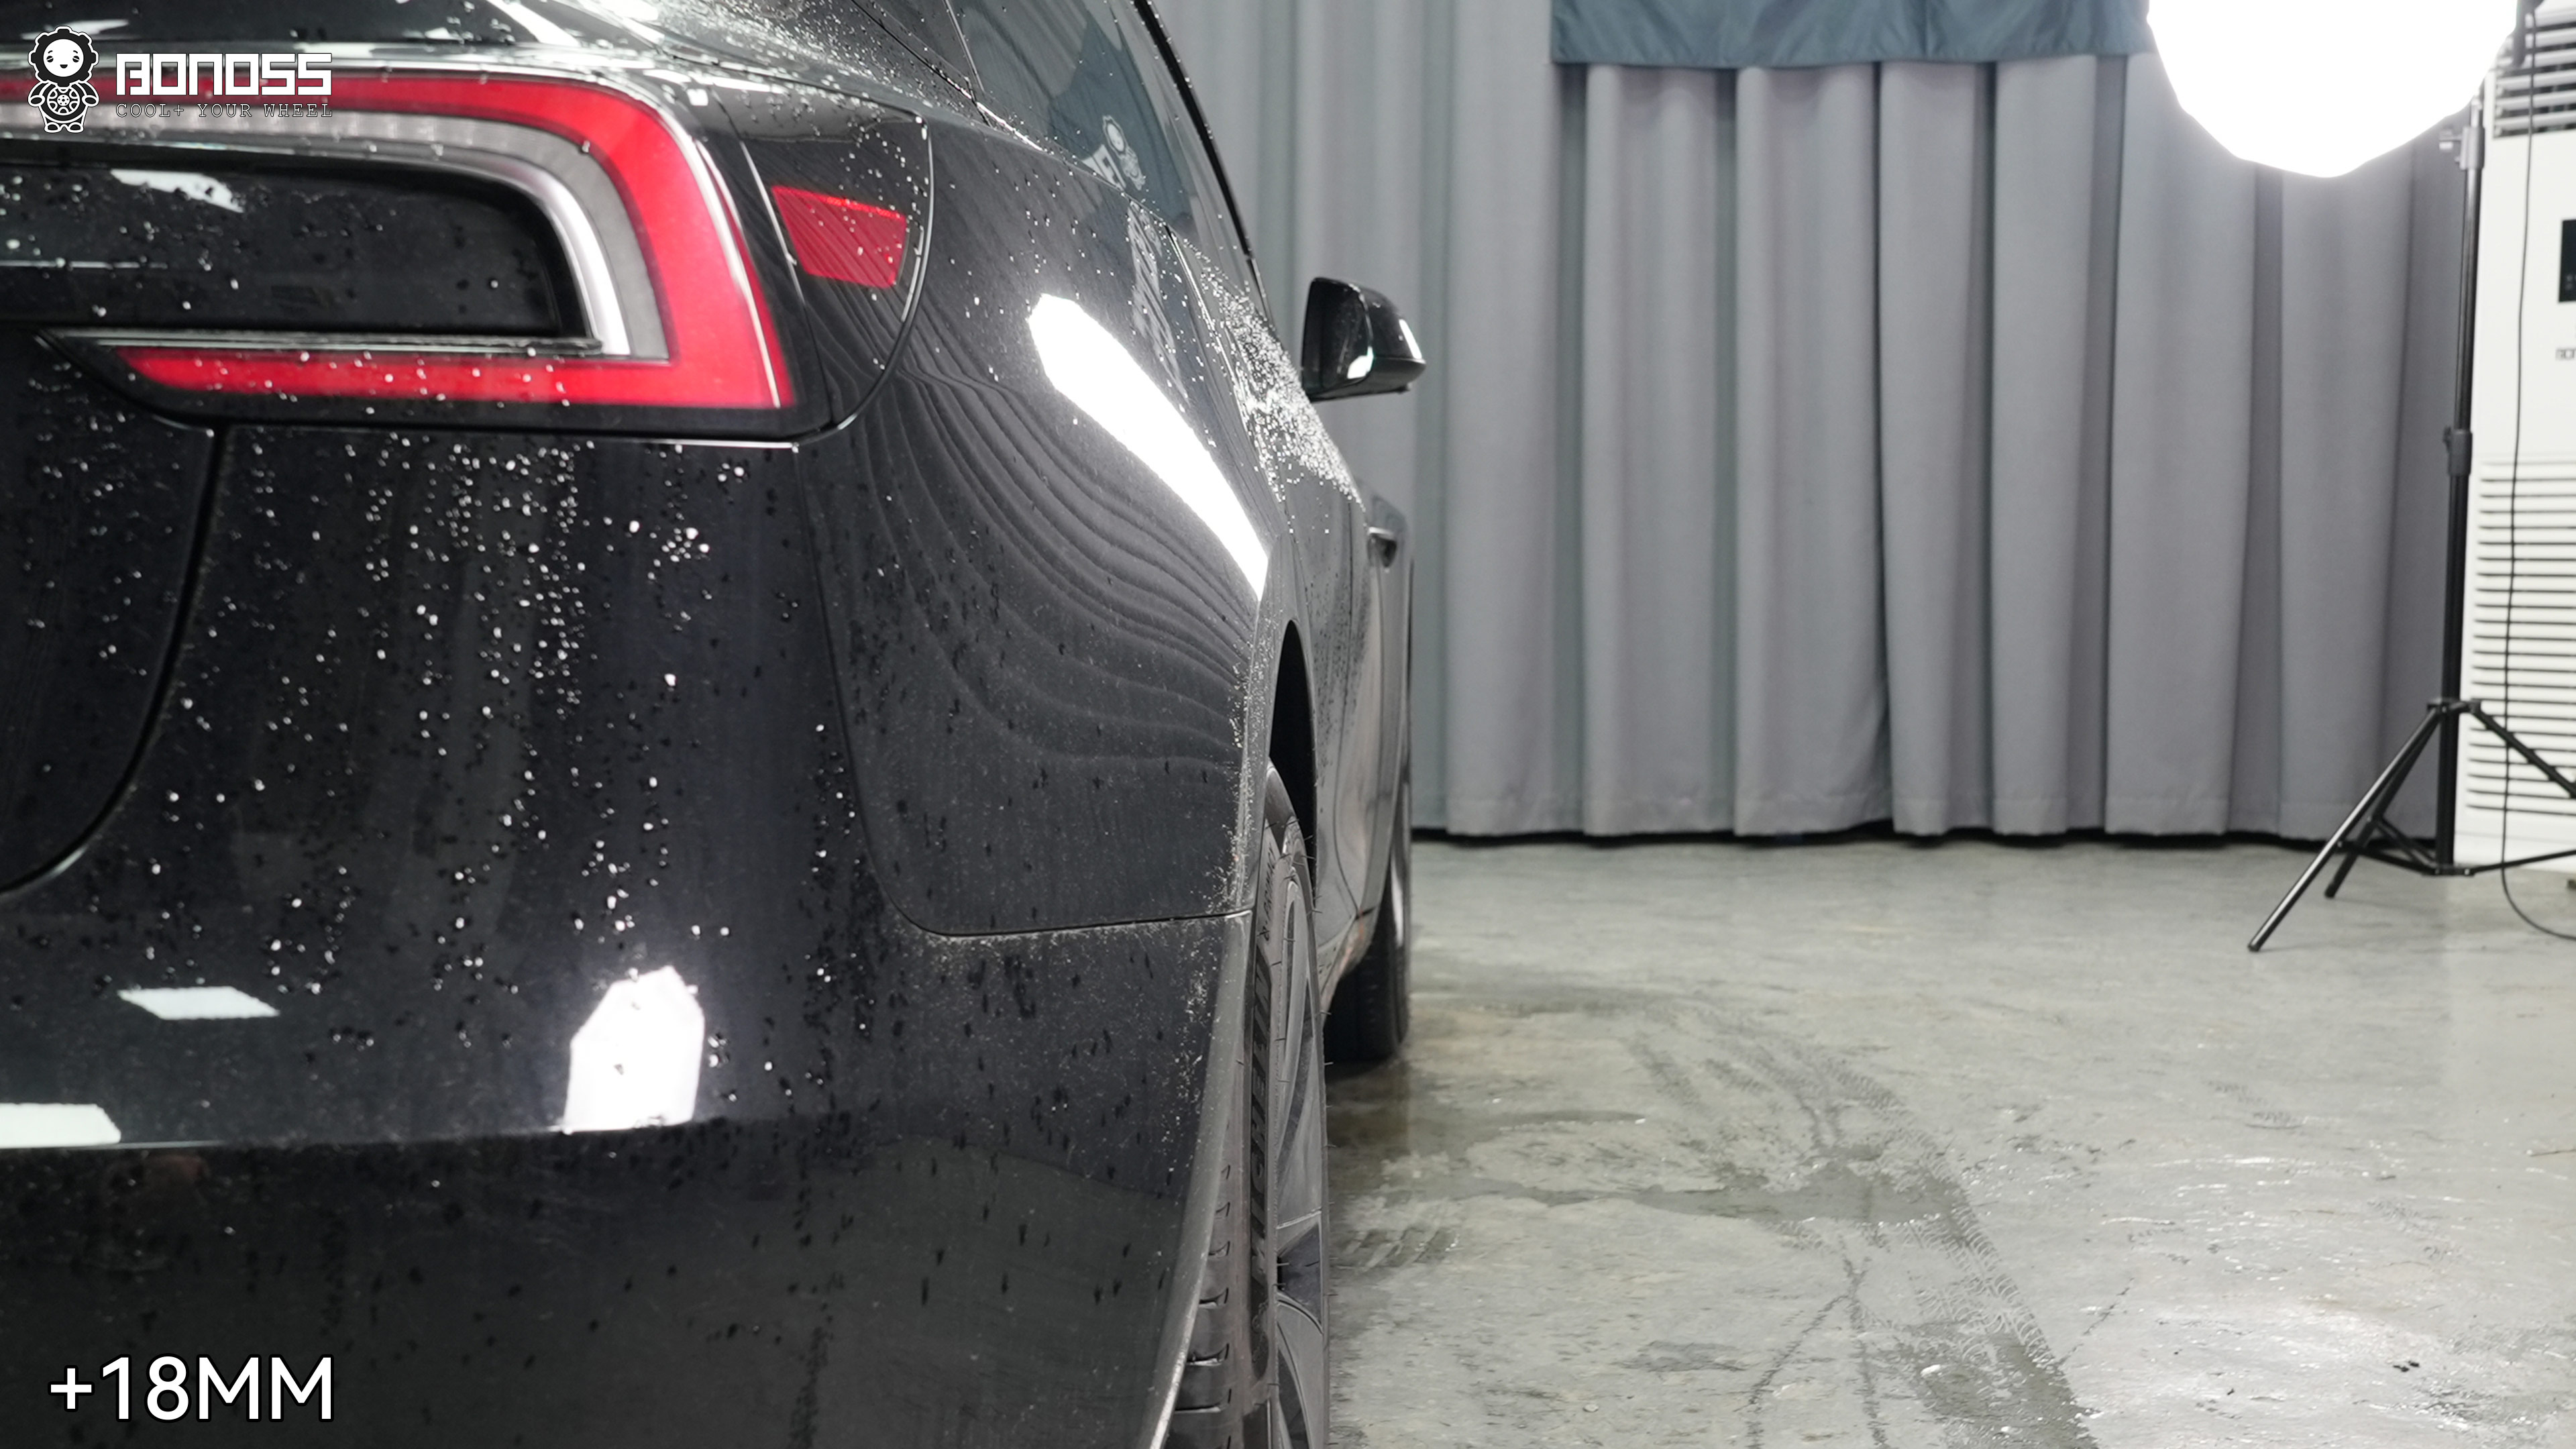
With the 18mm rear spacer fitted, that corner moves outward by 18mm. The wheel’s physical ET38 specification has not changed; its effective offset becomes ET20.
How Do I Install Spacers Without Creating a Seating Problem?
Clean, flat mating faces and correct fastener engagement matter more than speed. If you cannot support the car safely and measure the hub, studs and wheel pockets, use a qualified technician.
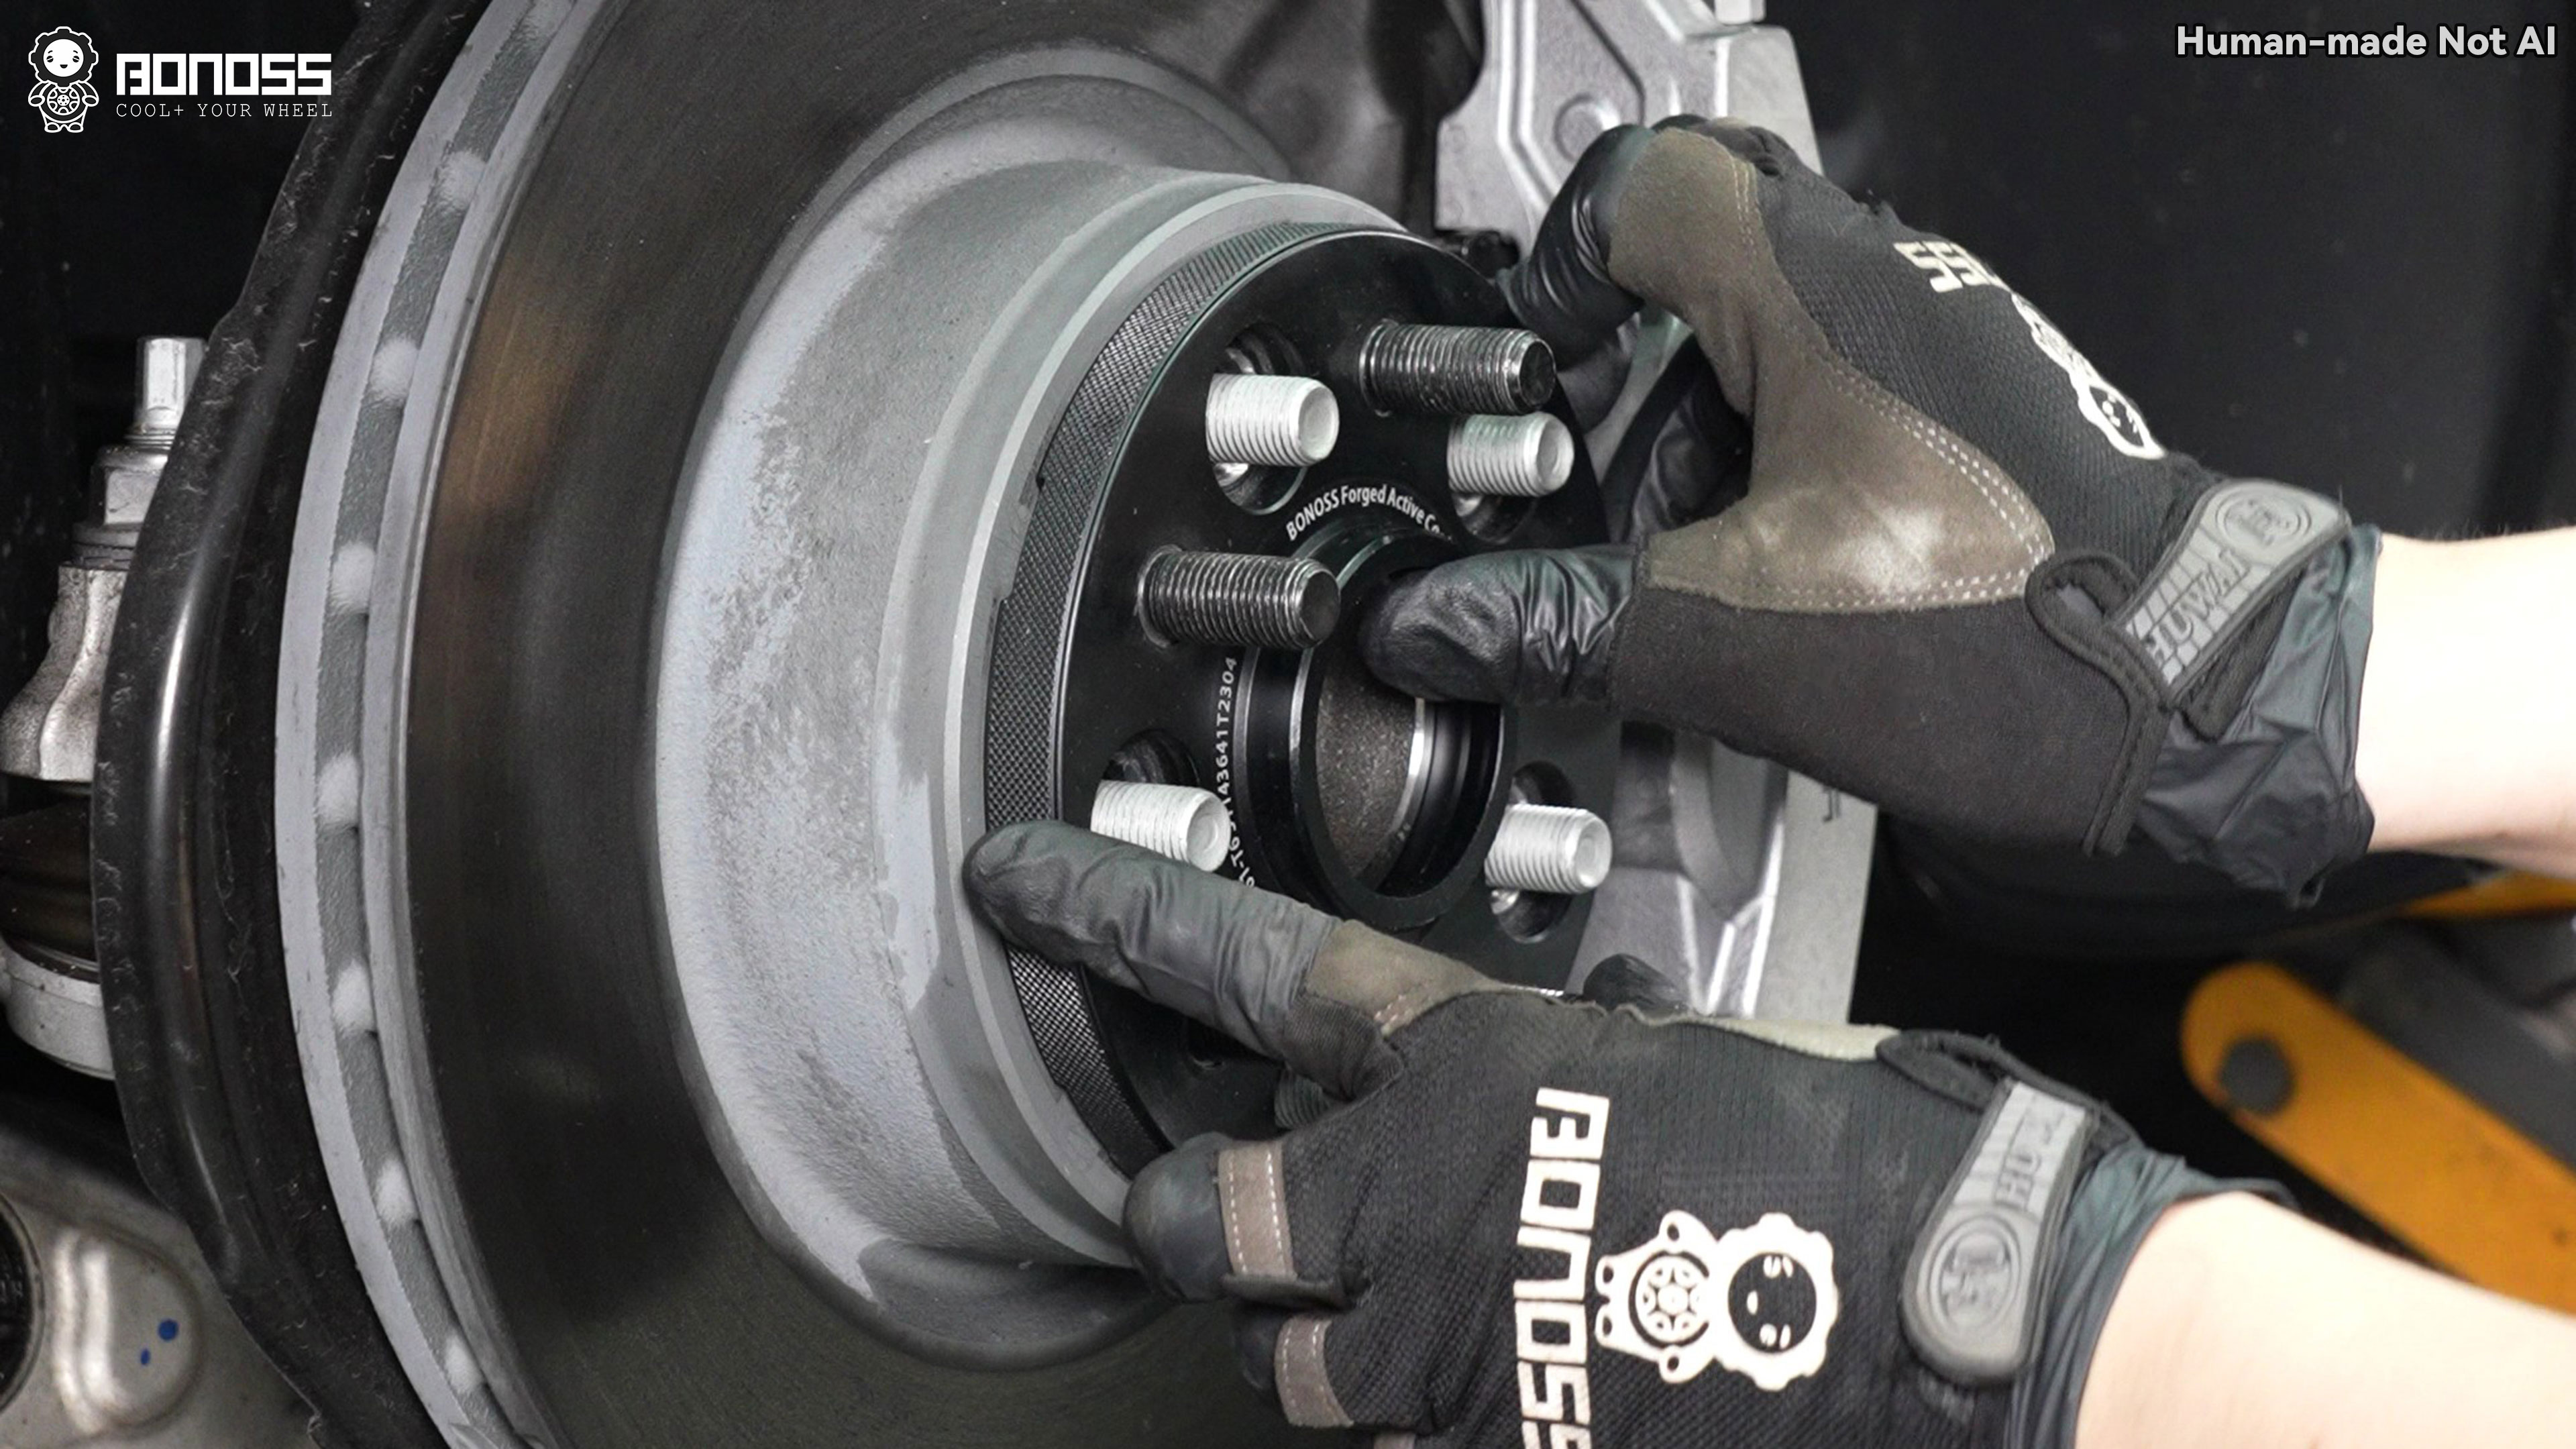
- Loosen the factory wheel nuts on level ground, then raise and support the car correctly before removing the wheels.
- Clean the rotor and hub. Check whether the brake-rotor retaining screw head would prevent flat spacer seating.
- Test-fit the spacer by hand. It should seat without a gap; never use its nuts to pull a misaligned spacer into place.
- Start every supplied spacer nut by hand, then tighten evenly in a crisscross sequence with a torque wrench.
- Confirm that factory studs remain below the spacer face or enter aligned, sufficiently deep wheel pockets. Mount the wheel and start the factory conical-seat nuts by hand.
- Rotate the wheel and inspect for caliper, suspension, stud and wheel contact. Lower the car, complete the specified torque procedure and schedule the re-torque check.
What Torque Should I Use, and When Should I Re-Torque?
Use the torque assigned to the fastener at each joint: 140Nm for BONOSS M14x1.5 spacer-installation nuts and 175Nm for factory wheel nuts. Do not interchange the values or sources.
| Fastening operation | Fastener | Final torque | Source |
|---|---|---|---|
| Spacer secured to vehicle hub | Supplied BONOSS M14x1.5 nuts | 140Nm / 103.5 ft-lb | Per BONOSS installation instructions |
| Wheel secured to spacer | Factory M14x1.5 wheel nuts | 175Nm / 129 ft-lb | Per the owner’s manual |
Use ONE torque value for the entire fastening operation being performed. Both values are acceptable in their respective applications; never average them or treat them as two final settings for one nut. BONOSS installation instructions list a 17mm hex for matching nuts, while Tesla lists 21mm for factory nuts.
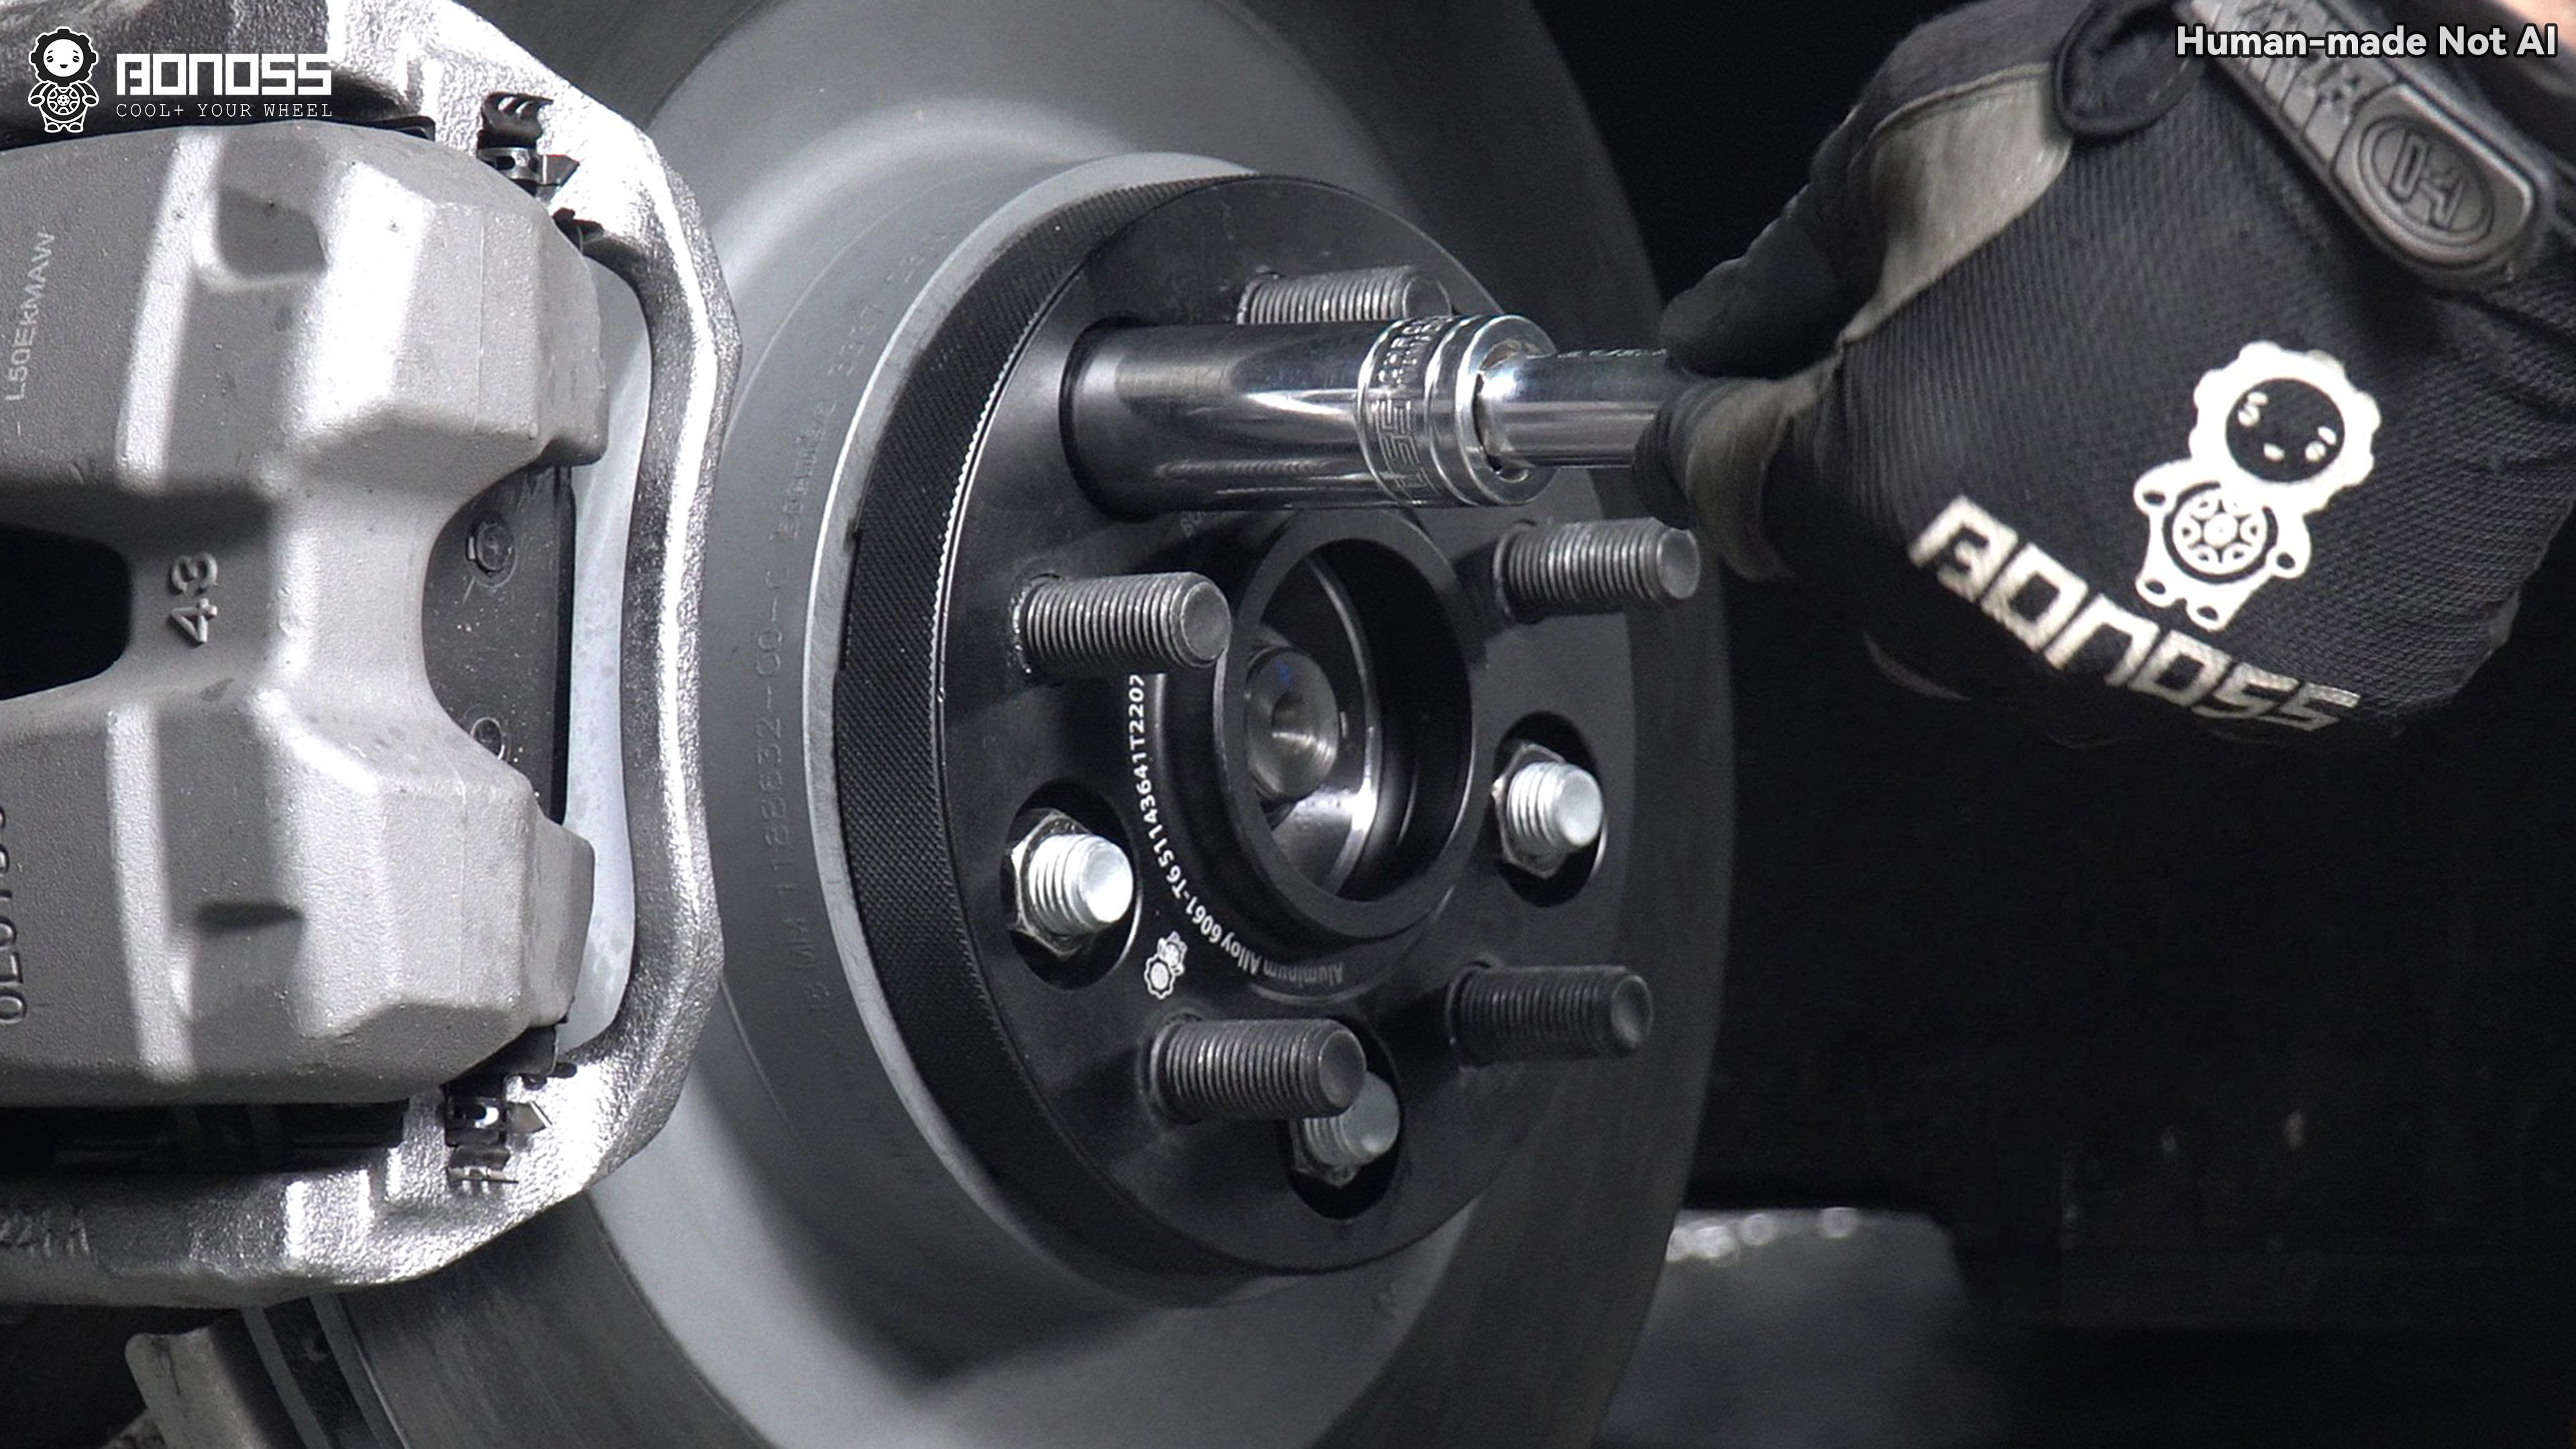
Do not use an impact gun to tighten either set of nuts. Its output is not controlled final torque, and uneven tightening can cause inconsistent clamp load or damaged threads. Start nuts by hand, use a calibrated torque wrench and follow a crisscross sequence. Keep threads clean and follow the hardware instructions rather than adding oil by habit.
BONOSS recommends re-torquing after the first 50–100 driving miles and at routine tire maintenance. Recheck both joints where accessible, and investigate vibration, uneven seating or fresh rub marks instead of simply tightening again.
Do I Need to Trim the Factory Studs, and What About the Rotor Screw?
Trimming is unnecessary only when aligned wheel pockets clear the stud length remaining beyond the spacer. Measure both dimensions; the thickness printed on a box cannot answer this alone.
- Remaining stud protrusion = measured stud protrusion − spacer thickness.
- Wheel-pocket depth must exceed that remaining protrusion, with pockets aligned to the studs.
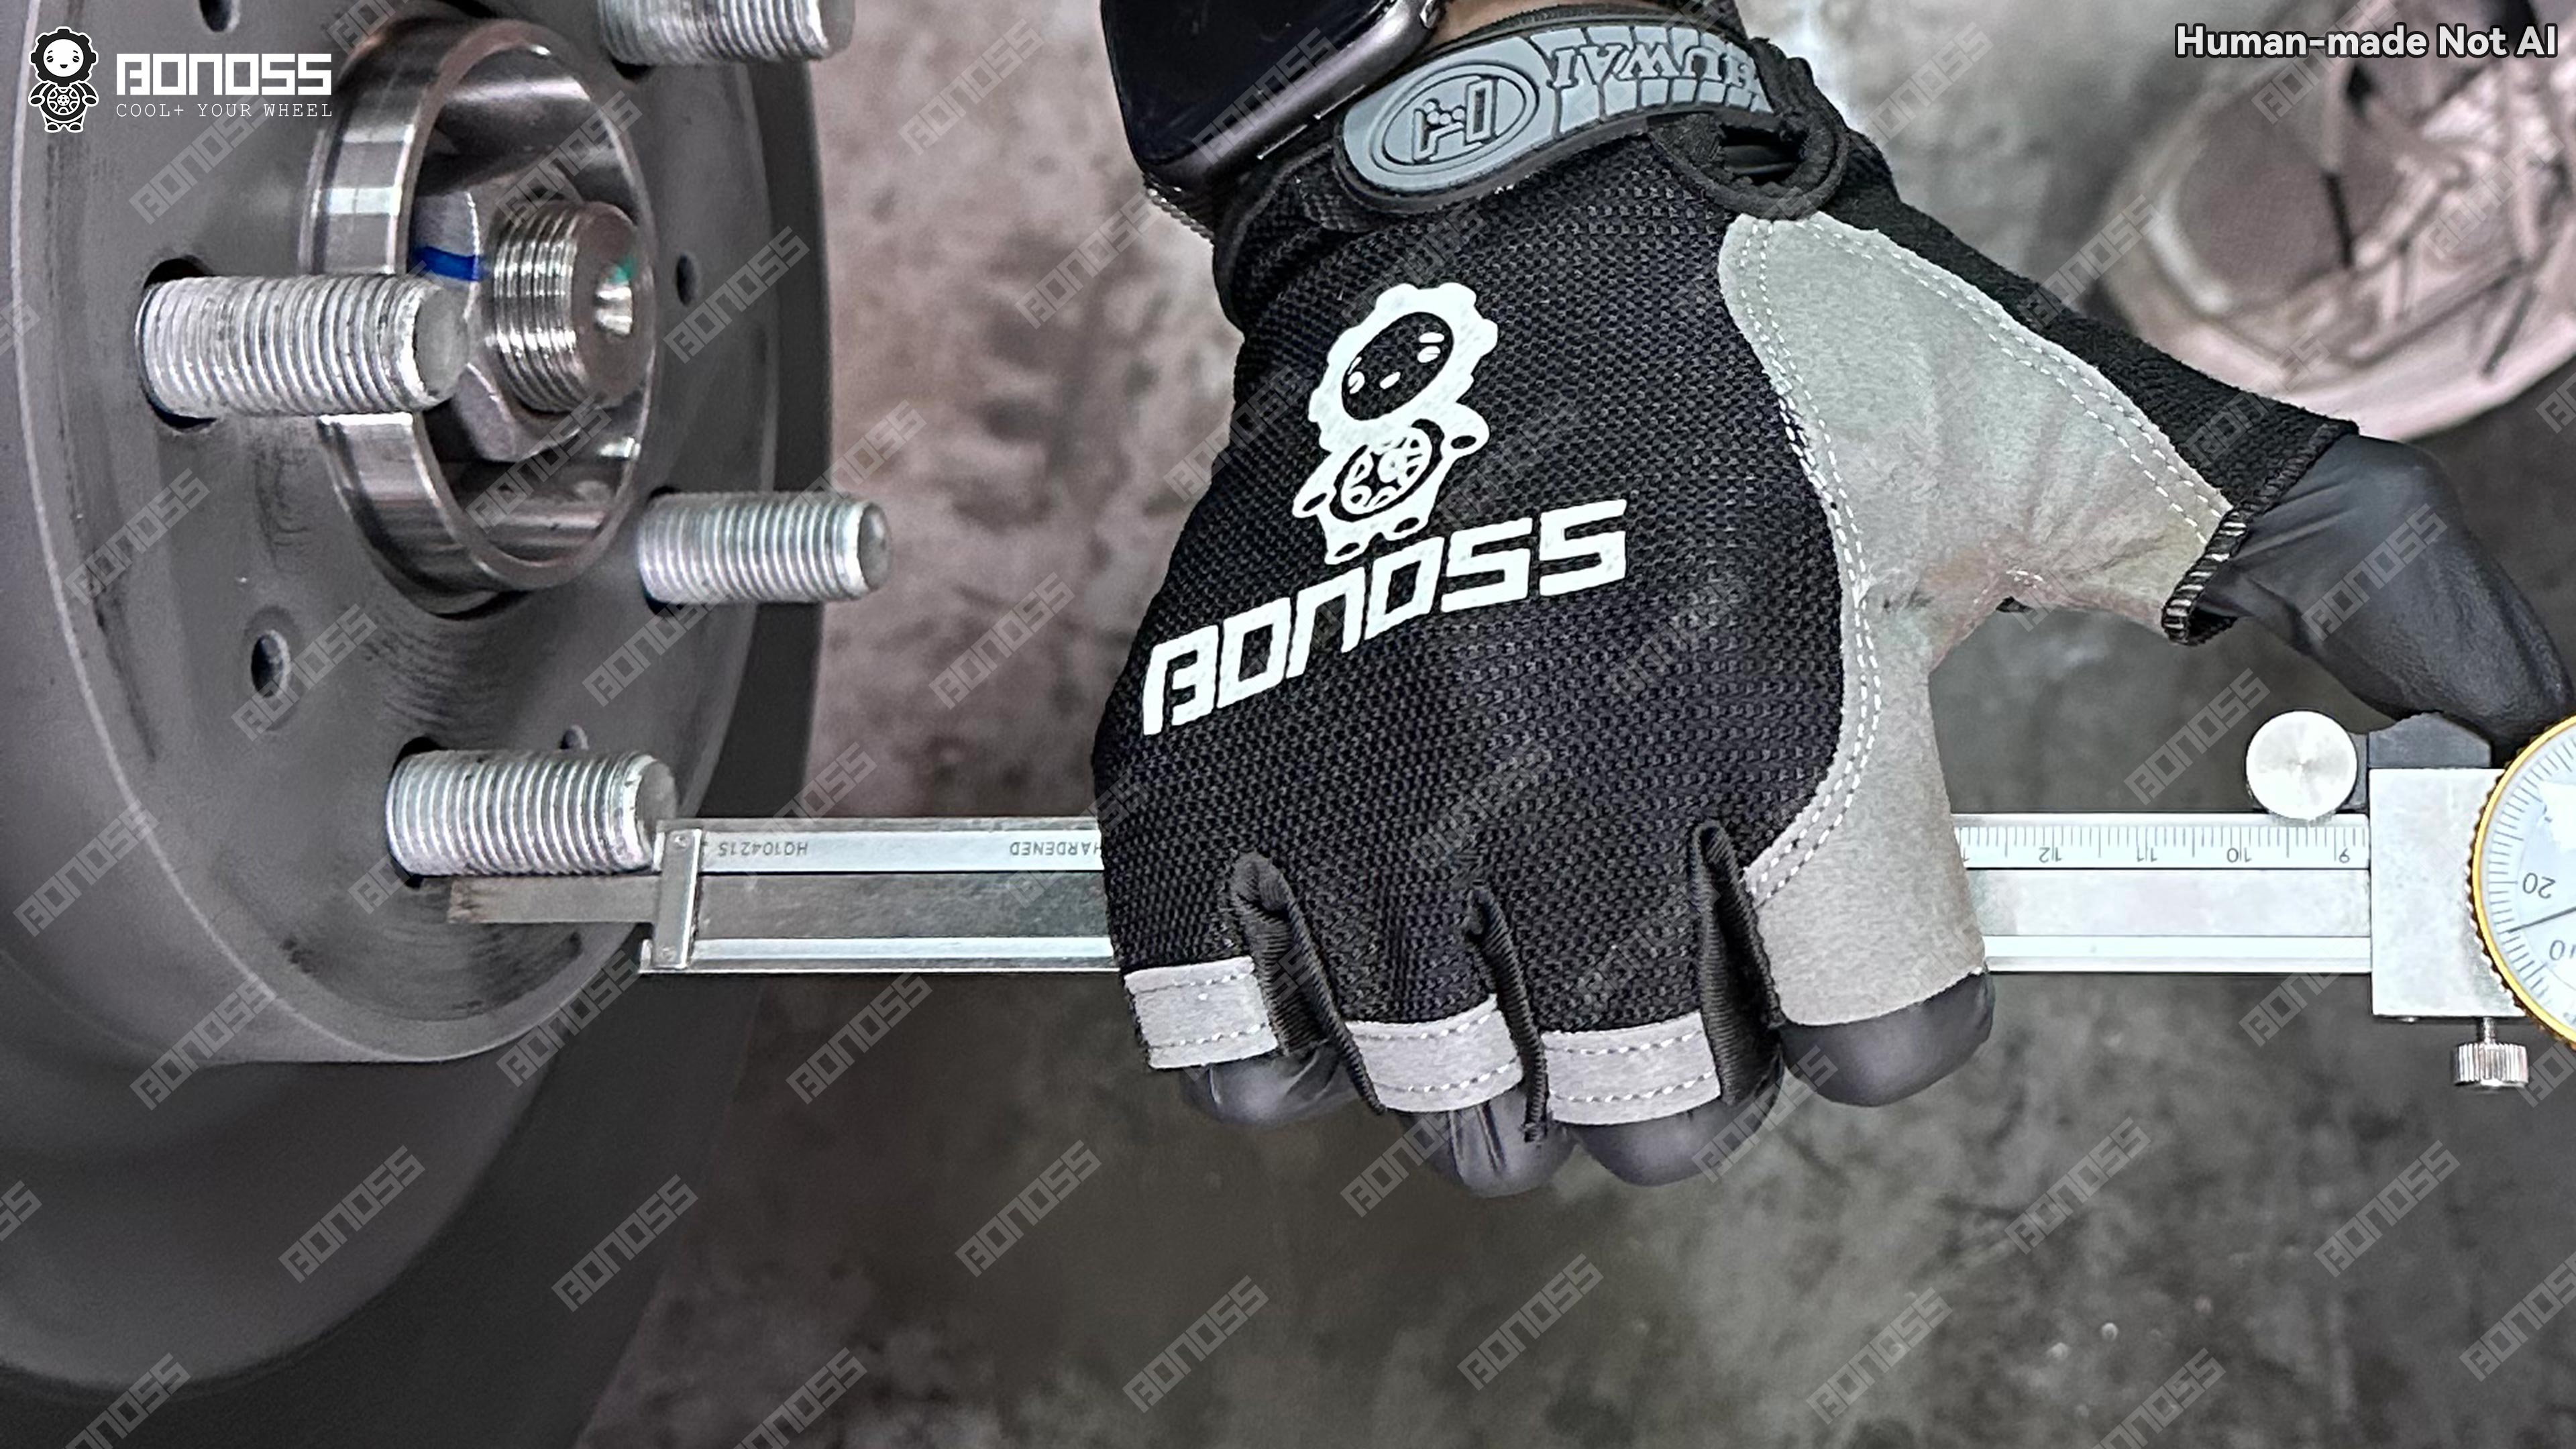
In the documented 18mm installation, factory studs projected 26.13mm and wheel pockets measured 16.23mm deep.
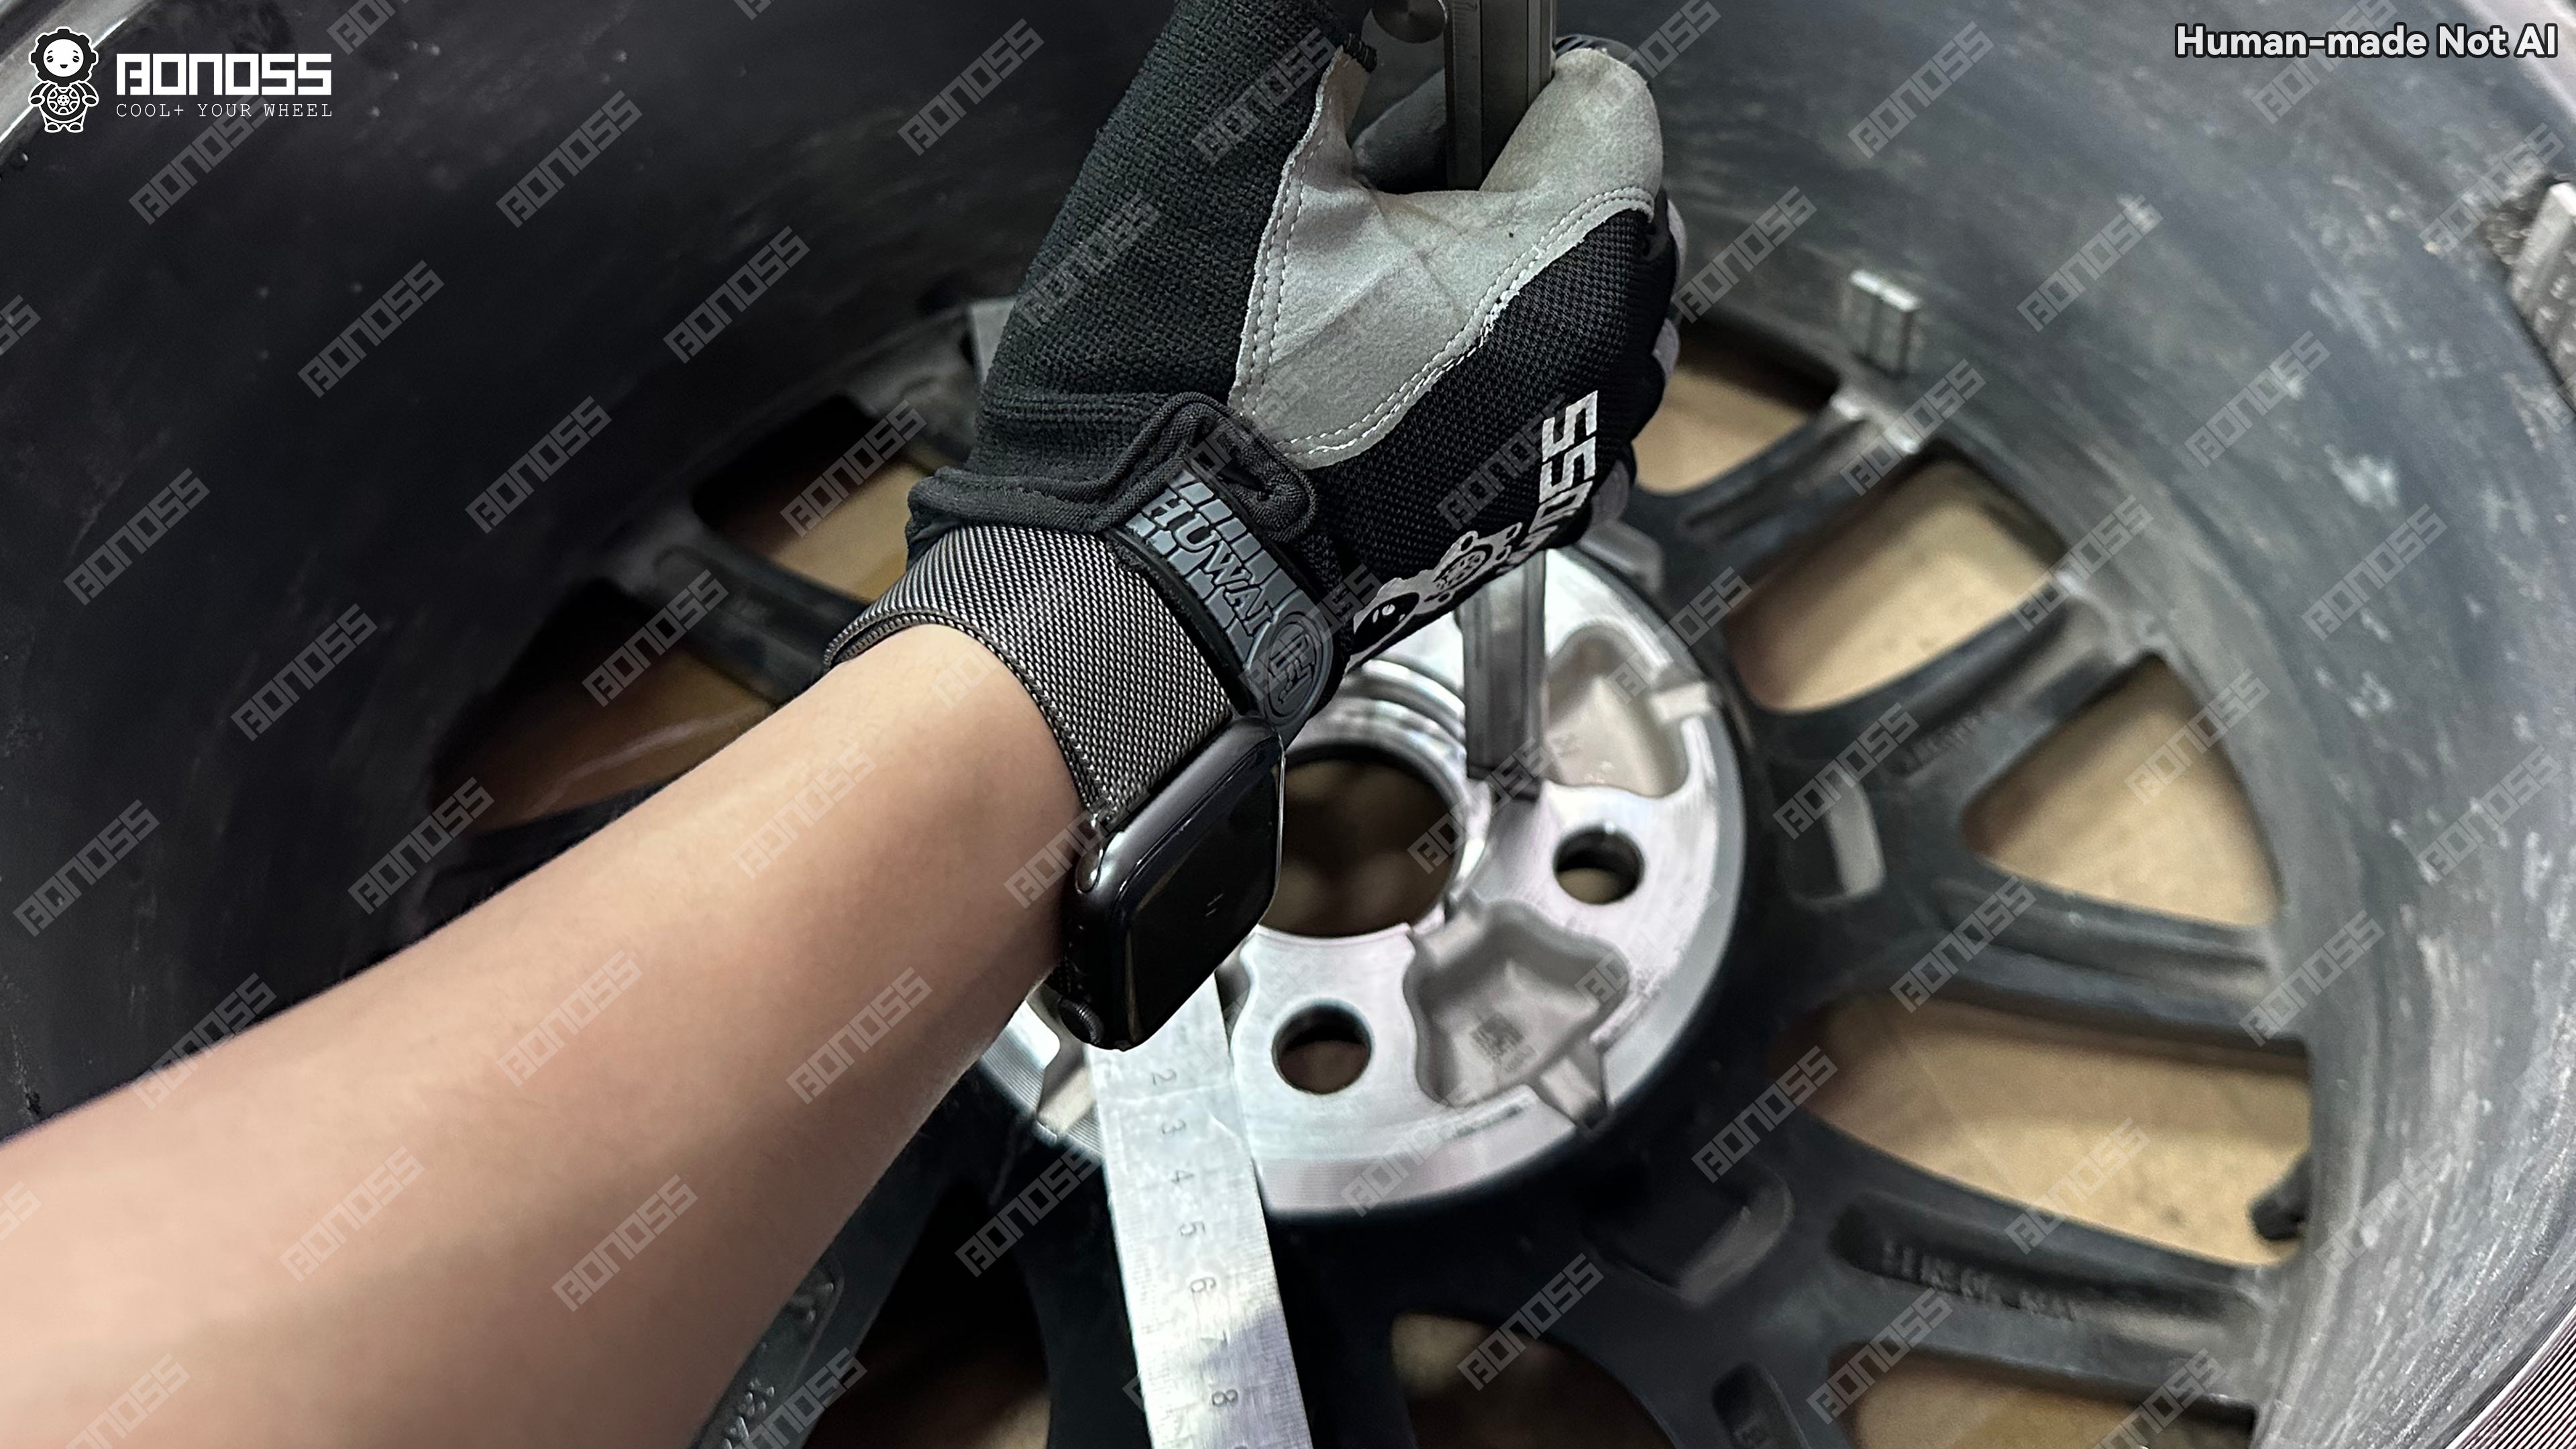
Calculated remaining protrusion was 8.13mm, leaving 8.10mm of pocket clearance. That specific wheel required no trimming.
A wheel with shallow or misaligned pockets could contact those studs and sit off the spacer face. Do not force it flat with the wheel nuts. Choose a compatible wheel or spacer design, or professional stud shortening after verifying required thread engagement.
The rotor retaining screw locates the rotor during assembly; it does not retain the road wheel. Its head can hold a spacer off the rotor if no matching relief exists, so remove it when required and store it for future use. Tesla’s front-rotor procedure specifies a 10mm deep socket, 5Nm and reuse for that bolt. That 5Nm figure never applies to wheel hardware. If corrosion has seized it, have a technician remove it rather than damaging the rotor.
Can I Use Tesla 3mm Wheel Spacers or 5mm Spacers on a 5×114.3 Model 3?
Yes, but only when hub location and thread engagement both remain adequate. Thin slip-on spacers reduce available hub register and stud length, so three checks are essential.
First, subtract spacer thickness from factory hub-lip protrusion. Under the conservative workshop criterion supplied for this guide, at least 8mm should remain. The documented hub measured 8.36mm; a 3mm spacer would leave 5.36mm and a 5mm spacer 3.36mm, so that hub would not meet the criterion.
Second, inspect the wheel center-bore entry for a chamfer. It reduces effective cylindrical engagement beyond what a simple height measurement suggests. Be especially cautious with lug-centric thin spacers and chamfered wheels.
Third, verify nut engagement independently. BONOSS general safety guidance lists at least 7.5 full turns, approximately 14mm of load-bearing length, for M14x1.5 hardware. A nominal-diameter workshop rule gives a more conservative 14mm target for M14; use the stricter requirement applicable to the actual hardware and kit instructions.
A factory Model 3 uses studs and nuts, so longer wheel bolts are not the default answer. If engagement is insufficient, use an engineered extended-stud or bolt-on spacer solution rather than accepting a few threads. This is not the place to compromise.
Will Spacers Affect Range, Autopilot, or FSD?
A modest, correctly installed setup should have a negligible range effect in normal driving, and a passive spacer does not directly interfere with Autopilot or FSD sensors, cameras, software or steering control. Range can change indirectly if tires protrude into the airflow, alignment is off, pressures drop, or heavier wheels are fitted simultaneously. Check those variables before blaming the spacer. Investigate any vibration or driver-assistance warning rather than assuming it is normal spacer behavior or automatically an FSD fault.
What Is the Difference Between Tesla Model 3 Hub-Centric Wheel Spacers and Lug-Centric Ones?
Hub-centric spacers use a close-fitting register to center the spacer and wheel, while lug-centric installations rely on fastener seats for location. Correct clamping remains essential in both designs; the register is not an excuse for unevenly torqued nuts.
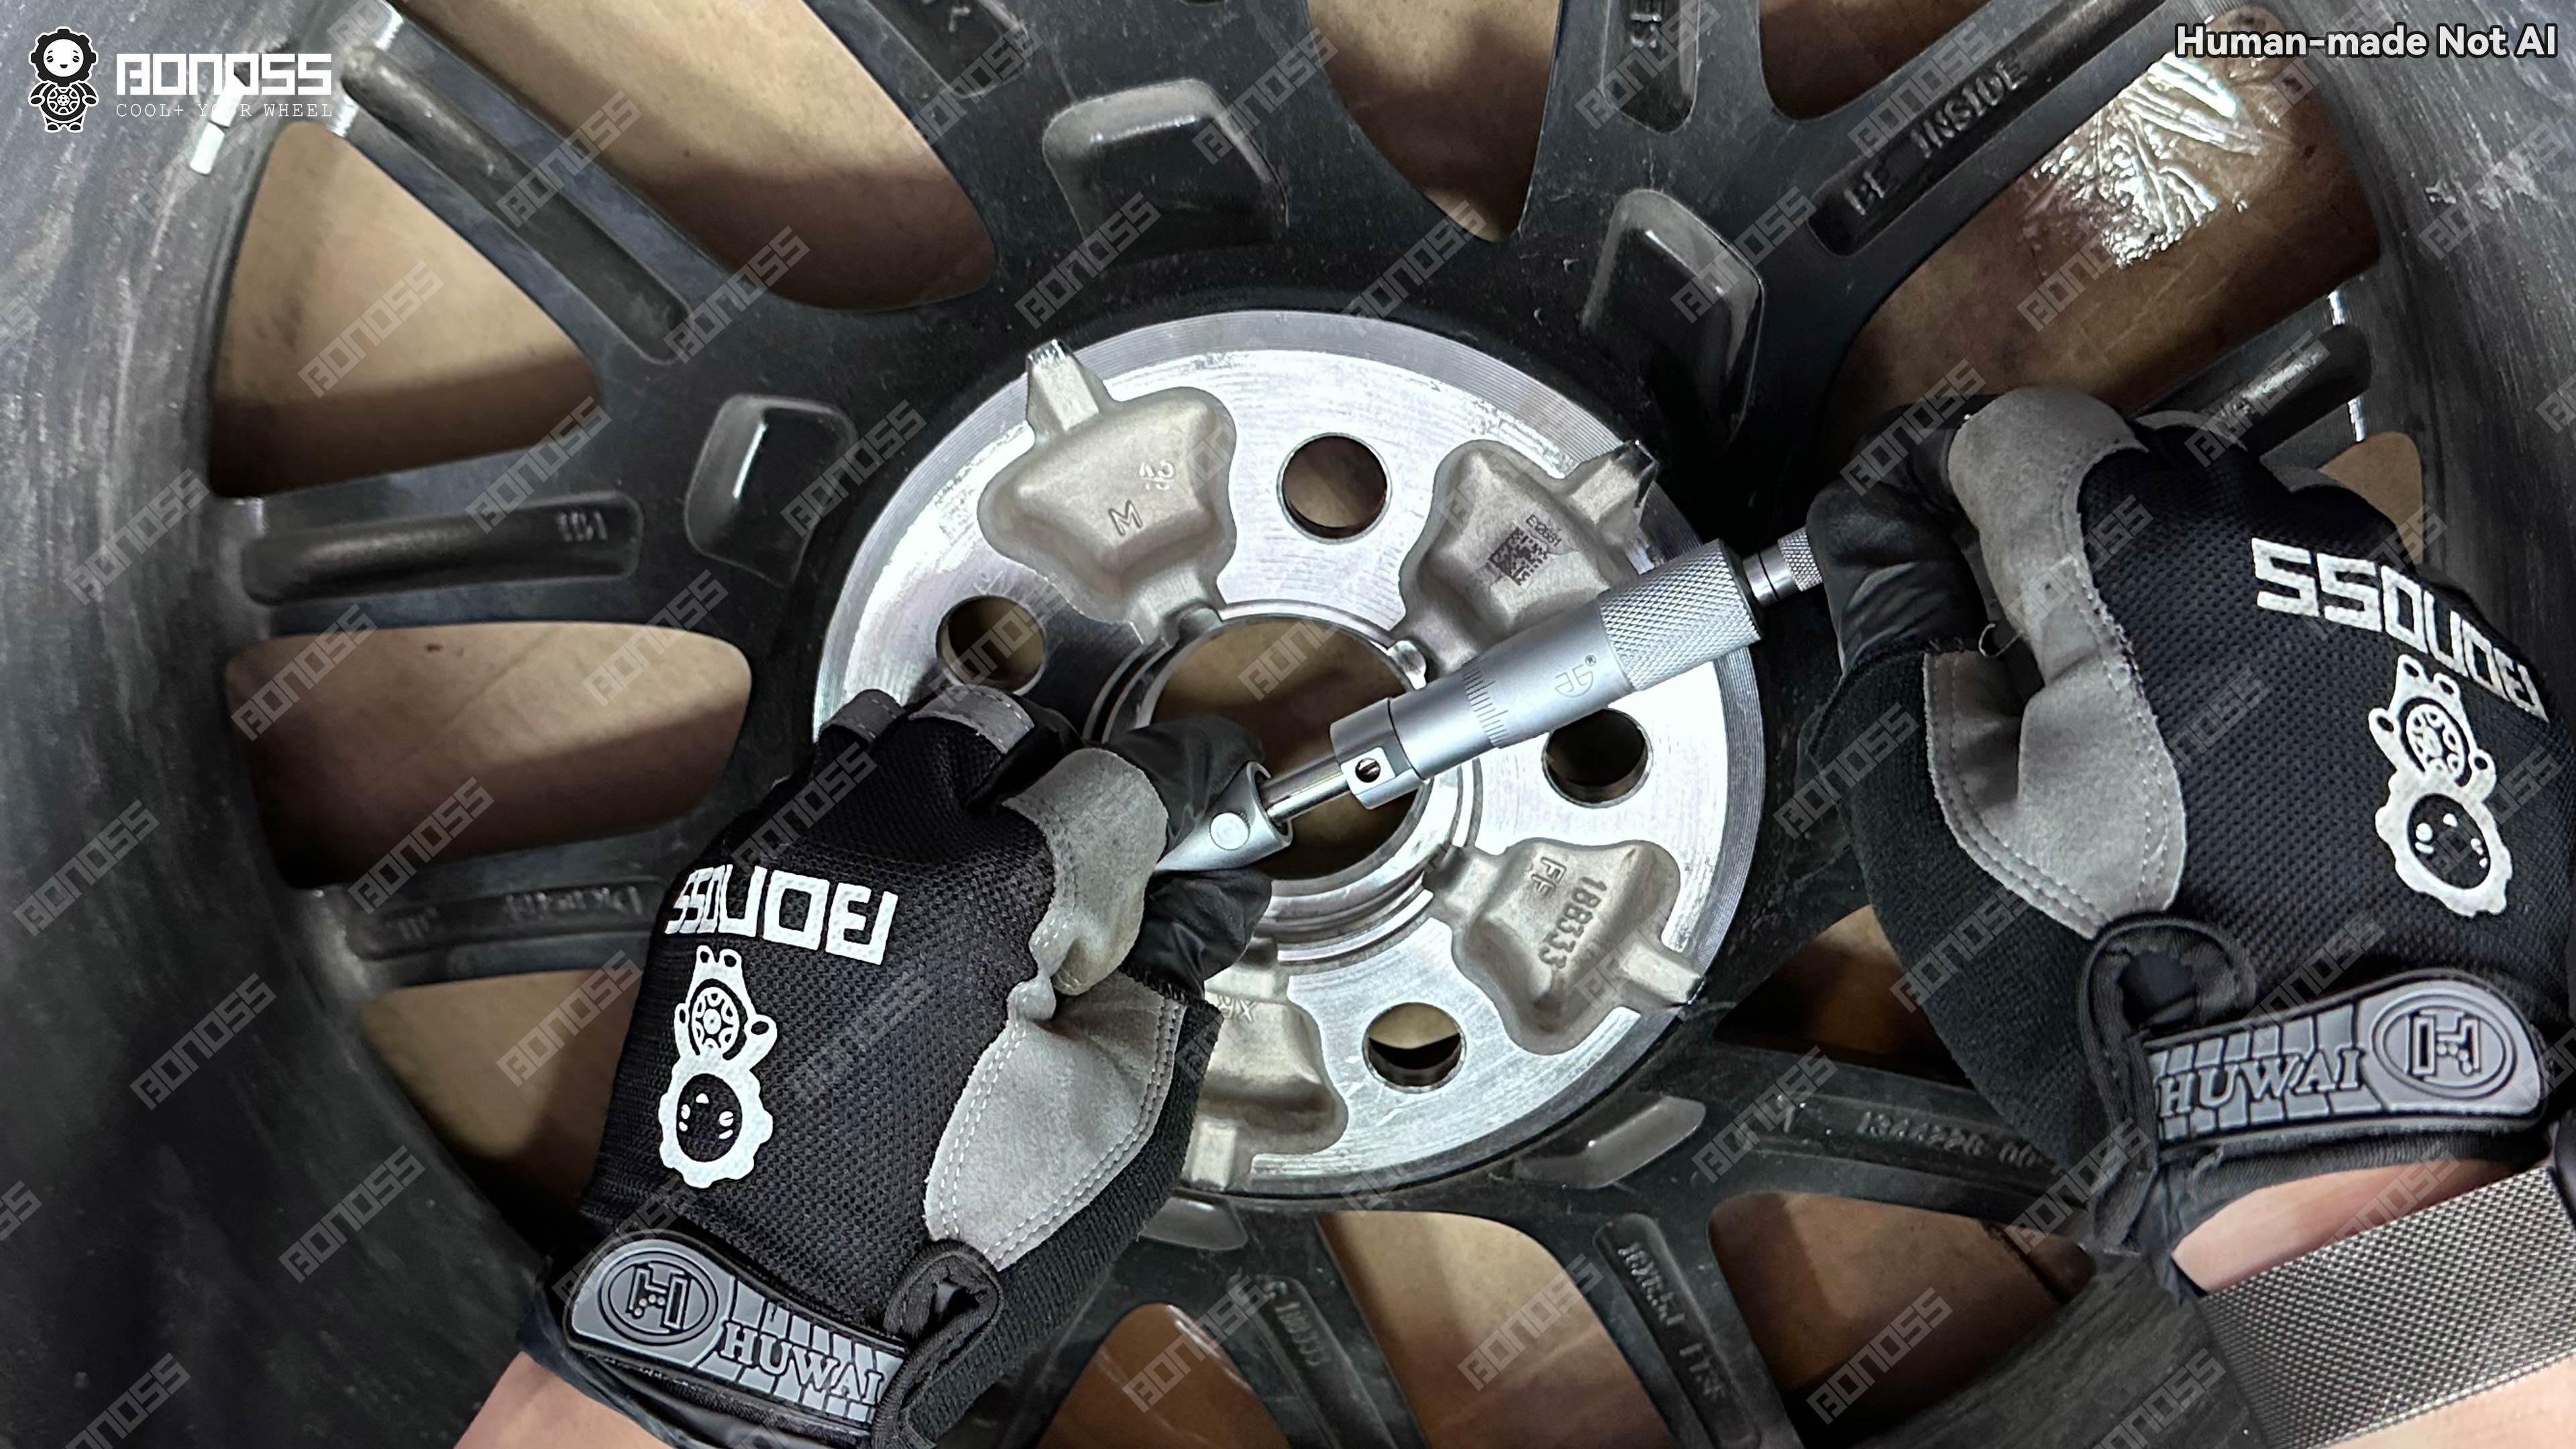
In the documented car, the vehicle register measured 64.05mm and the wheel bore 64.18mm. Against a 64.10mm spacer lip, that gives 0.08mm calculated diametral clearance, or 0.04mm per side when centered. These are measurements from one combination, not tolerances for every Model 3.
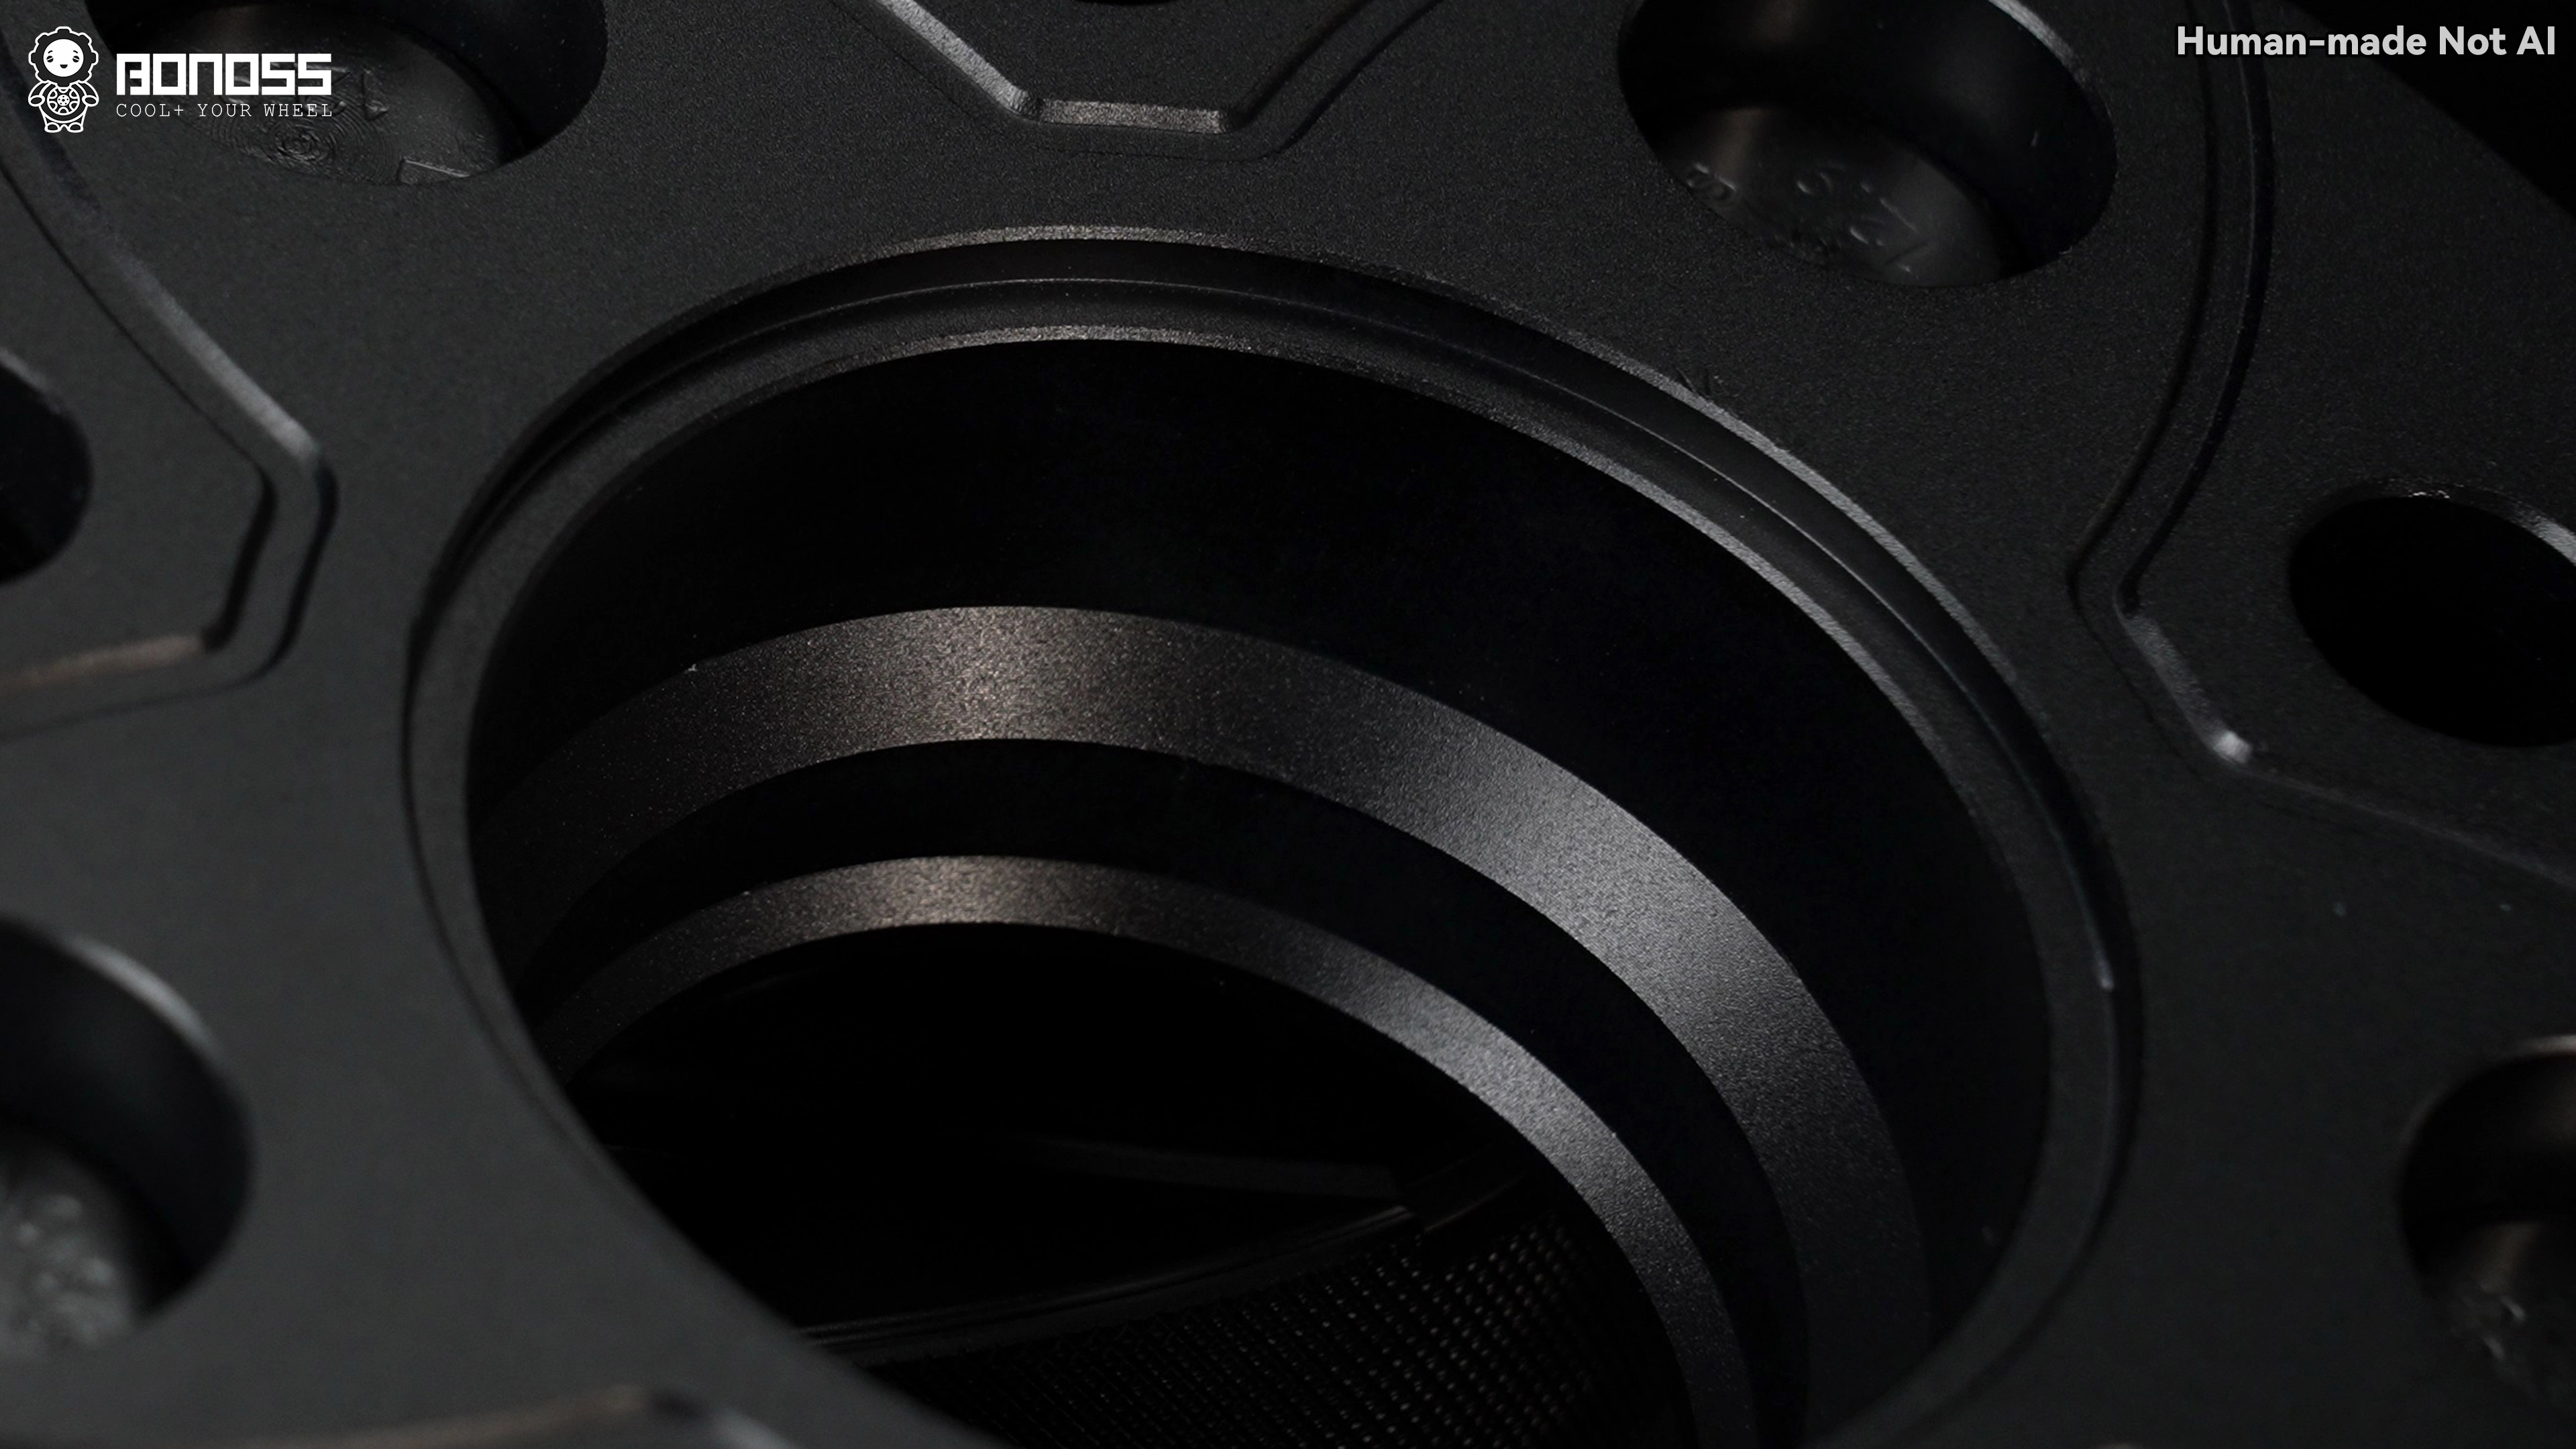
A multi-stage hub-centric profile matches stepped vehicle and wheel registers. It aids concentric location when dimensions are correct, but cannot compensate for an incompatible bore, damaged wheel or inadequate engagement on a thin spacer.
Do Front and Rear Thicknesses Need to Match, and Can I Do One Axle?
No, front and rear thicknesses need not match, and one-axle installation is possible when clearances and handling balance have been considered. Different stock offsets and fender gaps often make staggered thicknesses logical.
The documented rear-only 18mm installation kept the front stock because those wheels already sat where intended. That is a measurement outcome, not a universal recommendation. Changing one axle changes the front-to-rear track relationship, so avoid a large change solely for appearance.
A four-piece set suits four measured corners that need outward movement. If only one axle needs it, a pair can be more sensible. Check fender clearance at steering lock and under load before driving normally.
Which BONOSS Materials and Features Make Sense?
Choose forged 6061-T6 for a well-specified street setup and forged 7075-T6 when frequent aggressive driving makes the higher-strength option worthwhile. Neither alloy can rescue wrong thickness, poor seating or insufficient engagement.
The BONOSS forged 6061-T6 active cooling Model 3 spacers suit daily-road builds, while the BONOSS forged 7075-T6 active cooling Model 3 spacers are my preference for repeated hard use. That is a use-case preference, not a claim that 6061-T6 is inadequate on the street.
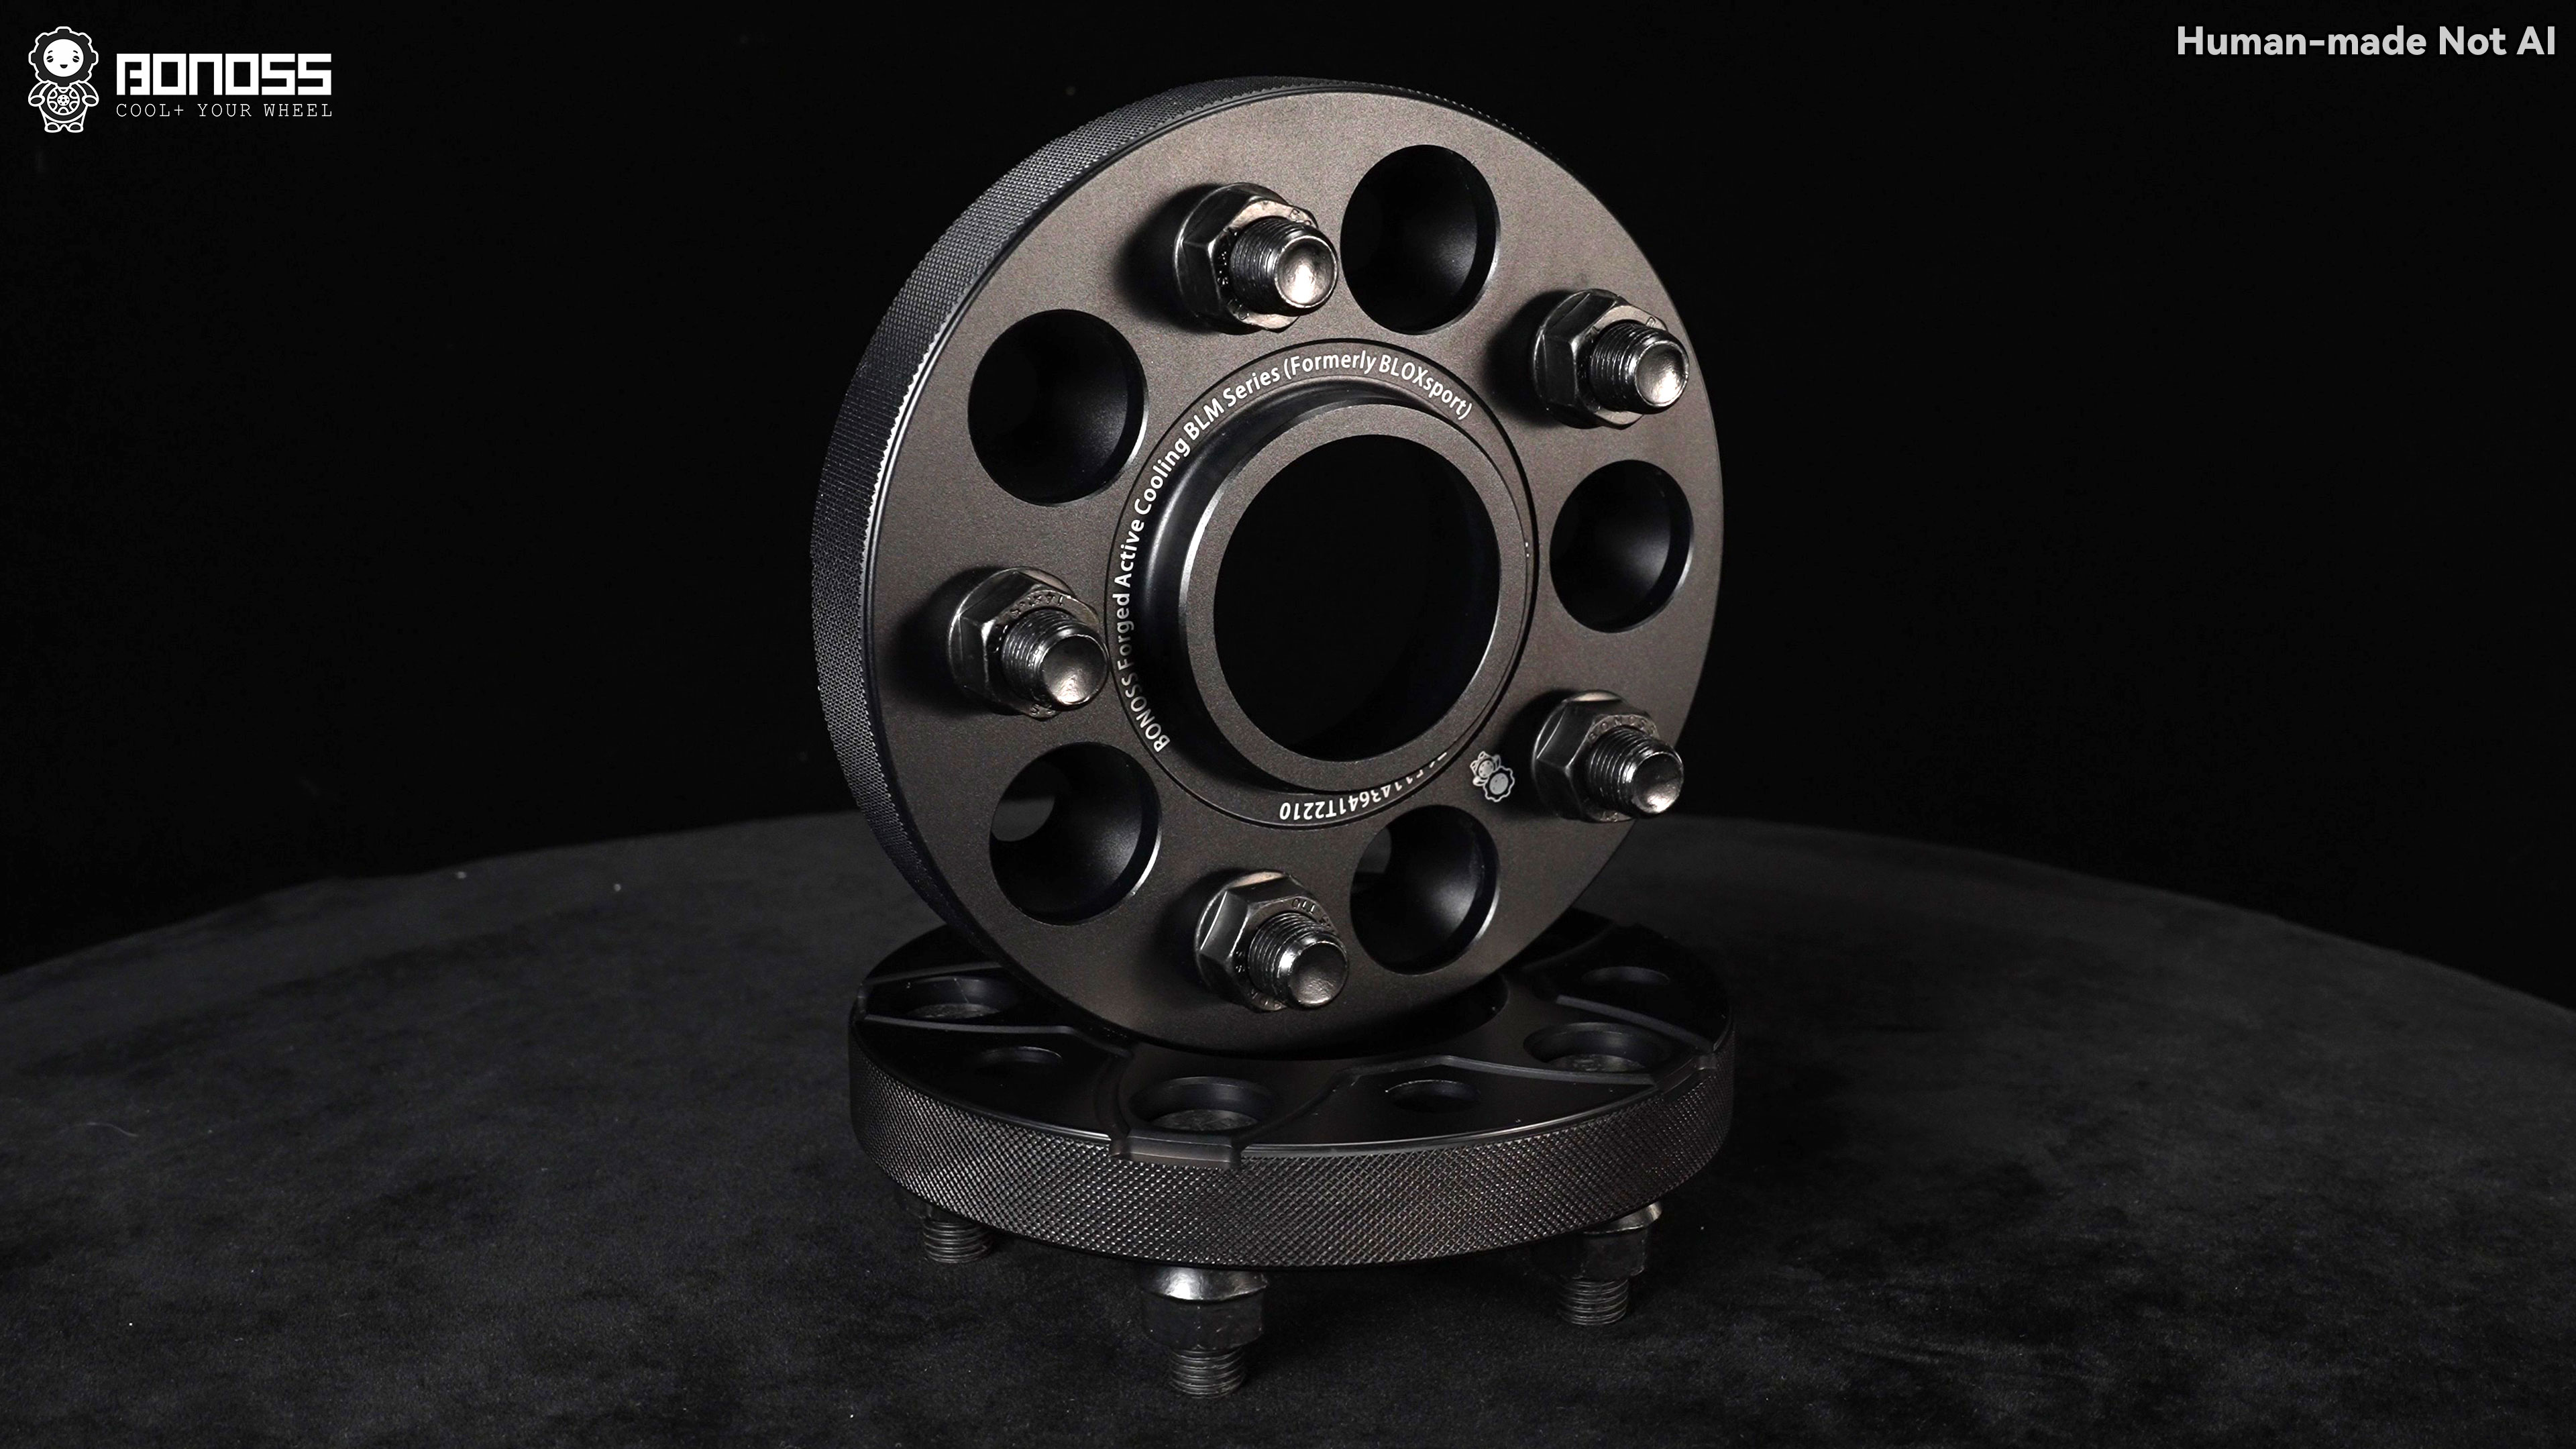
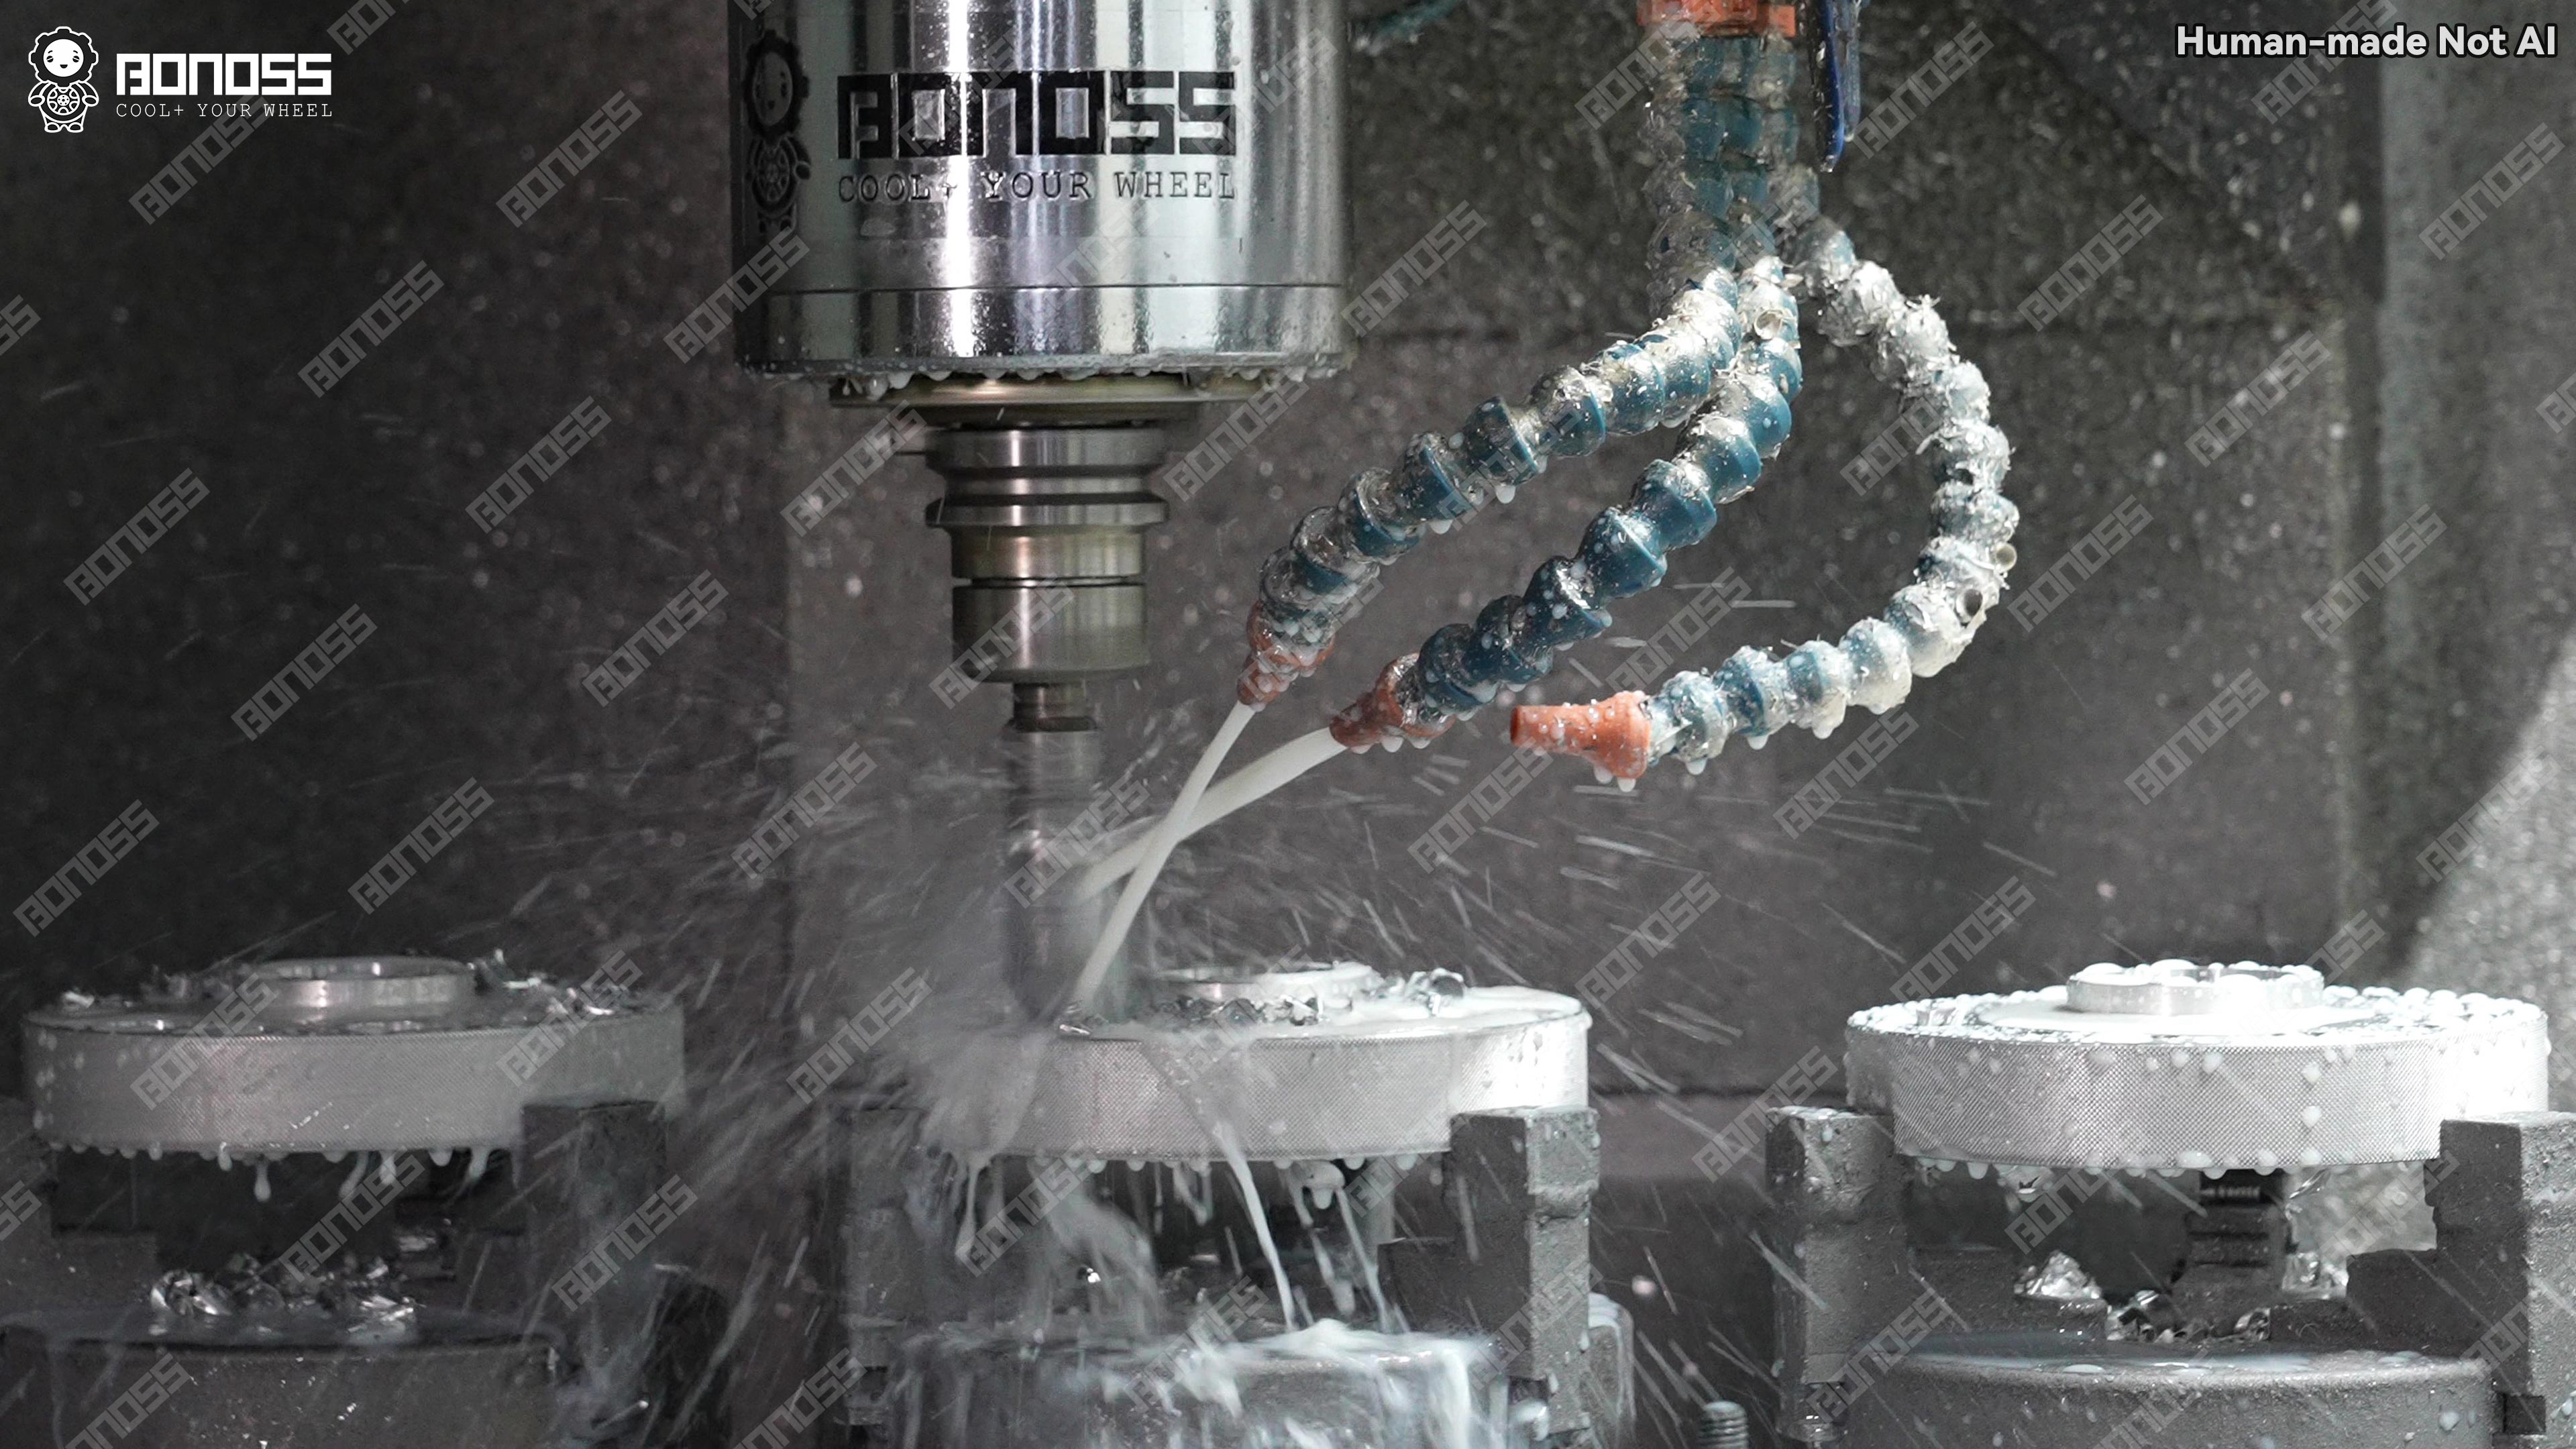
Active cooling describes petal-shaped grooves intended to move air through the rotating spacer. Multi-stage hub-centric machining, 0.02mm CNC tolerance, ISO Grade 12.9 studs, ISO Grade 10 nuts and a 10-year warranty complete the relevant specification set.
The reports add more useful evidence than adjectives. Hardness describes resistance to indentation; tensile strength is the maximum stress recorded in a tensile test; proof-load results address performance under a specified test load. None is a wheel-nut torque or complete-vehicle load rating.
| Tested item and report | Result | Test method | Practical interpretation |
|---|---|---|---|
| 6061-T6 hardness | 101–103 | ISO 6506-1:2014 | Tested material hardness |
| 6061-T6 neutral salt spray | 240 hours with no defects | ISO 9227:2022+Amd 1:2024 | Laboratory corrosion result, not lifetime rustproofing |
| 7075-T6 hardness | 146 HBW 5/250 | ISO 6506-1:2014 | Tested 7075-T6 sample hardness |
| SGS M14x1.5 stud tensile test | 1268MPa | ISO 898-1:2013+Cor-1:2013 | Tested Grade 12.9 stud result |
| SGS M14x1.5 stud hardness | 391–401 HV10 | ISO 6507-1:2018 | Vickers hardness at HV10 |
| SGS M14x1.5 stud proof load | 121kN | ISO 898-1:2013+Cor-1:2013 | Standardized fastener proof-load result |
| TÜV M14x1.5 stud tensile test | 1233MPa | ISO 898-1:2013+Cor-1:2013 | Separate laboratory sample result |
| TÜV M14x1.5 stud hardness | 386–390 HV10 | ISO 6507-1:2018 | Report-specific Vickers hardness |
| SGS M14x1.5 nut hardness | 358–362 HV0.5 | ISO 6507-1:2018 | Lower-force Vickers measurement |
| SGS M14x1.5 nut proof load | 138.8kN | ISO 898-2:2012 | Tested Grade 10 nut result |
Different laboratories, samples and measurement uncertainty can produce different readings. The 1268MPa and 1233MPa results are report-specific values, not a contradiction or a guarantee for every stud produced.
What Is the Complete Size, Thickness, and Torque Summary?
Match the three interface dimensions first, measure thickness second, and assign torque by fastener last.
| Check | Model 3 requirement or starting point |
|---|---|
| Bolt pattern | 5×114.3mm across all applications listed |
| Center bore | 64.1mm nominal; verify actual vehicle and wheel measurements |
| Thread | M14x1.5; confirm seat type and engagement |
| Pre-Highland thickness | Generally 15–20mm; Long Range and Performance may extend to 25mm after measurement |
| Highland thickness | Standard Range 18–20mm; Long Range and Premium 15–25mm; Performance 10–25mm after measurement |
| Spacer-to-hub torque | 140Nm / 103.5 ft-lb with supplied BONOSS M14x1.5 nuts per BONOSS instructions |
| Wheel-to-spacer torque | 175Nm / 129 ft-lb with factory nuts per the owner’s manual |
| Stud clearance | Wheel-pocket depth plus spacer thickness must exceed measured stud protrusion |
| Re-torque | After 50–100 miles per BONOSS guidance, then during routine tire maintenance |
FAQ
What Bolt Pattern Is Required for Model 3 Spacers?
Model 3 spacers need a 5×114.3mm bolt pattern, nominal 64.1mm center bore and M14x1.5 hardware for these applications. Matching PCD alone is insufficient because centering, fastener seats, offset and clearance still require verification.
Are Wheel Spacers Safe on a Model 3?
Correctly matched, quality spacers can be used safely when they seat flat and have adequate hub location, stud clearance, thread engagement and torque. Debris, a protruding rotor screw or insufficient engagement is not made safe by a premium material label.
What Torque Should I Use on Model 3 Spacer Nuts?
Use 140Nm on supplied BONOSS M14x1.5 spacer-to-hub nuts and 175Nm on factory wheel nuts securing the wheel. The first value comes from BONOSS instructions and the second from the owner’s manual; tighten each joint in a crisscross sequence with a torque wrench.
Will Spacers Interfere With FSD or Autopilot?
Passive wheel spacers do not directly interfere with FSD or Autopilot hardware or software. They do not connect to cameras or steering controls, although vibration, unrelated wheel-speed faults or alignment problems still require diagnosis.
Do Model 3 and Model Y Share Wheel Spacers?
Some Model 3 and Model Y applications share 5×114.3mm, 64.1mm and M14x1.5 dimensions, but shared numbers do not establish universal interchangeability. Confirm the part number against model year, hub design, brakes, wheels and thickness before moving a set between vehicles.
How Soon Should Model 3 Spacers Be Re-Torqued?
BONOSS recommends re-torquing after the first 50–100 driving miles, followed by checks during routine tire maintenance. Inspect seating and interference simultaneously, and diagnose vibration rather than treating repeated tightening as a cure.
What Should I Do Before Ordering?
Identify the model year, wheel size and offset, then measure each axle for fender clearance, hub engagement, stud protrusion and wheel-pocket depth. Those checks will narrow the options faster than another hour of contradictory forum advice.
When comparing Tesla Model 3 wheel spacers for sale, prioritize verified fitment and the correct fastening system over dramatic thickness. BONOSS offers pairs and four-corner options in 6061-T6 and 7075-T6, but the right purchase still matches your measurements. Buy the spacer that fits the car you actually have, then install and re-torque it exactly as specified.

About Robert Wall
Robert Wall is a Senior Automotive Engineer at BONOSS with over 9 years of experience in automotive component R&D, specializing in the structural design and safety validation of wheel spacers, wheel adapters, and high-strength fasteners. He is actively involved in product testing and on-track evaluation and is dedicated to translating engineering expertise into accessible modification knowledge — helping enthusiasts upgrade their vehicle’s stance and handling without compromising safety.