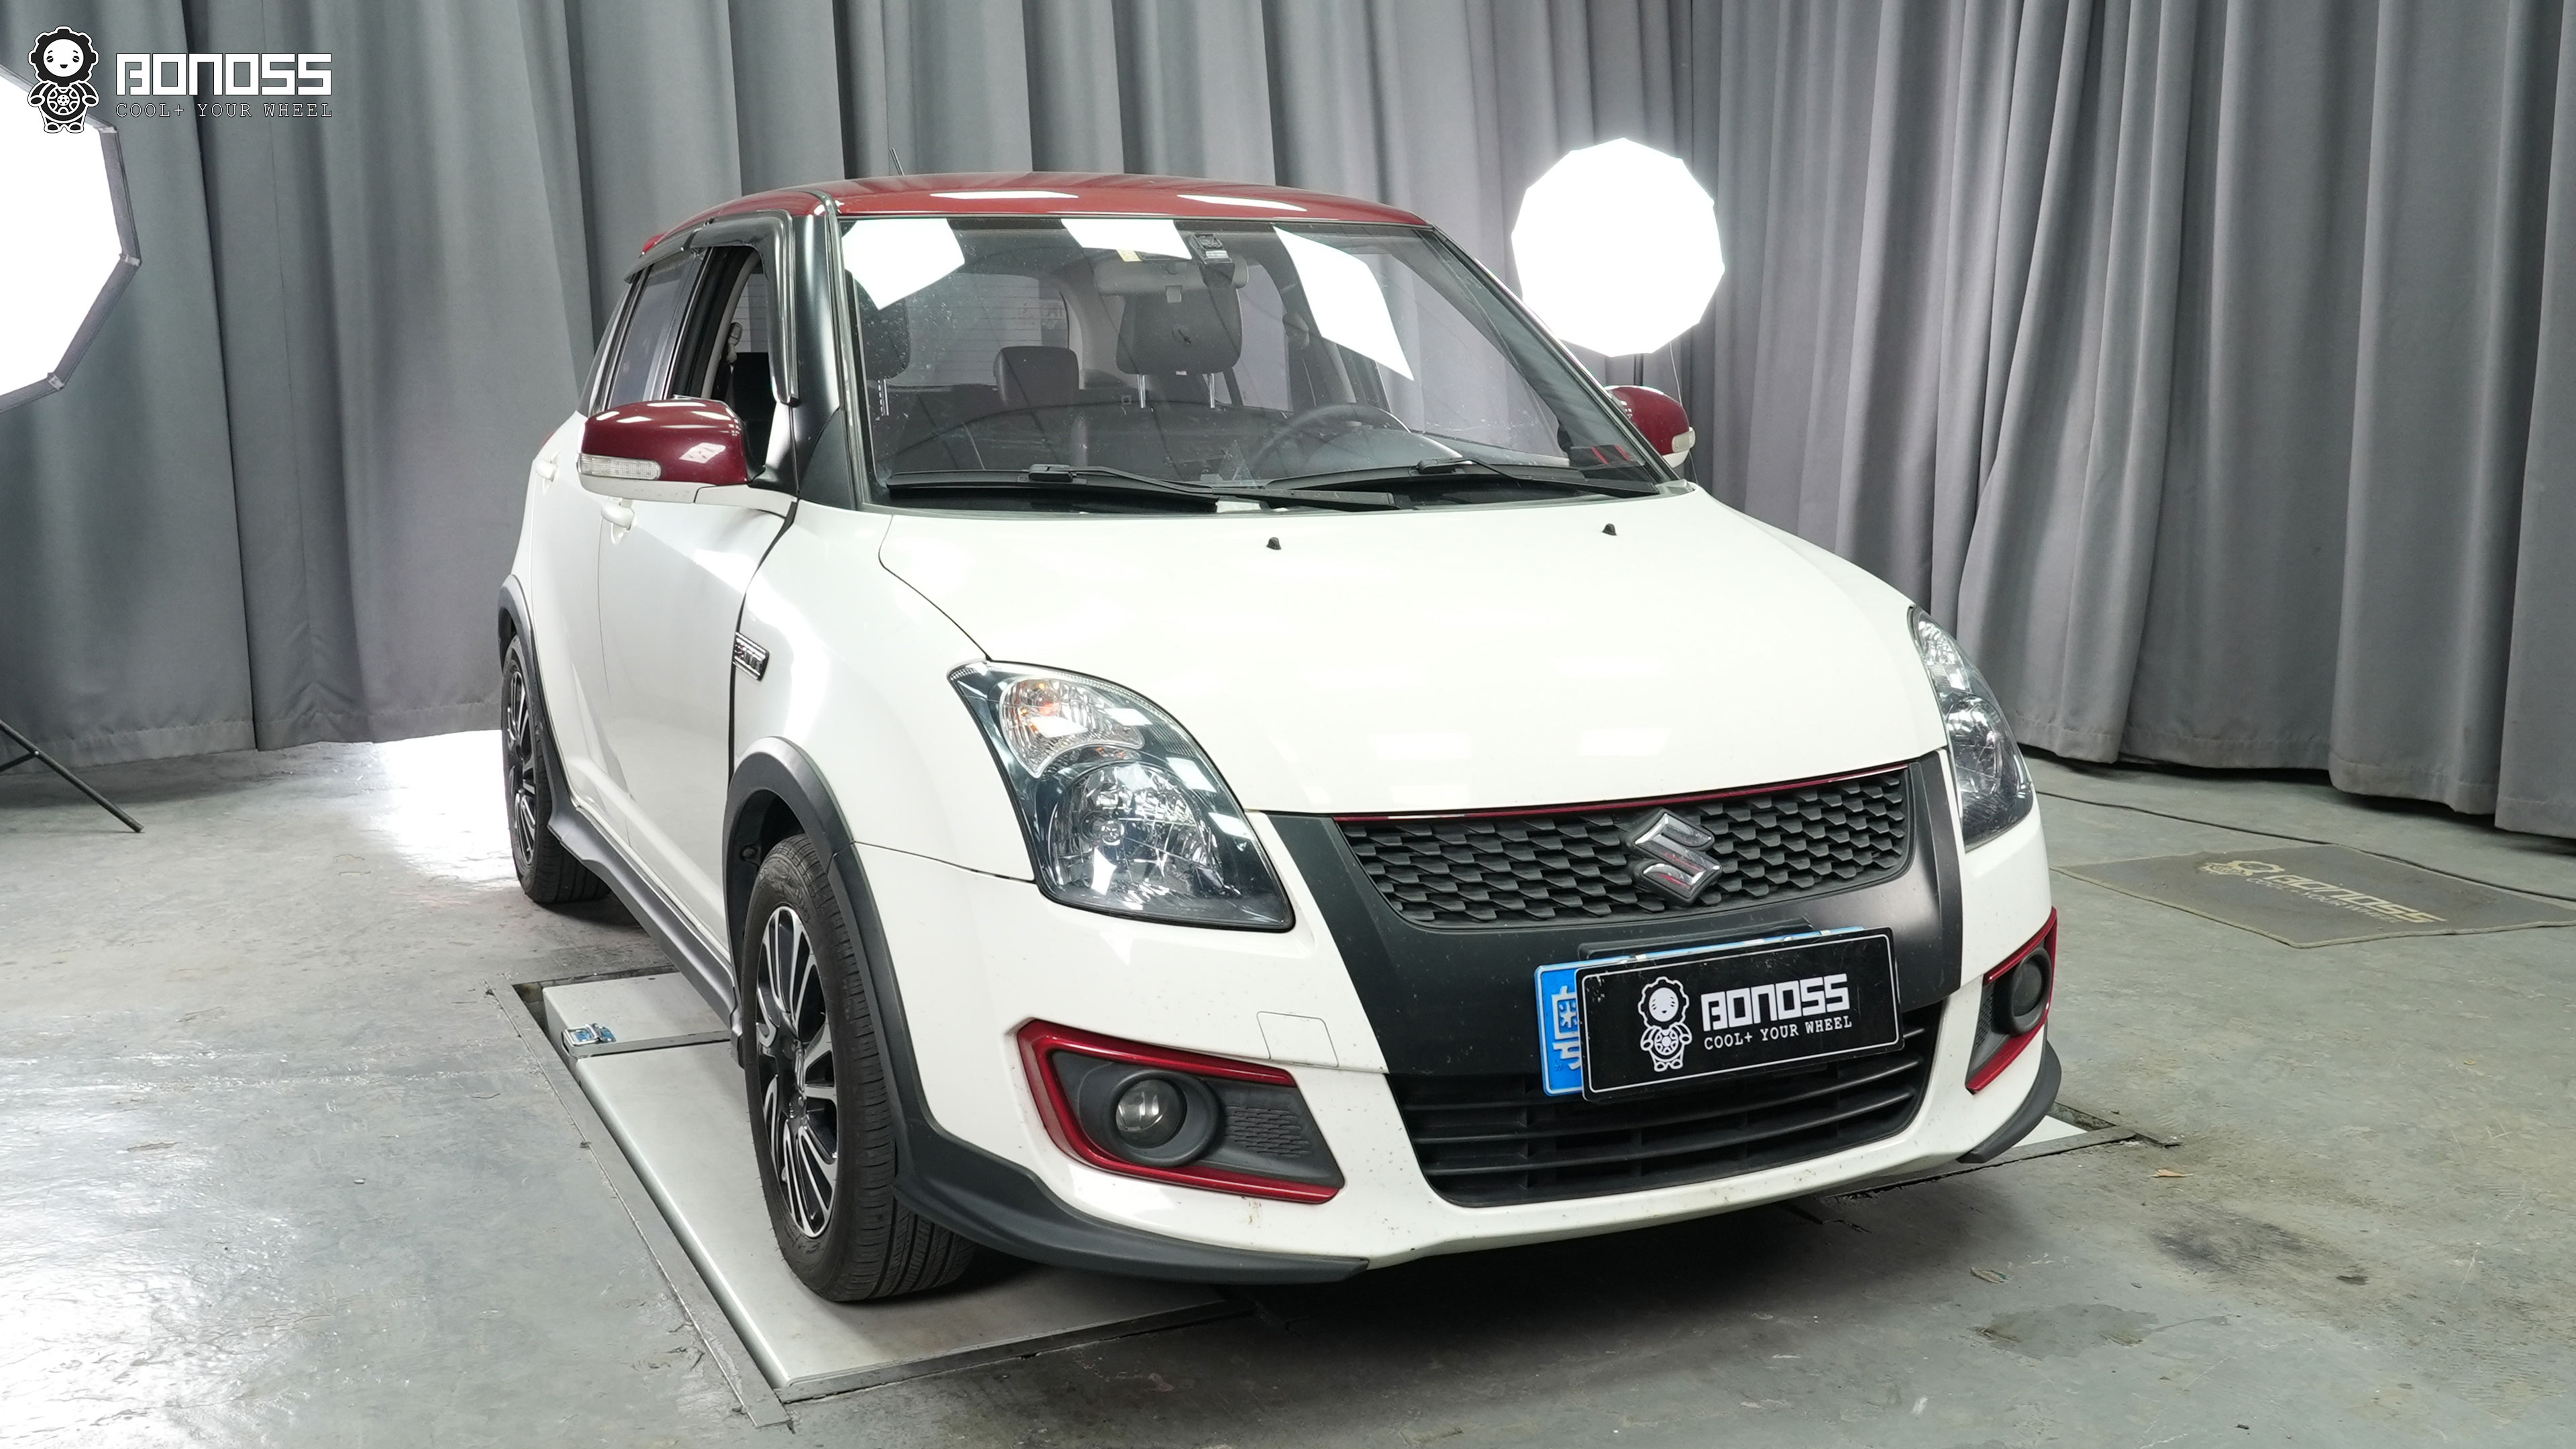
The short version: Max Wilson rolled in with a bone-stock 2016 Suzuki Swift and two worries he’d picked up from forums — that the wheel bearing dust caps would block the spacer, and that he’d need to cut his studs. Neither turned out to be true. We measured the hub, test-fitted a 30mm set, torqued everything to proper torque spec, and sent him out with a flush ET+15 stance in about an hour. Eight months and 9,200 miles later, he says he has “zero issues.”
That’s the whole story. If you only remember one thing from this page, make it this: on a stock 2016 Suzuki Swift, a 30mm bolt-on spacer fits without removing dust caps and without trimming studs — if the spacer is built right.
Now let me walk you through how it actually went, because the install is where most people talk themselves out of a good decision.
The Car and the Guy Who Owns It
Before I get into bolts and torque, you should know who this is, because context matters when someone’s recommending you spend $280 on your daily driver.
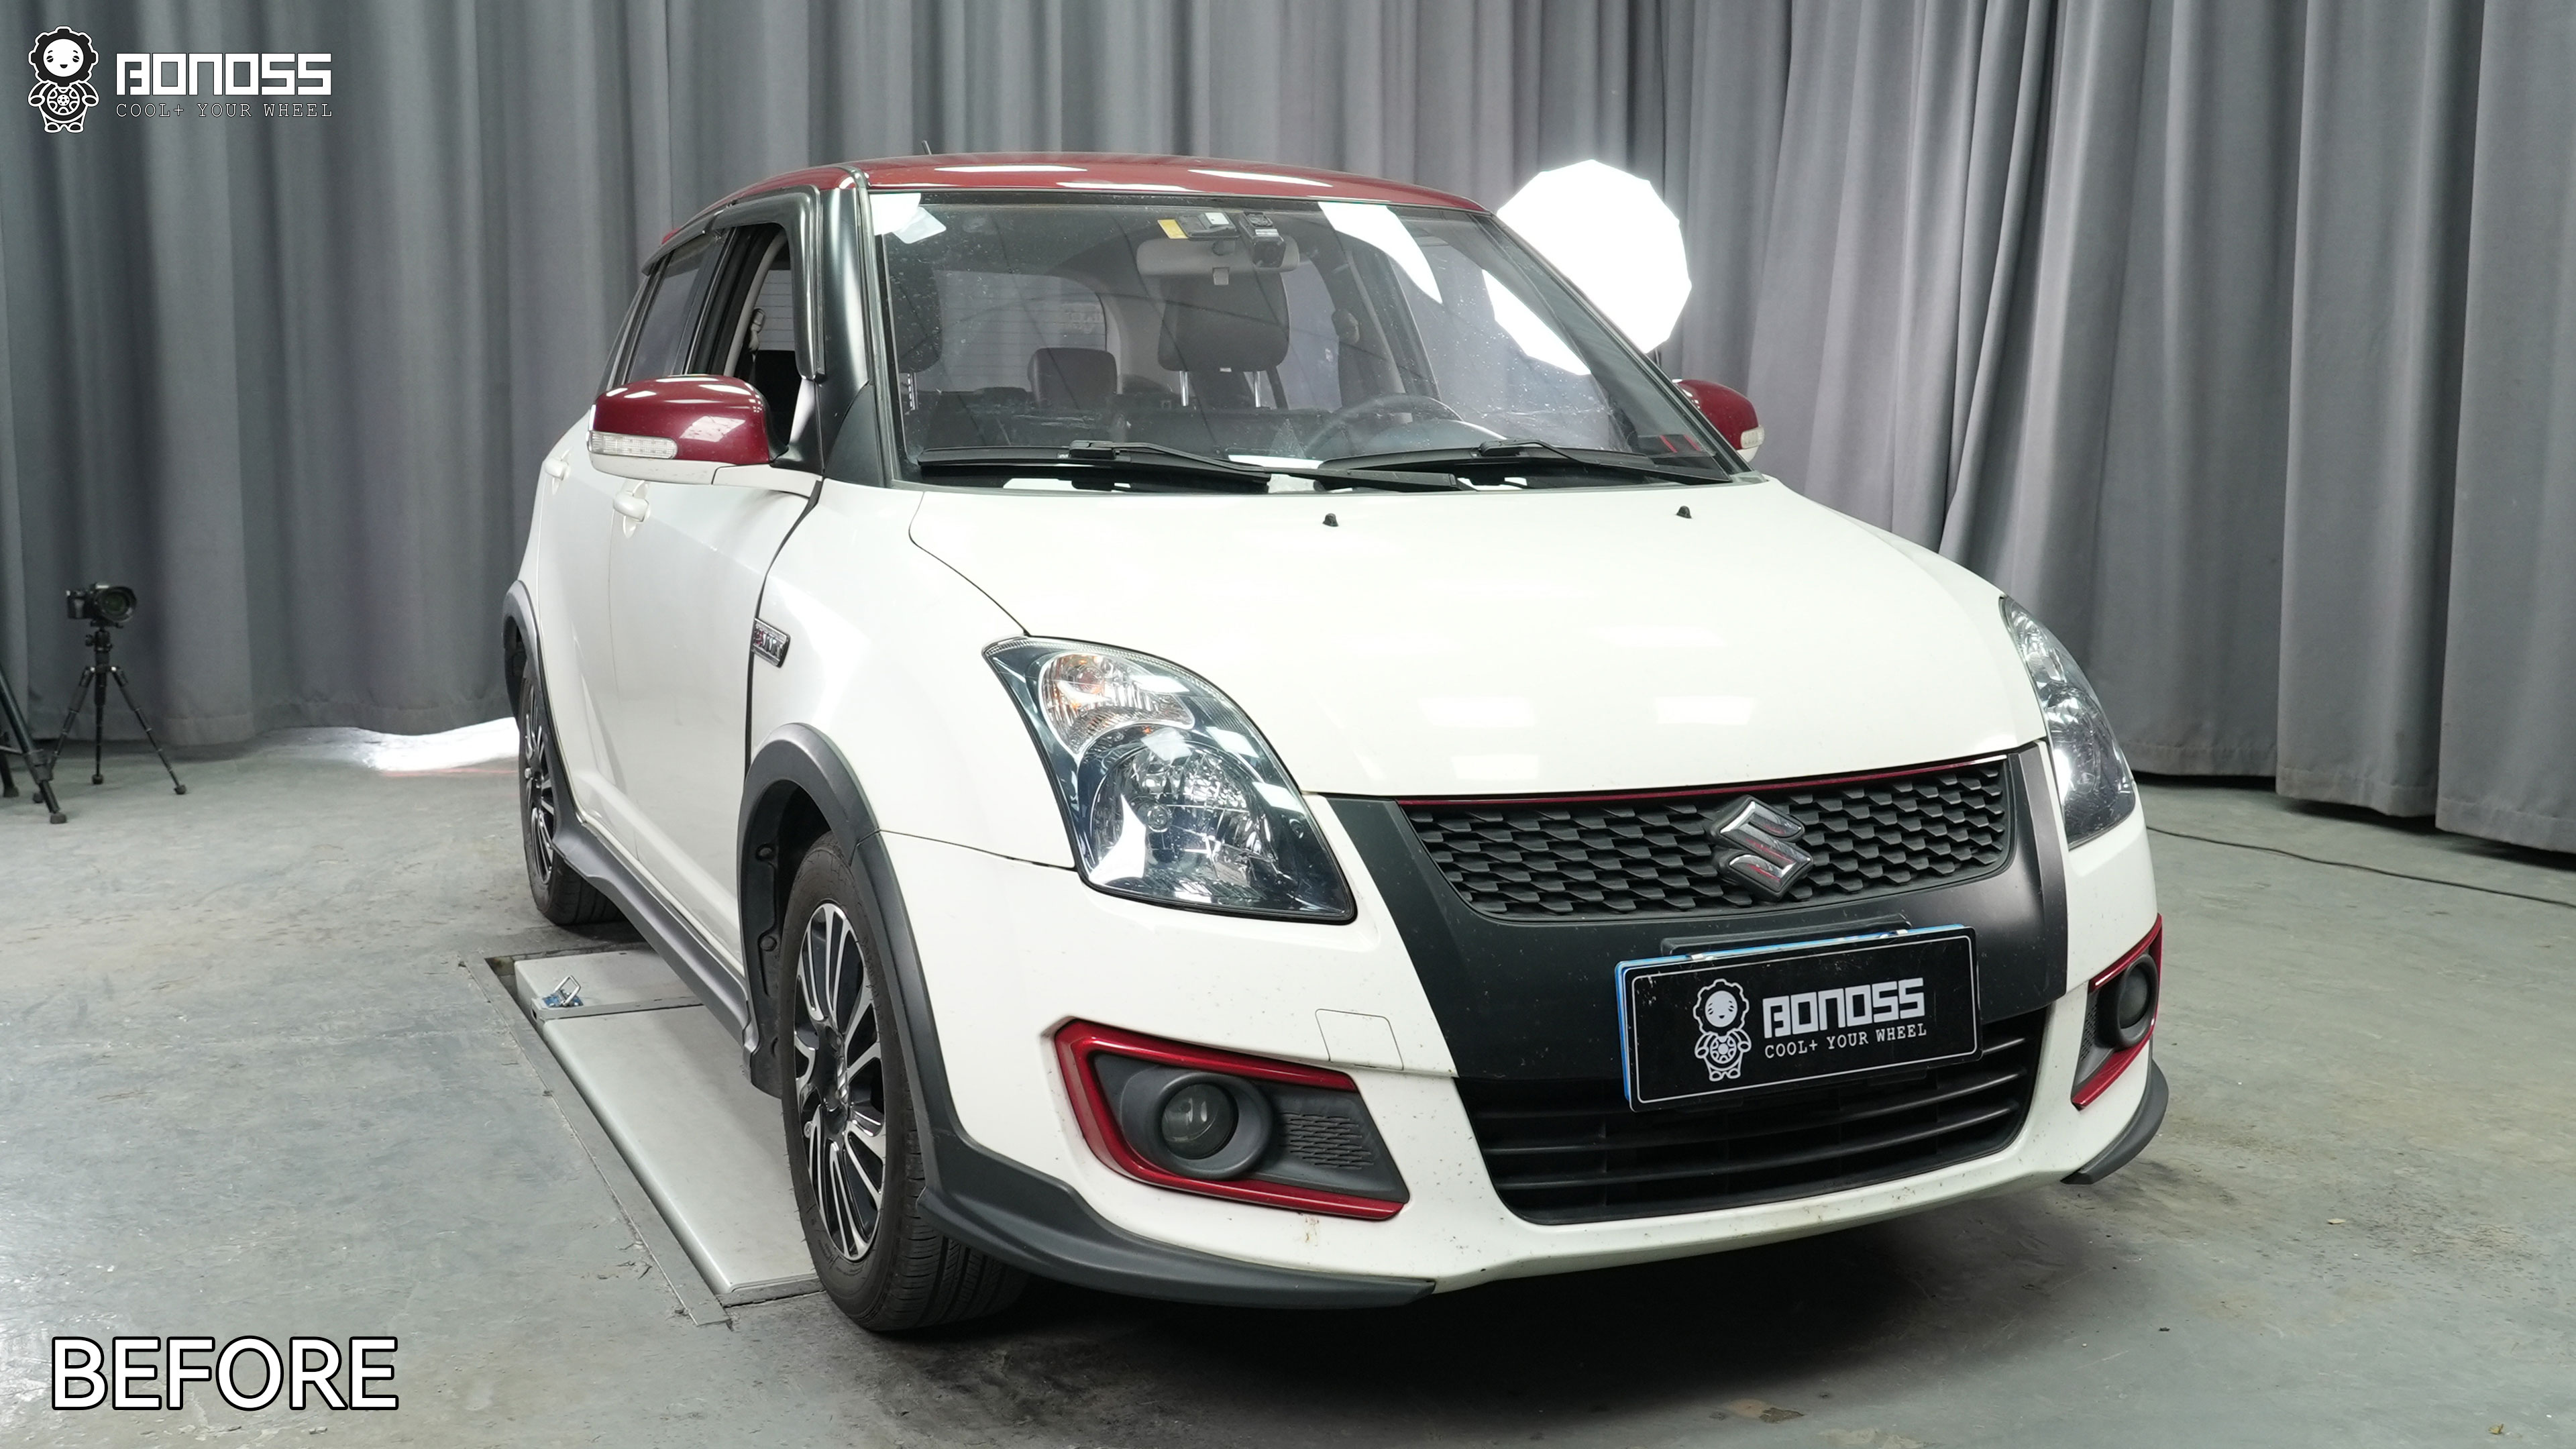
Owner: Max Wilson — a project manager.
Car: 2016 Suzuki Swift, completely stock.
Wheels: 185/60R15, ET+45mm.
What he wanted: a flush stance without buying new offset wheels.
Max isn’t a tuner. He’s the kind of guy who reads three forum threads before he buys a phone case. So when he says he spent weeks comparing brands and messaging shops before pulling the trigger, I believe him.
That caution is exactly why I’m writing this up. If a careful, stock-car owner can do this install and be happy, most people can.
How He Found Us
This part is less glamorous than it sounds.
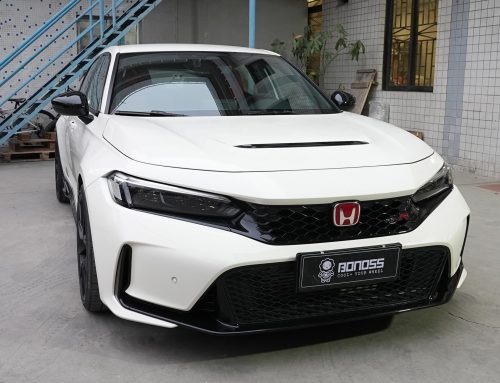
Max saw his friend Dan’s Honda Civic parked outside a meet. The Civic looked wider and more planted than stock, but Dan hadn’t changed wheels. Max asked how.
“Wheel spacers,” Dan said.
No new offset wheels. No fender rolling. Just a set of bolt-on spacers pushing the track out. Max asked what brand, and Dan pointed him to BONOSS. A week later, Max was in our inbox with questions. That’s it — a friend, a parking lot, and a word-of-mouth recommendation. Most of our customers arrive the same way, and I’d rather have that than any ad spend.
Why He Almost Walked
Here’s where the honest version of this story gets interesting, because Max didn’t say yes right away.
- The price. Four 30mm spacers run $280 (including the labor fee). Cheap compared to a new set of wheels, sure, but Max had seen no-name spacers online for half that. Fair question: why pay more?
- The horror stories. He’d read that some people had to yank off their wheel bearing dust caps to make spacers fit. He’d read that some installs required cutting the factory studs. He did not want to cut anything, and he did not want to delete his dust caps. I don’t blame him — I wouldn’t either.
- The noise. Every forum has someone swearing spacers eat wheel bearings and cause vibrations. Max had internalized all of it.
So we didn’t argue with him. We explained two things, and then we let the numbers do the talking.
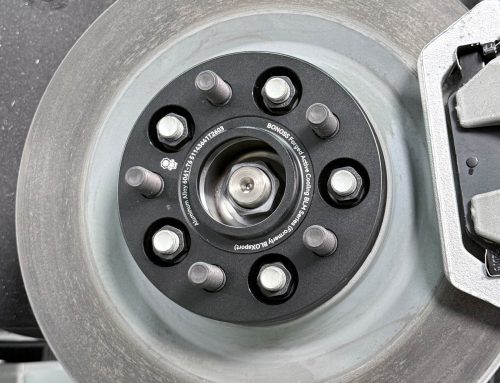
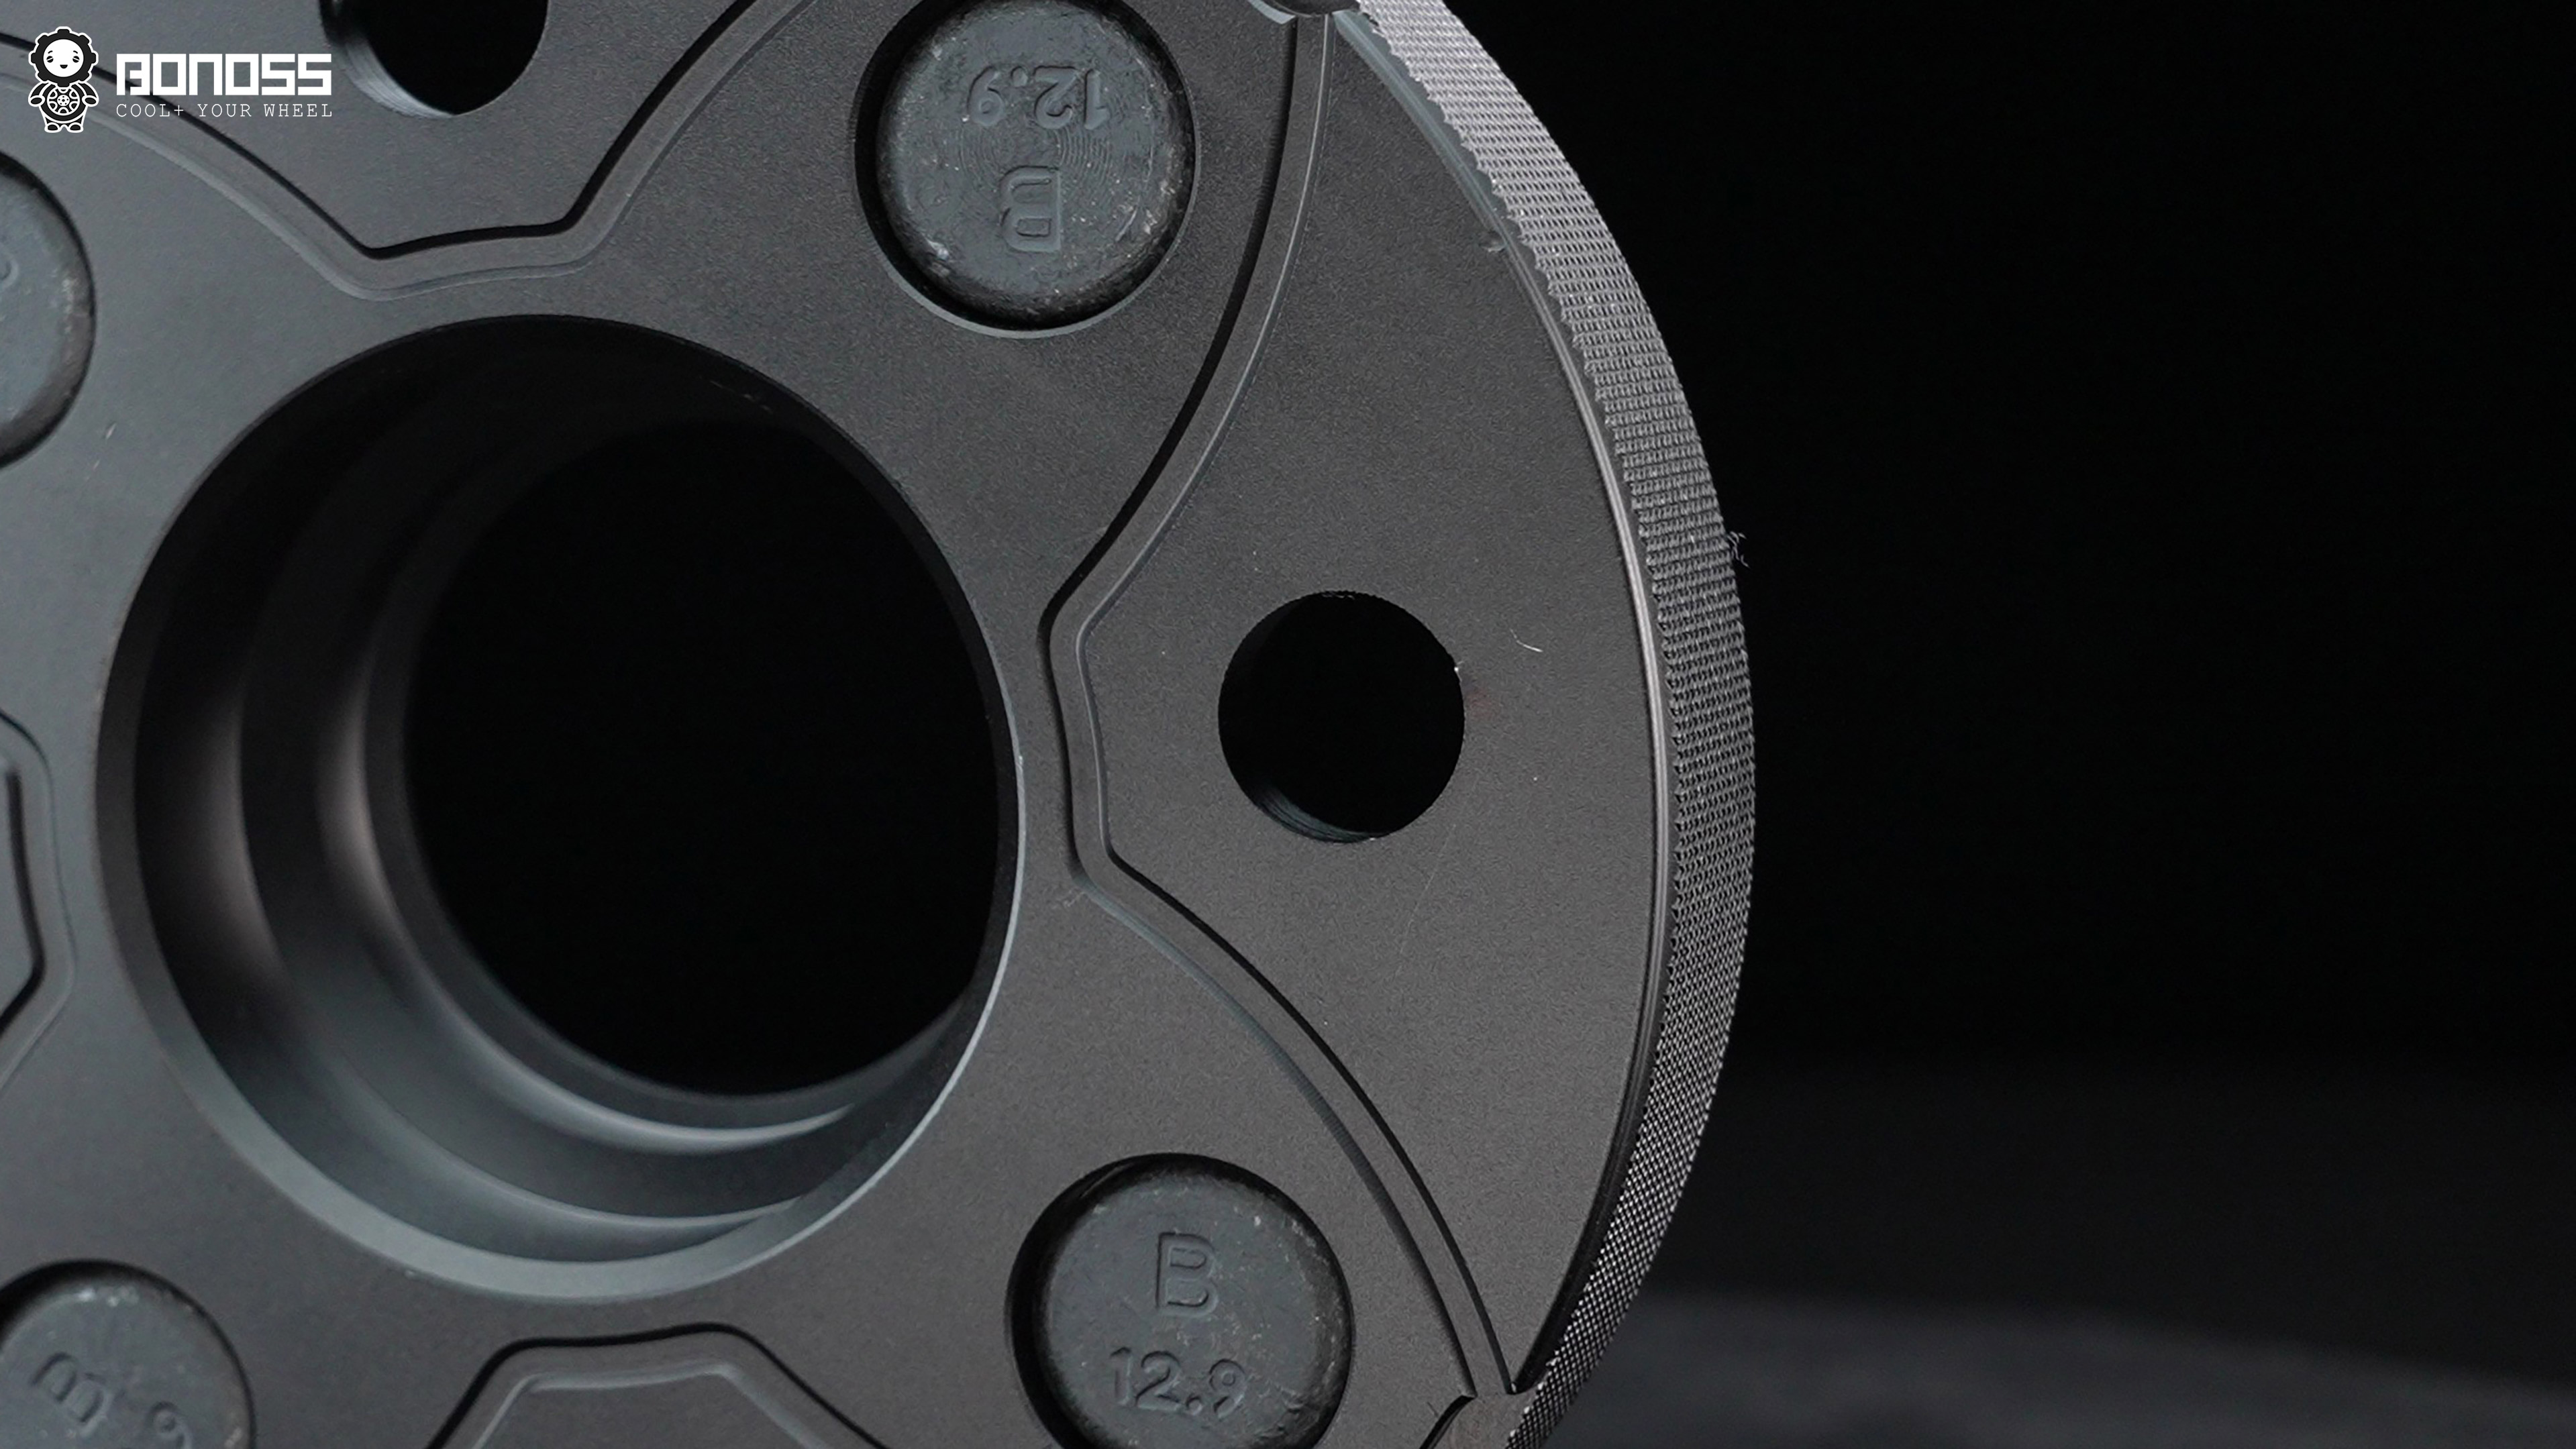
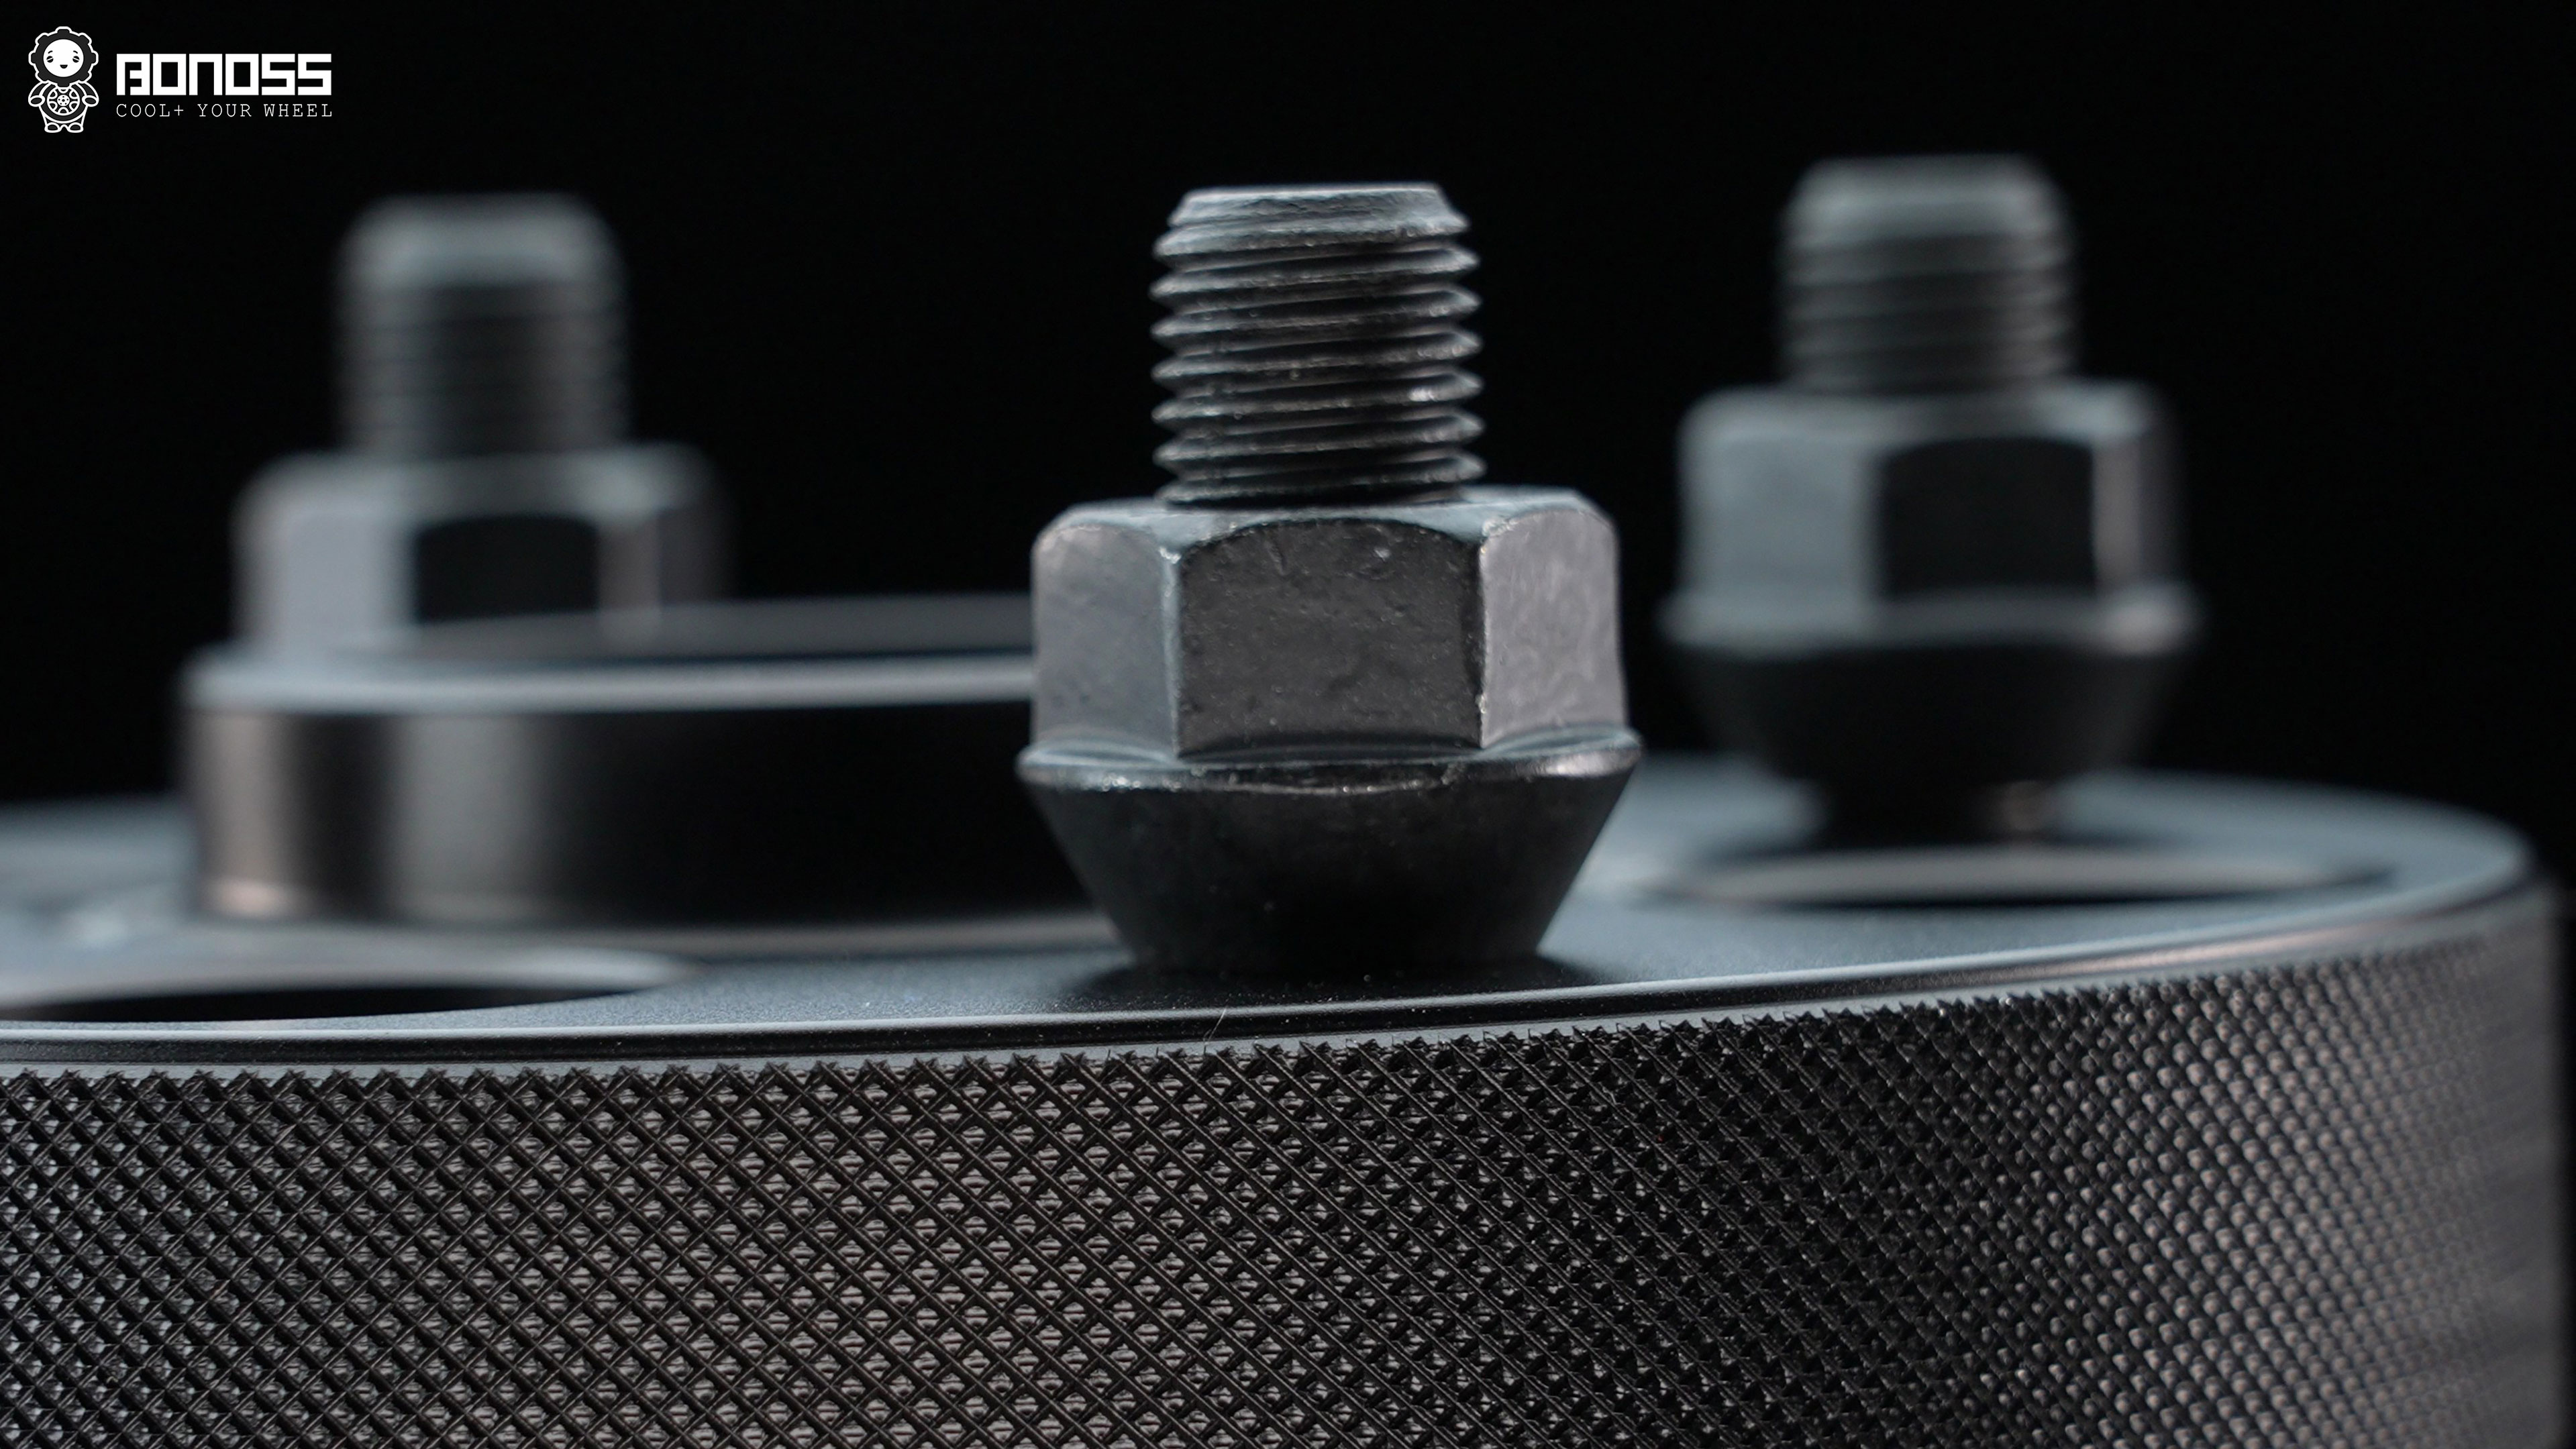
BONOSS spacers are hub-centric and forged, with an active cooling design — grooves cut into the body that let air move across the surface and pull heat away from the hub and brake area. Heat is what cooks bearings and fades brakes, so a spacer that moves air is a spacer doing real work, not just filling a gap.
The hardware isn’t an afterthought. These use ISO grade 12.9 wheel studs and ISO grade 10 wheel nuts— the same grade of fastener you want on anything that holds your wheel to your car.
Dan vouched for us. The active cooling and the stud spec closed the gap. The promo closed the price objection. Max placed the order, and on December 18, 2025, we had his Swift in the bay.
The Install, Step by Step
An hour sounds fast. It was fast, but only because we didn’t skip the measuring. Here’s the part most people skip, and the part that actually answers the two questions Max was scared of.
The Two Worries, Measured and Settled
Worry #1: “I’ll have to remove the dust caps.”
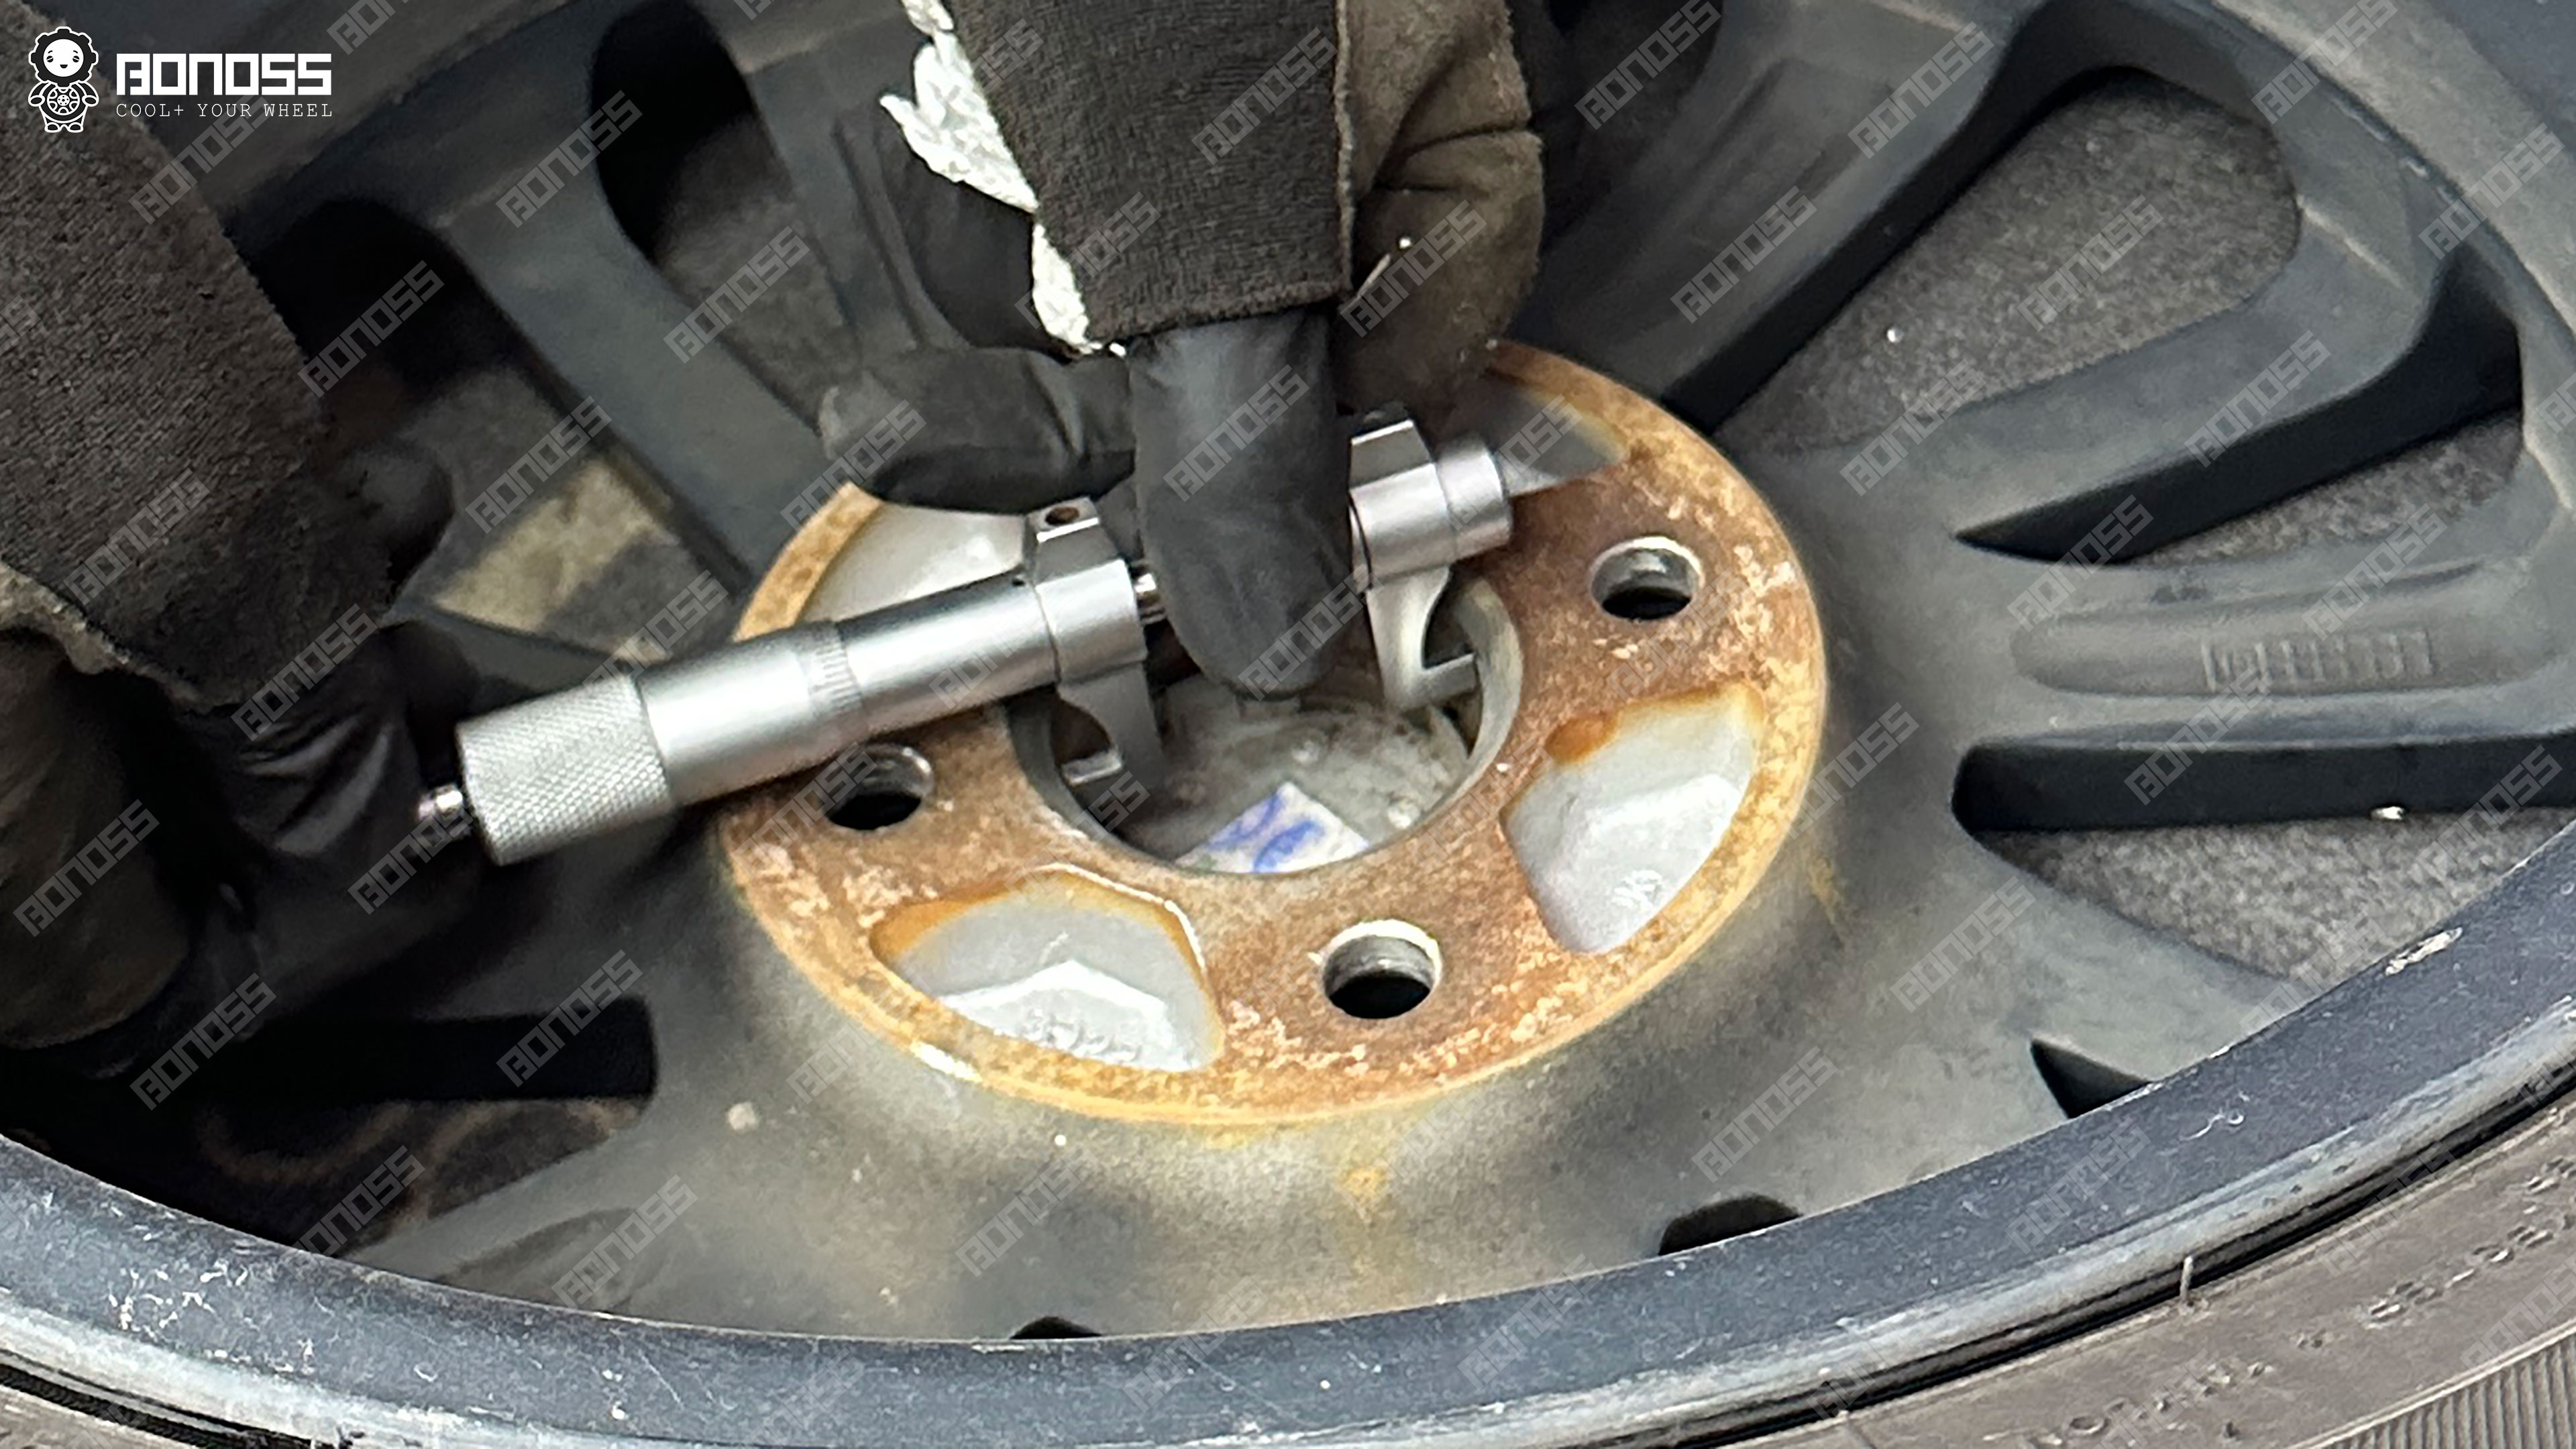
Some spacers sit so tight to the hub that the wheel bearing dust cap pokes through and the spacer can’t seat flush. The usual fix floating around forums is to pull the dust caps off or trim the clips. Max didn’t want that.
So before we touched anything, we measured the hub lip height — the step on the hub that the spacer sits over. It came out to 9.21mm on the front and 9.1mm on the rear.
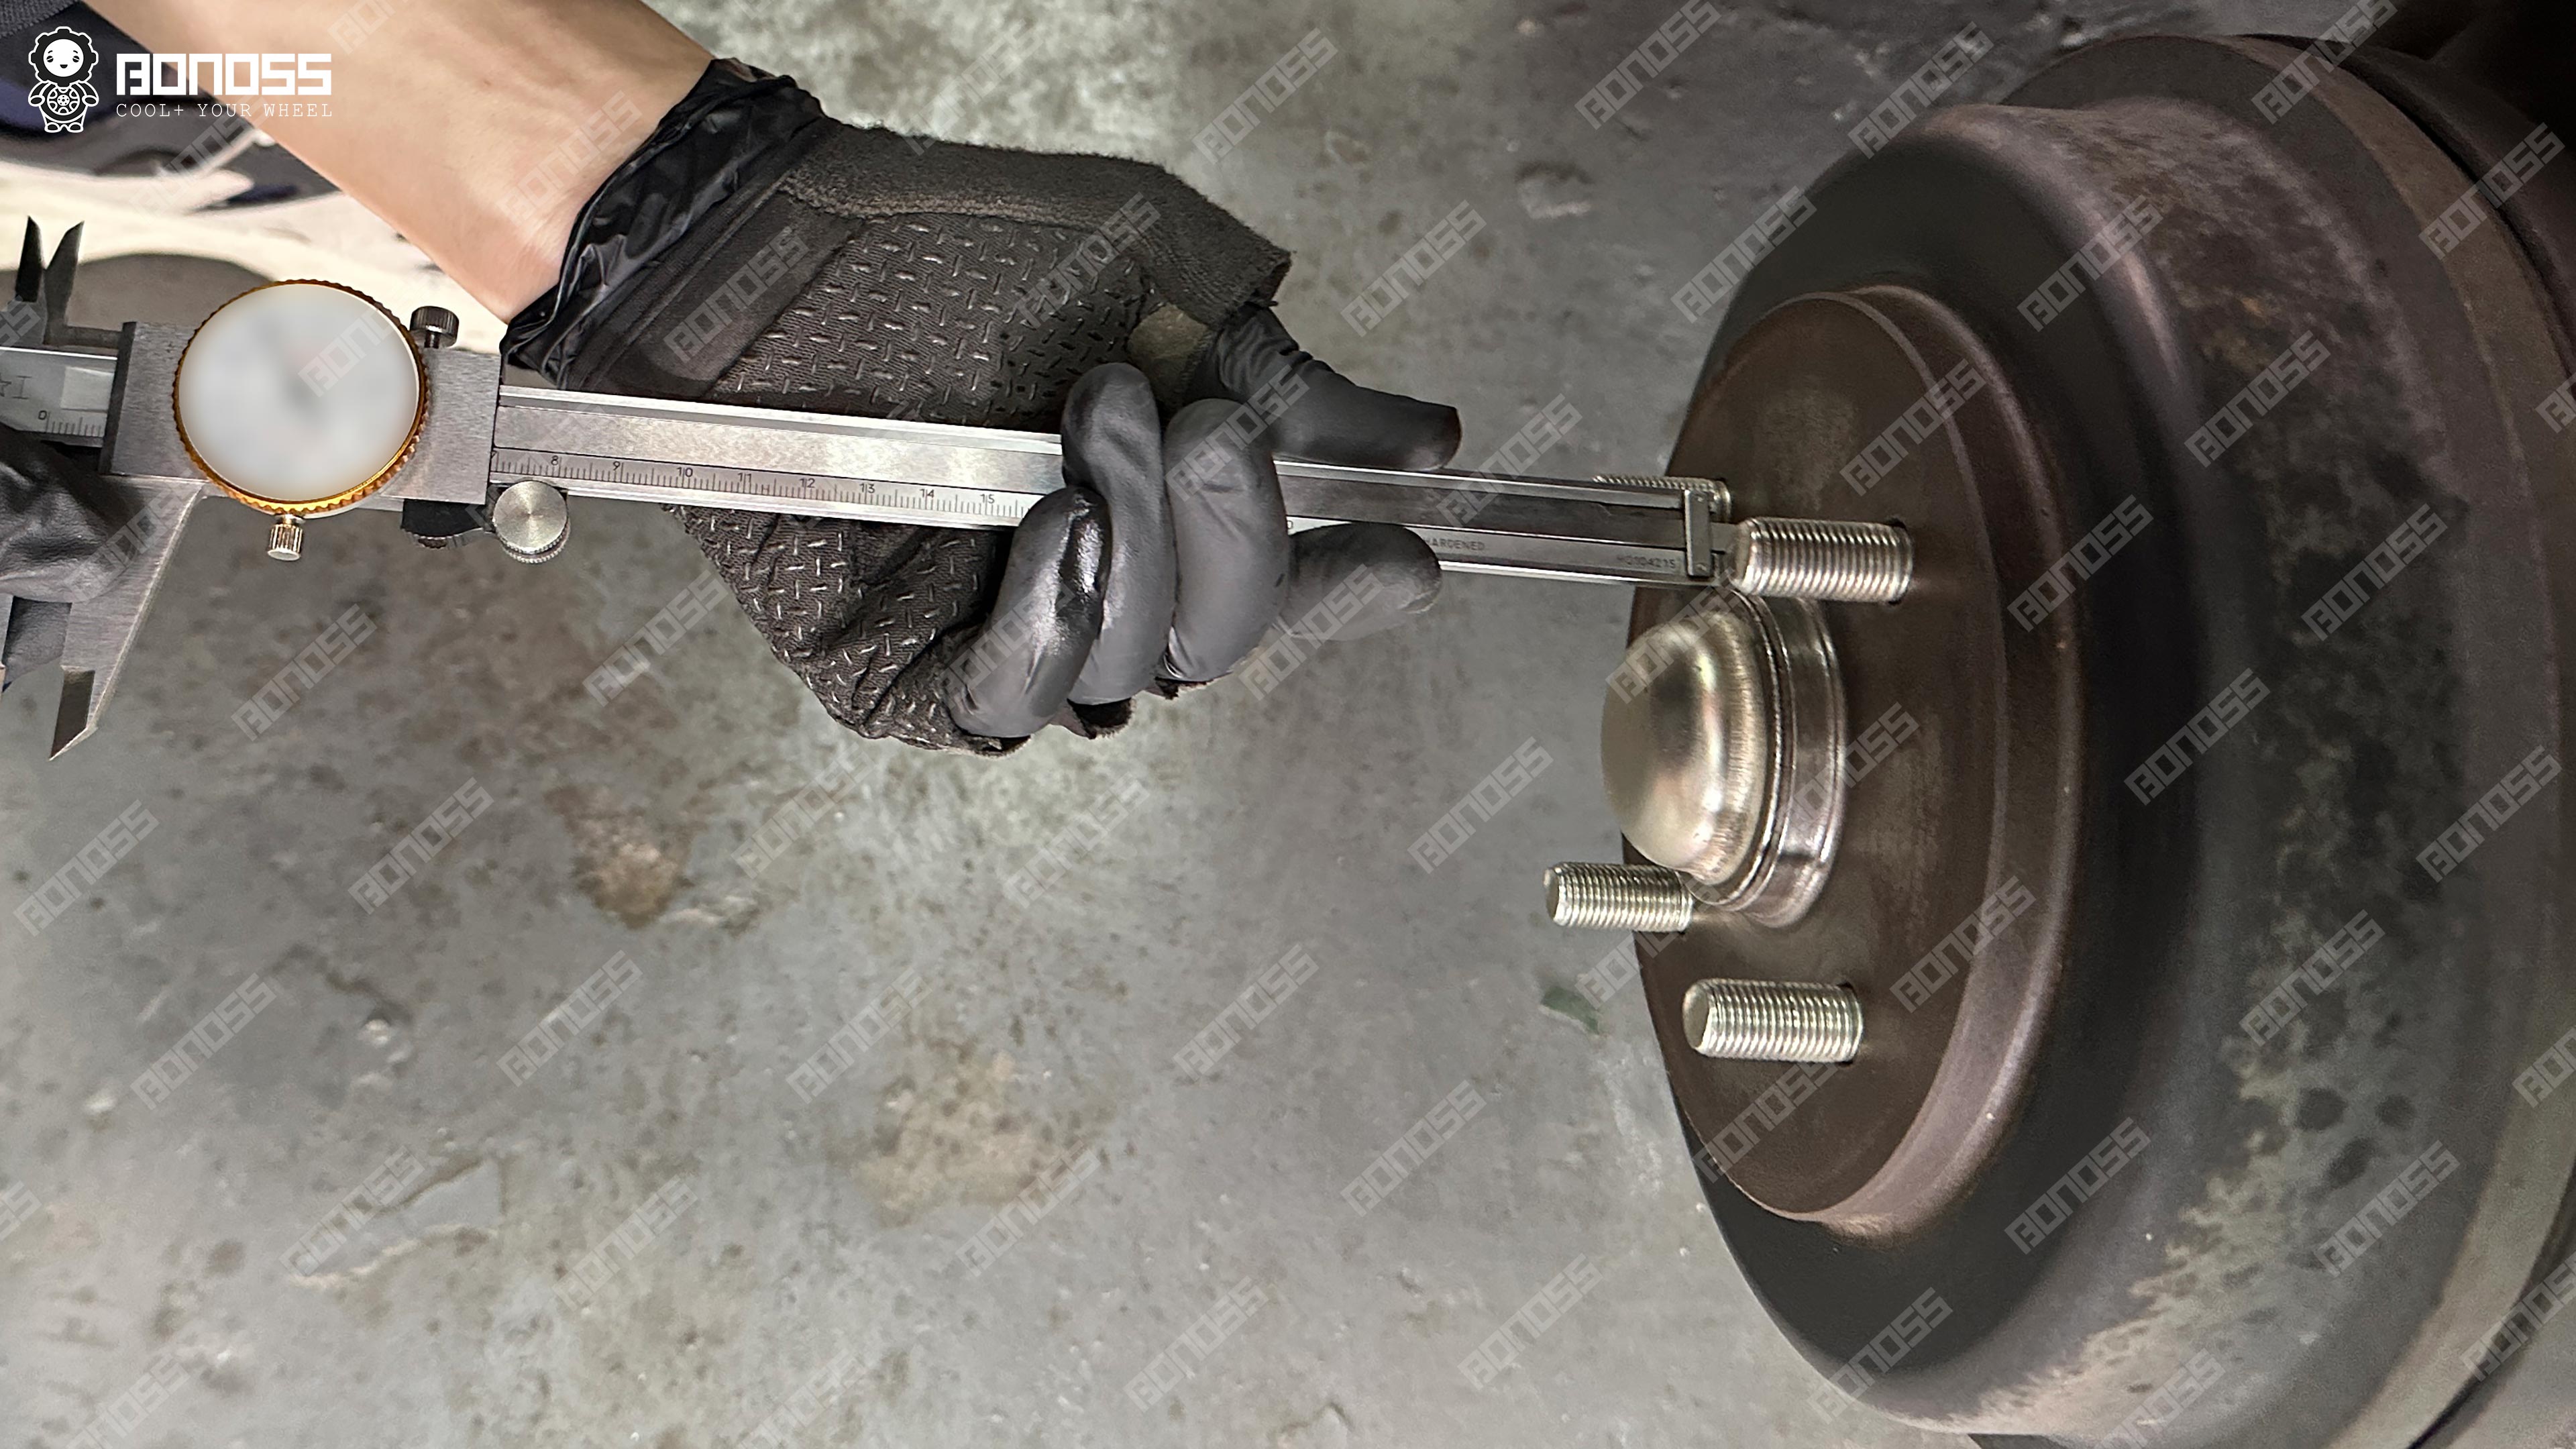
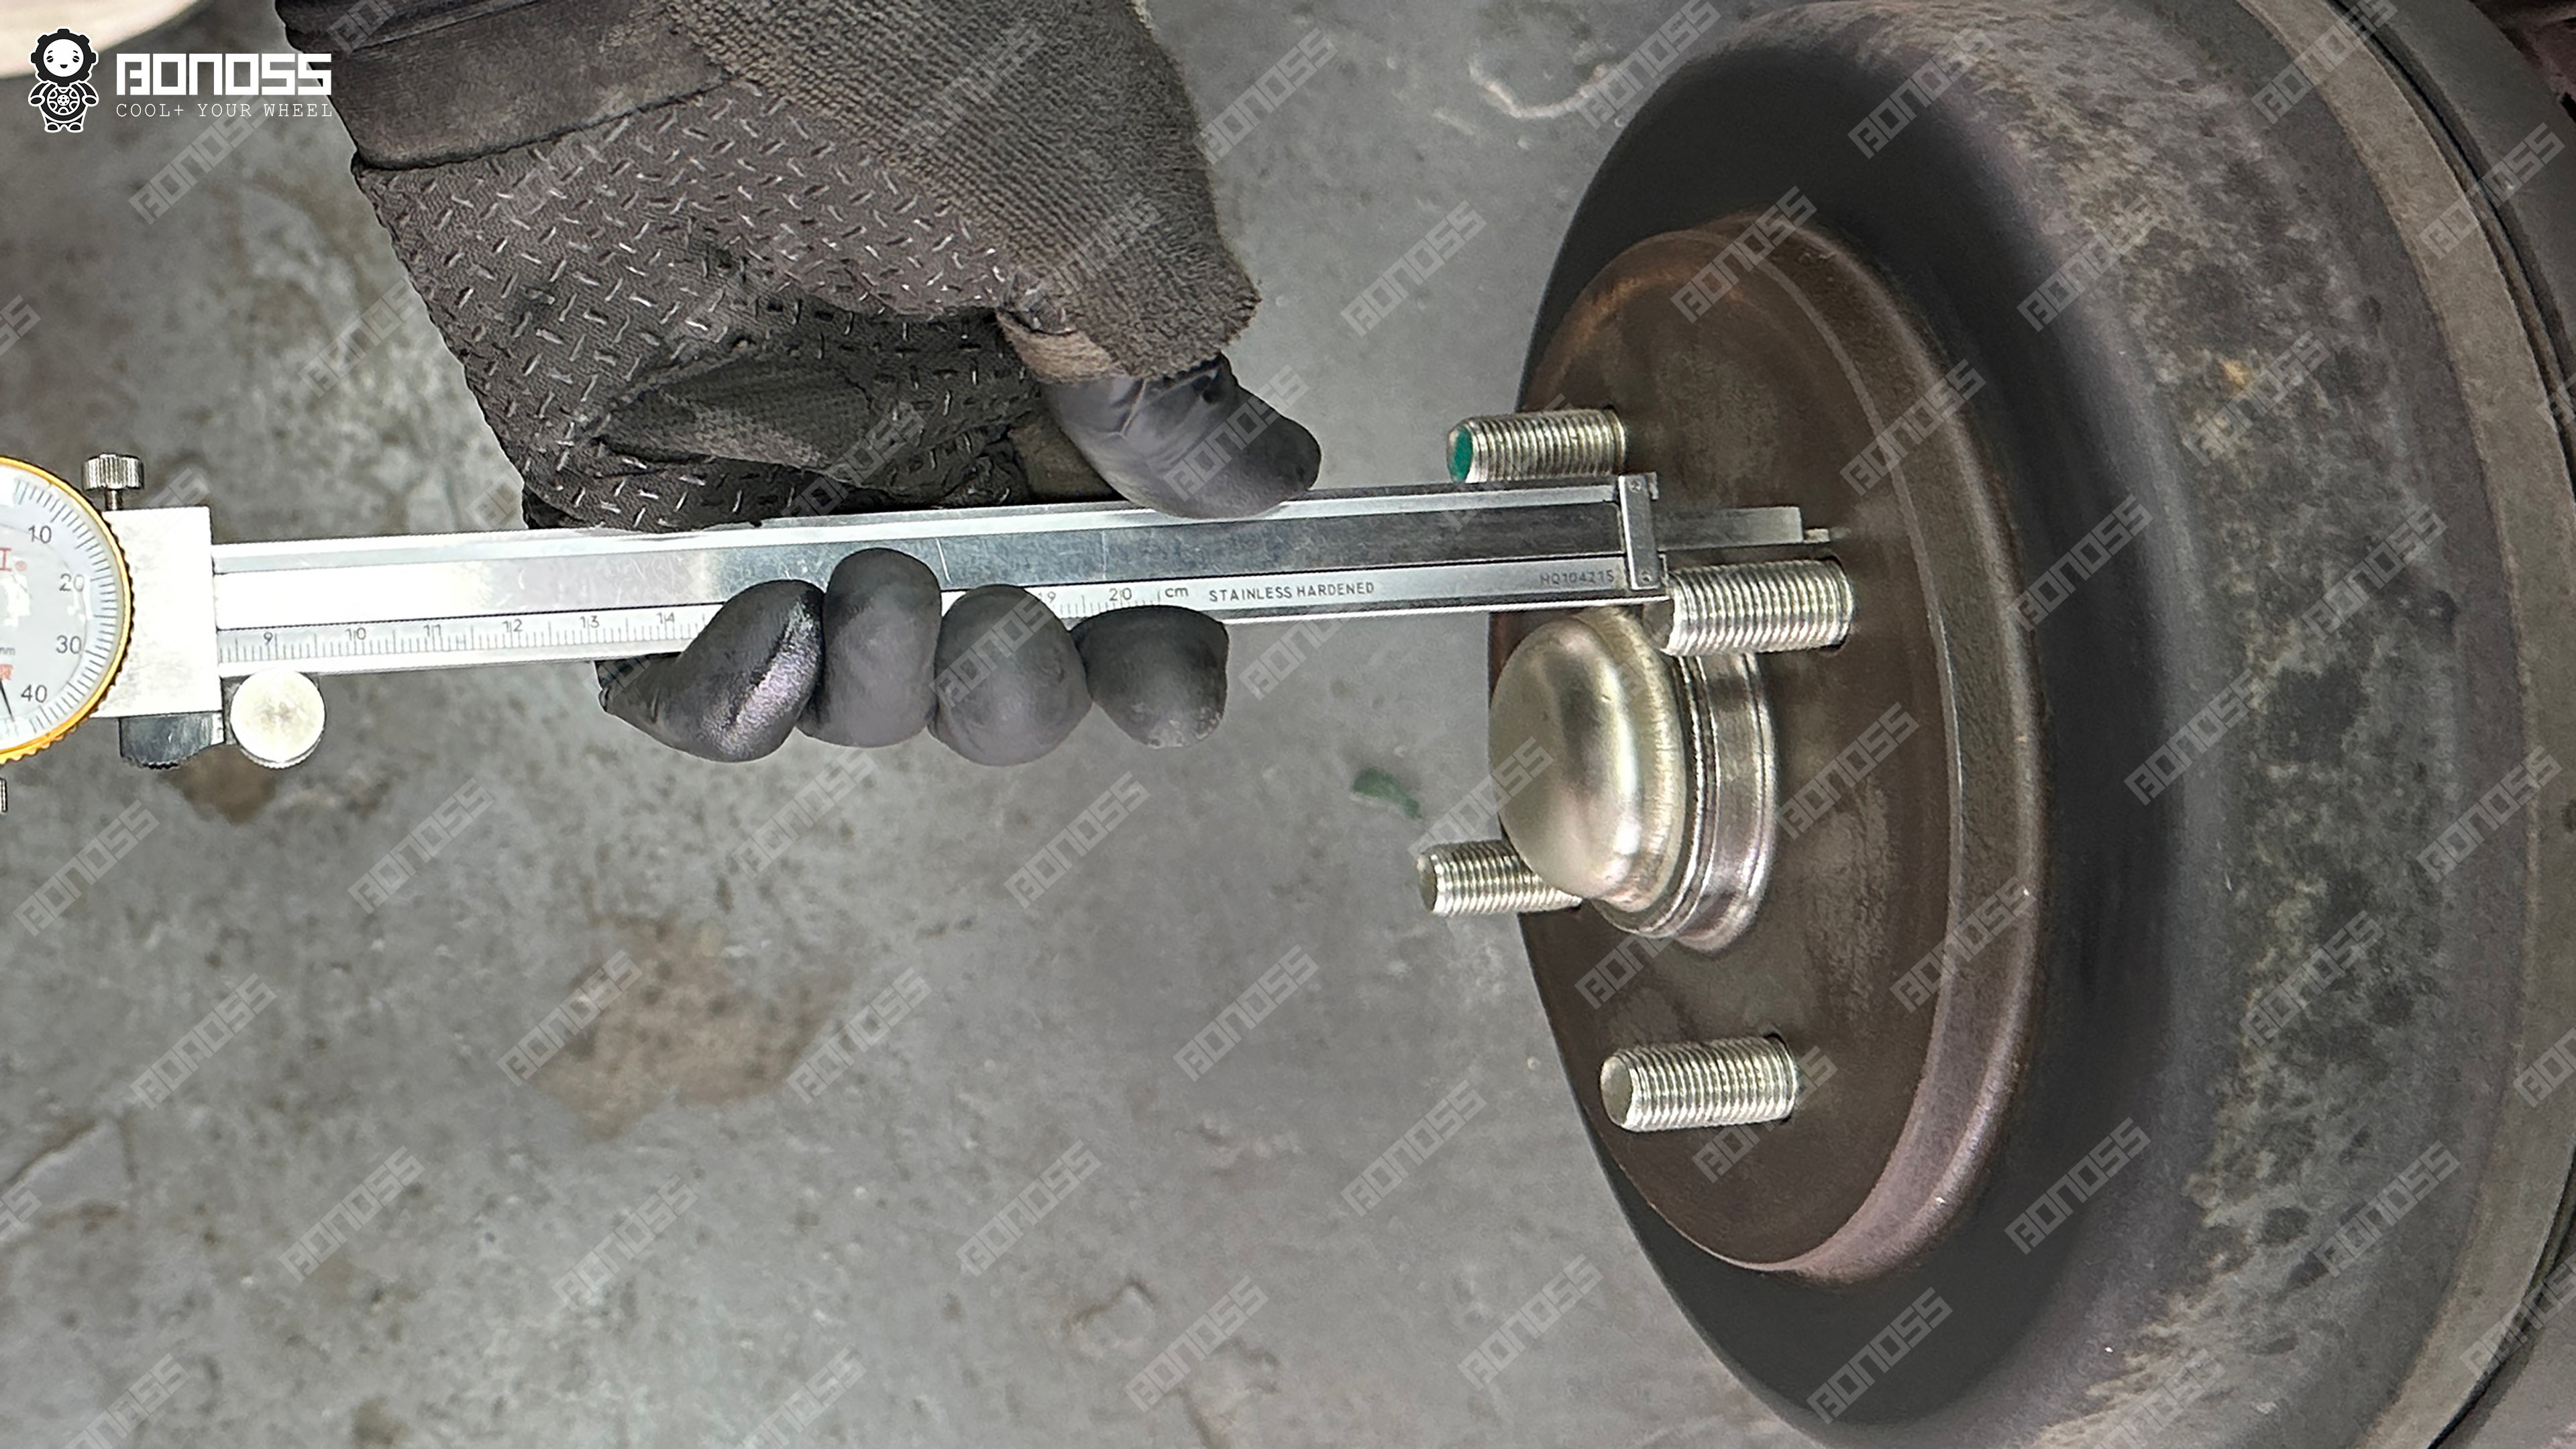
Then we test-fit a trial 30mm spacer. It cleared the dust cap completely and seated flat against the hub face. No clips trimmed. No caps pulled. Problem one, gone.
As Max put it: *”These spacers clear the dust caps—no need to trim the clips or pull them off. BONOSS also reminded me to re-torque after 50 miles. Their forged active cooling spacers seem like a good choice.”*
Worry #2: “I’ll need longer studs — or have to cut mine.”
This one’s a misunderstanding worth clearing up, because it scares people for no reason. Bolt-on spacers bolt to your existing studs using their own built-in studs. You don’t need longer studs, and you don’t cut the factory ones. The only thing you have to check is whether the factory studs poke past the spacer face once it’s on — if they do, the wheel won’t sit flat.
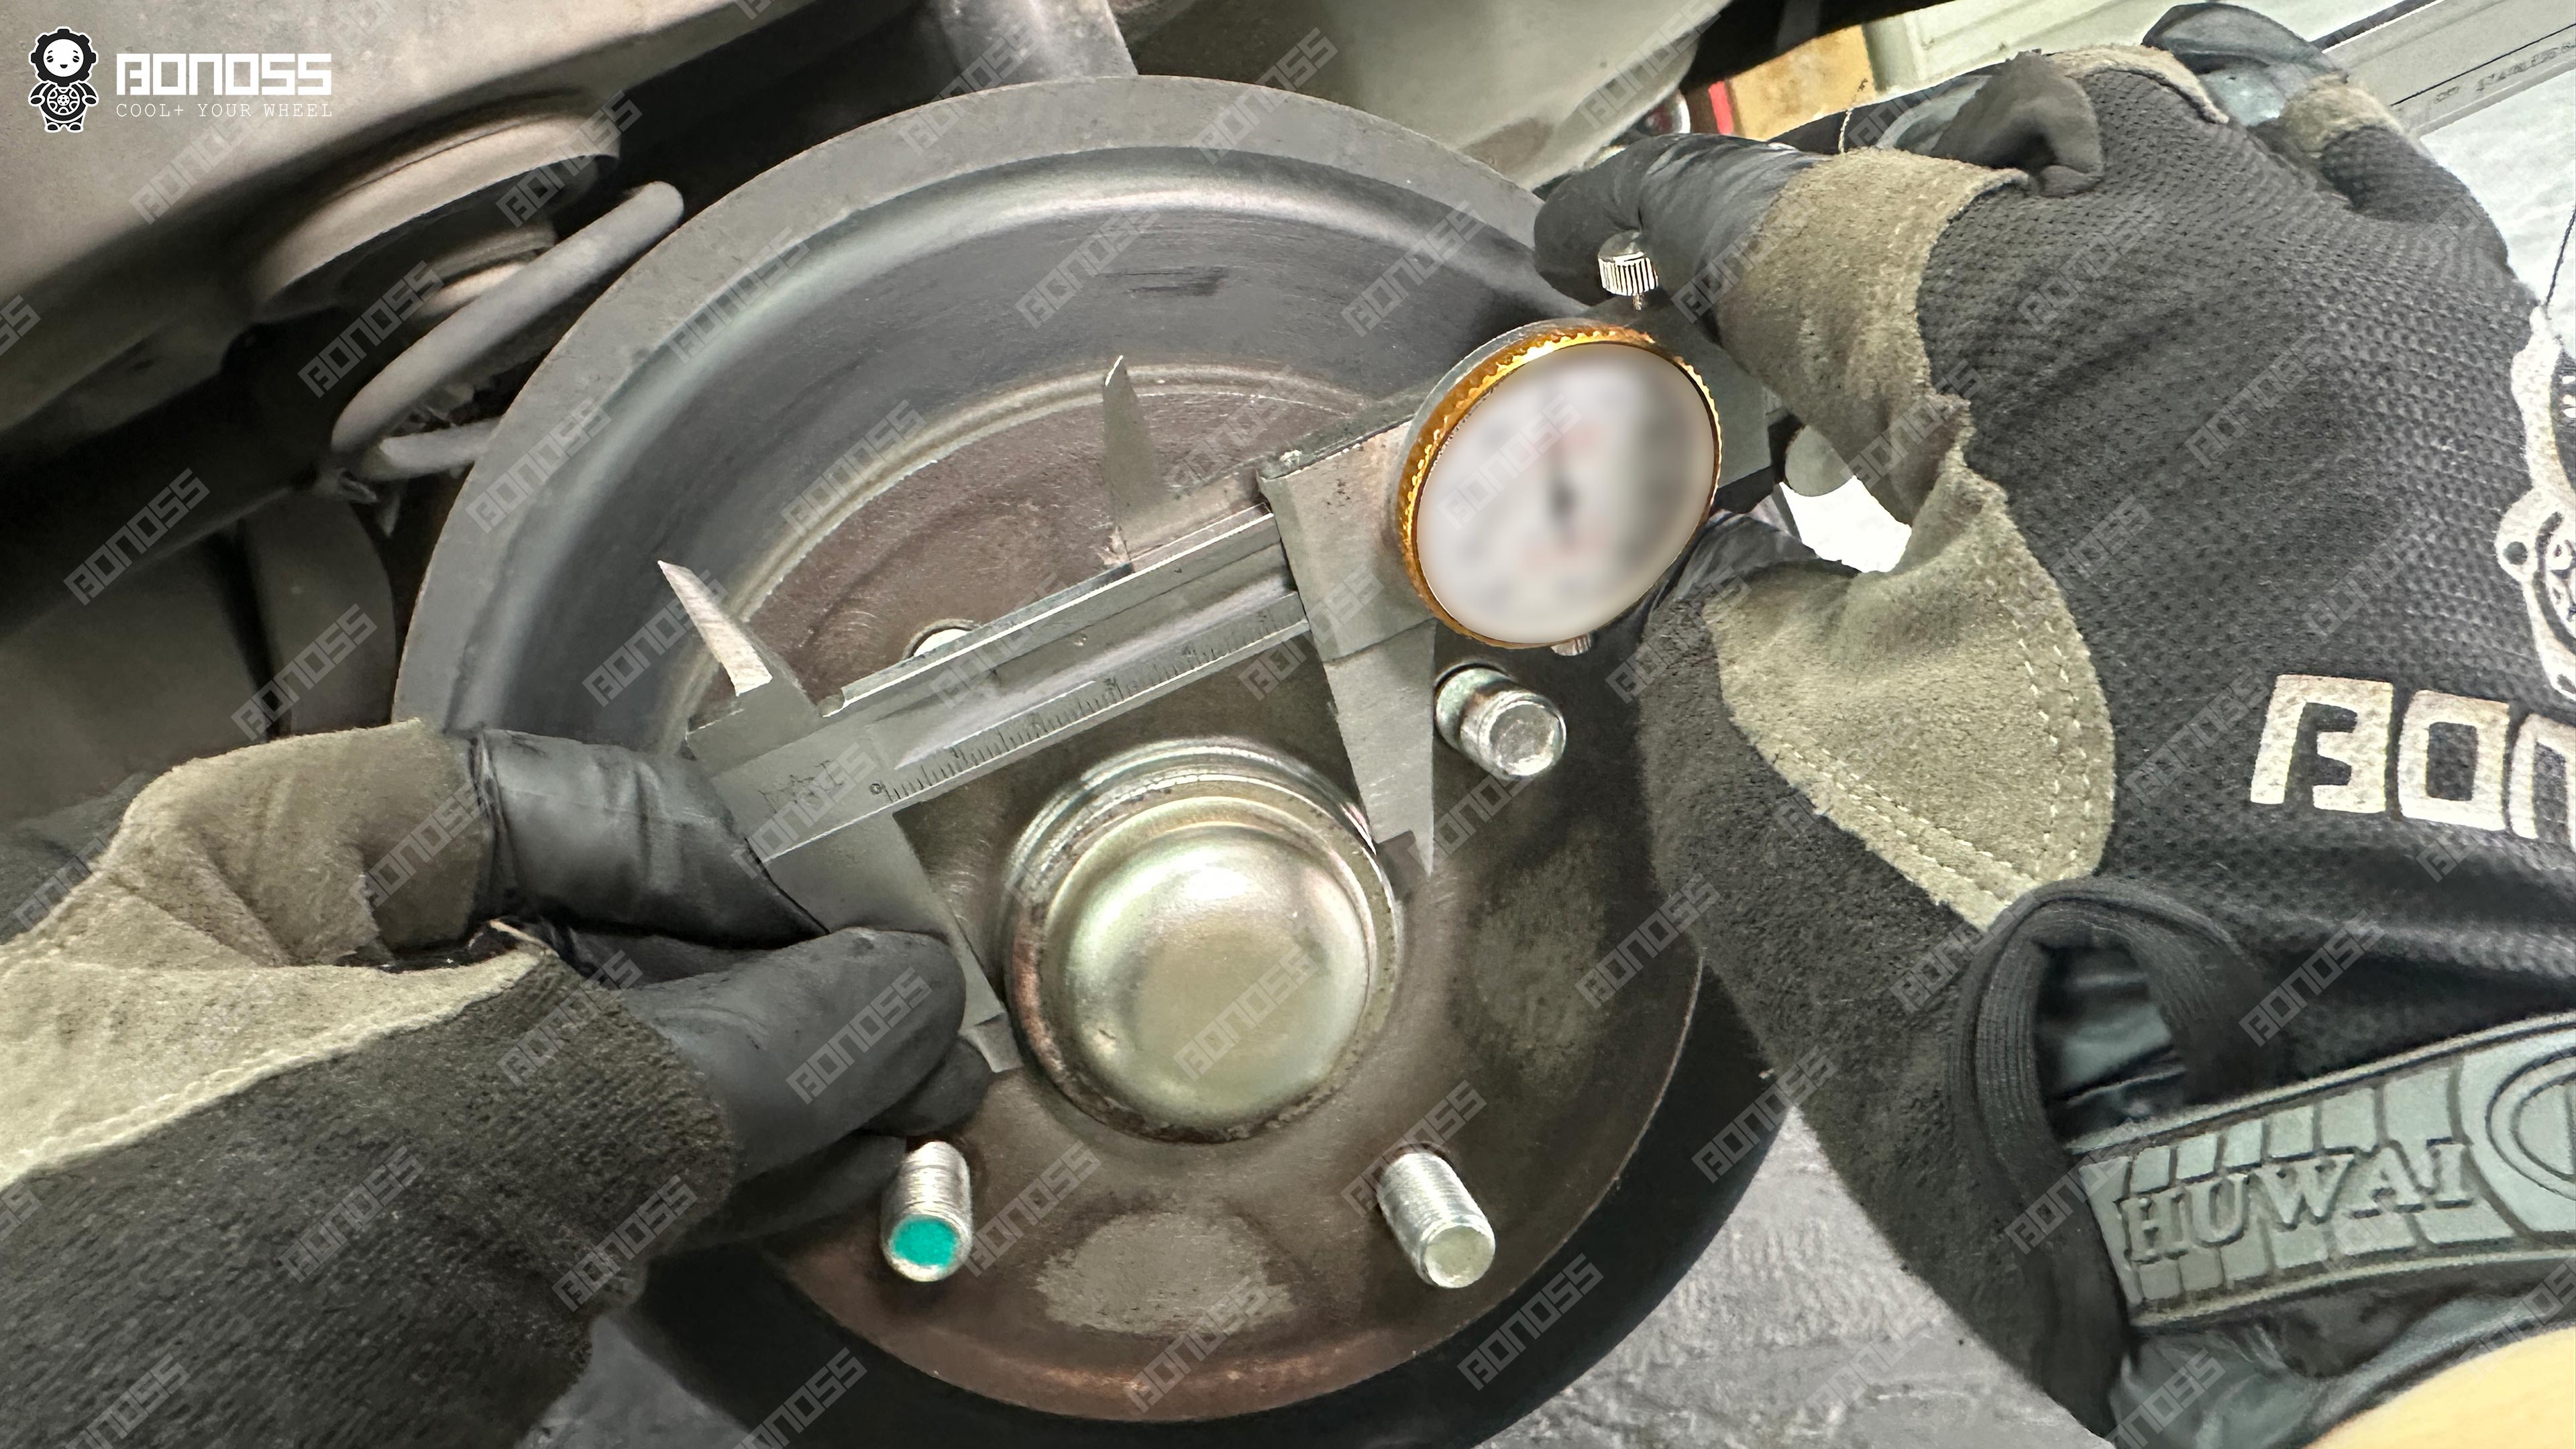
So we measured the stud protrusion: 22.12mm front, 22.45mm rear.
At 30mm thick, the spacer swallows that easily. The factory studs sit inside the spacer’s pockets, well below the mounting face. Nothing to cut. If you want the full breakdown on when studs do and don’t need trimming, we wrote it up here: do you have to trim studs for wheel spacers.
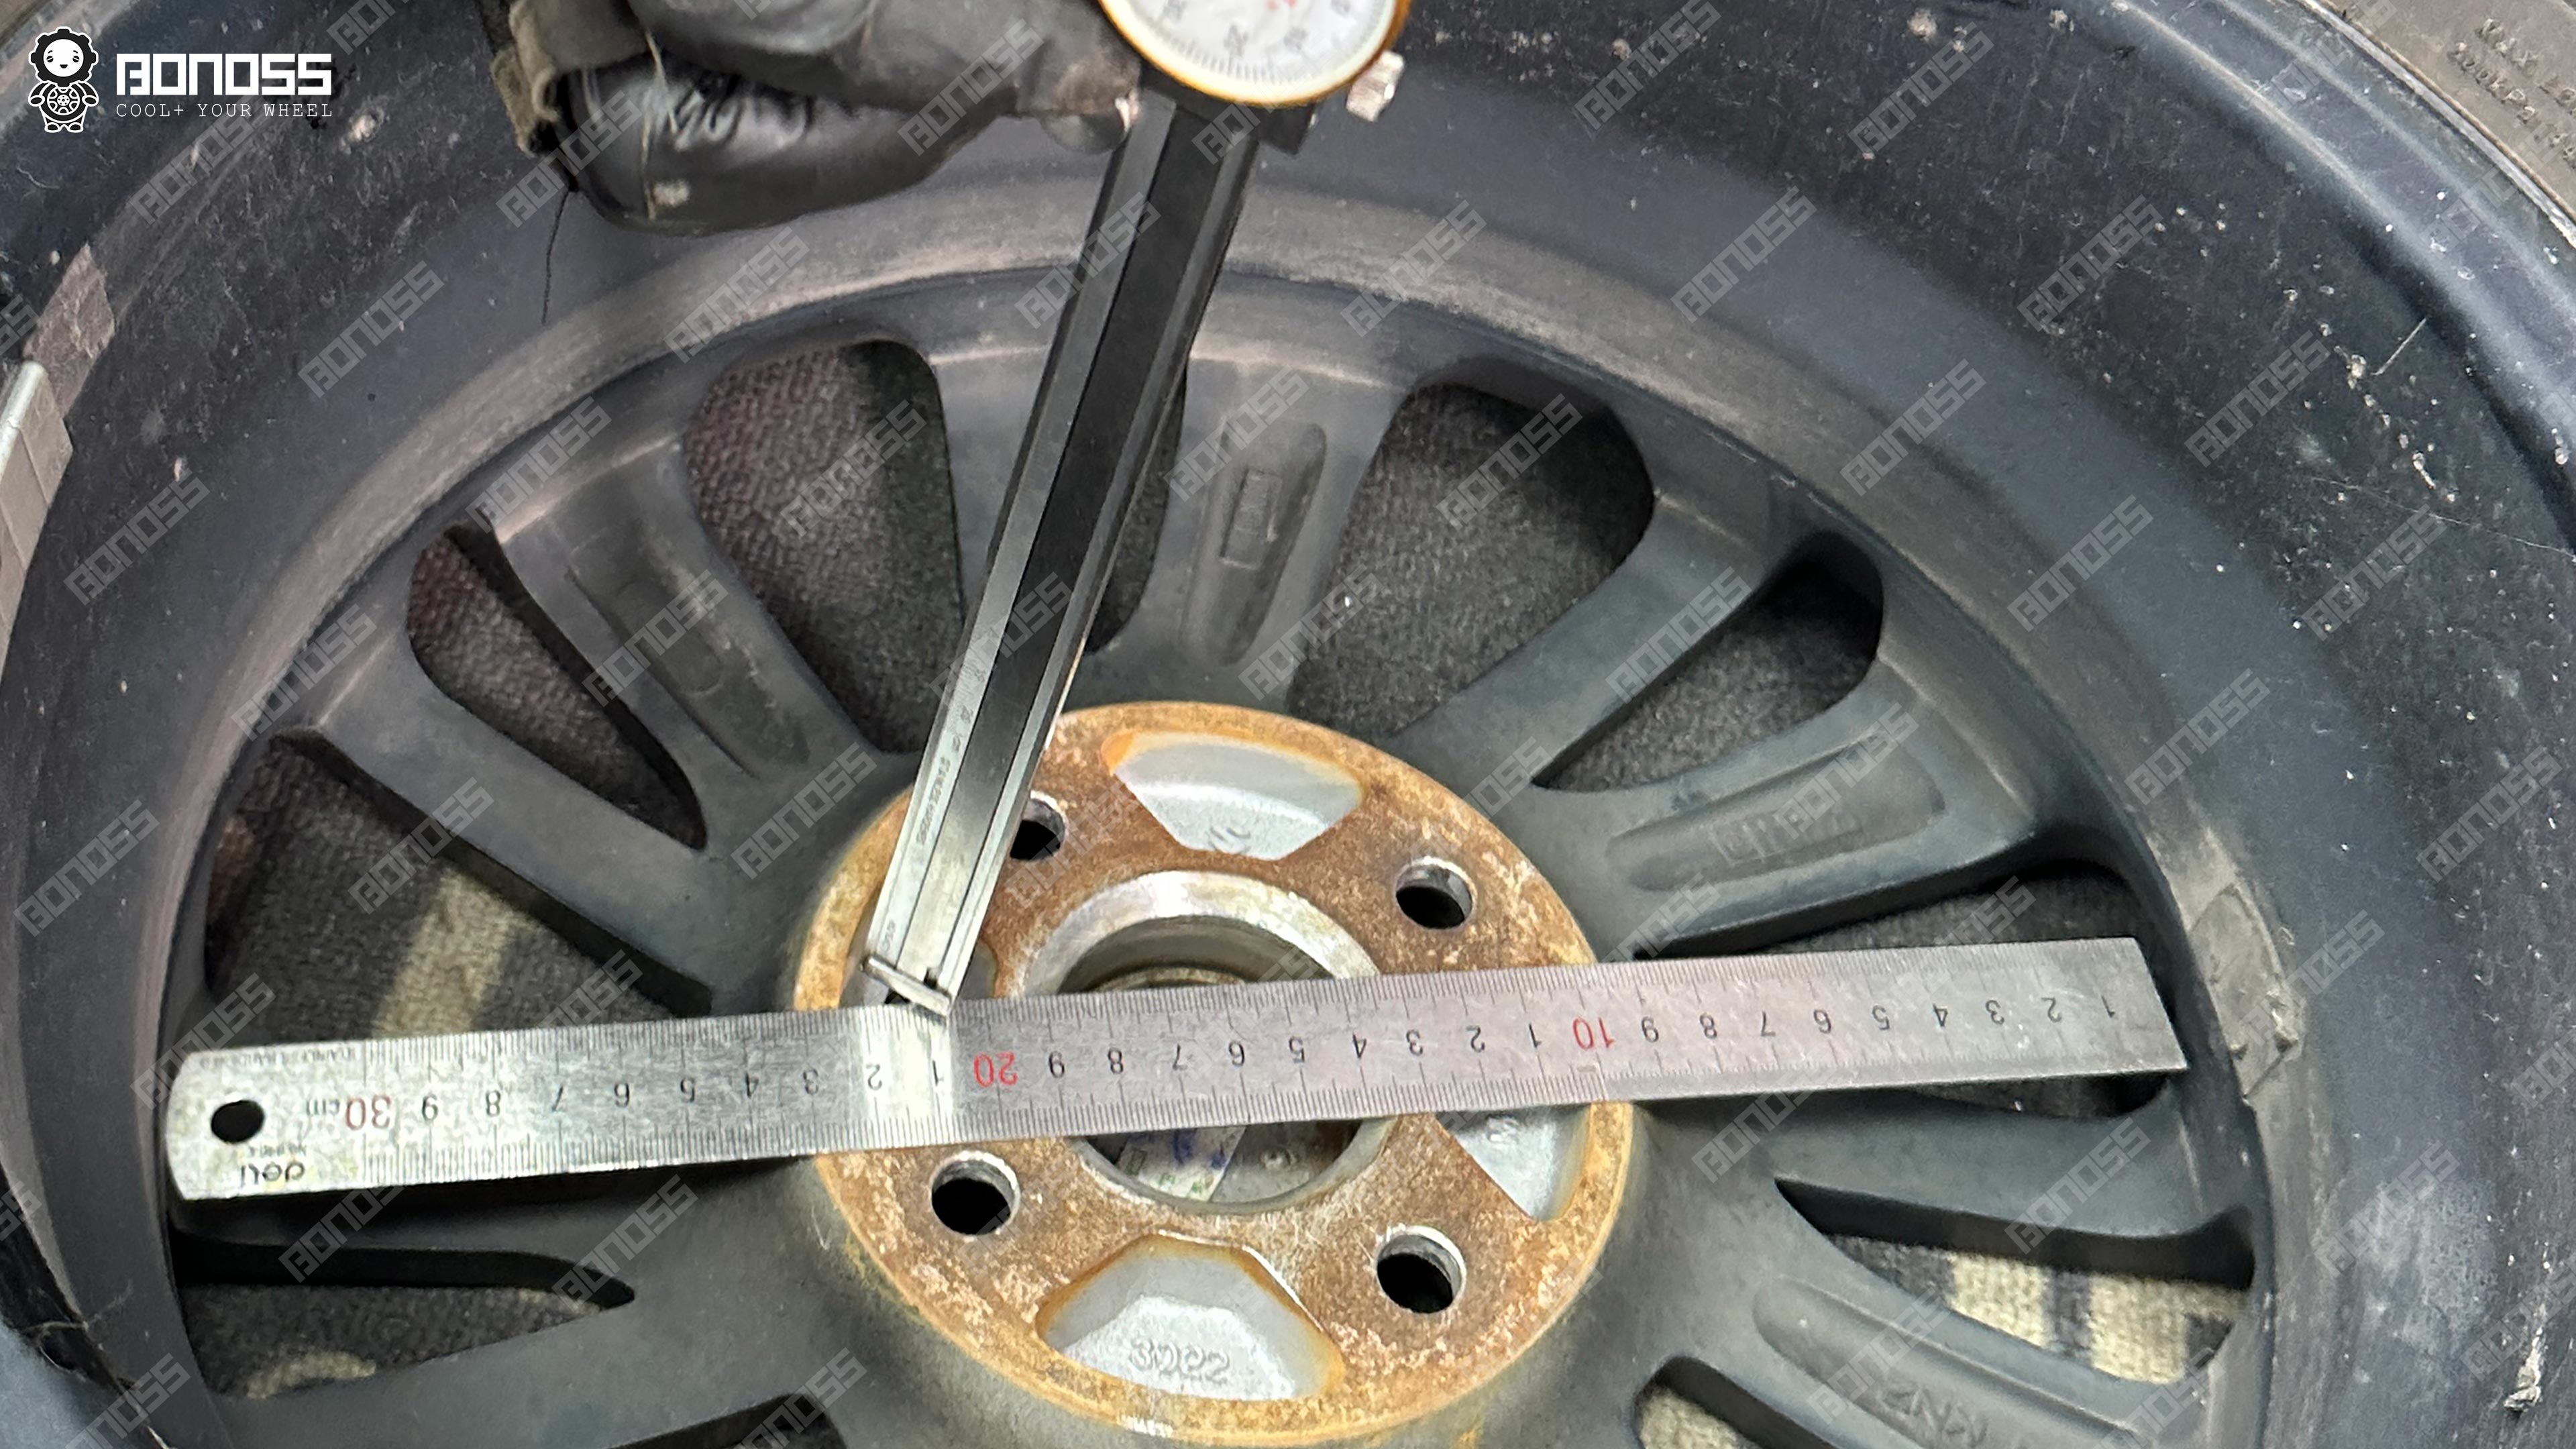
The Measuring We Did Before Any Bolts Went On
We don’t guess. A spacer that’s “close enough” is a spacer that vibrates. Here’s what we measured, because it’s the difference between a smooth ride and a shimmy at 60 mph.
| Item | Value | Why it mattered |
|---|---|---|
| Hub center bore | 54.08mm | Confirmed the spacer’s hub-centric lip matches the hub — no load on the studs |
| Hub lip height | 9.21mm front / 9.1mm rear | Confirmed the spacer clears the dust caps |
| Stud protrusion | 22.12mm front / 22.45mm rear | Confirmed no stud trimming needed |
| Wheel pocket depth | 15.35mm | Confirmed the factory studs + spacer hardware have room inside the wheel |
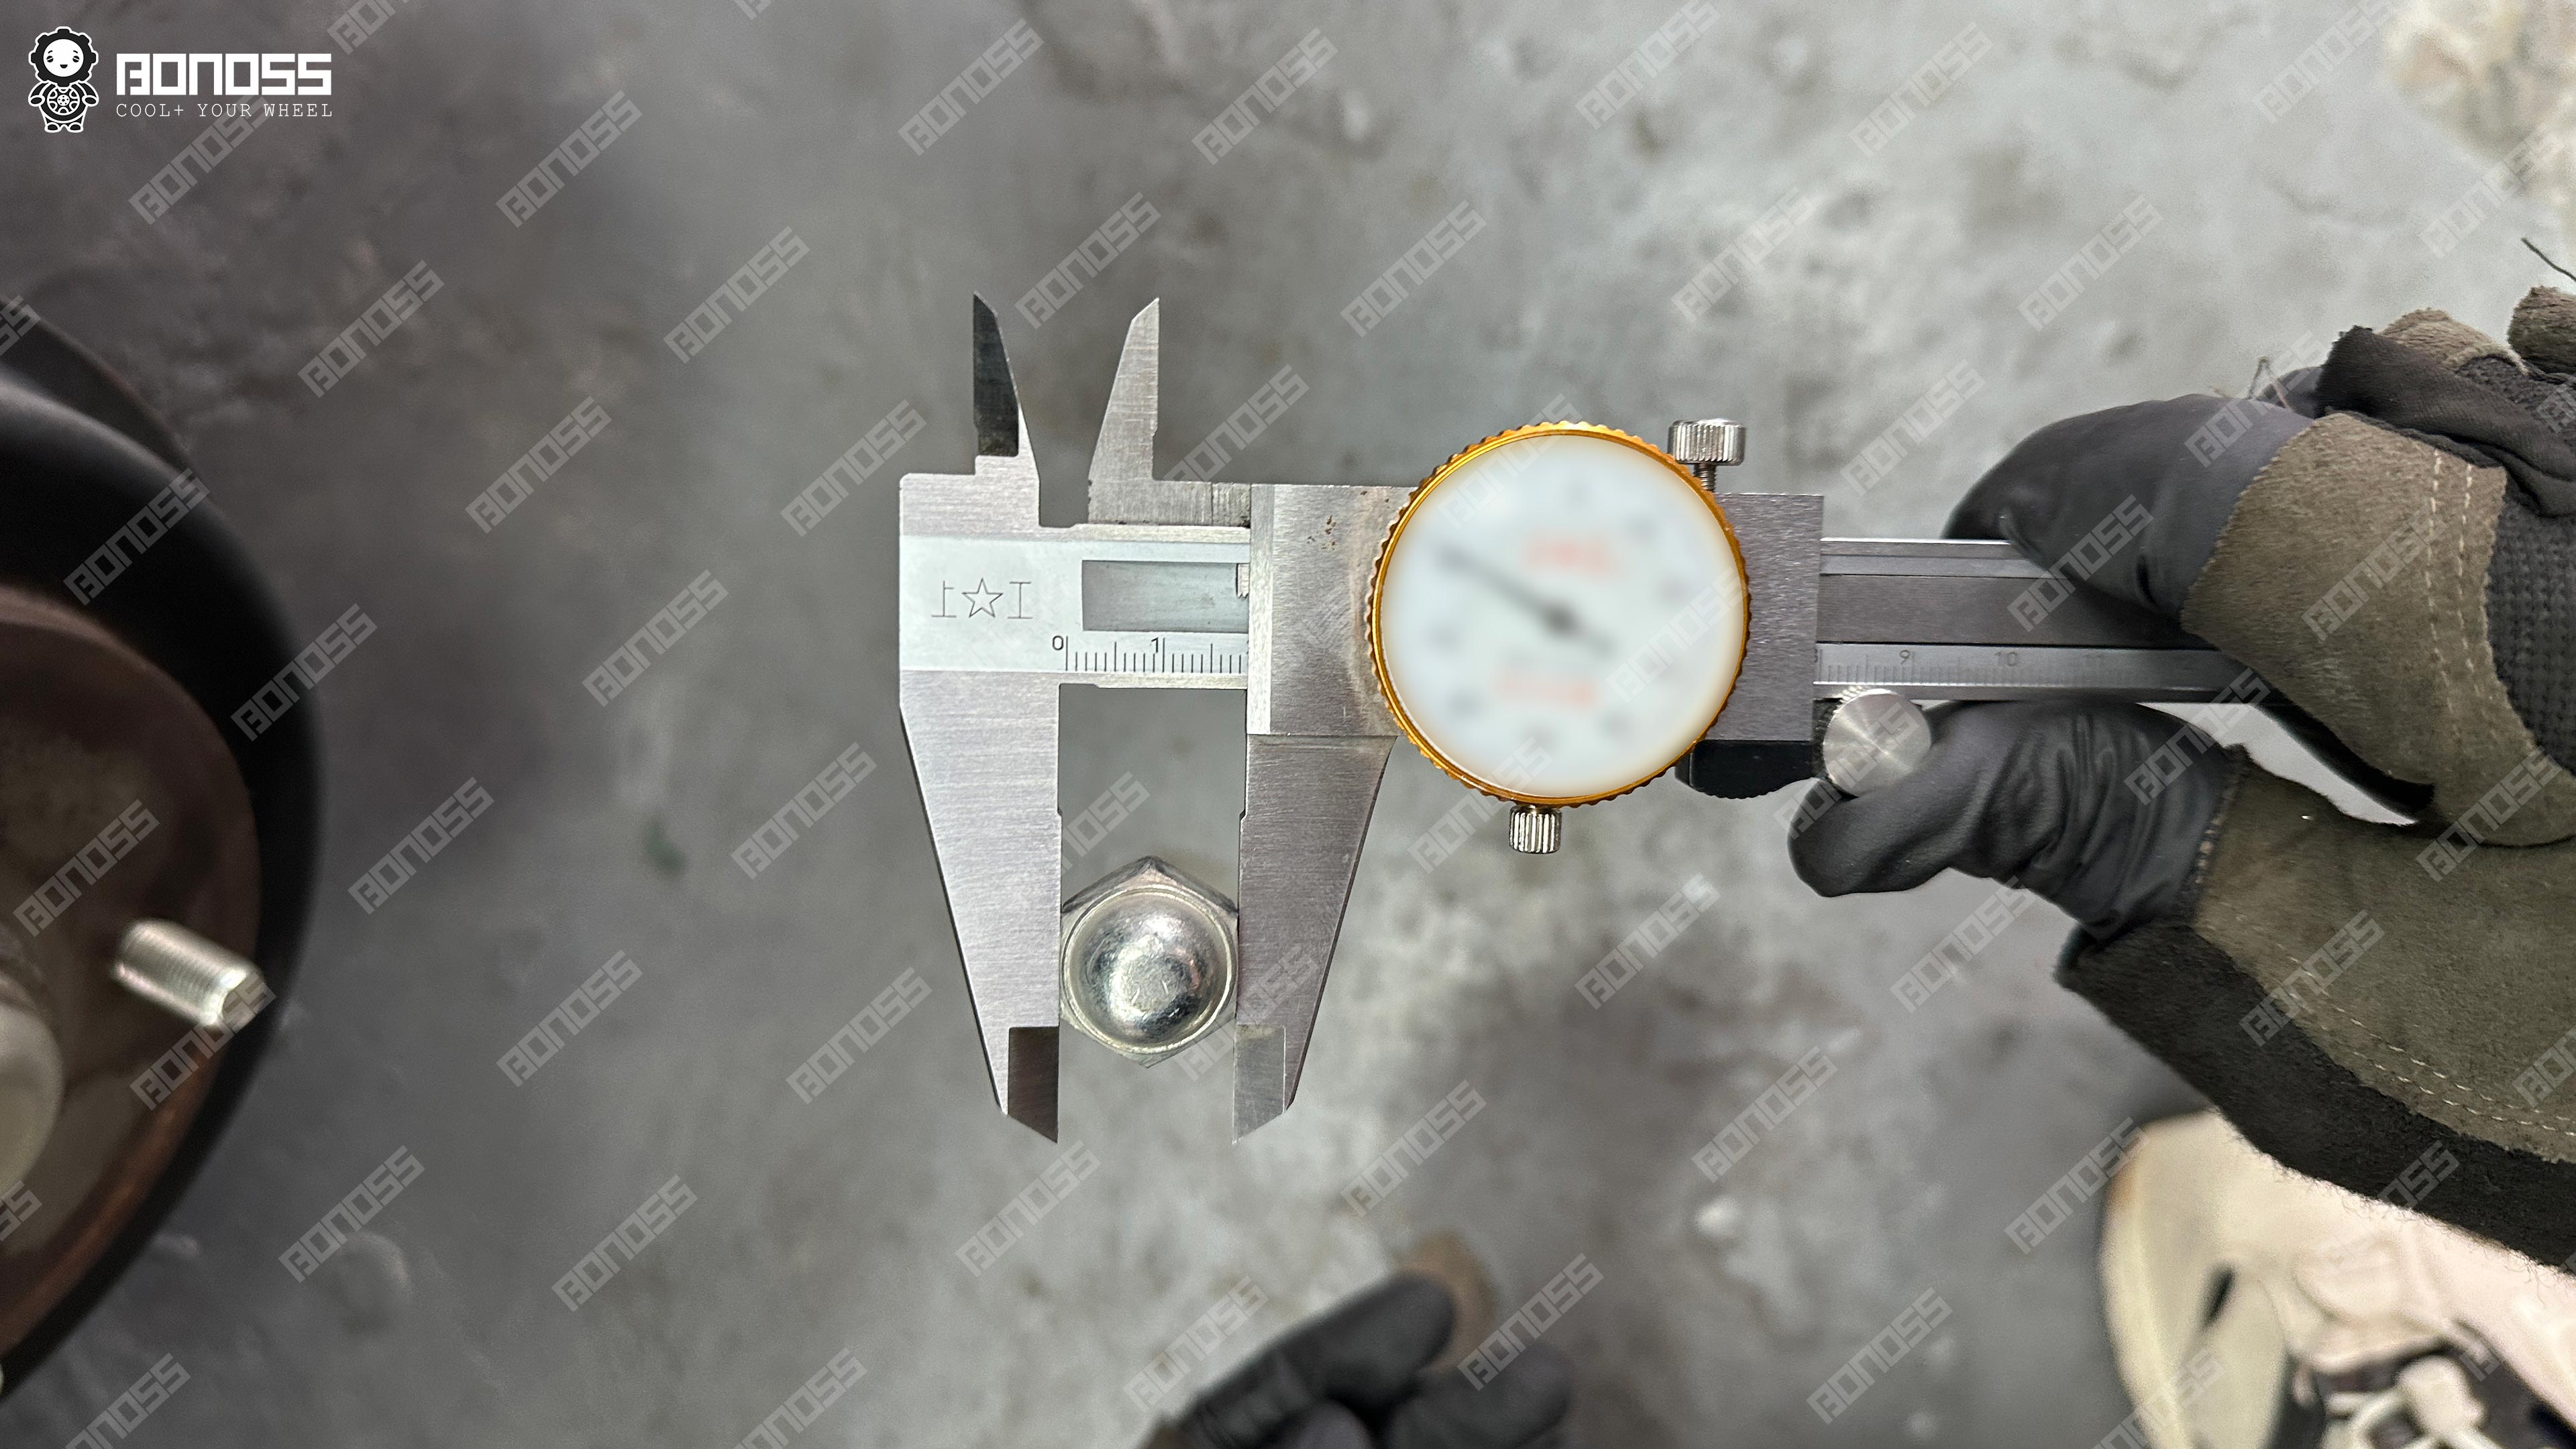
| Lug nut | M12x1.25mm, conical seat, 19mm hex | Confirmed the nut seat matches the spacer’s studs |
| Bolt Pattern (PCD) | 4x100mm | Confirmed the spacer matches the hub |
If any of this looks like overkill, it isn’t. This is the whole reason people have two very different experiences with spacers. Measure first, and the install is boring. Skip it, and you’re chasing a vibration for a month.
The nut sizing also tells you exactly which hardware you need — for the full chart on lug nut and spacer sizes, see our lug nut and spacer size chart.
The Fit, Corner by Corner
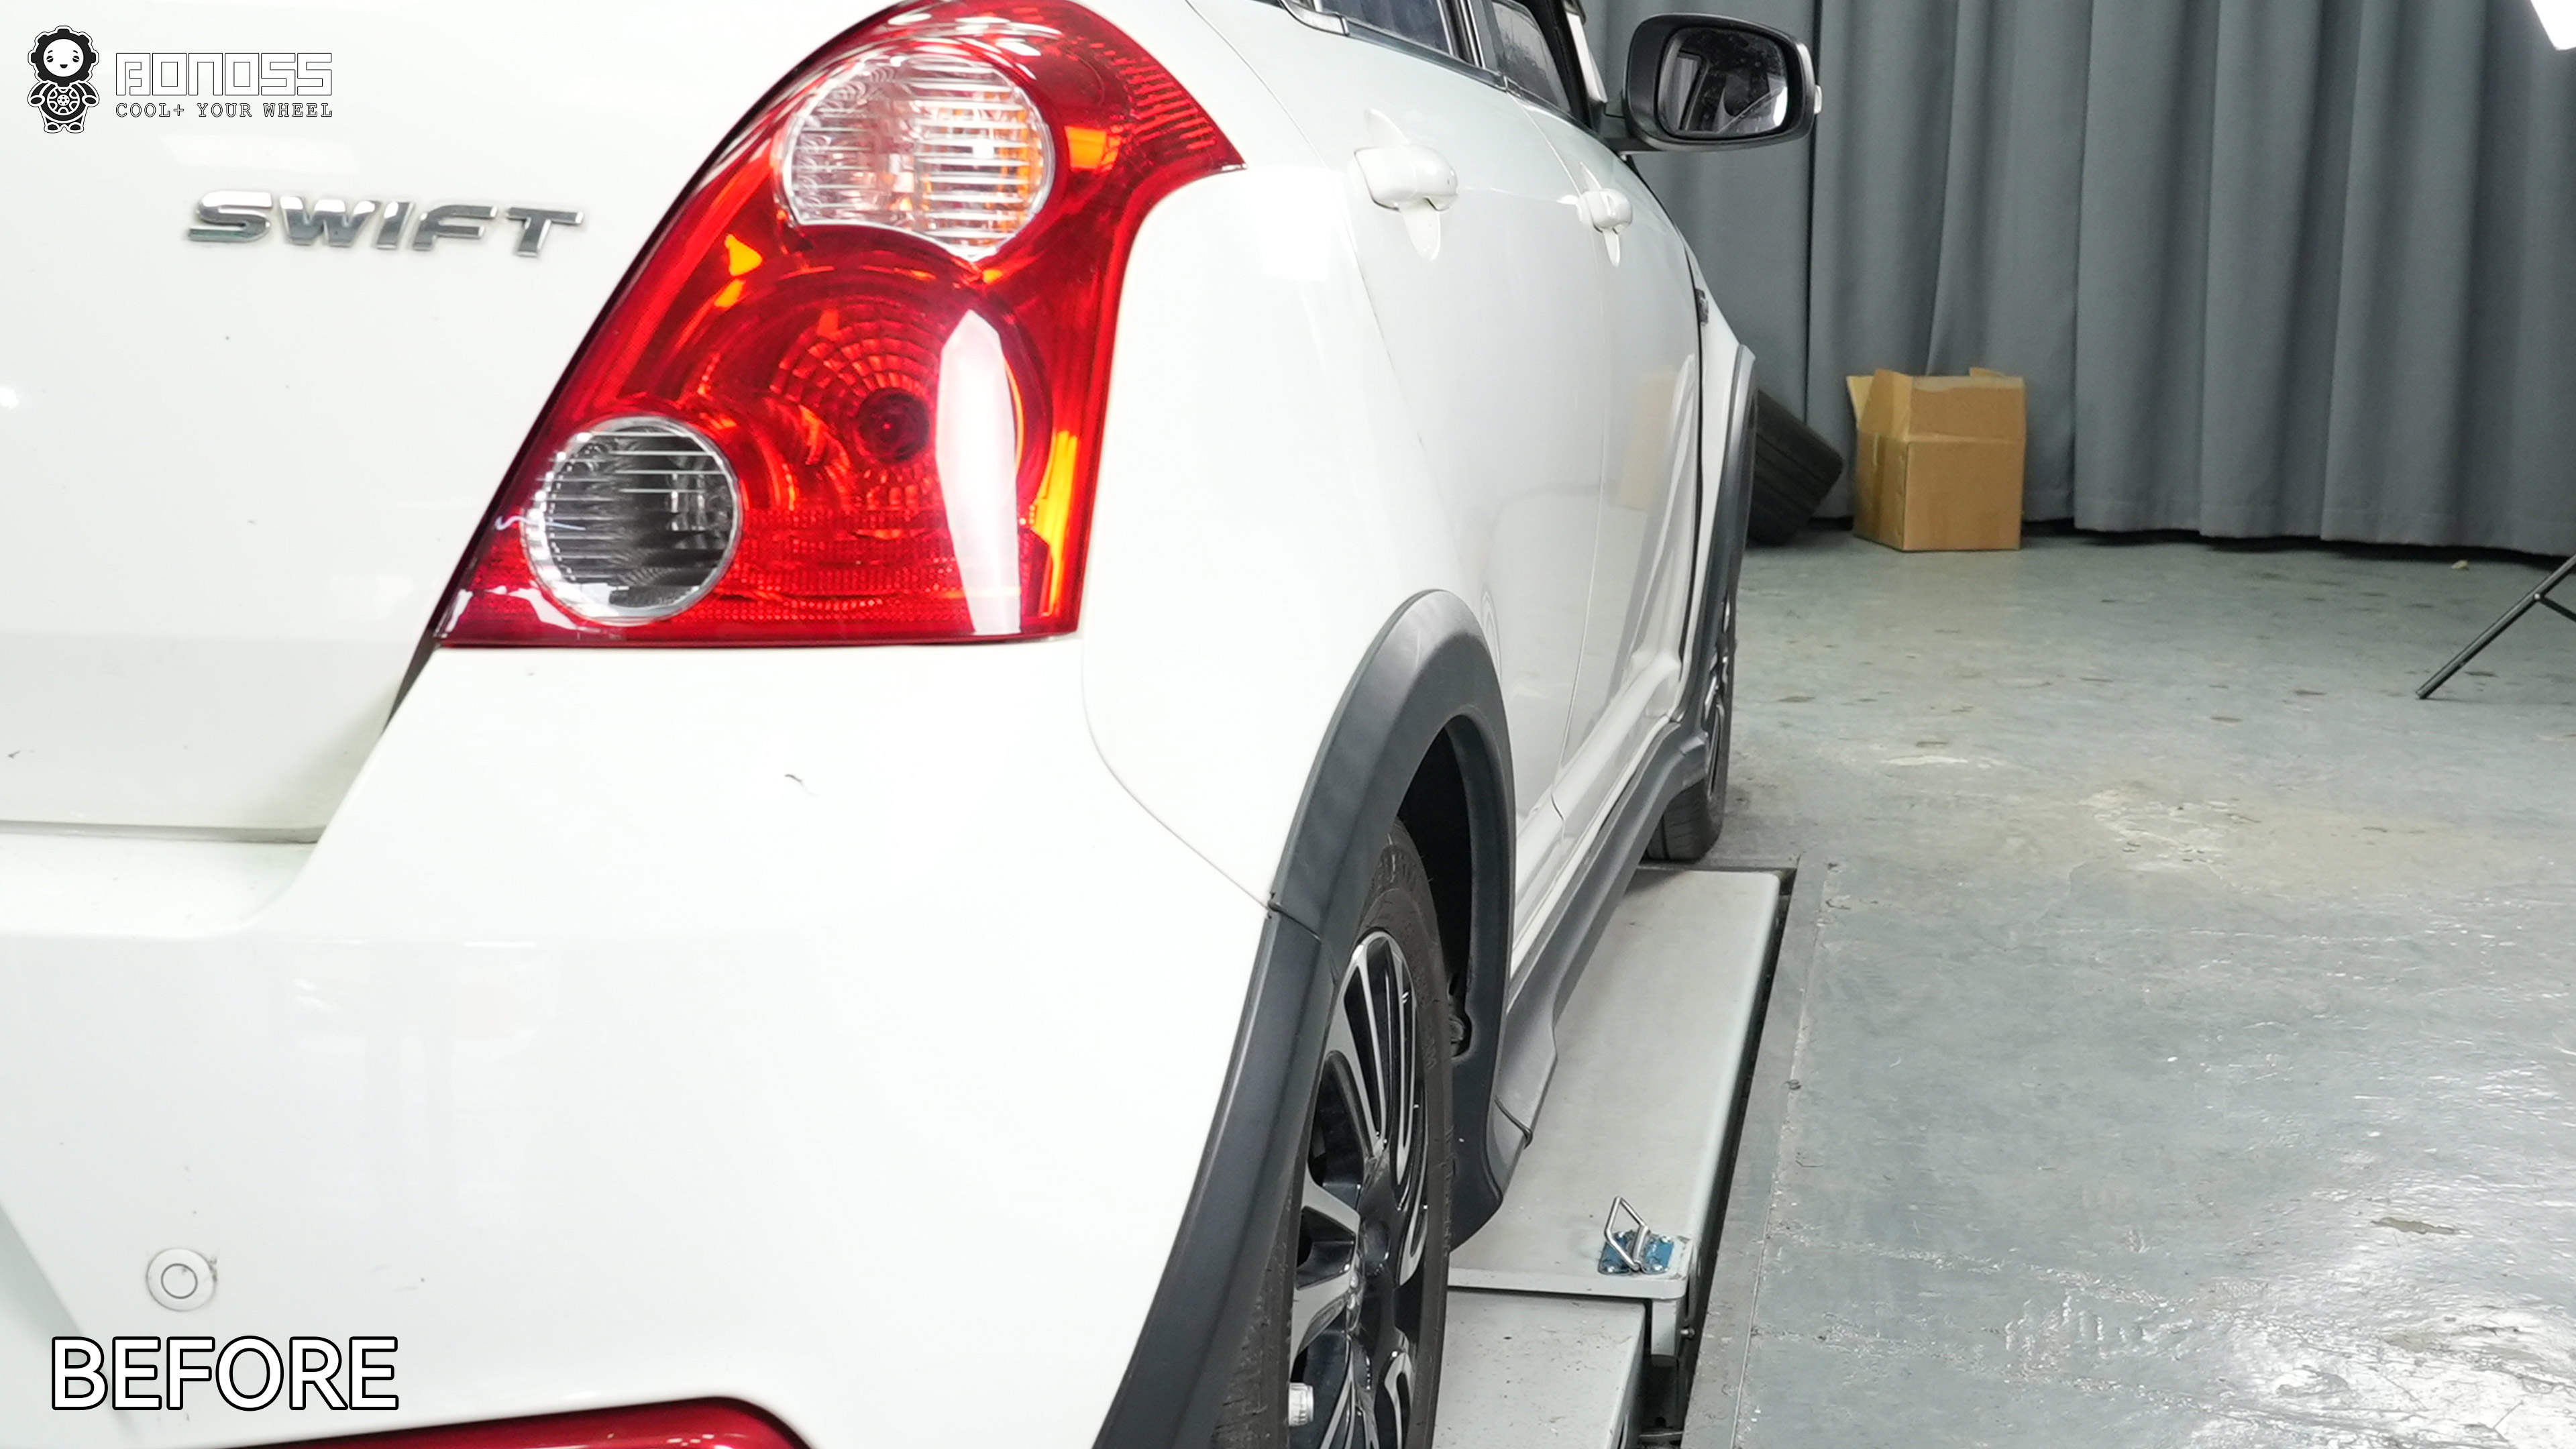
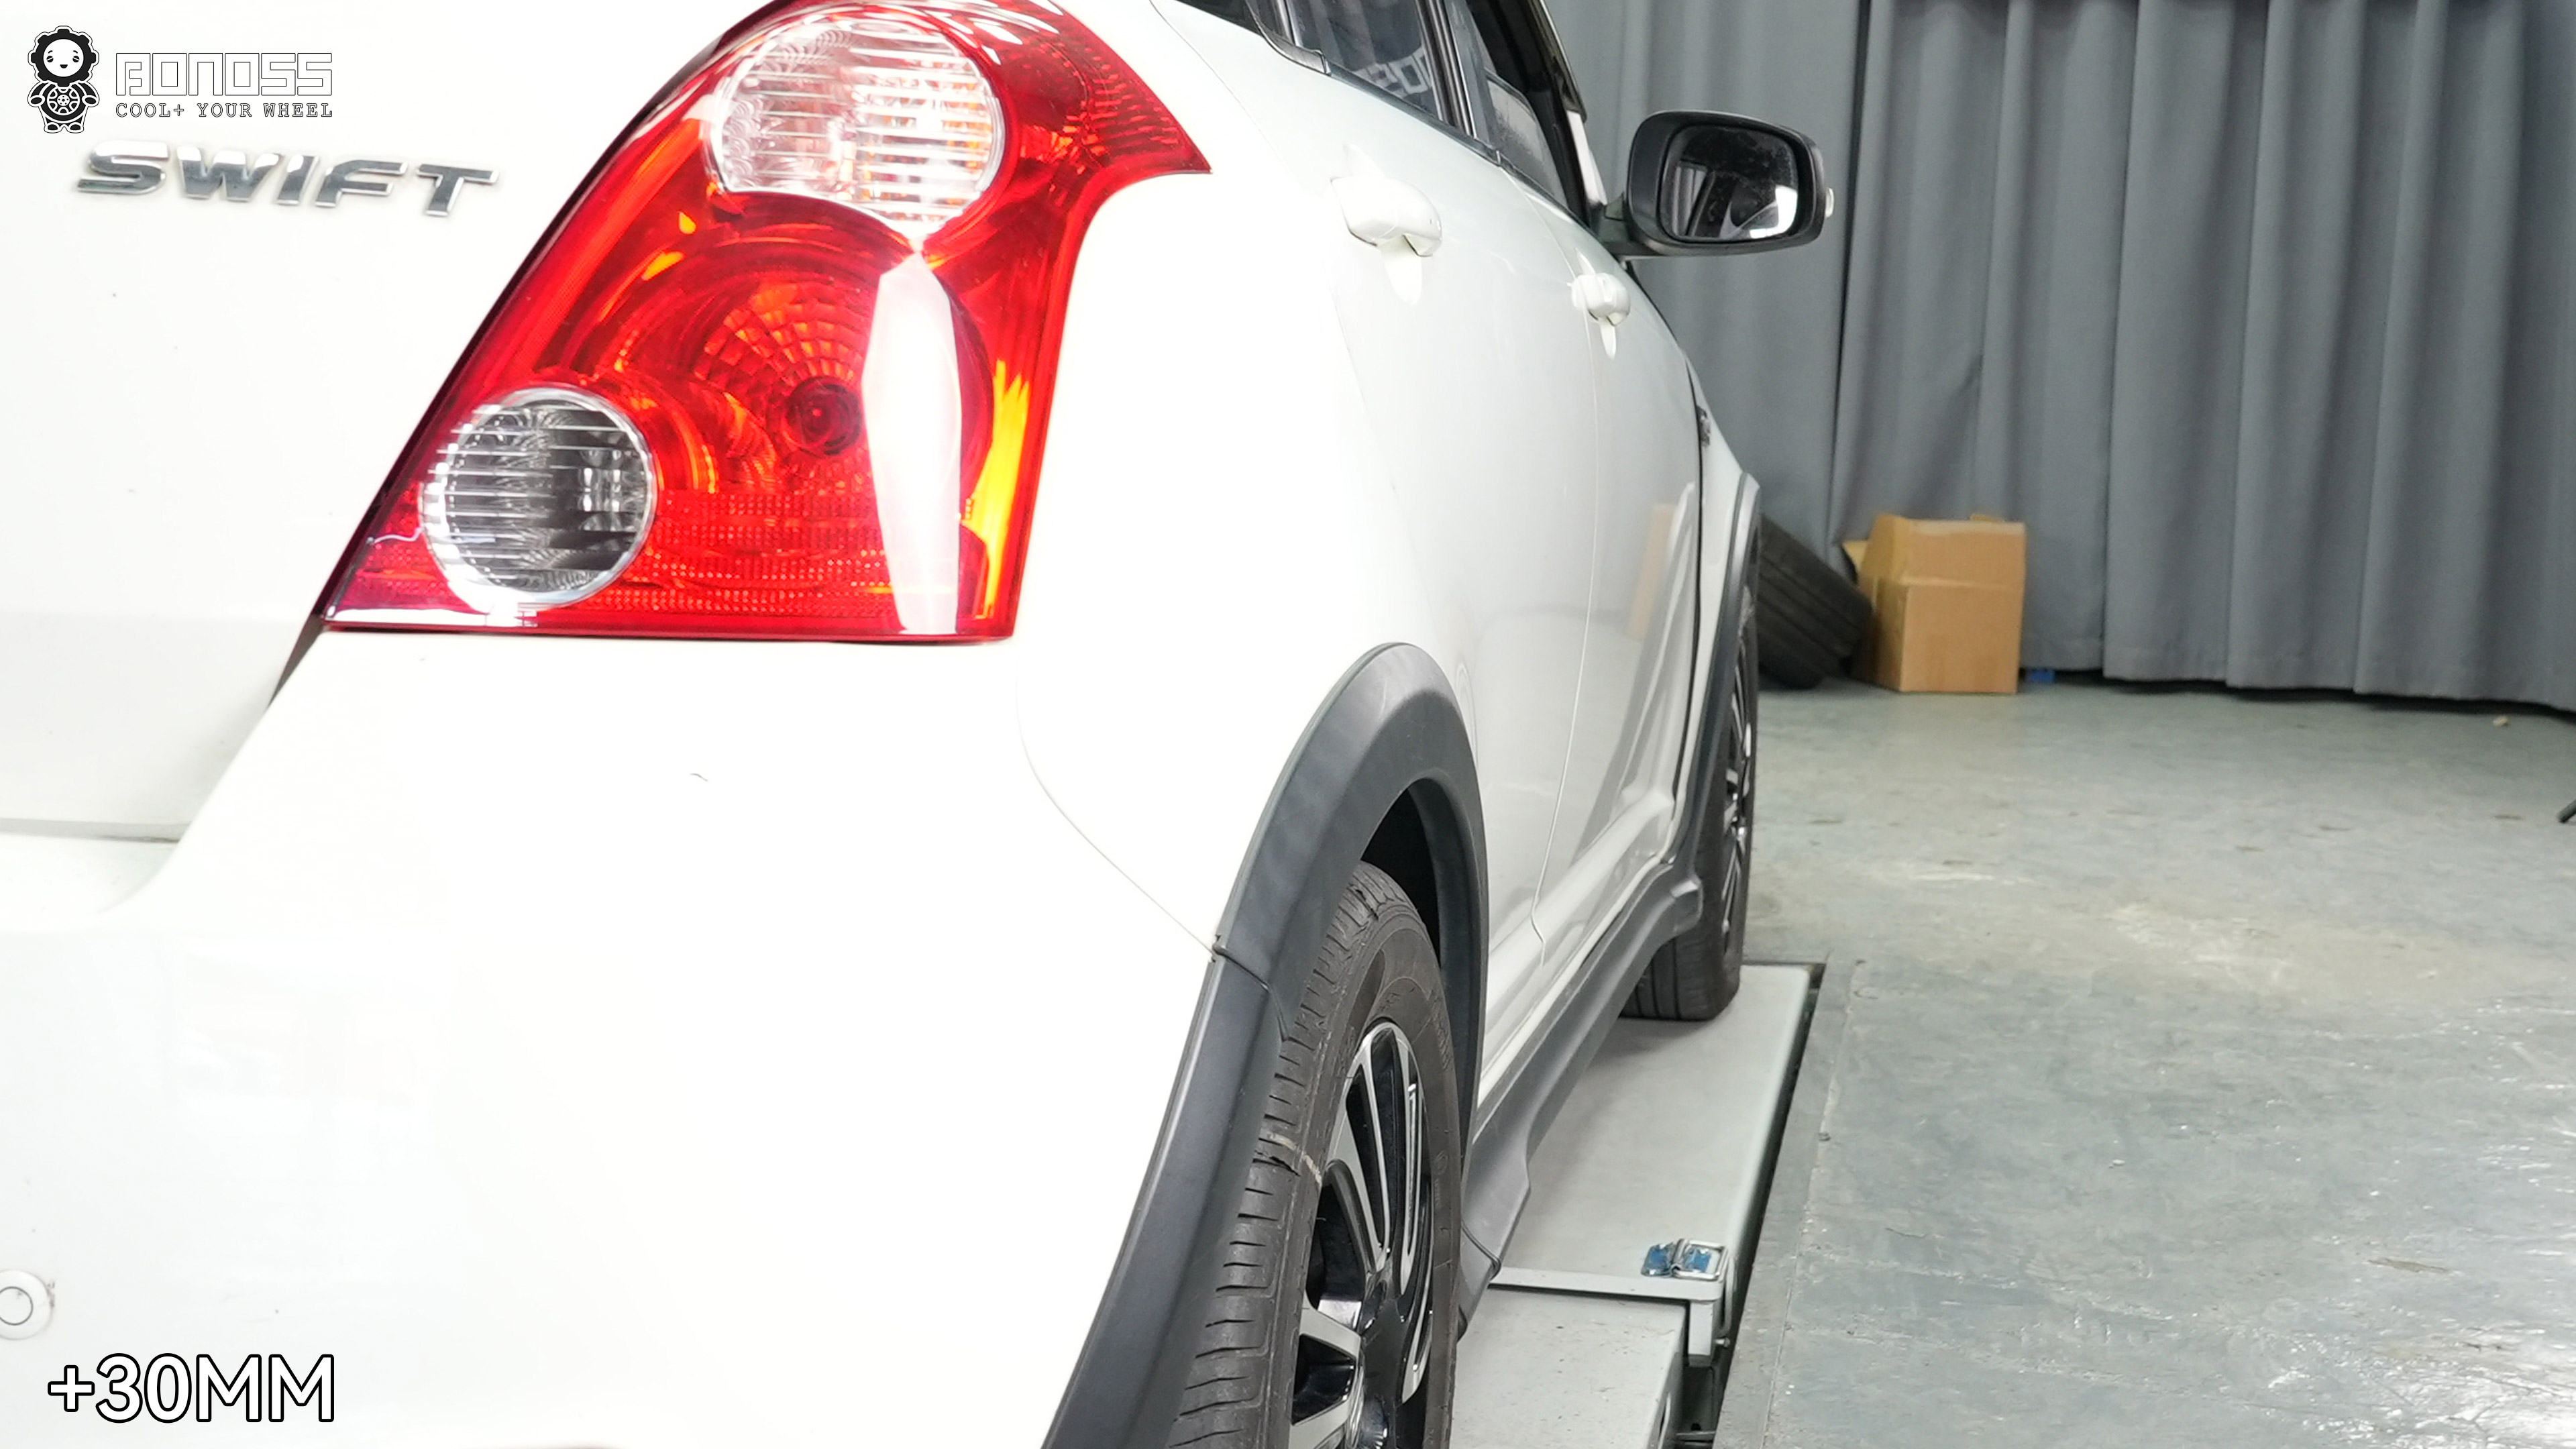
With the measuring done, the install itself was four corners, about an hour total.
Left front — spacer on the hub, centered by the hub lip, then torqued down. We tightened the spacer’s own hardware to 113 Nm (per BONOSS installation instructions).
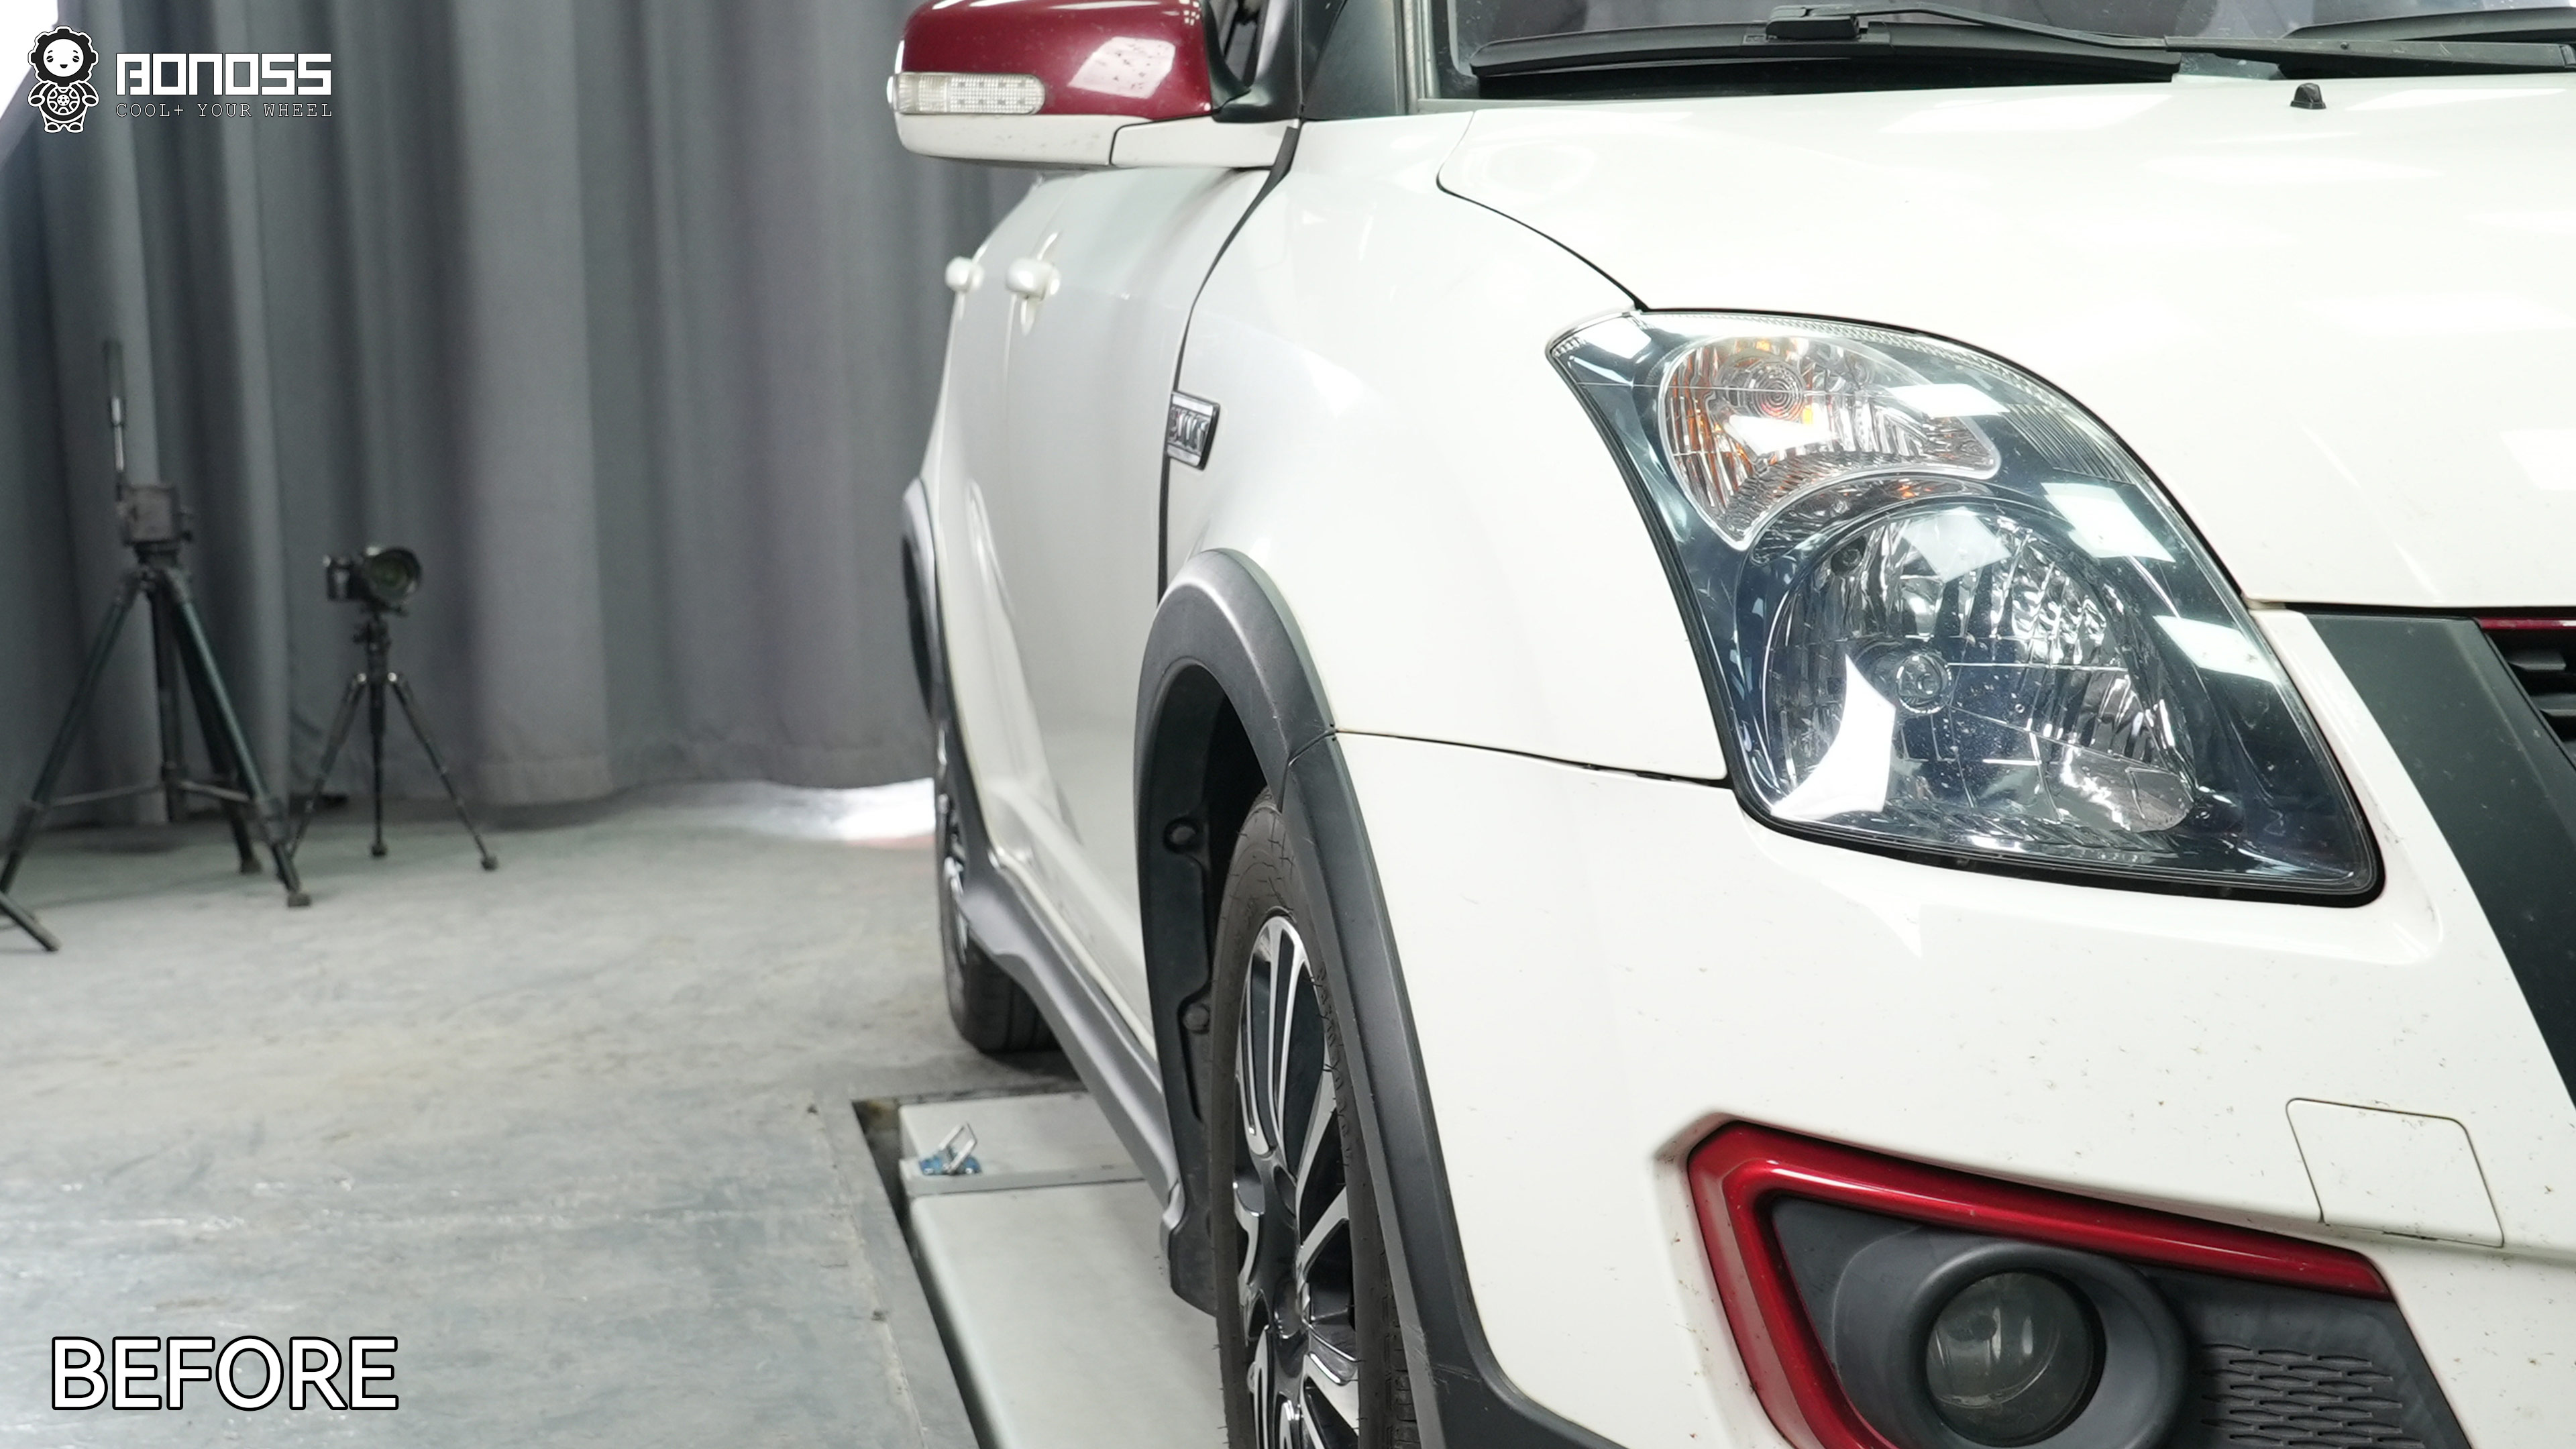
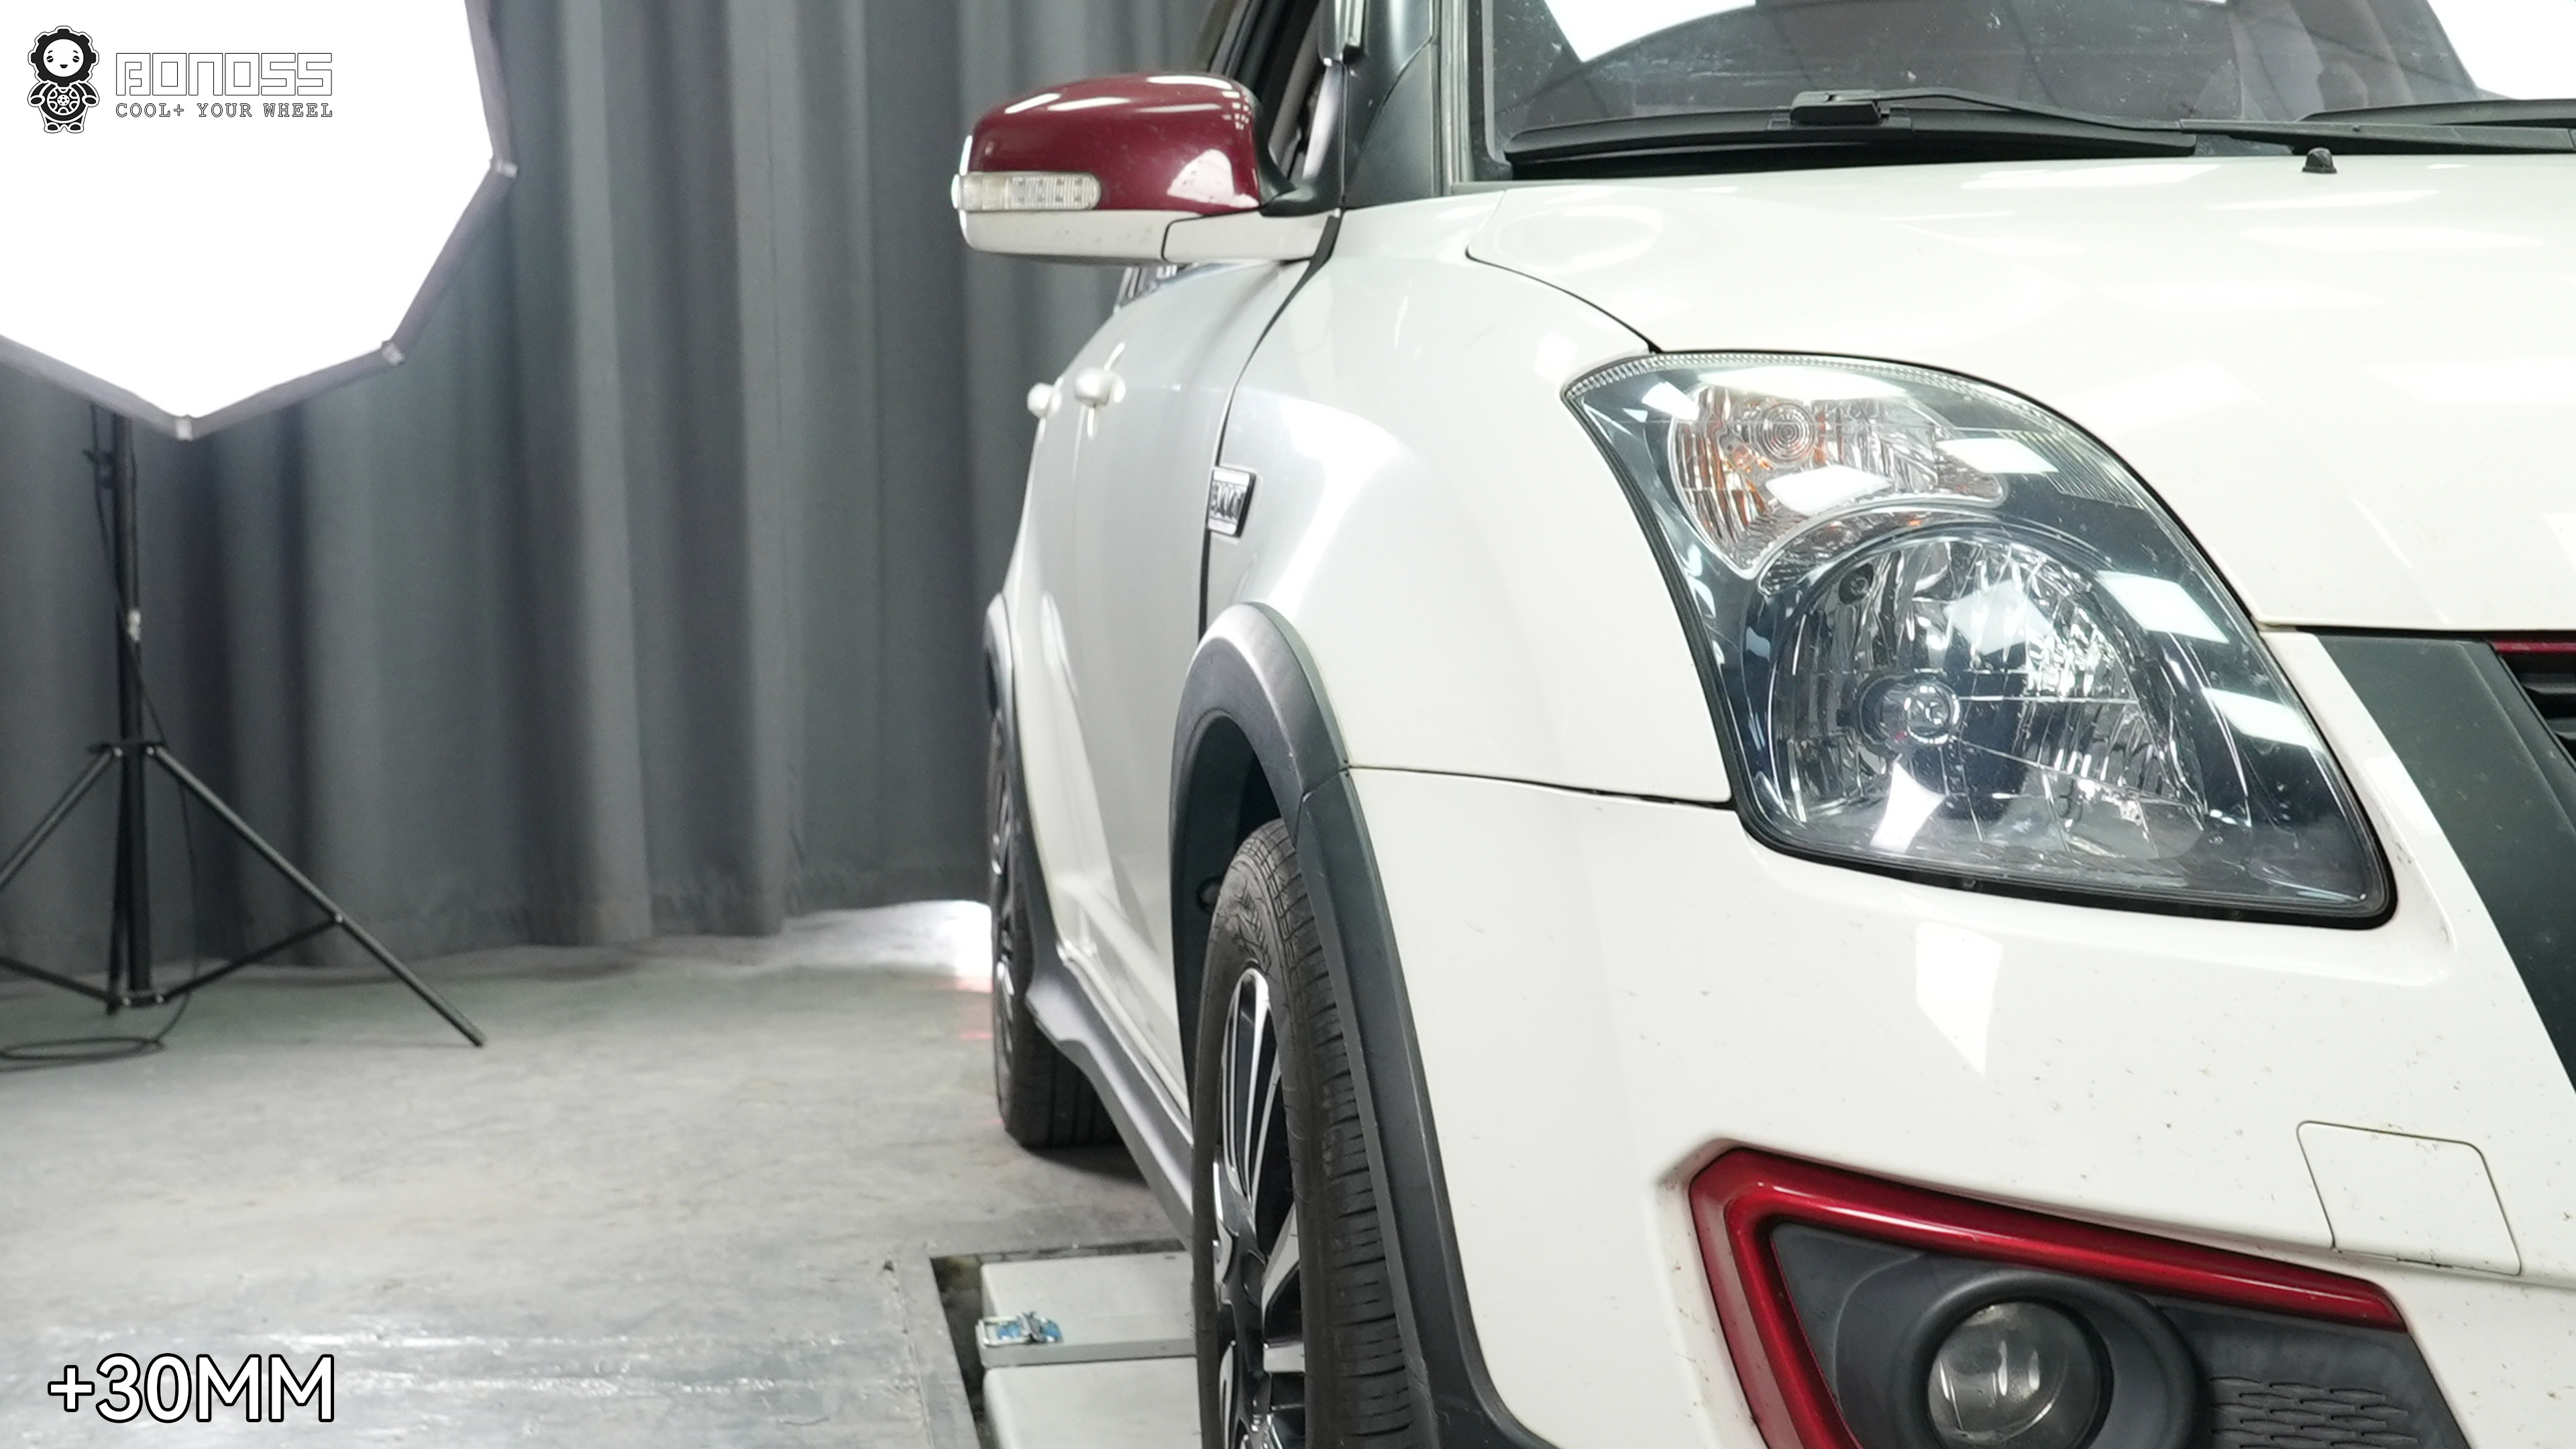
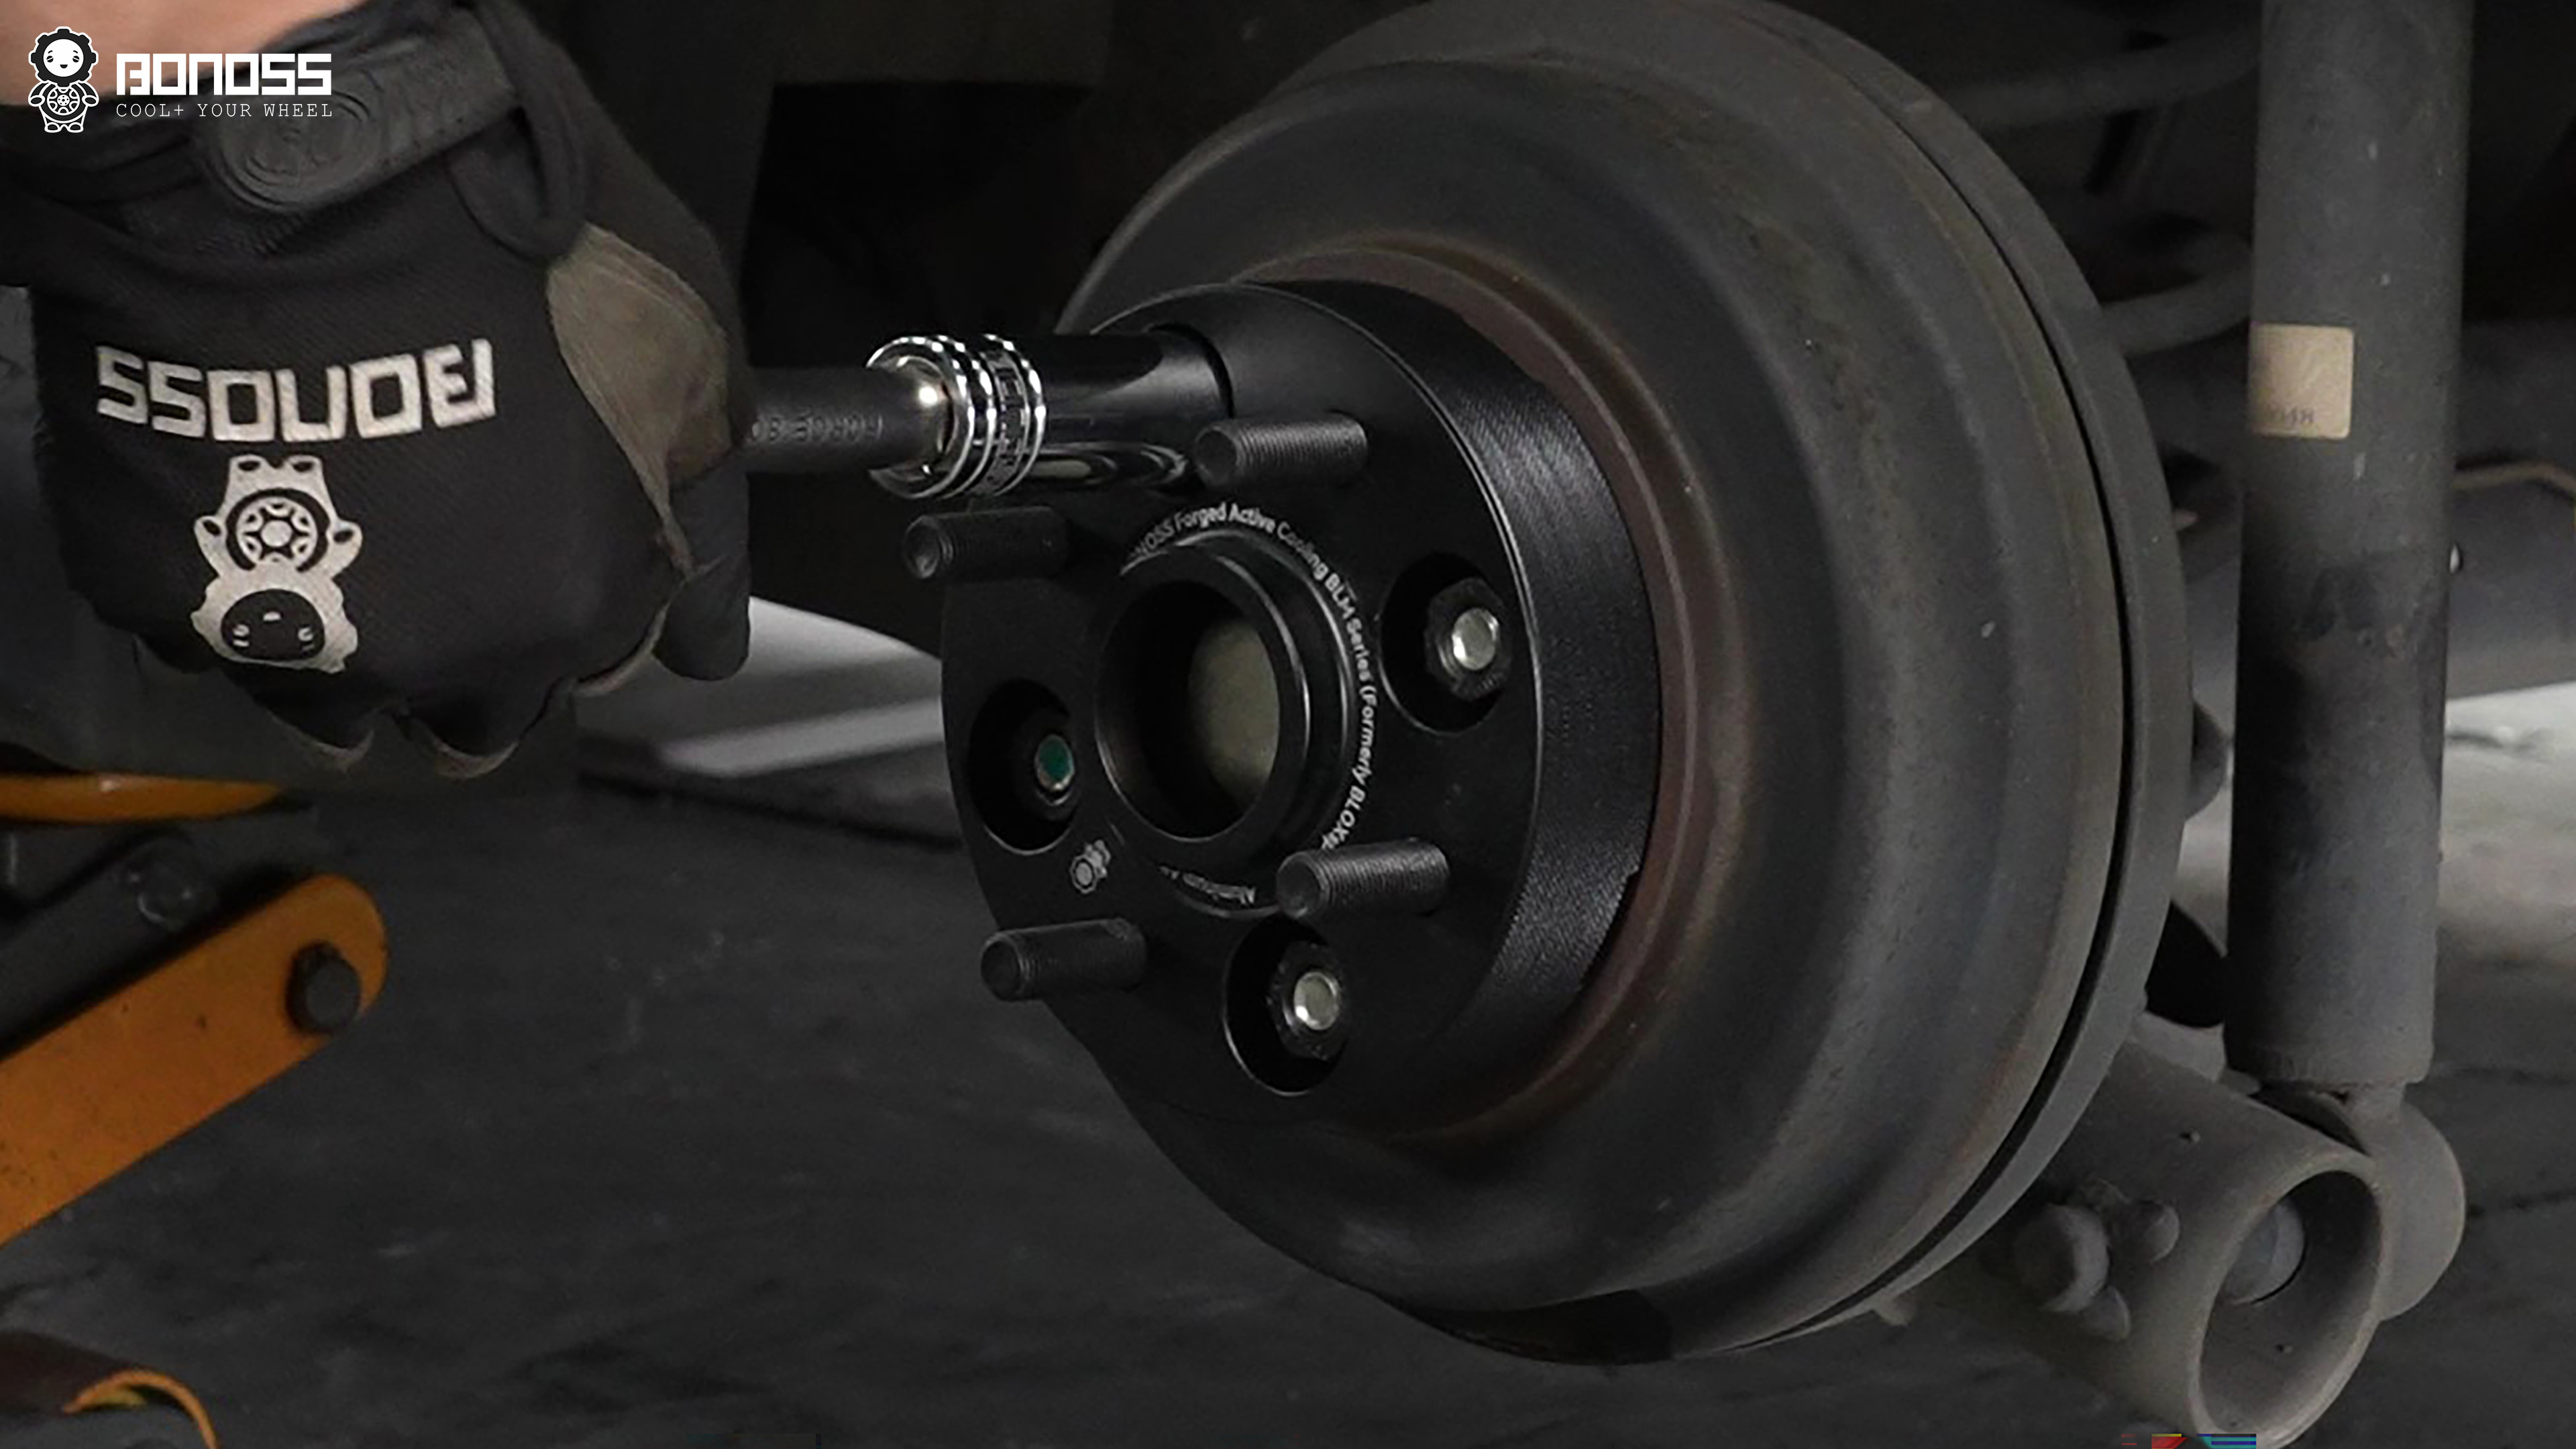
Right front — same process, same torque, same flush result.
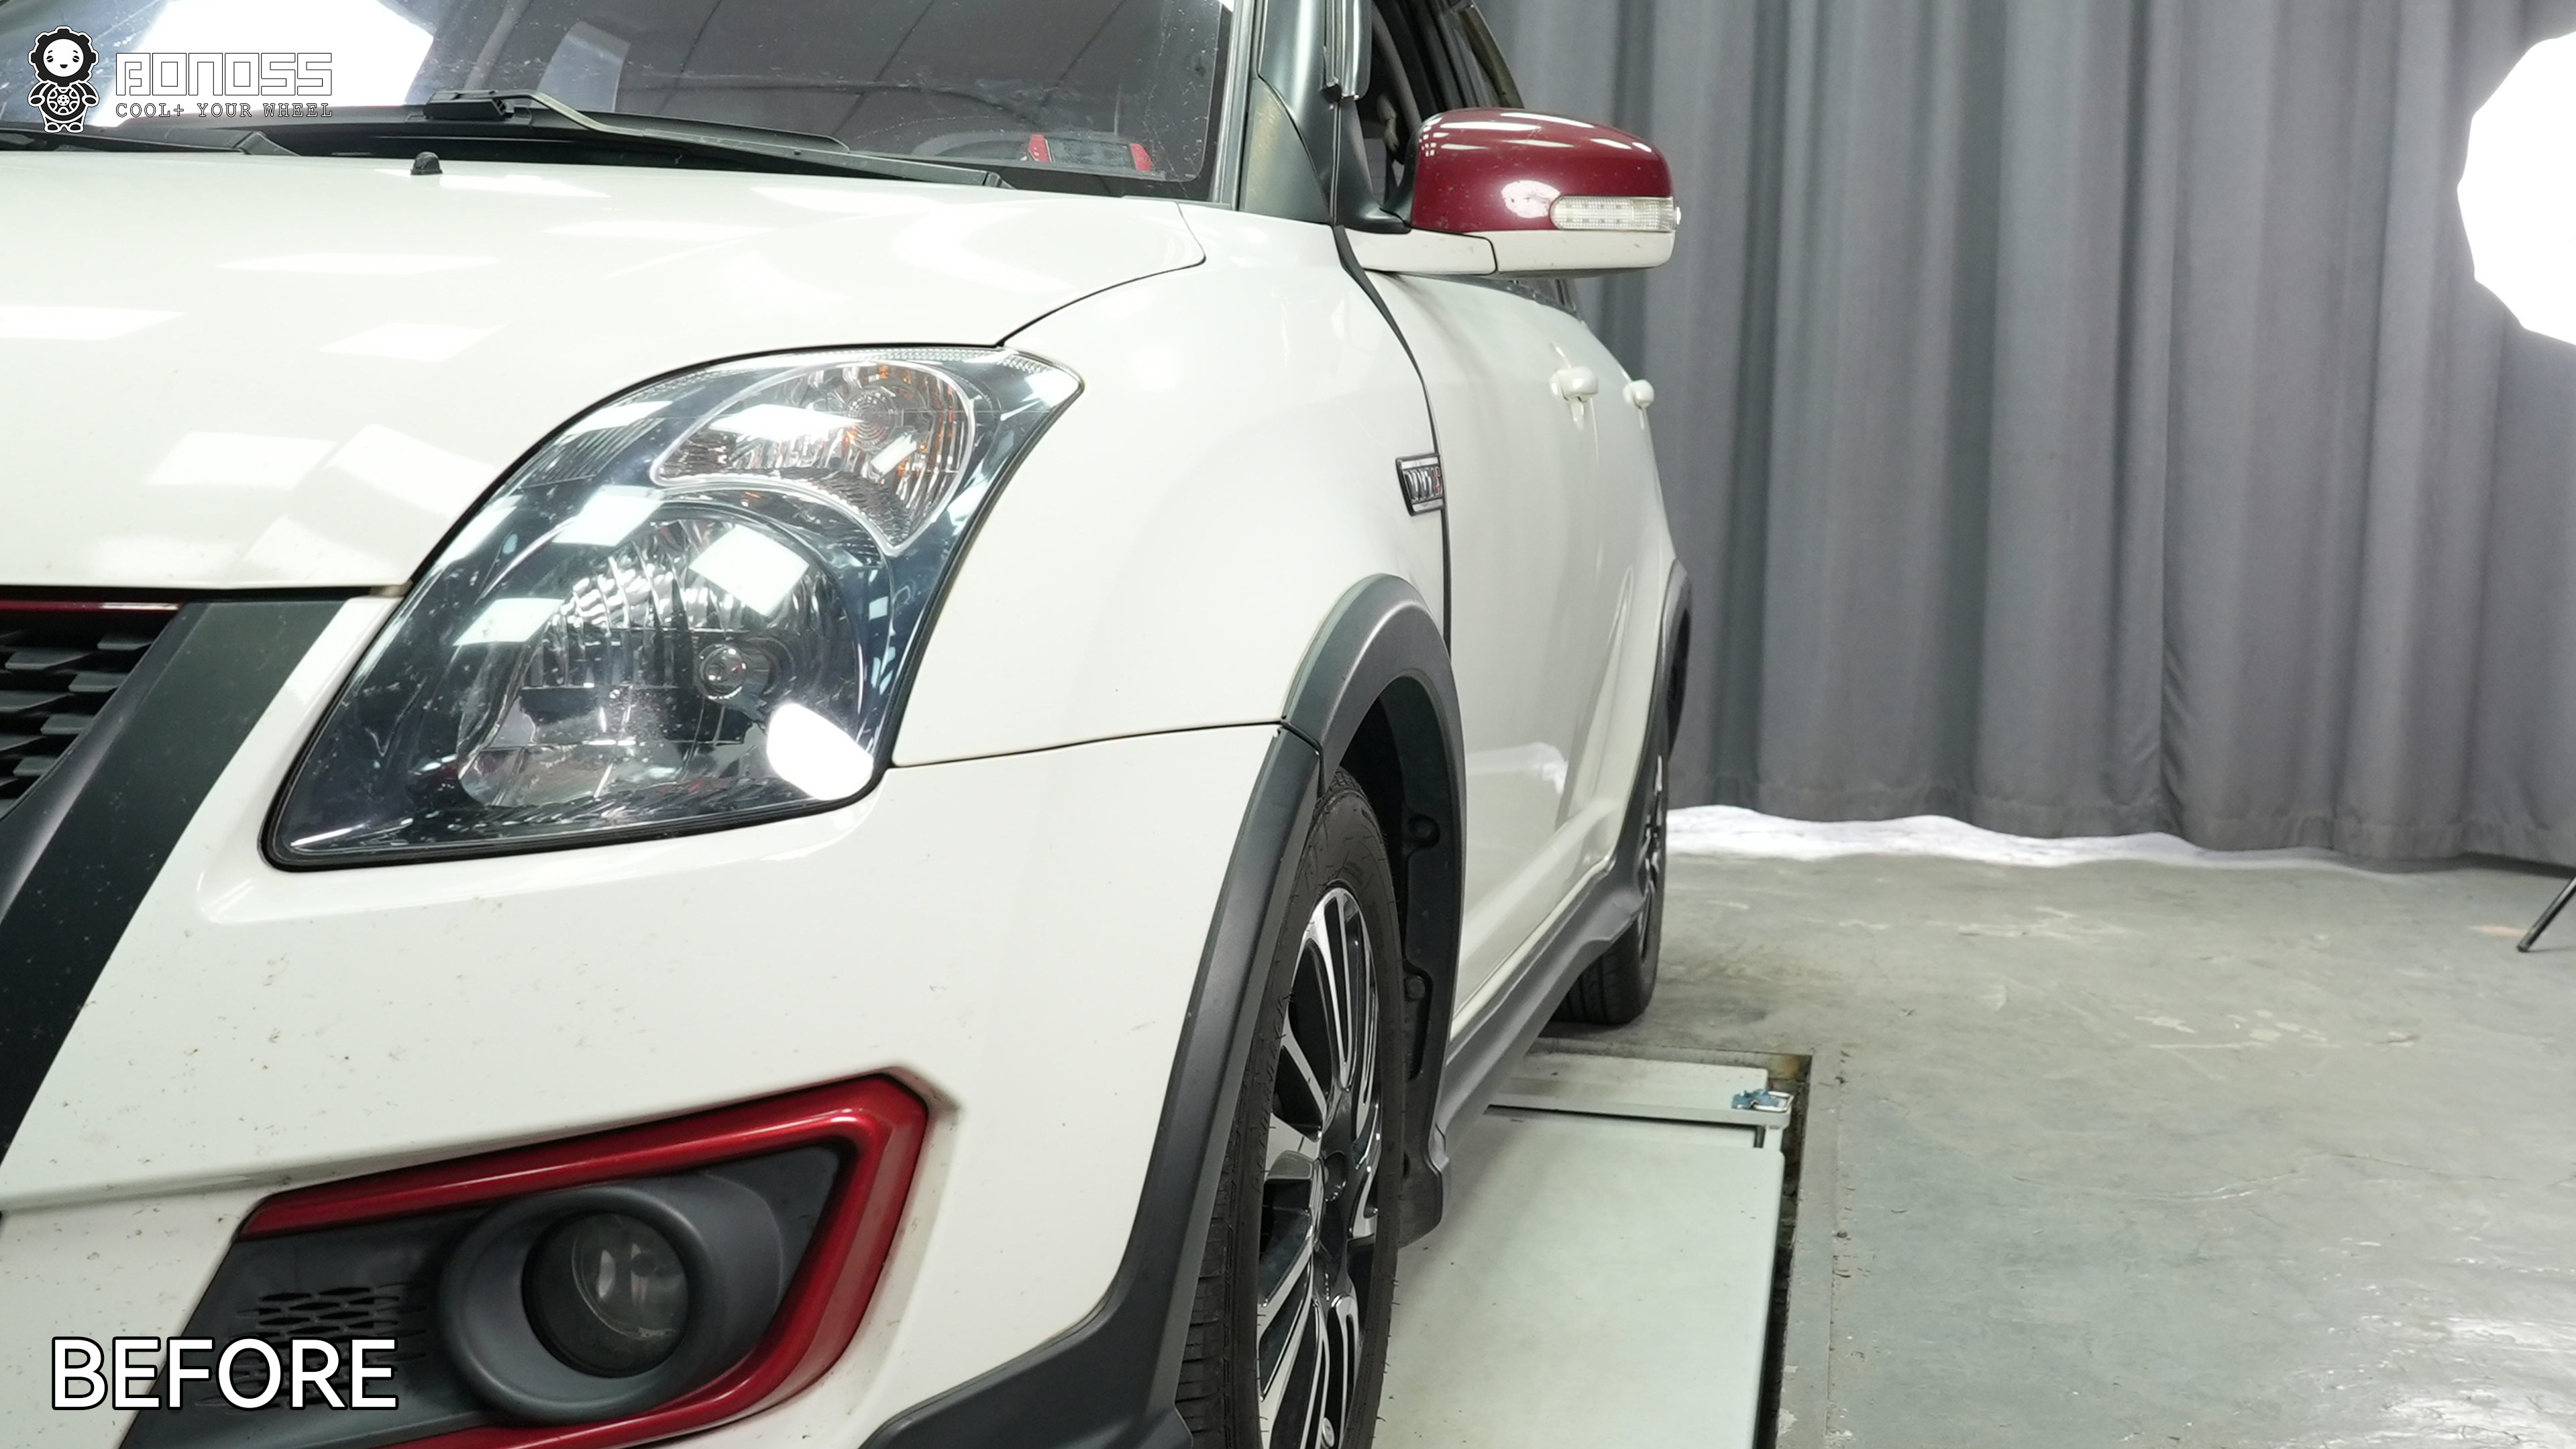
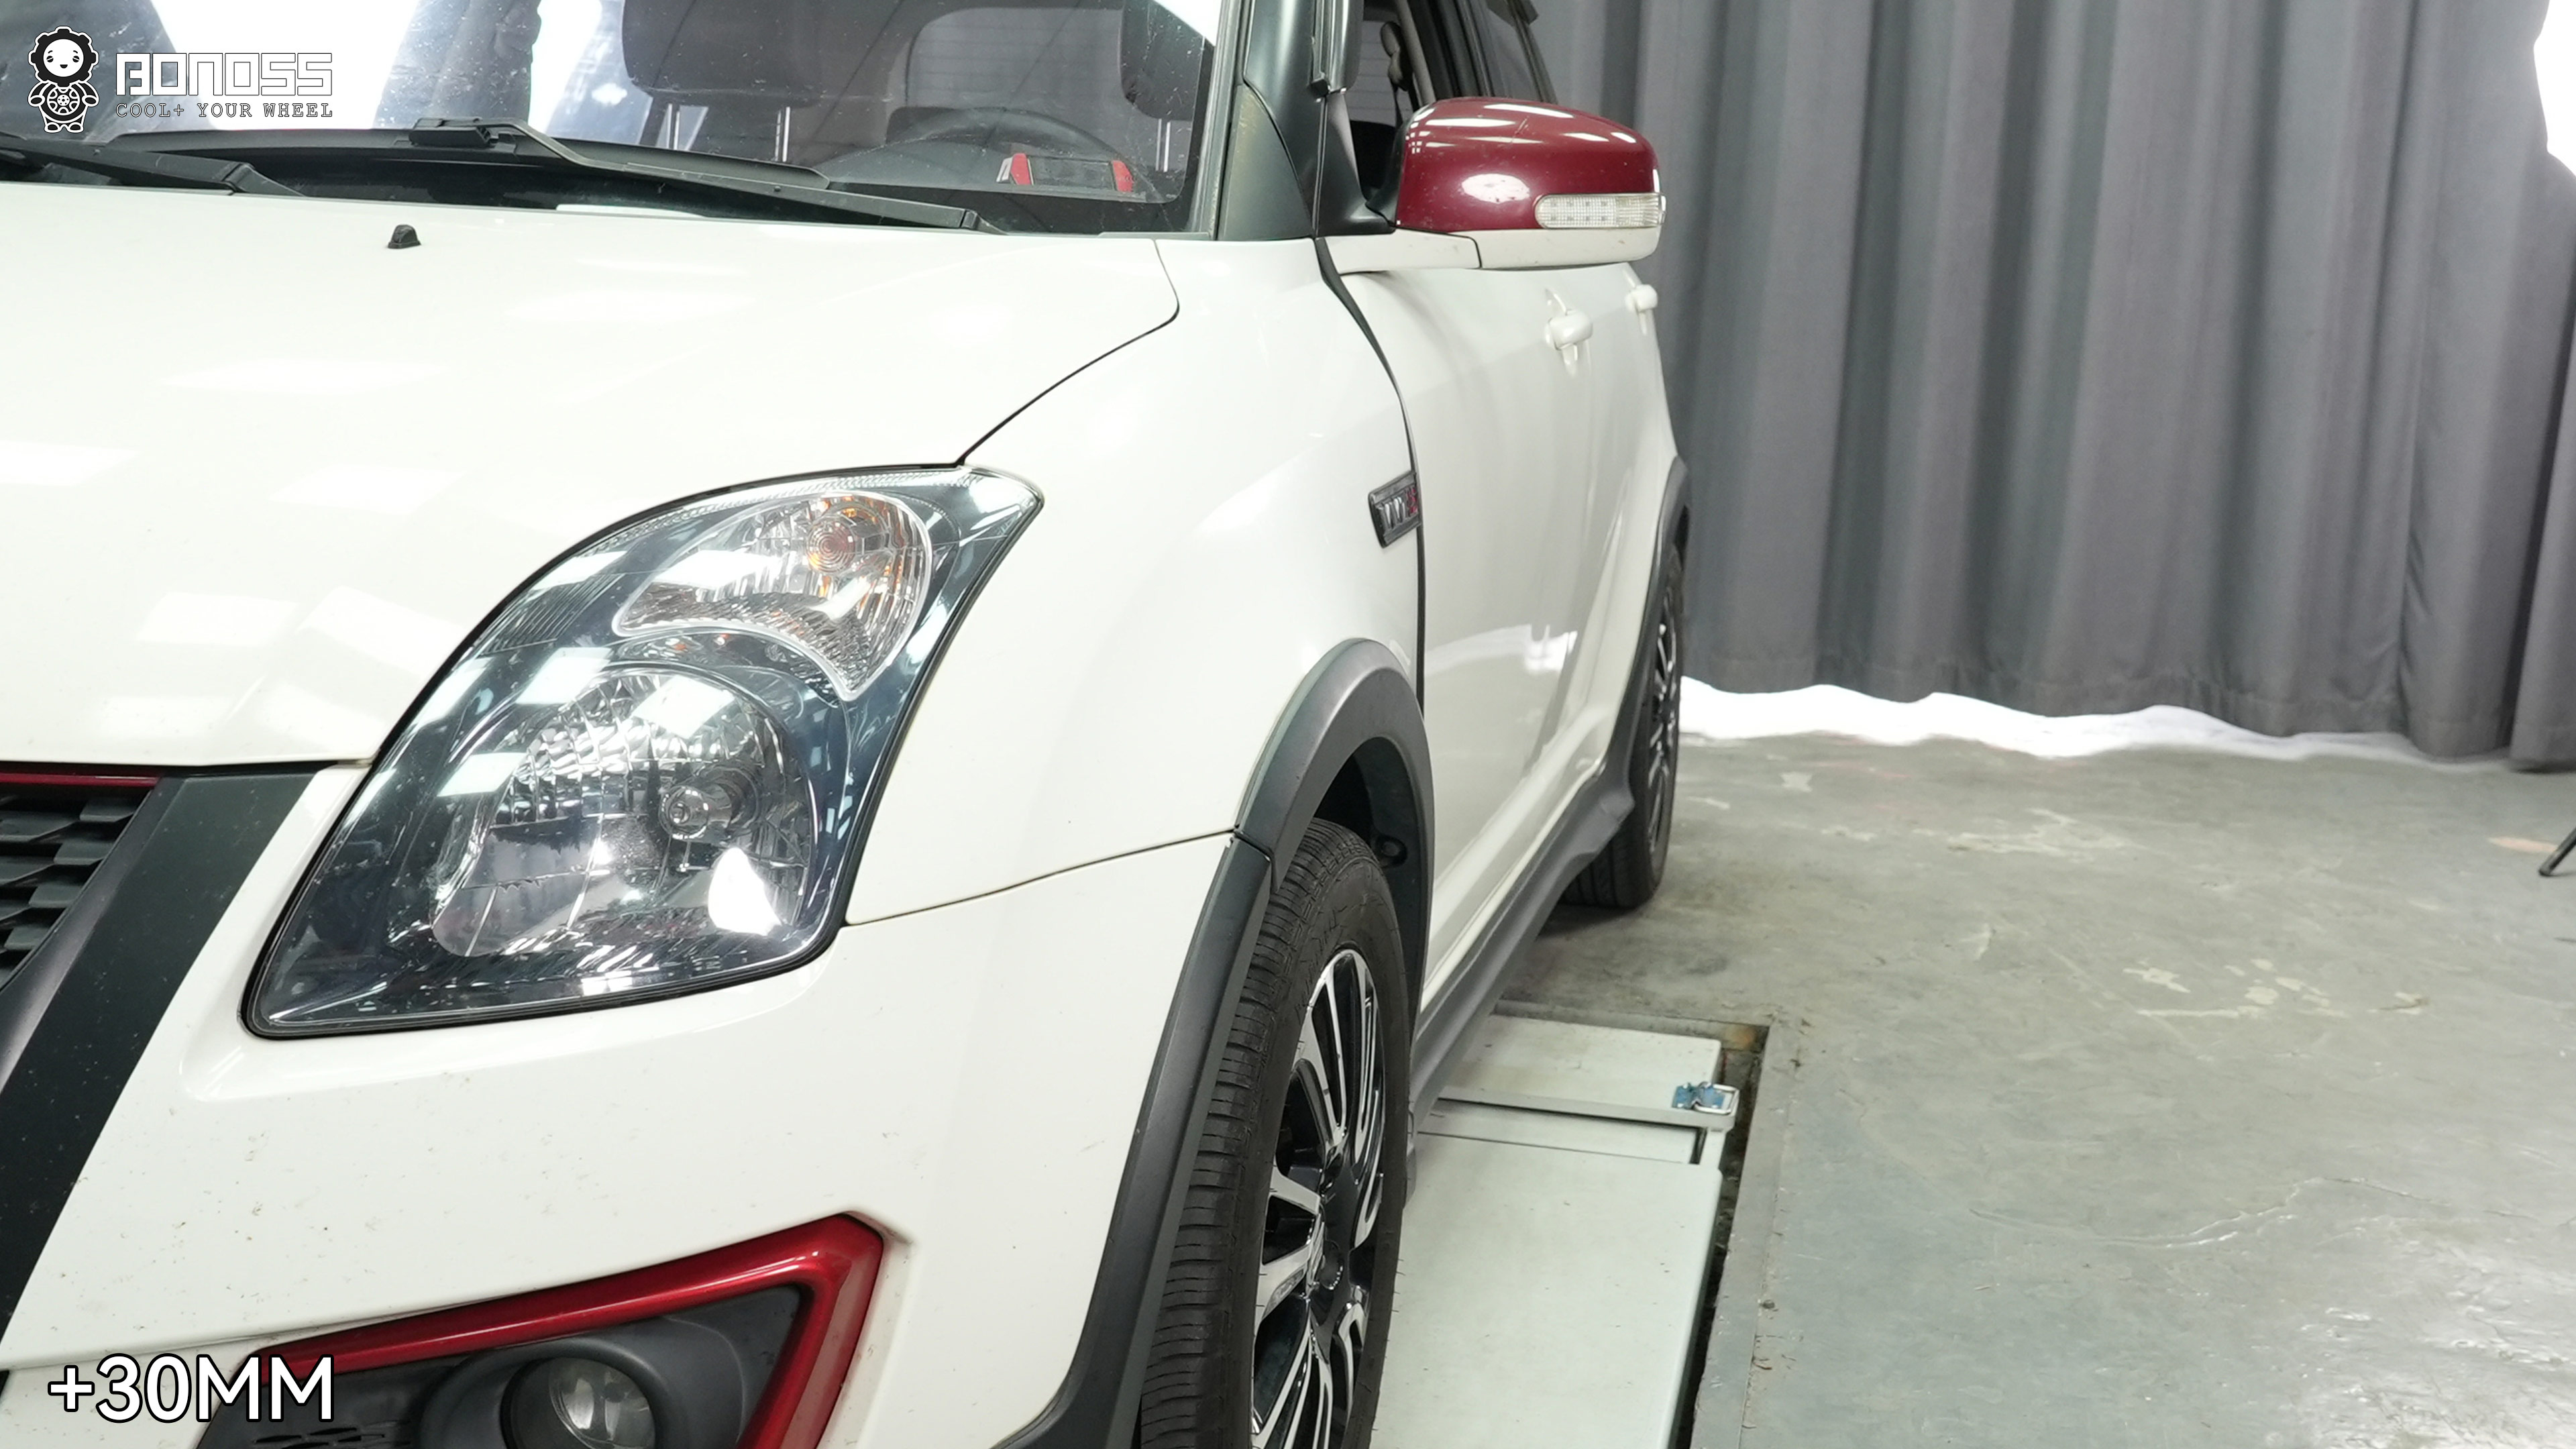
Left rear and right rear — the rears are where the track-width change really shows, and where a stock Swift starts looking planted instead of tucked.
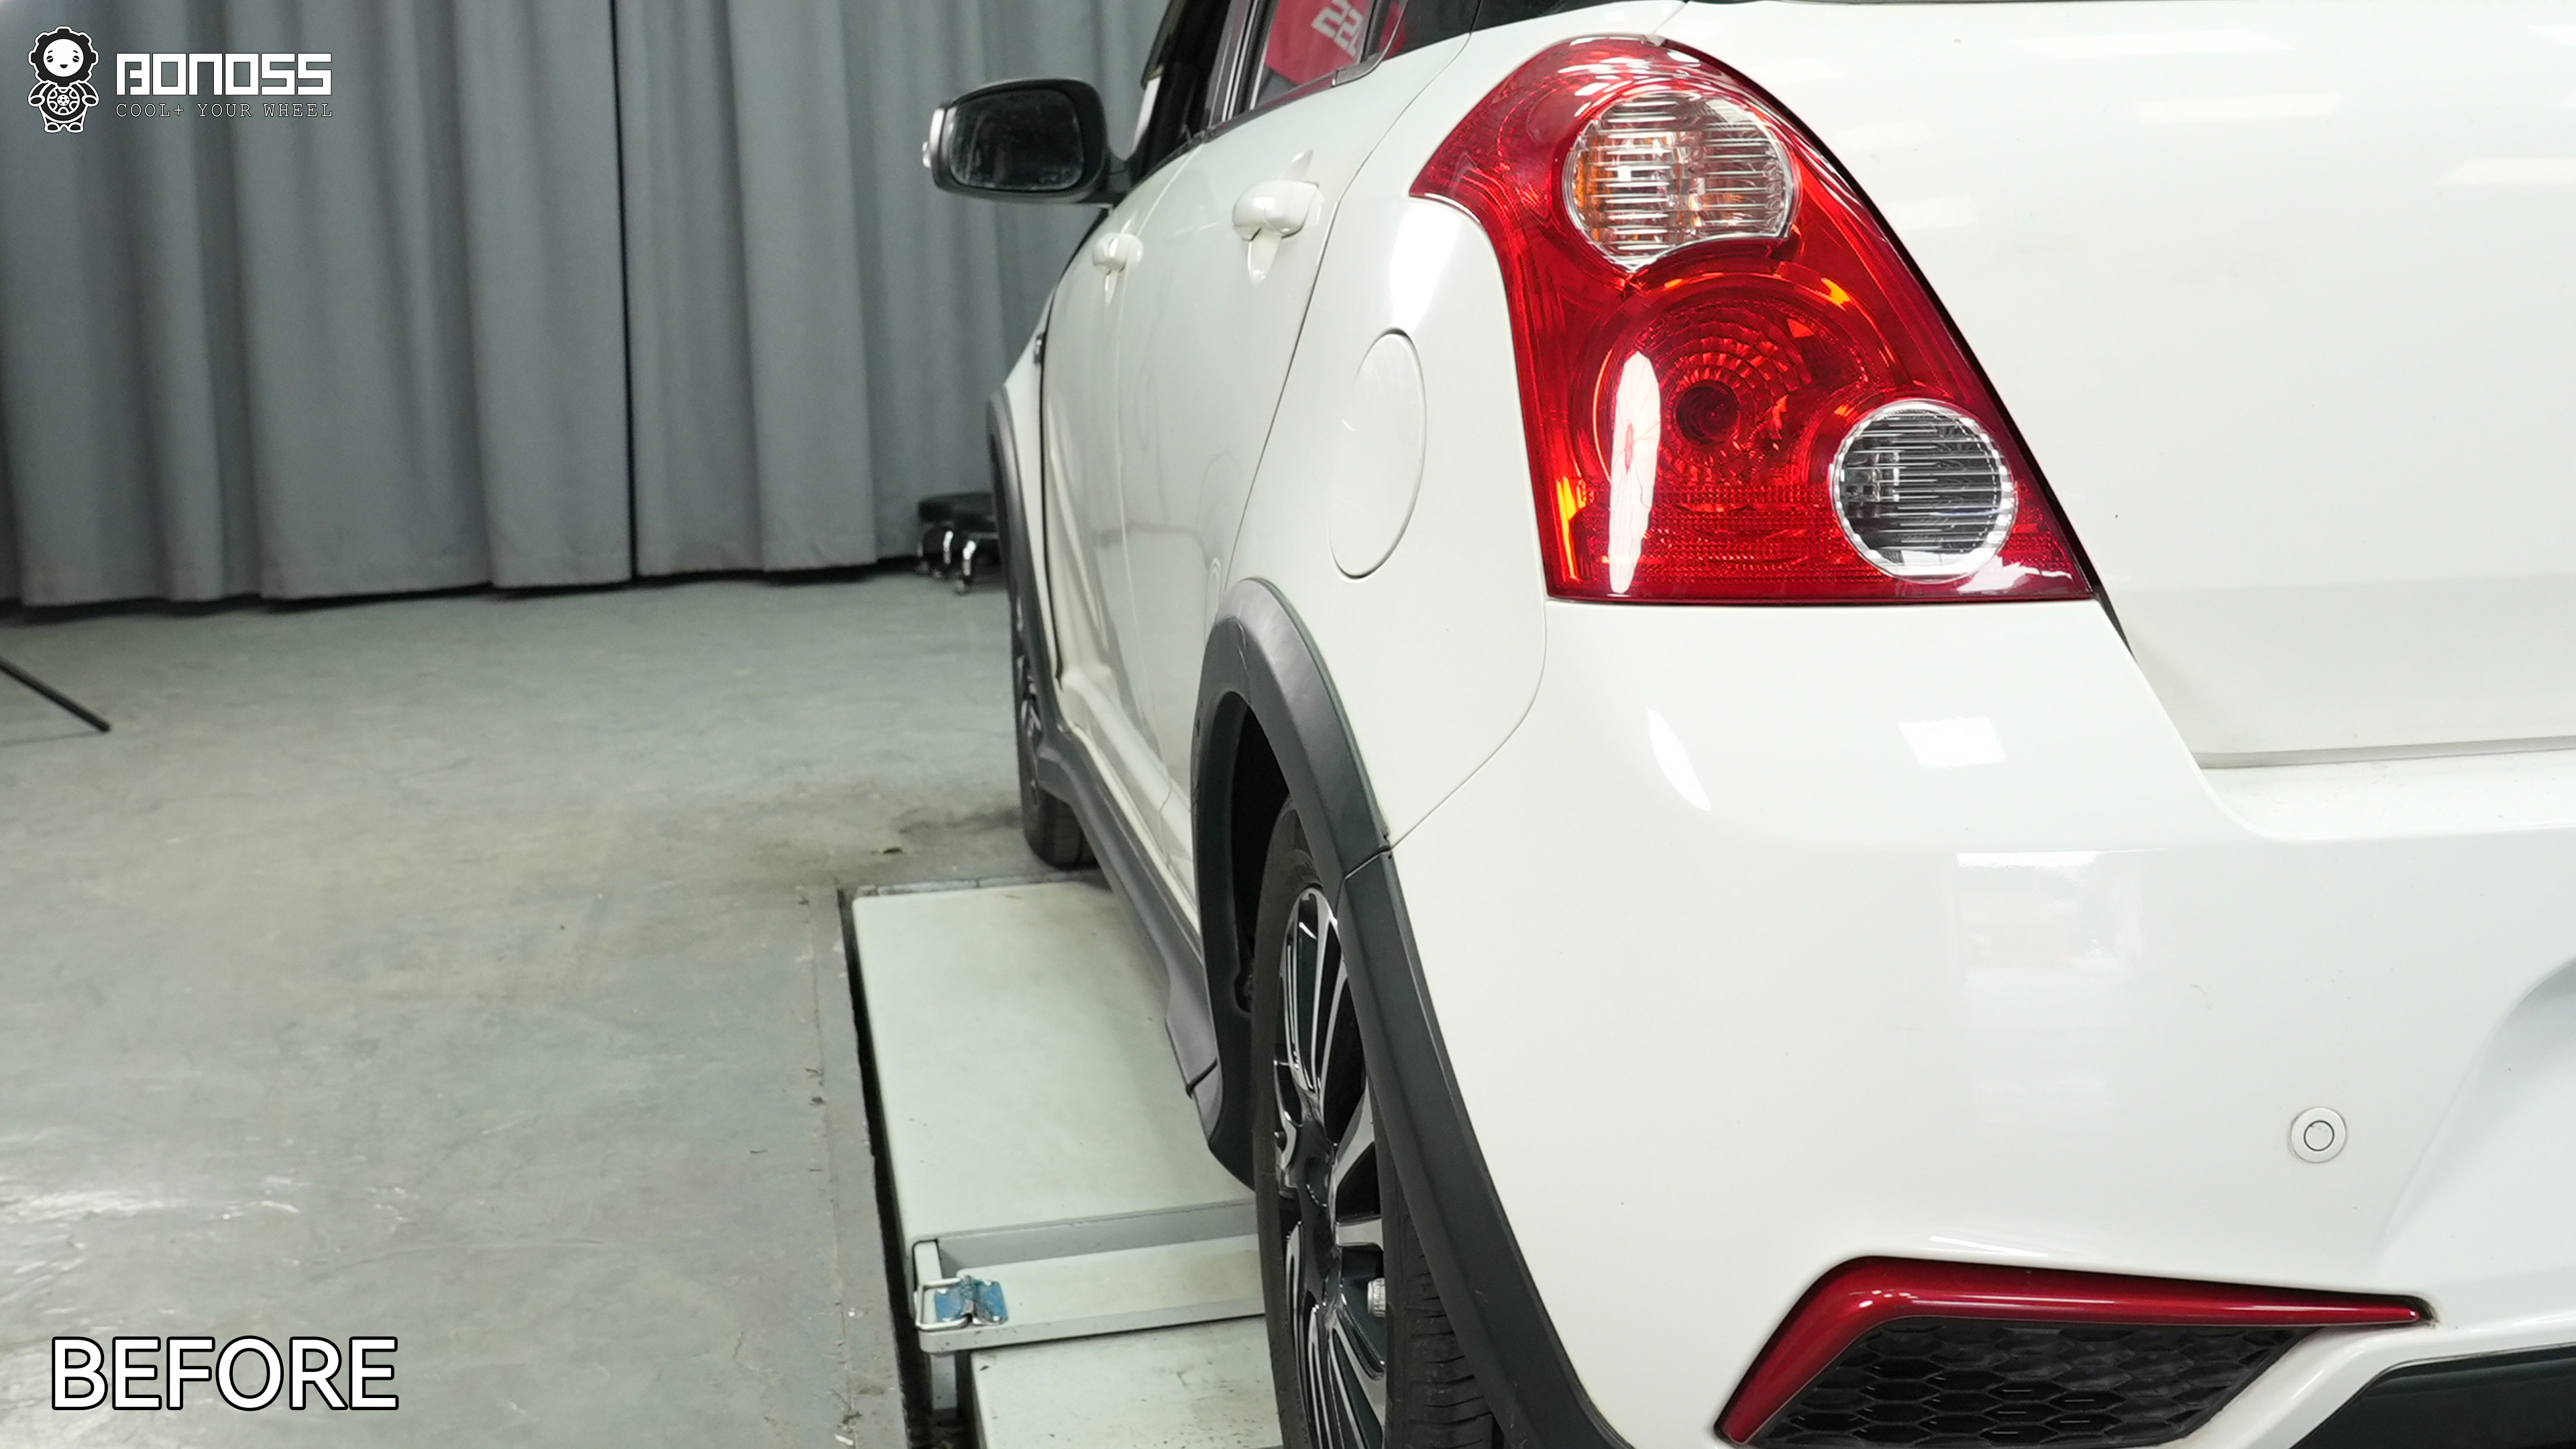
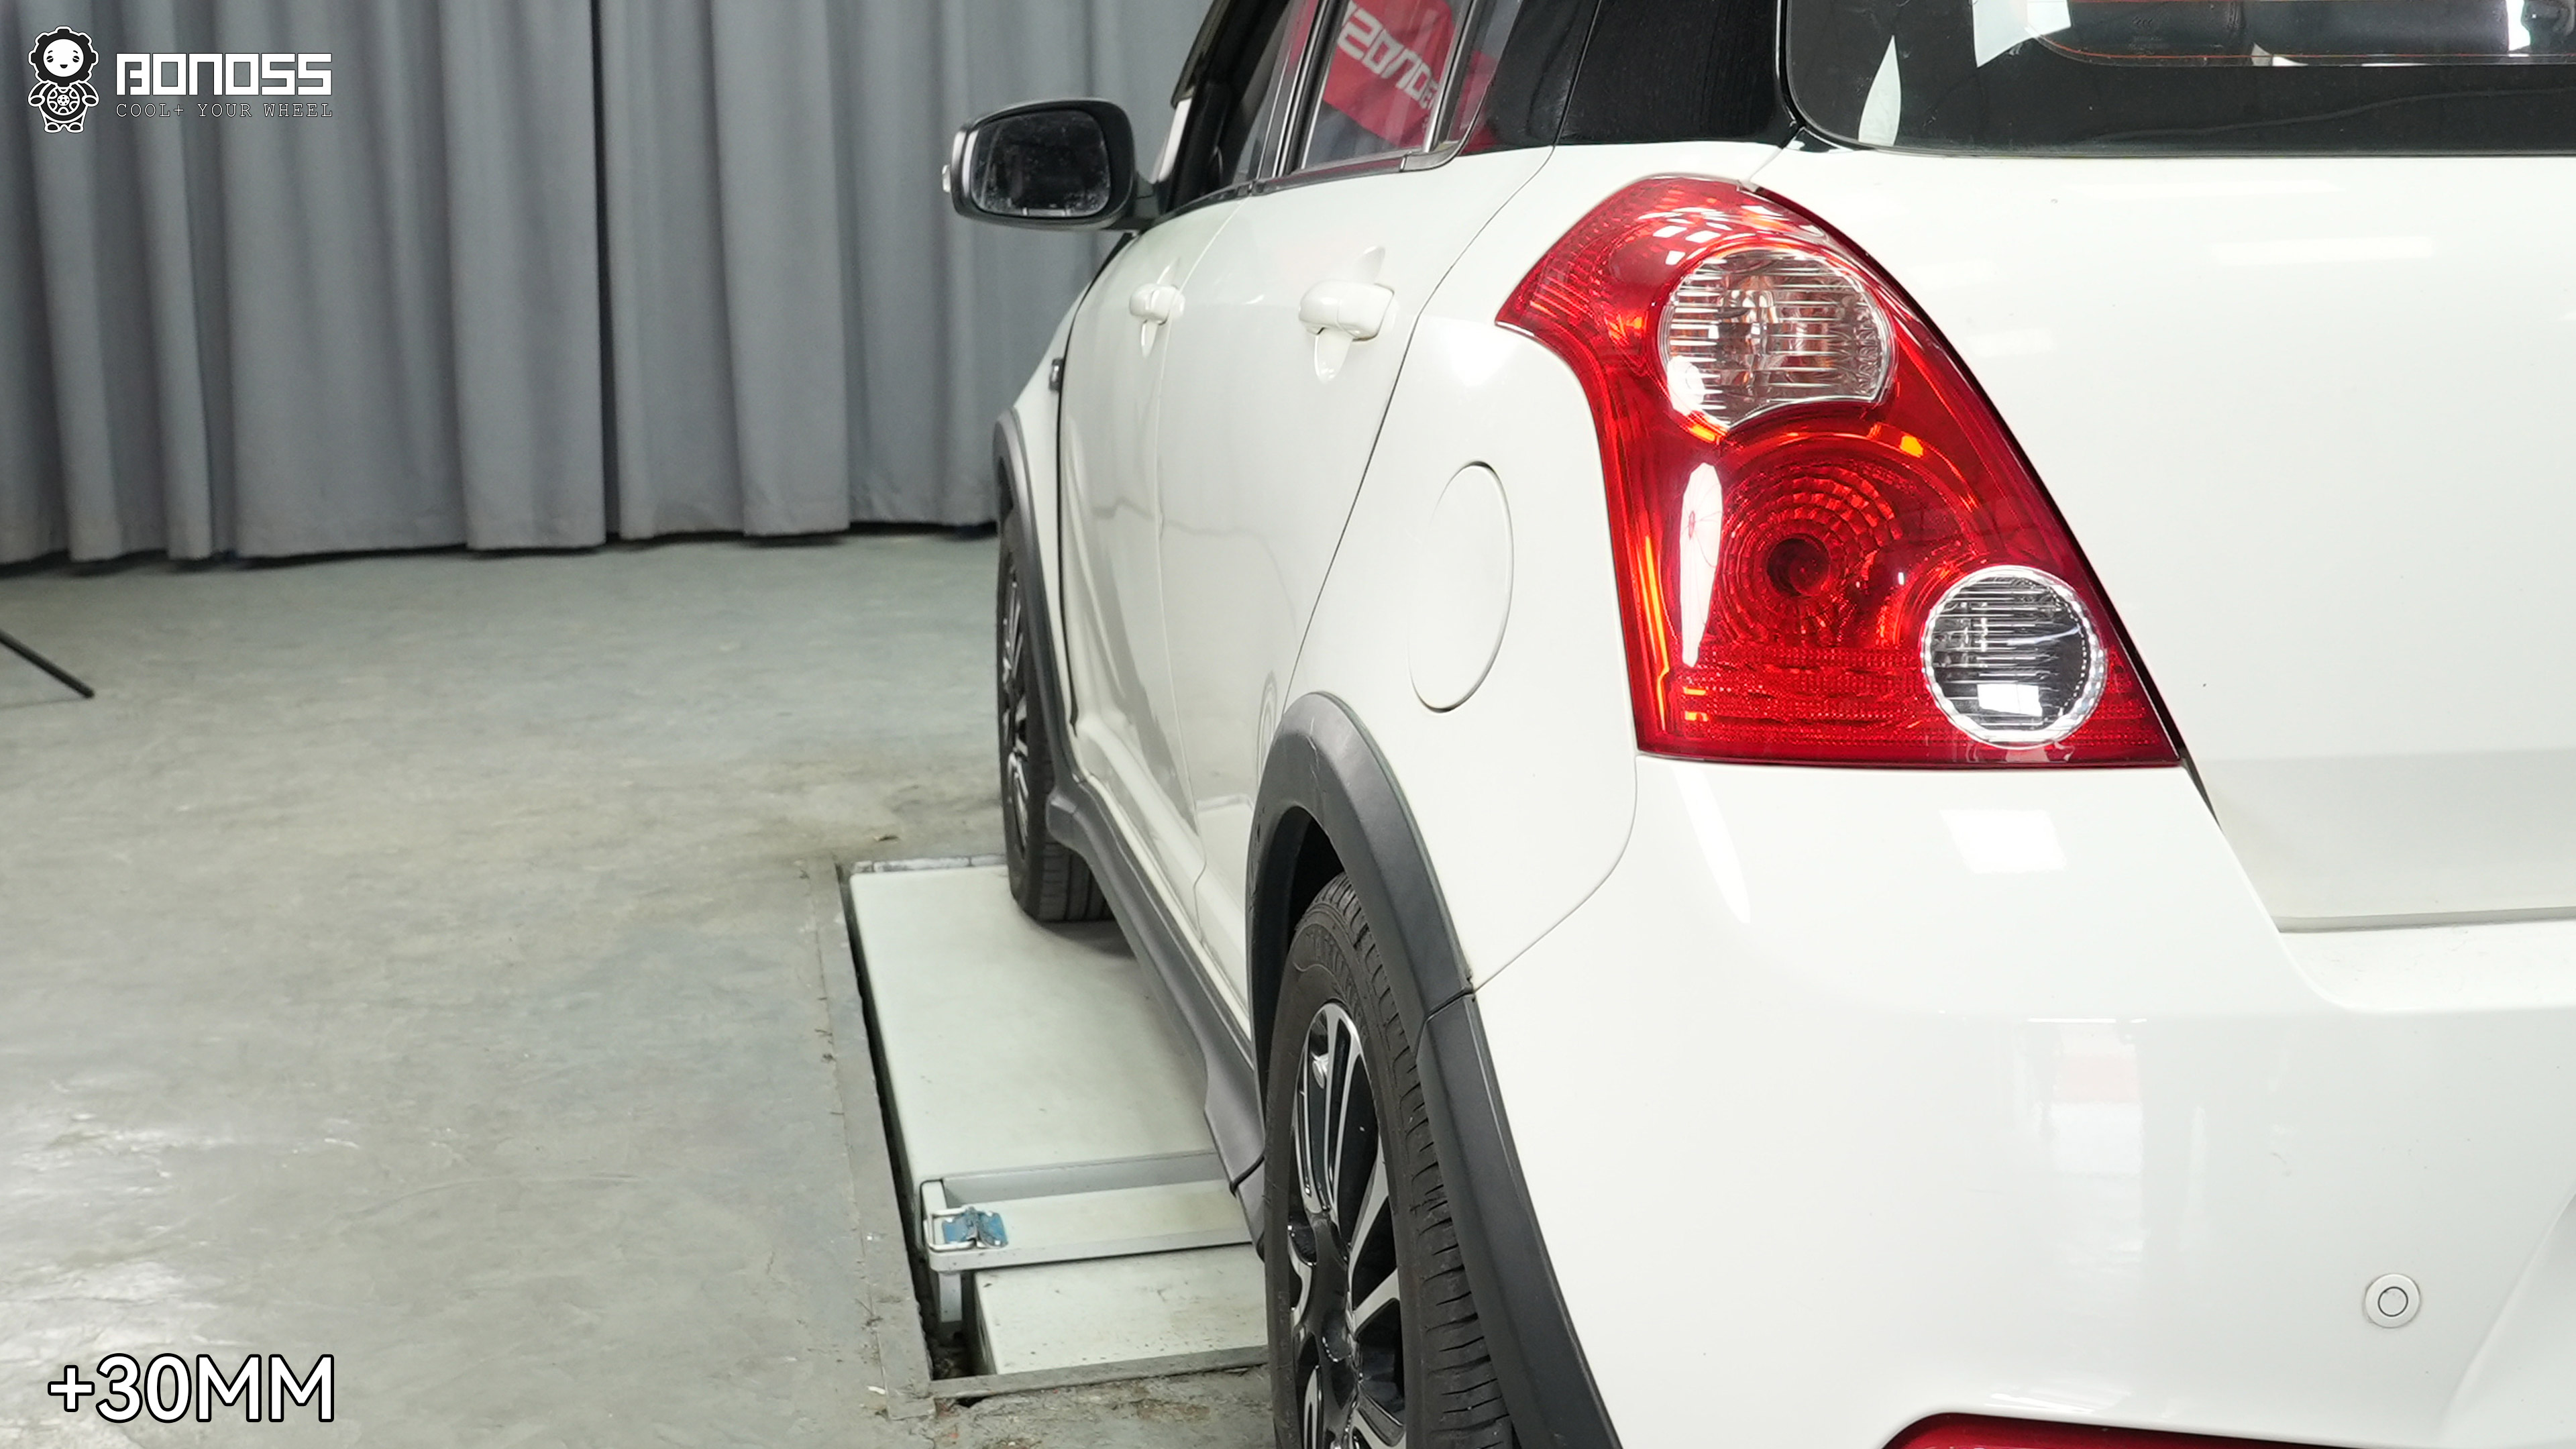
The Math That Made It Fit
Stock, Max’s Swift sits at ET+45mm. A 30mm spacer moves the wheel face out 30mm, which shifts the offset to:
ET+45mm − 30mm = ET+15mm (front and rear).
That’s the number that makes the wheel sit flush with the fender instead of sunk inside it. We confirmed the target before ordering by measuring the gap from tire to fender edge — 30mm filled it without pushing past.
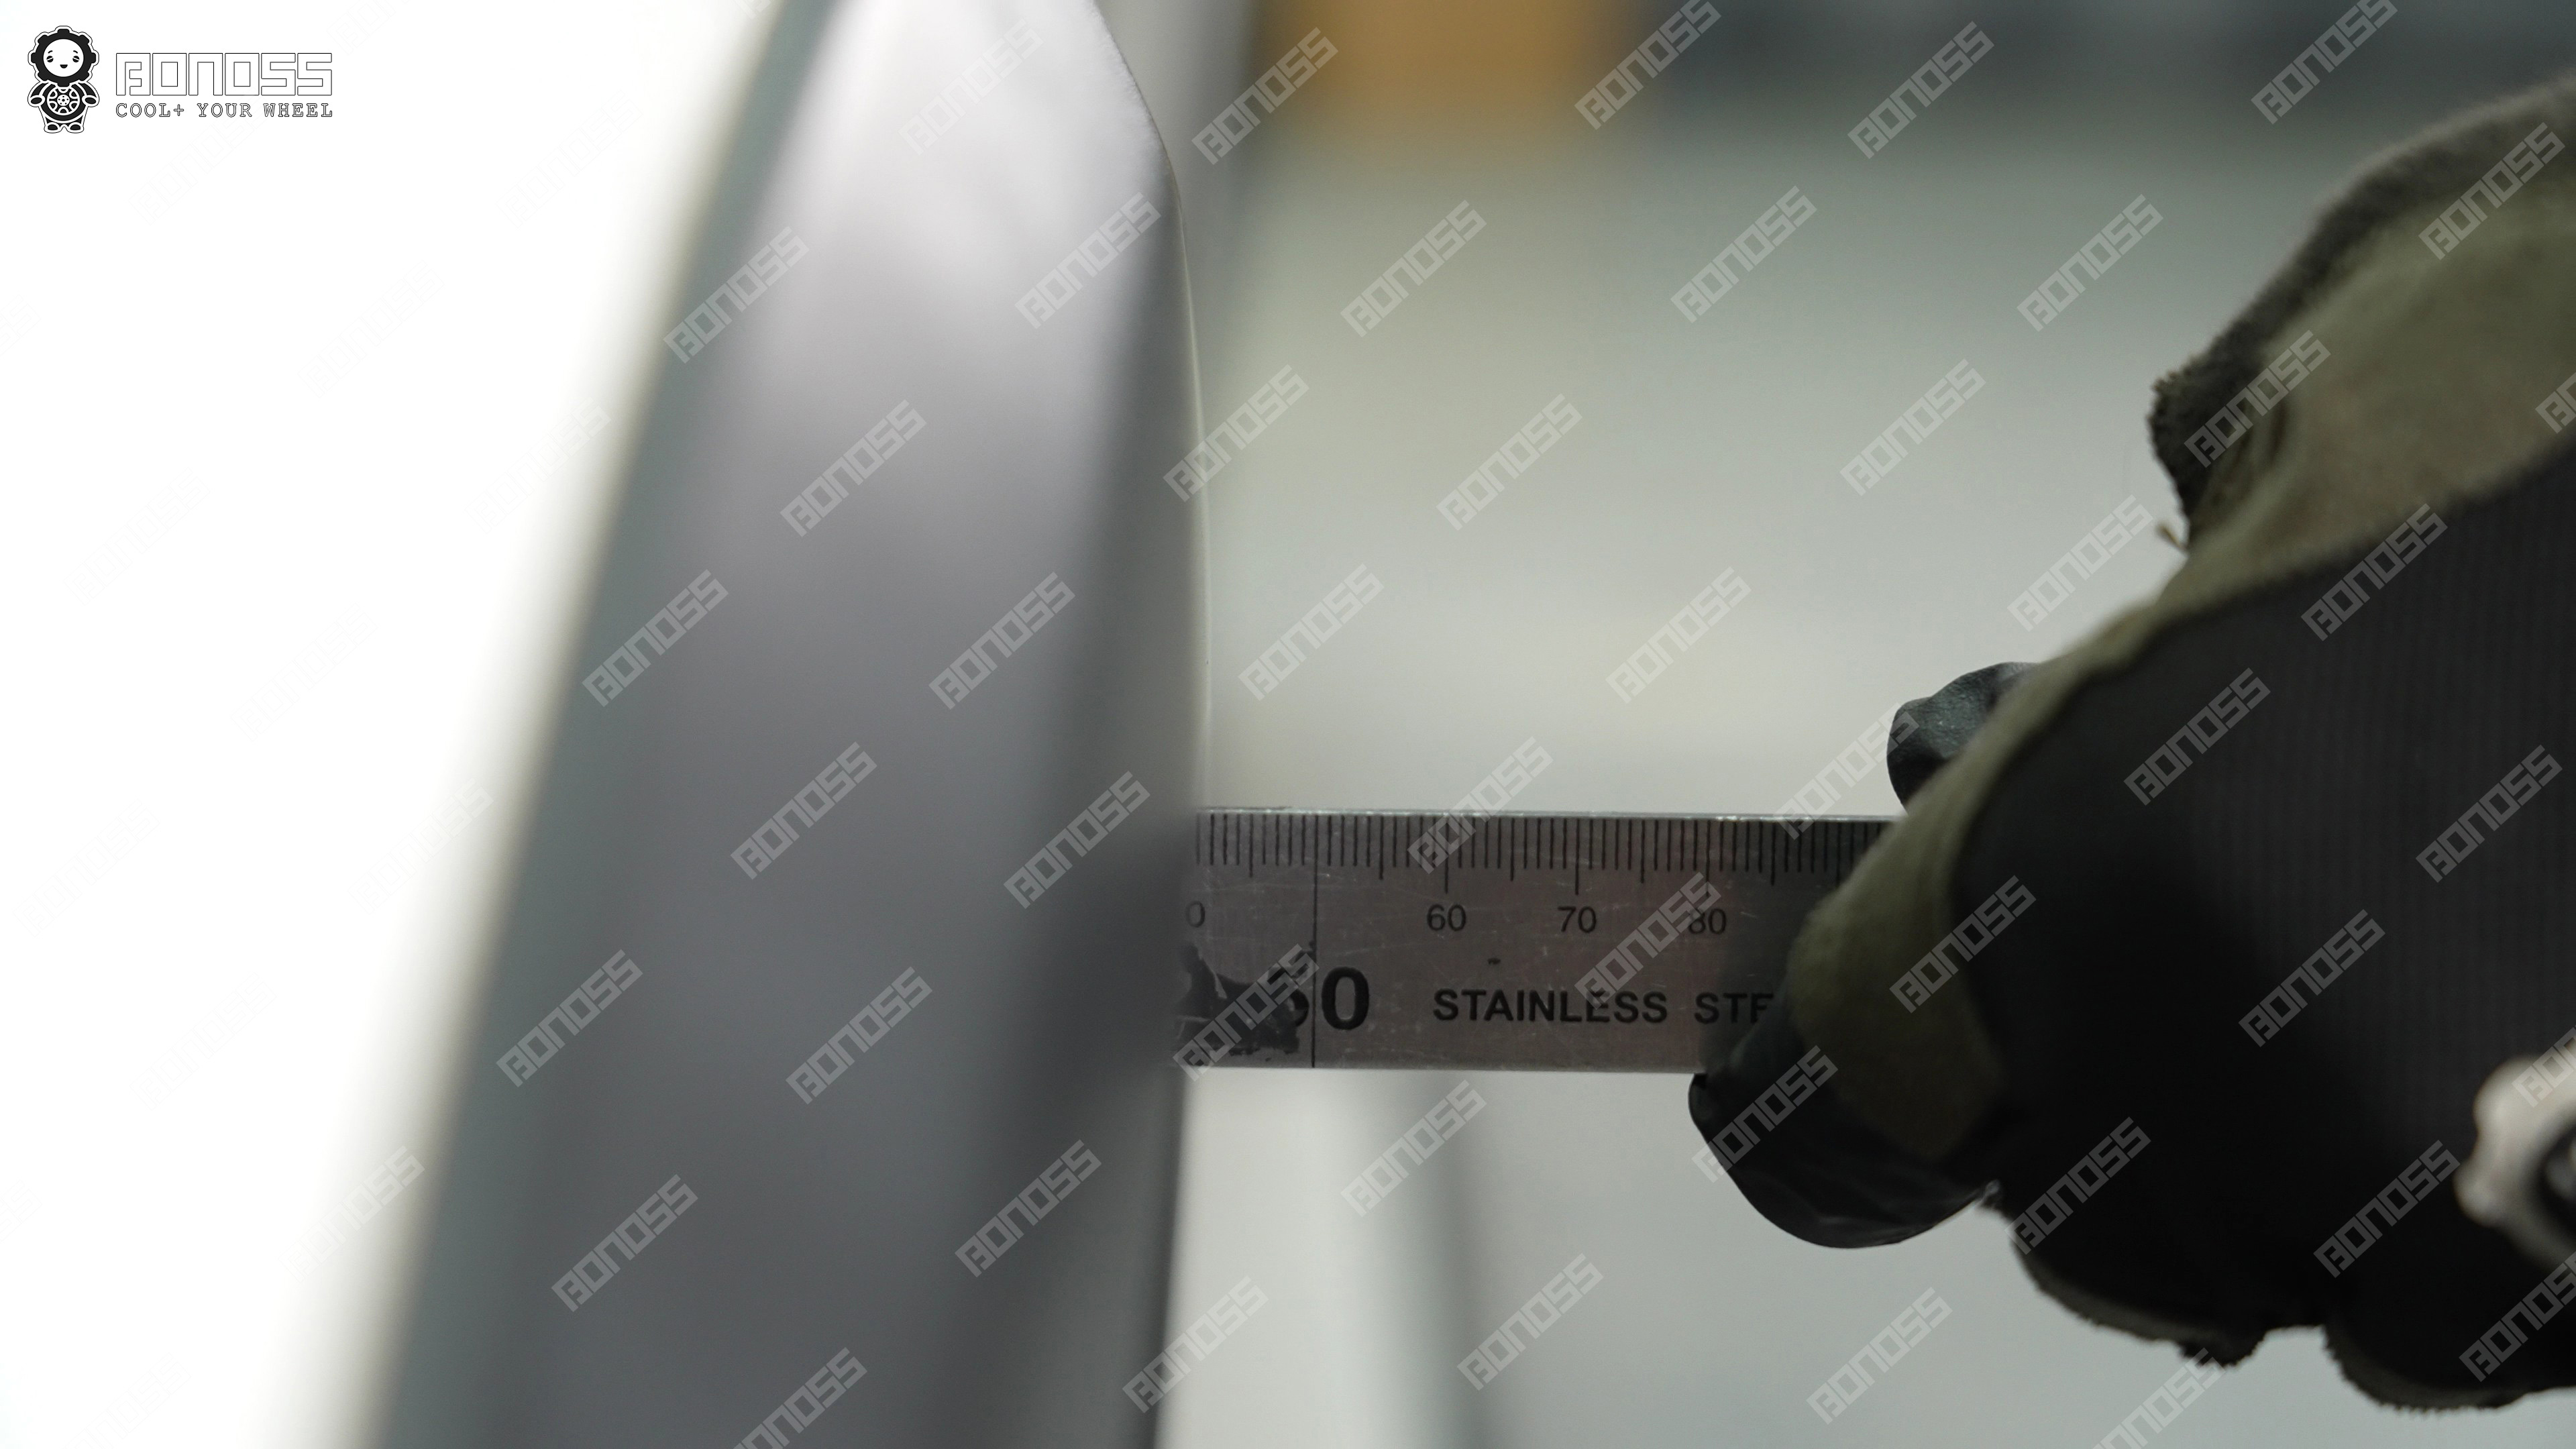
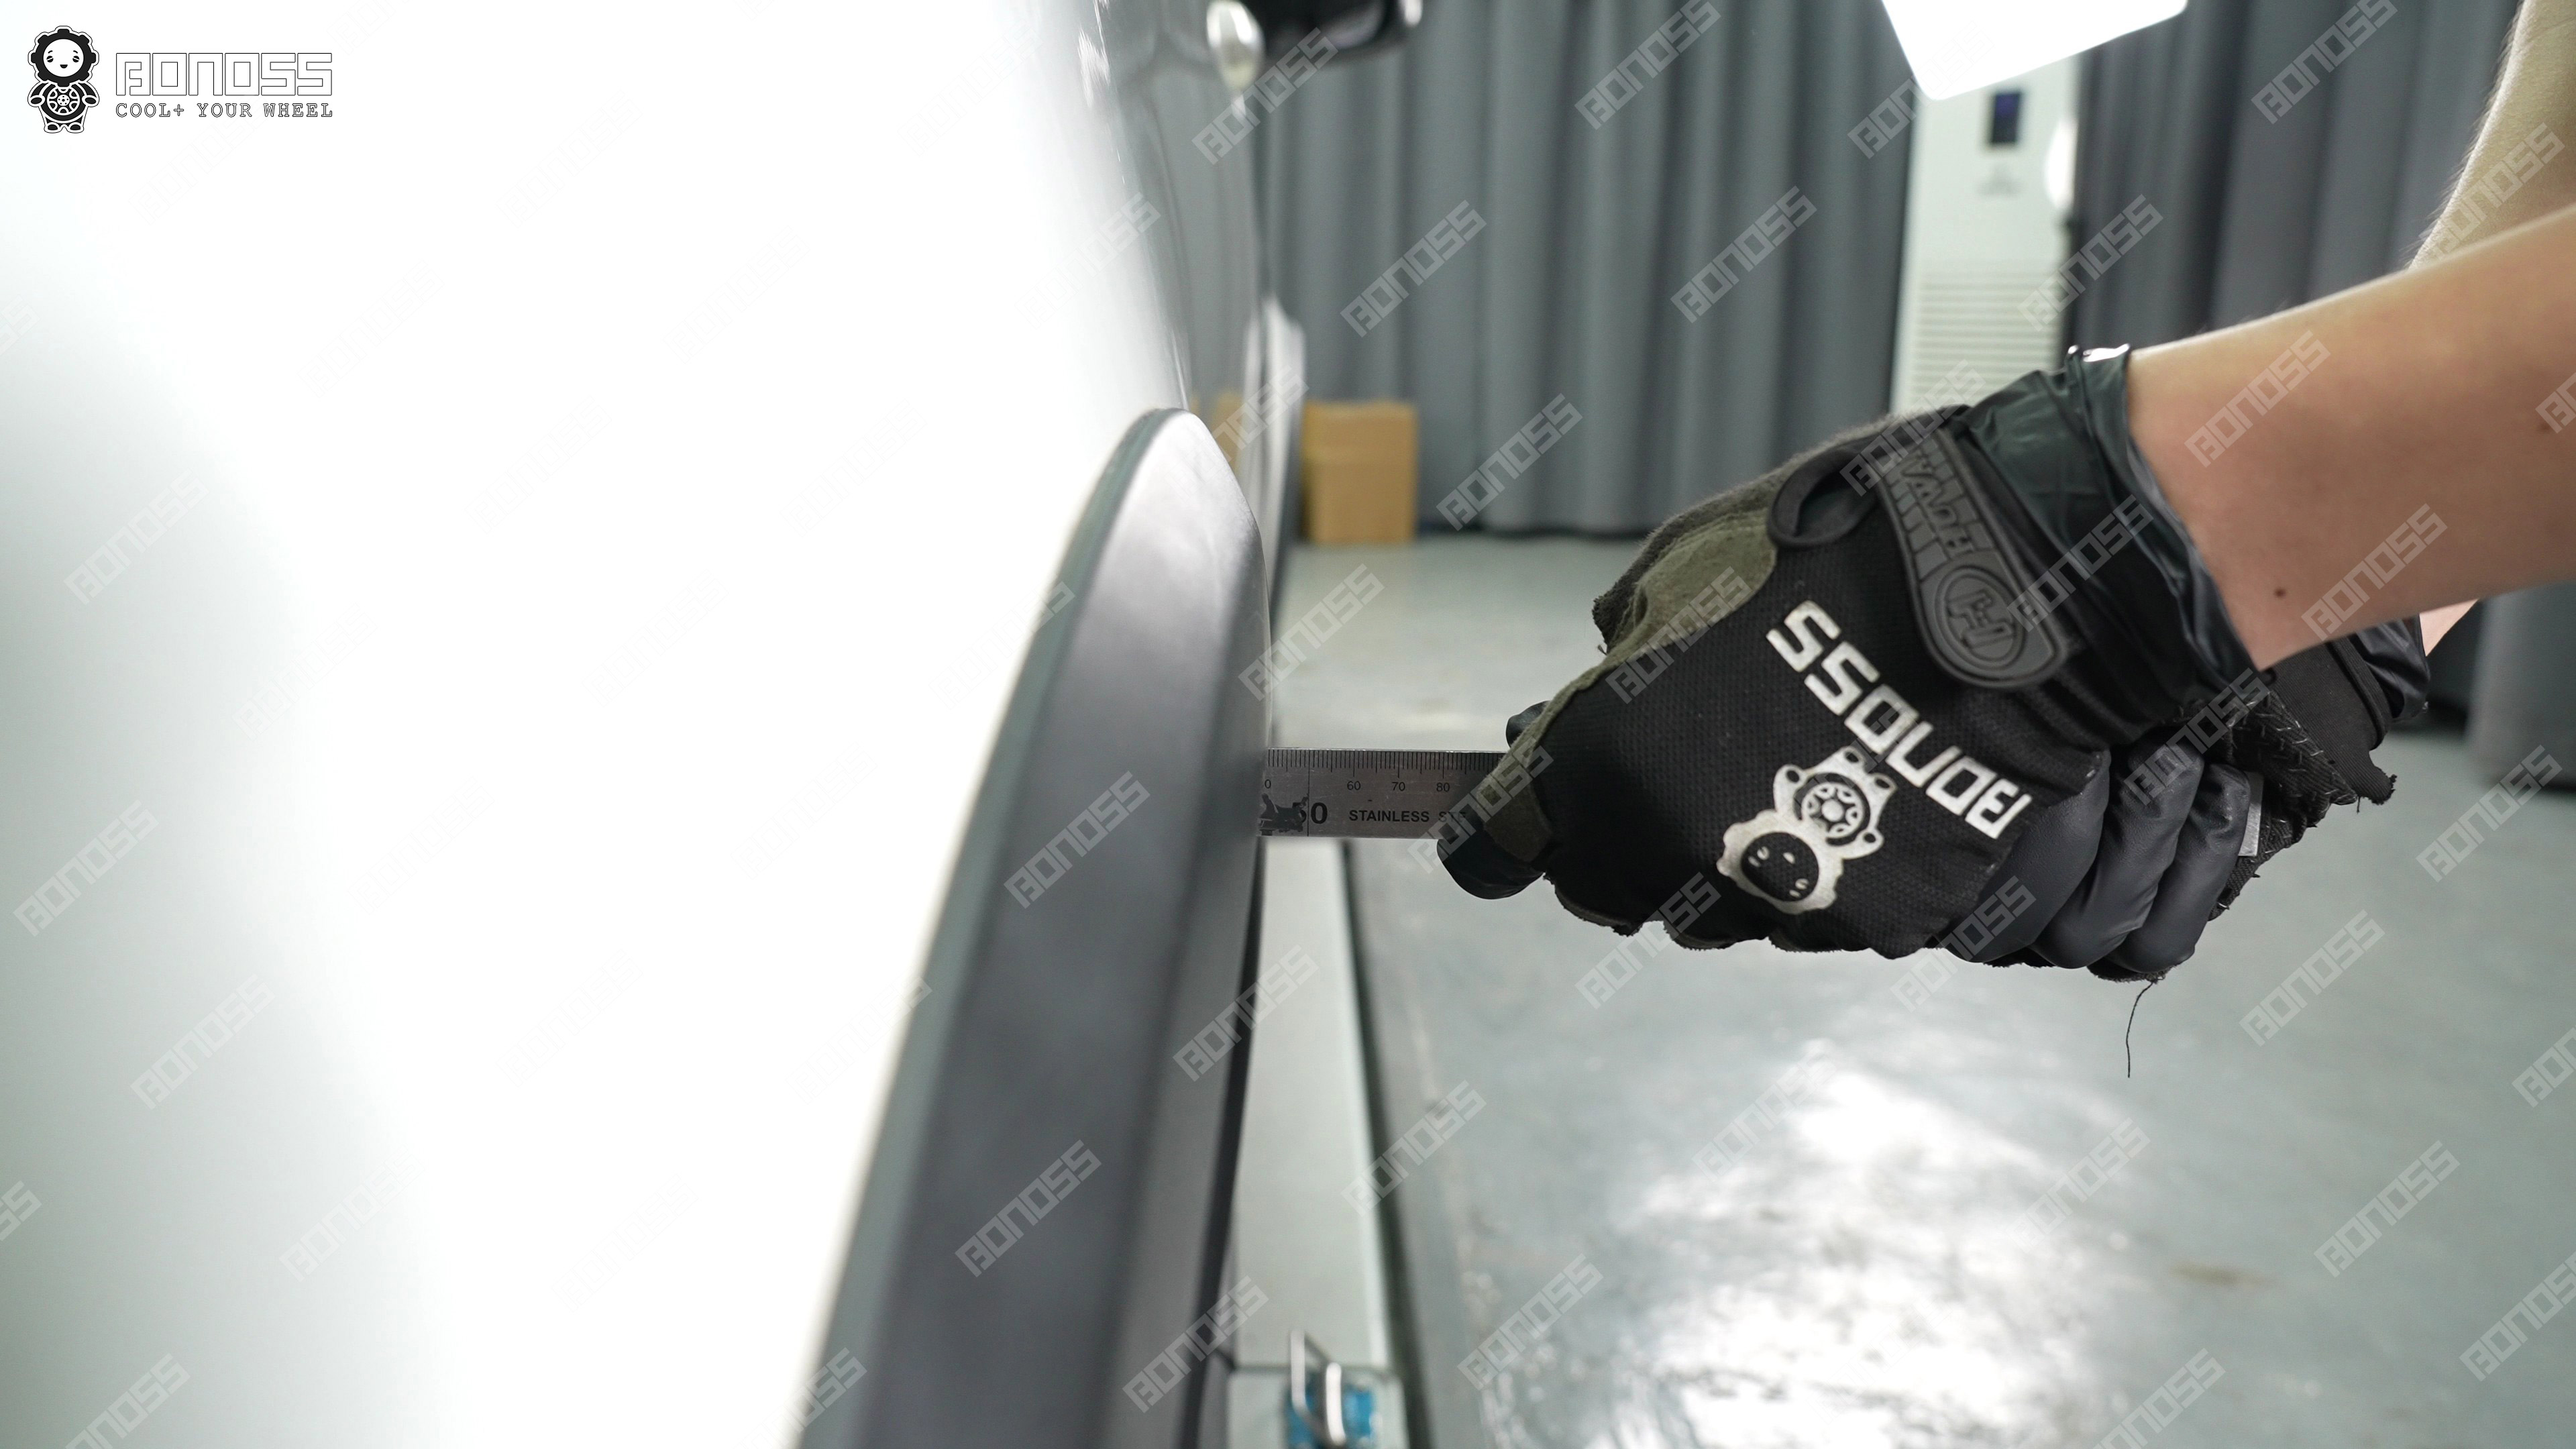
A quick re-check on the wheel center bore (54.08mm on the hub) against the spacer’s hub-centric lip, and there was no guesswork left.
9,200 Miles Later
This is the part I care about most, because install-day photos are easy. Living with them is the actual review.
Max has put about 9,200 miles on the spacers since December. No rubbing on the stock 185/60R15 tires. No shimmy. No bearing noise. Here’s him, not me:
“Honestly, I’ve got nothing bad to say about these BONOSS spacers. Put about 9,200 miles on them and no rubbing. I did notice a vibration at one time, but it turned out to be loose lug nuts—not the spacers. Retorqued the lug nuts and everything’s been fine since, zero issues. Overall, BONOSS’s service and the whole experience were excellent.”
Read that middle part again, because it’s the single most useful sentence on this page. His one vibration wasn’t the spacer. It was loose lug nuts. He re-torqued them, and the problem disappeared.
That’s also why we told him — and tell everyone — to re-torque after about 50 miles. Fresh hardware settles. One check, five minutes, and a lot of “spacer problems” simply never happen.
His other comments, in his own words:
“Quick installation. Flush stance looks great. Price was decent, but the active cooling function is what convinced me. It helps dissipate brake heat.”
“These BONOSS spacers fit well. Wider track, stable ride—no complaints. Their follow-up and customer service were on point.”
A wider track, a stable ride, and a customer who specifically calls out the heat dissipation. That’s the outcome we’re after.
FAQ
Will 30mm spacers fit a stock 2016 Suzuki Swift without trimming studs or removing dust caps?
Yes, on a stock car. We measured Max’s hub lip (9.21mm front / 9.1mm rear) and stud protrusion (22.12mm front / 22.45mm rear) and confirmed a 30mm bolt-on spacer clears the dust caps and keeps the factory studs below the mounting face. No cutting, no cap removal.
Do I need longer wheel studs for bolt-on spacers?
No. Bolt-on spacers attach to your existing studs and carry their own studs. You only run into trouble if your factory studs poke past the spacer face — at 30mm on this car, they don’t. For the full explanation, see do you have to trim studs for wheel spacers.
What torque should I use on 2016 Suzuki Swift wheel spacers?
We used 113 Nm to tighten the wheel spacers, matching the BONOSS recommendation.
Do I need to re-torque after installing spacers?
Yes — re-torque after roughly 50 miles. Hardware settles after a short drive, and a quick re-check is the cheapest insurance against the “vibration” that’s almost always just loose lug nuts.
Will 30mm spacers rub with the stock 185/60R15 tires?
On this car, no. The stock offset is ET+45, so 30mm brings you to ET+15, which sits flush without pushing the tire into the fender. Max reports zero rubbing over 9,200 miles.
Are BONOSS spacers worth more than cheap universal spacers?
That’s your call, but here’s the difference: hub-centric fit, forged construction, active cooling grooves, and ISO 12.9 studs with ISO 10 nuts. A spacer that fits your hub exactly and moves heat is doing something a flat universal plate doesn’t.
The Bottom Line
A 2016 Suzuki Swift doesn’t need new wheels to stop looking tucked-in. A set of 30mm forged wheel spacers moved Max’s track out, fixed the stance to a flush ET+15, and cost a fraction of new offset wheels — with the added bonus of active cooling and properly graded hardware.
And the thing that scared him most never happened. No dust caps removed. No studs cut. An hour in the bay, a 50-mile re-torque, and 9,200 trouble-free miles.
If you’re sitting on a stock Swift and asking yourself the same two questions Max did, the answer is the same one we gave him: measure first, buy the spacer that actually fits your hub, and torque it right. The rest takes care of itself.
Ready to do yours? Grab the exact set we used — BONOSS forged wheel spacers for the Suzuki Swift— and if you’re unsure about sizing, email us your hub and stud measurements before you order. We’d rather answer three emails than ship you the wrong spacer.

About Daisy Harris
Daisy Harris has worked for 6 years at BONOSS as an automotive technician, installing and testing wheel spacers, wheel nuts, and wheel bolts. She has personally installed and verified more than 200 wheel-spacer setups across sport sedans, SUVs, and EVs. Her installation guides and reviews are built on real installs, measured clearances, and long-term wear notes — not on spec sheets.