Fidel Watson’s 2023 Tesla Model X Standard Range — the Dual Motor AWD version — had the same complaint most stock Teslas get: the wheels sat so deep inside the fenders that a $100,000 EV looked like it was standing on tiptoe. This Tesla Model X 20mm spacers before and after case study documents how that got fixed without touching the factory wheels: 20mm hub-centric spacers front and rear, $263.98 in parts, $22 in labor, installed on August 28, 2023. Since then the car has covered 31,427 miles with zero vibrations, zero rubbing, and zero weird noises — Fidel’s words, not ours.
He considered three routes before committing, measured everything twice, and kept receipts on all of it. What follows is the full record: the gaps, the math, the torque specs, and the same-angle photos that show what changed.
Spec Quick Reference
| Item | Value |
|---|---|
| Vehicle | 2023 Tesla Model X Standard Range (Dual Motor AWD) |
| Bolt Pattern (PCD) | 5x120mm |
| Center bore | 64.1mm |
| Thread size | M14x1.5, conical seat |
| Stock wheels | Front 265/45ZR20 ET40 / Rear 275/45ZR20 ET35 |
| Spacer setup | 20mm front / 20mm rear, forged 6061-T6 aluminum |
| Effective offset after install | Front ET+20 / Rear ET+15 |
| Spacer-to-hub torque (BONOSS nuts) | 140 Nm (103.5 ft-lb), per BONOSS installation instructions |
| Wheel-to-spacer torque (OEM nuts) | 175 Nm (129 ft-lb), per the owner’s manual |
One torque note before anything else: there are two separate fastening steps here, and each has its own value. Tightening the BONOSS-supplied nuts that hold the spacer to the hub uses the BONOSS figure. Tightening the factory lug nuts that hold the wheel to the spacer uses the factory figure. Use ONE torque value per step, follow the source tied to that value, and don’t blend the two.
The Pain Point: Great Car, Awkward Stance
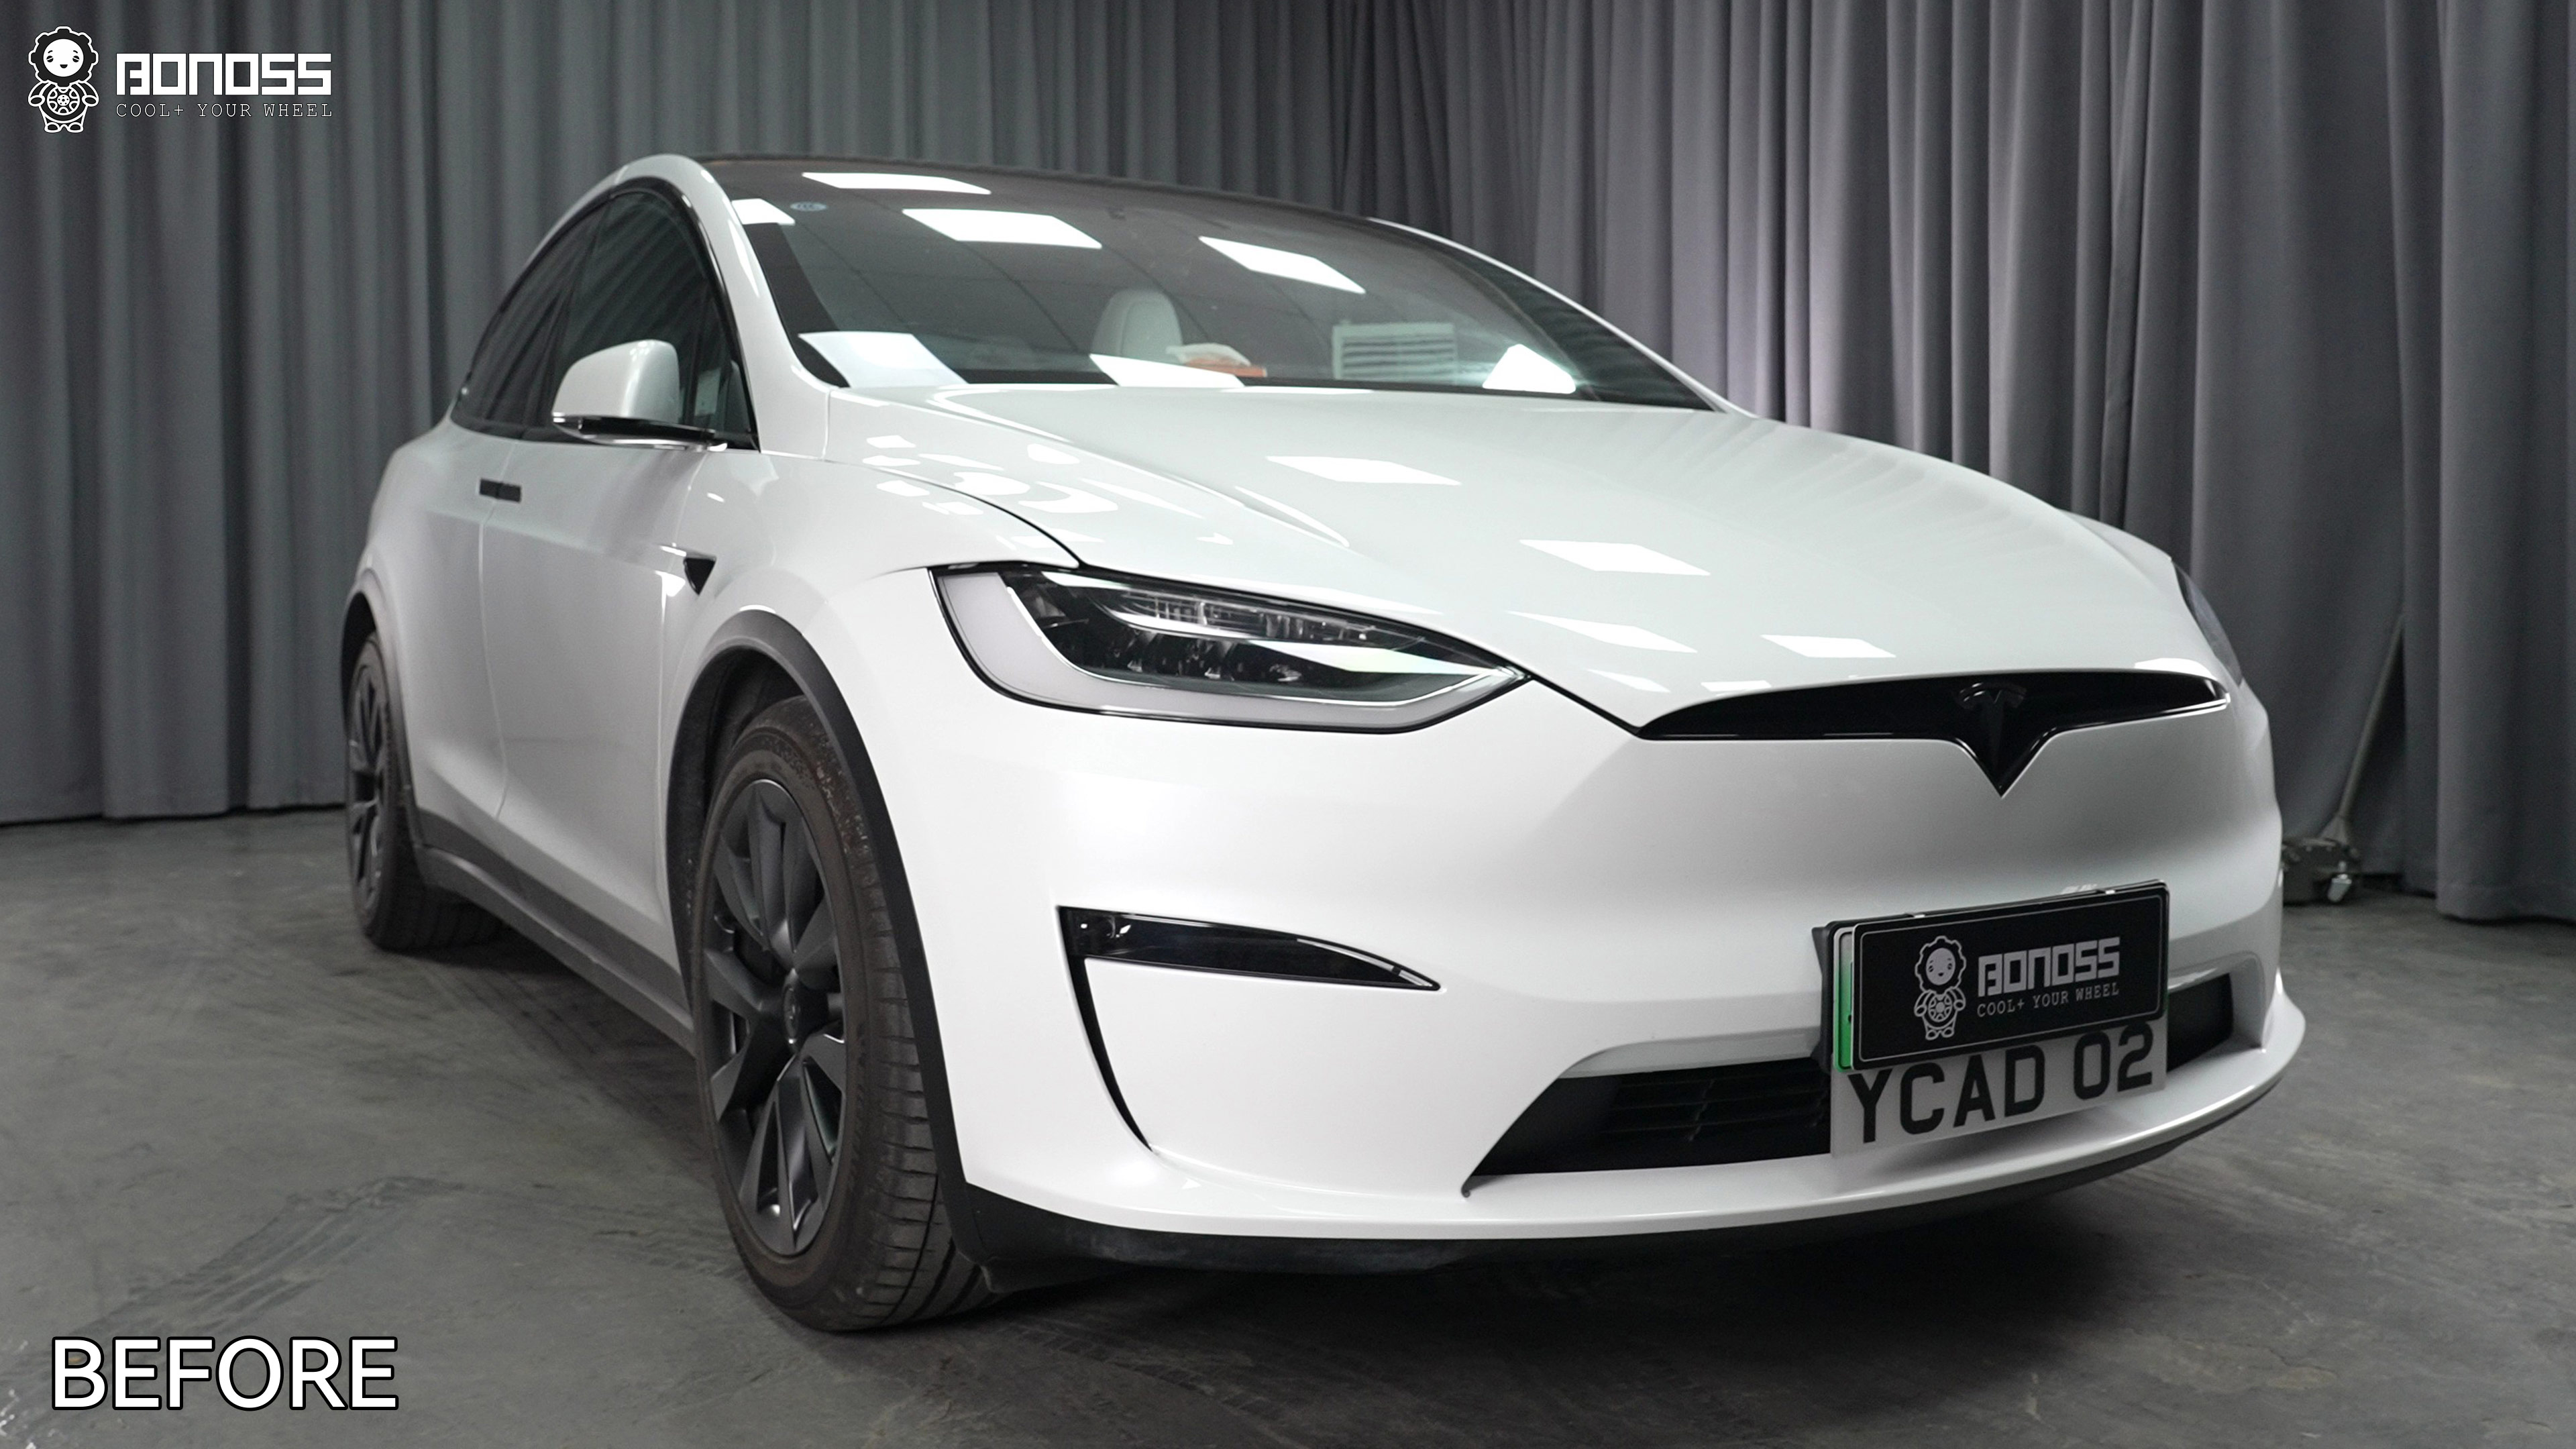
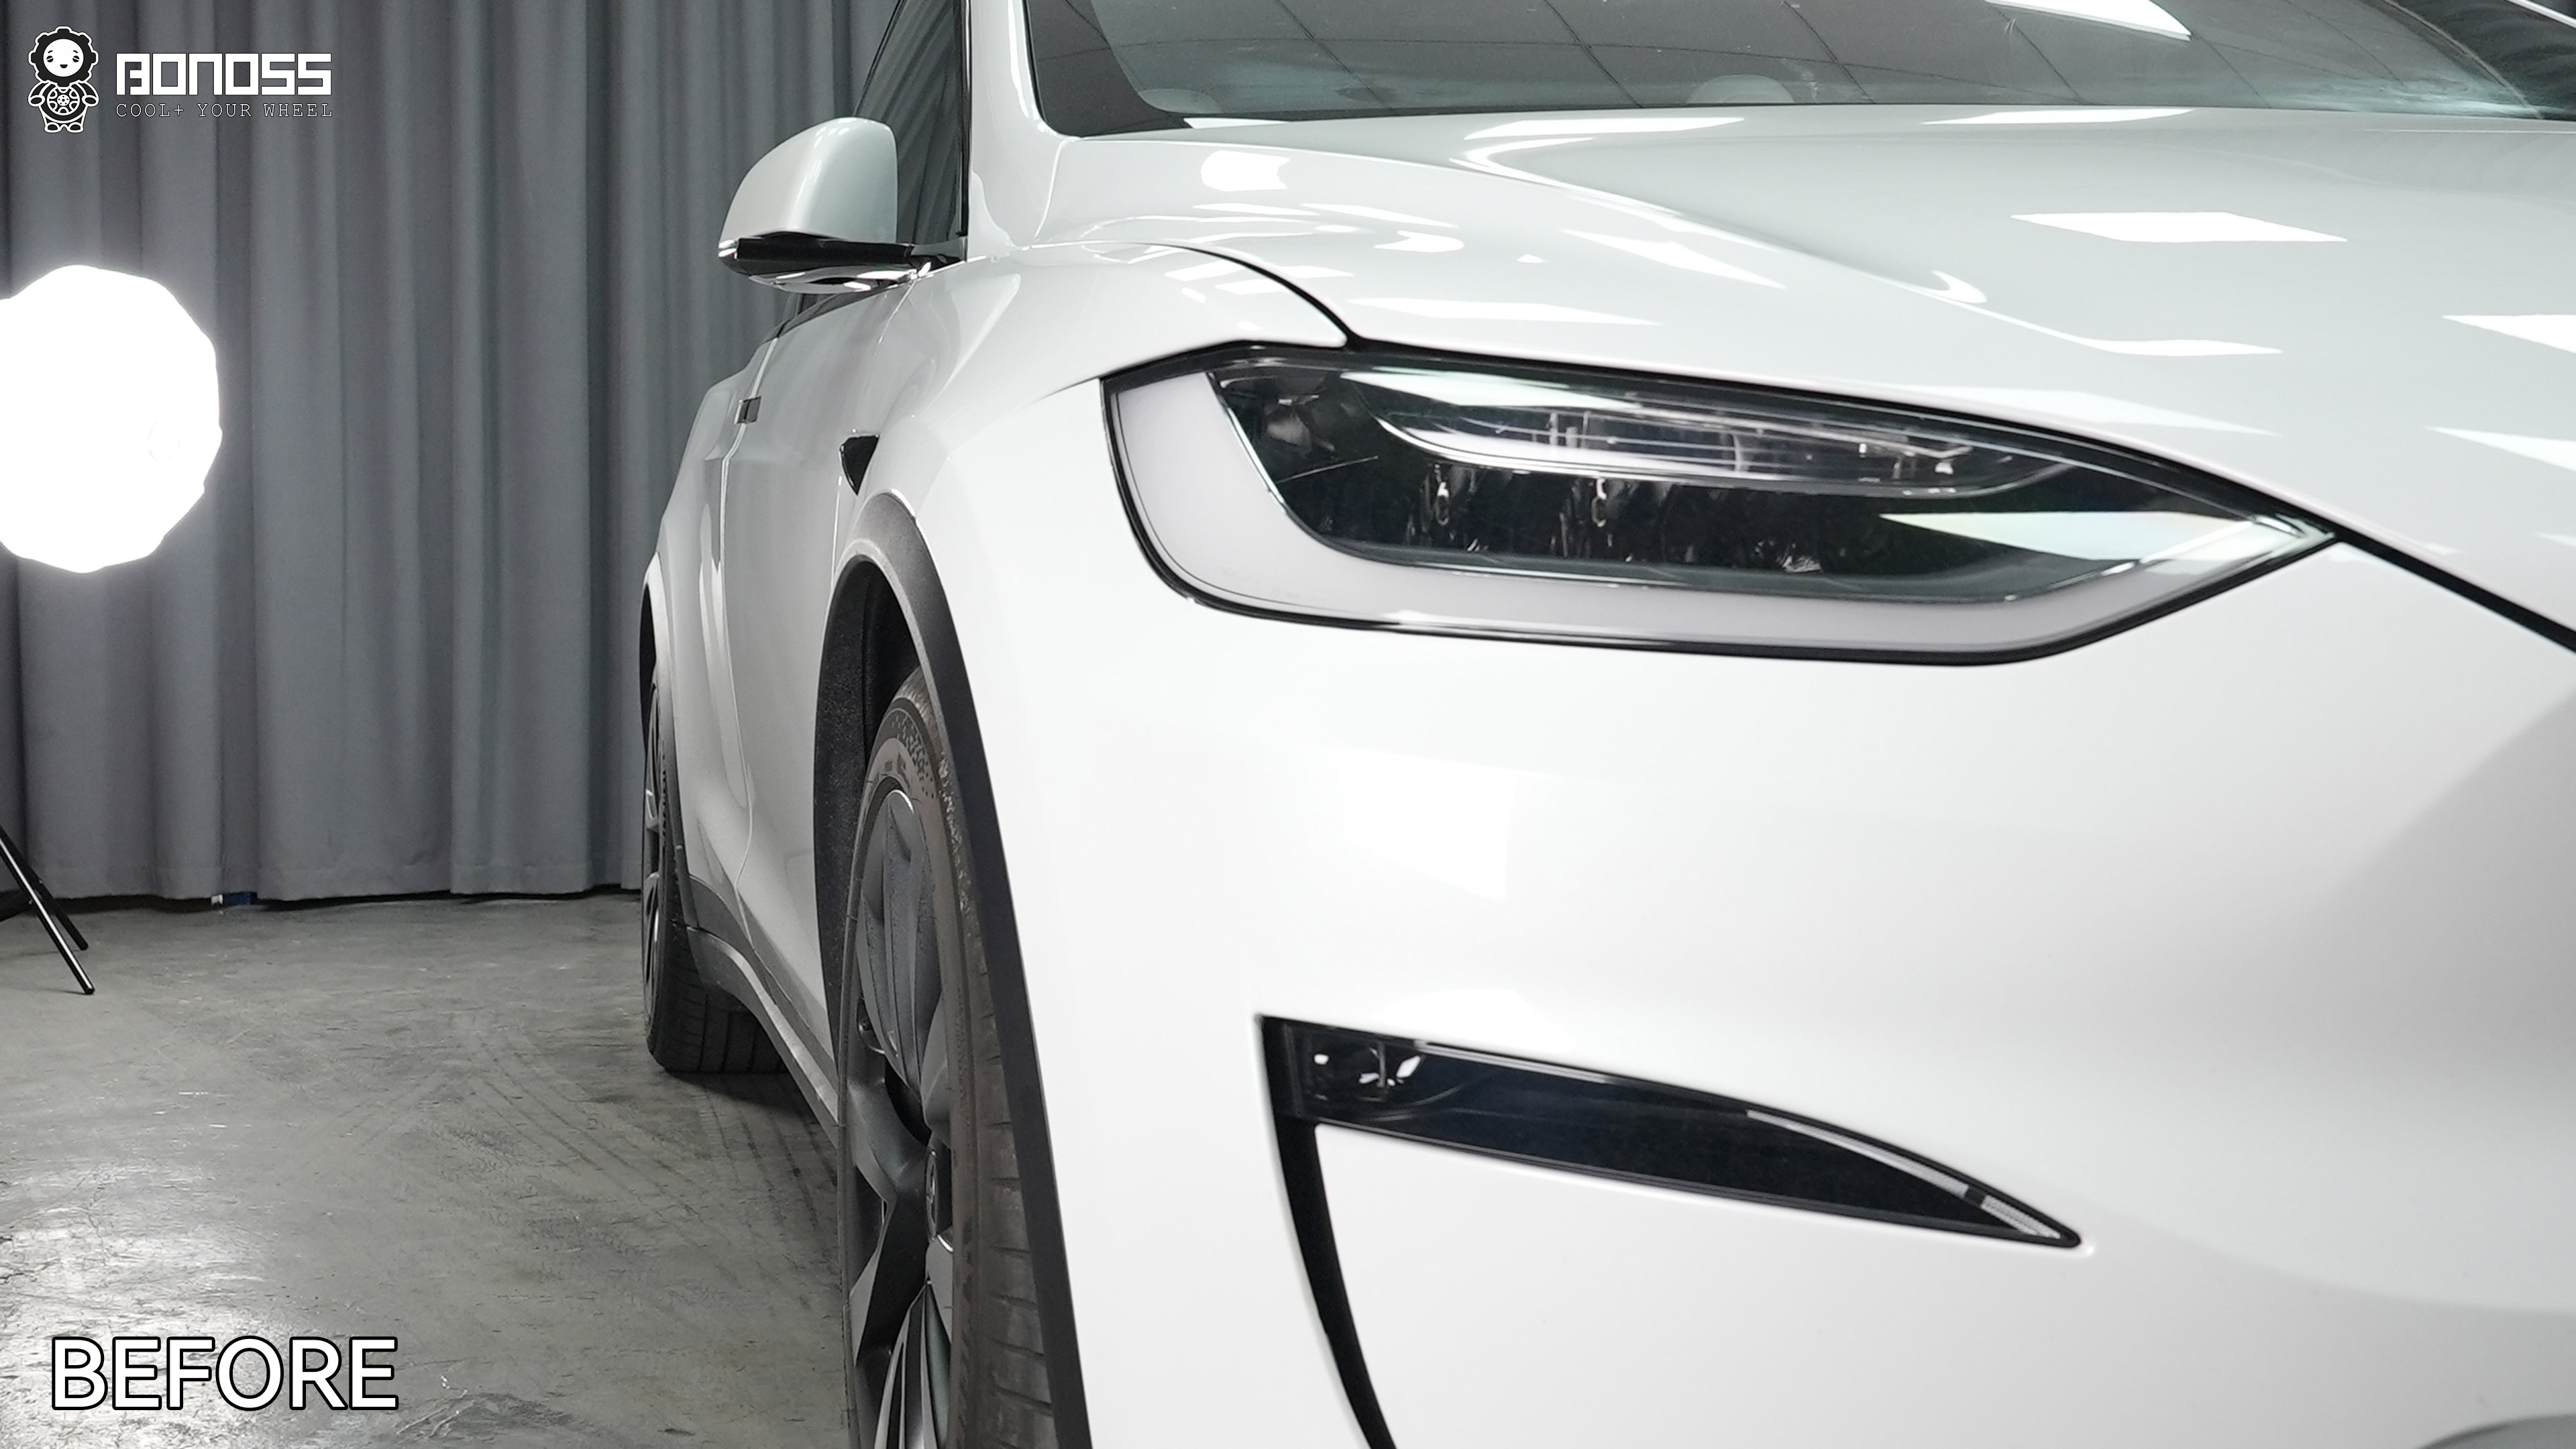
The photo above is Fidel’s car as delivered: a left-front three-quarter view where you can clearly see daylight between the tire sidewall and the fender edge. The 2023 Model X runs a front 265/45ZR20 at ET40 and a rear 275/45ZR20 at ET35 — sensible numbers for range and suspension geometry, but visually the wheels retreat into the arches.
Fidel’s take was blunt: the car looked unfinished. Not broken, not unsafe — just timid. On an SUV with falcon-wing doors and that much road presence, tucked wheels read like a suit with sleeves an inch too long.
It bugged him most in parking lots. Walk up from the front quarter and the fenders overhang the tires by a visible margin; the car’s hips promise width the wheels never deliver. Every Model X in the row wore the same apologetic stance, which somehow made it worse — this wasn’t a defect on his car, it was a factory decision every owner was stuck with. Tesla tunes stock offsets for range and suspension geometry, not for curb appeal, and on a tall EV crossover the visual cost of that decision is hard to unsee once you’ve noticed it.
Three Ways Out: New Wheels, Spacers, or Do Nothing
Before spending a dollar, he laid out the options. Here’s the honest version of that comparison:
| Route | Cost | Result | Effort / Risk |
|---|---|---|---|
| Lower-offset aftermarket wheels | $1,600+ for a set, plus tires | Flush stance, new look | High spend; stock wheels become garage clutter |
| Hub-centric wheel spacers | $263.98 parts + $22 labor | Flush stance, keeps OEM wheels | One afternoon, torque wrench required |
| Live with it | $0 | Nothing changes | Free, but the annoyance stays |
Aftermarket wheels solve the stance but punish the wallet, and he genuinely liked the factory design. Doing nothing costs nothing — except having to look at the car every day. Spacers landed in the middle: real money saved, real result delivered.
Two practical points pushed the comparison further. First, resale: bolt-on spacers come off in an afternoon and return the car to bone stock, while selling a modified car on aftermarket wheels invites questions no seller enjoys. Second, tires. His 265/45ZR20 and 275/45ZR20 rubber had thousands of miles left; a wheel swap would have meant either paying to remount tires or eating the remaining tread. Keeping the OEM wheels kept that value in the car.
Why 20mm Spacers Won the Decision
The logic was simple. He wanted the OEM wheels to stay, the fender line filled, and the bill to stay under three hundred dollars. Only one option did all three.
The math made it harder to argue with. Four forged 6061-T6 spacers cost $263.98; labor came to $22. All-in, $285.98 — roughly what a single mid-range aftermarket wheel costs before you buy three more, plus tires, plus mounting. And because the spacers are hub-centric and bolt-on, the modification is fully reversible: nothing on the car was cut, drilled, or permanently altered.
There was also a fallback on the table: a more conservative 15mm front / 20mm rear combination for drivers who prefer to keep the tire a touch further inside the arch. We measured first and then Fidel chose the full flush route — but if you’re reading this with a tape measure in hand, know that both setups were verified on this exact car. More on that verification below.
How the Thickness Was Actually Calculated
This is where most spacer content online goes vague. “Just run 20mm, bro” is not a measurement. On this car, the crew used a high-accuracy ruler against the fender lip to record how far each wheel sat inside the arch before recommending anything.
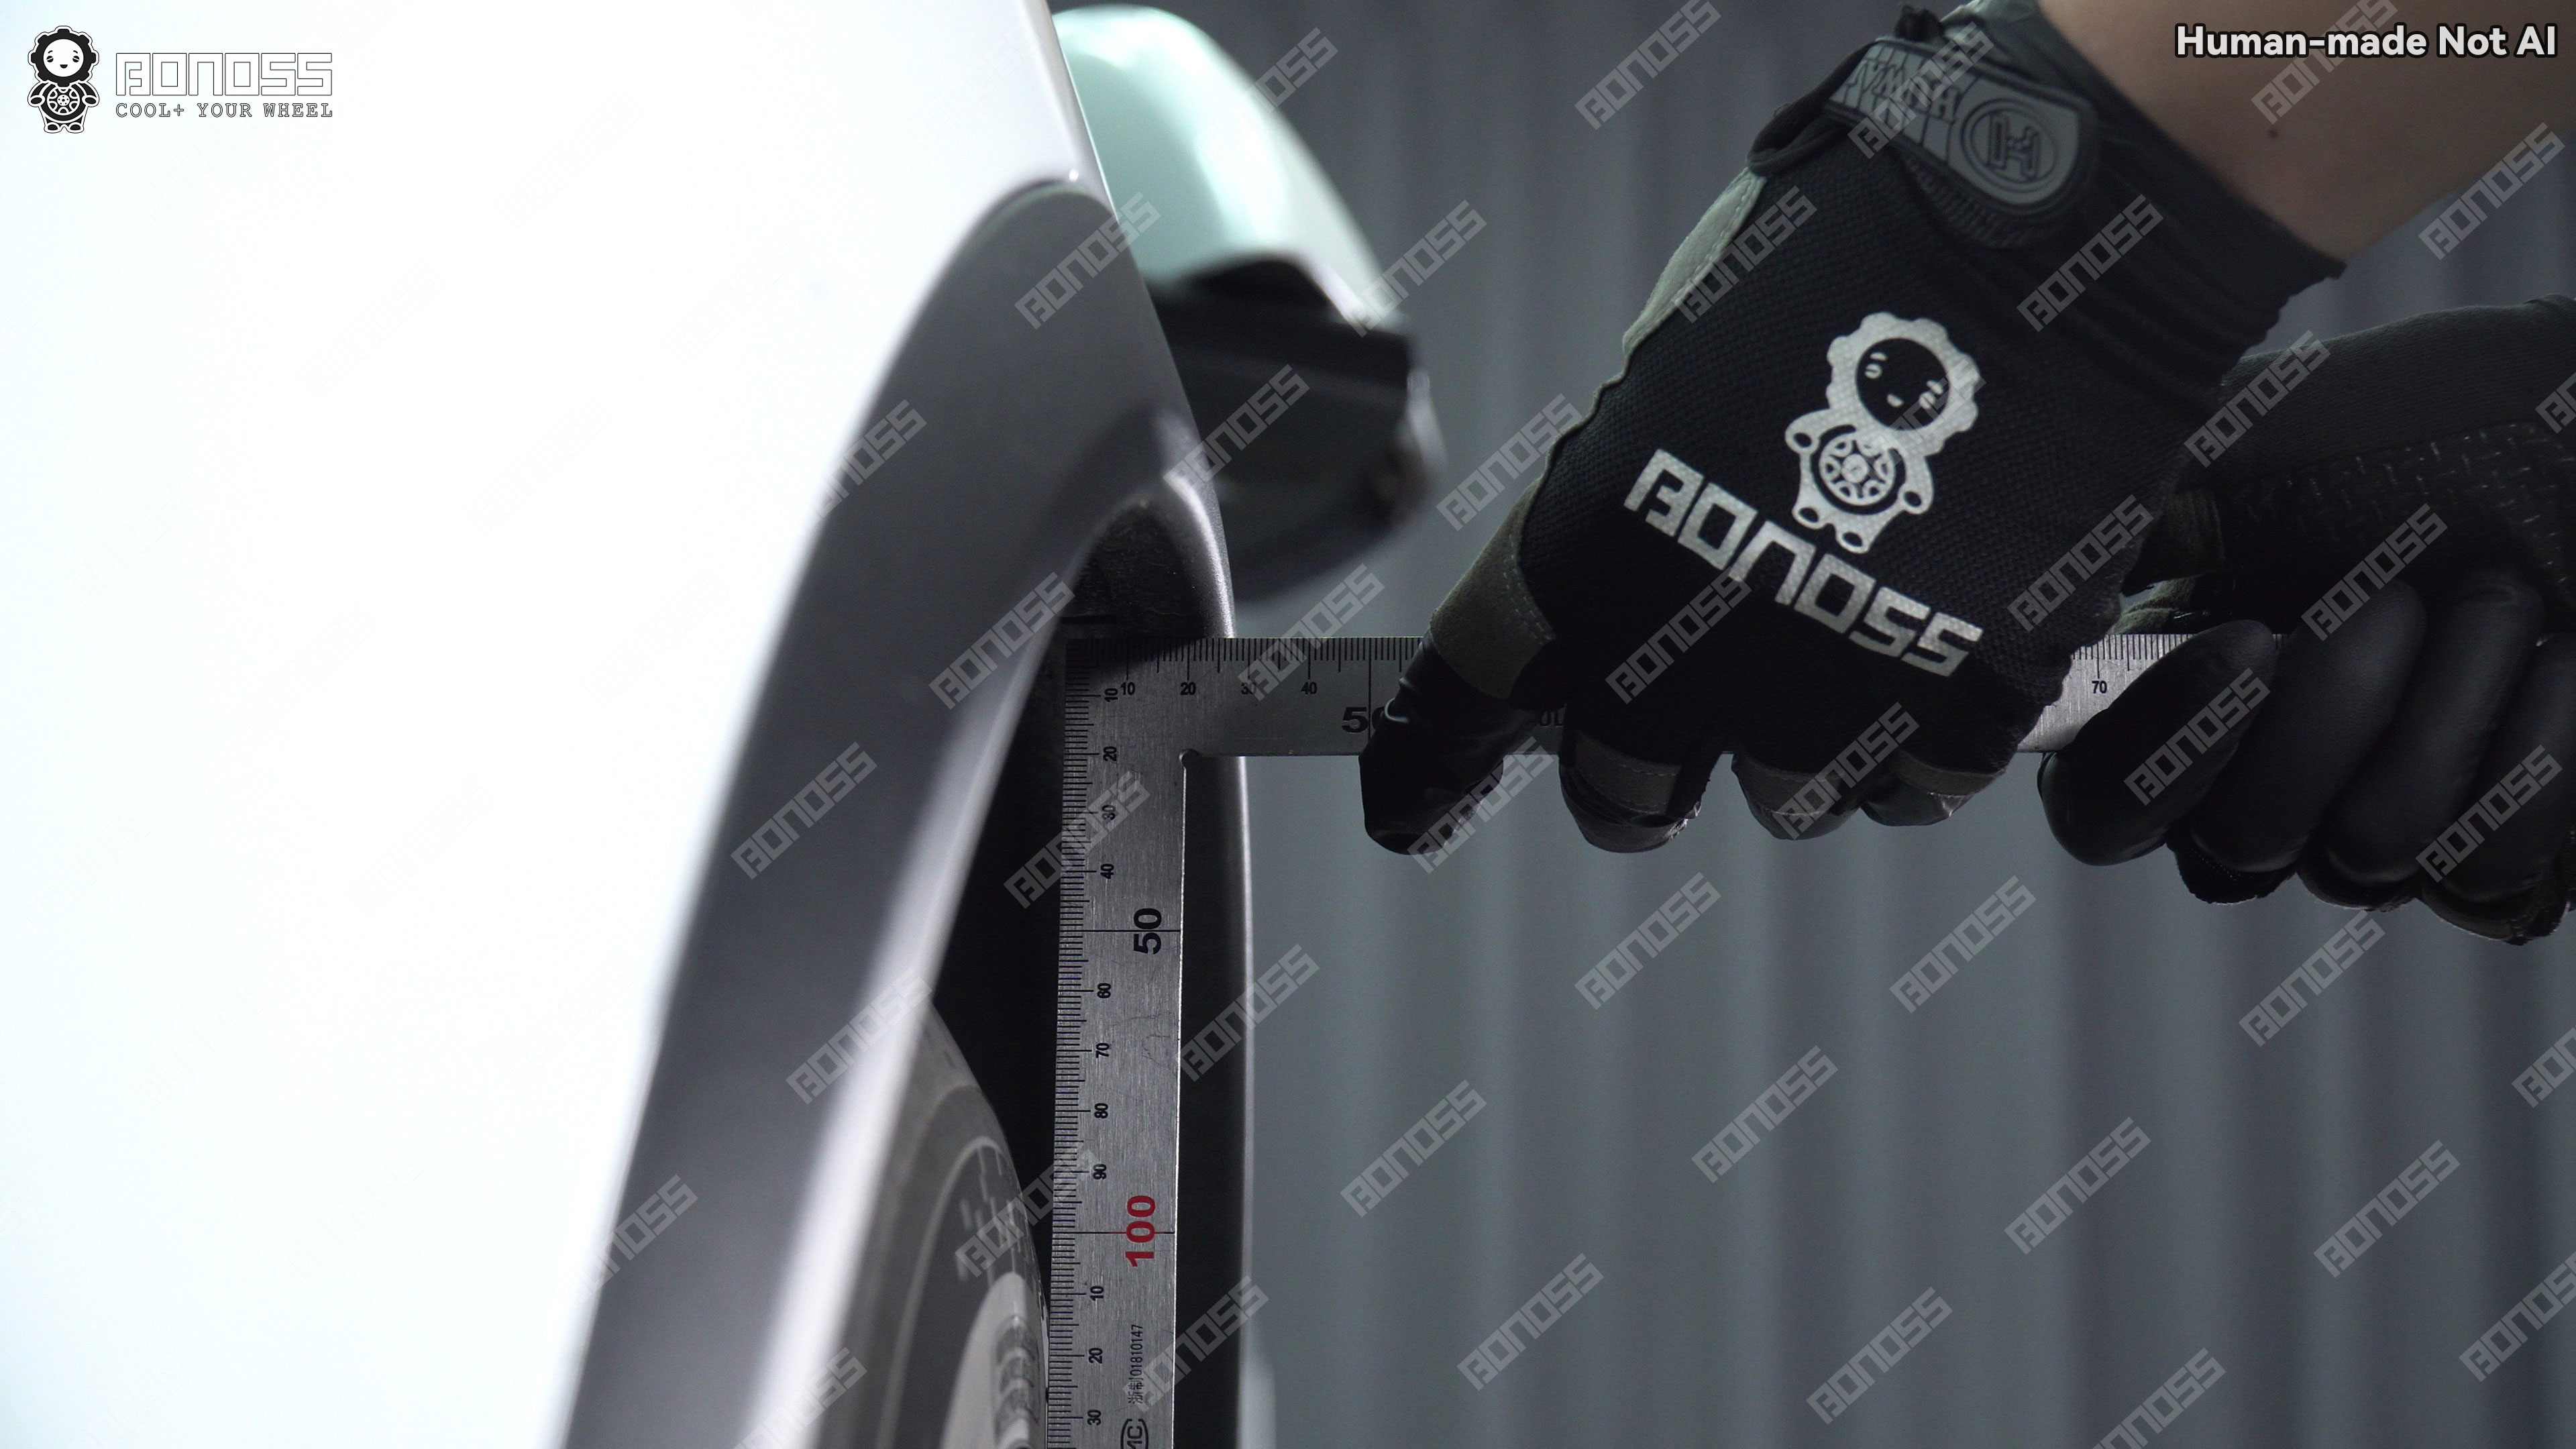
At the right front, the ruler showed the gap that a 20mm spacer would consume almost exactly. Same procedure at the rear.
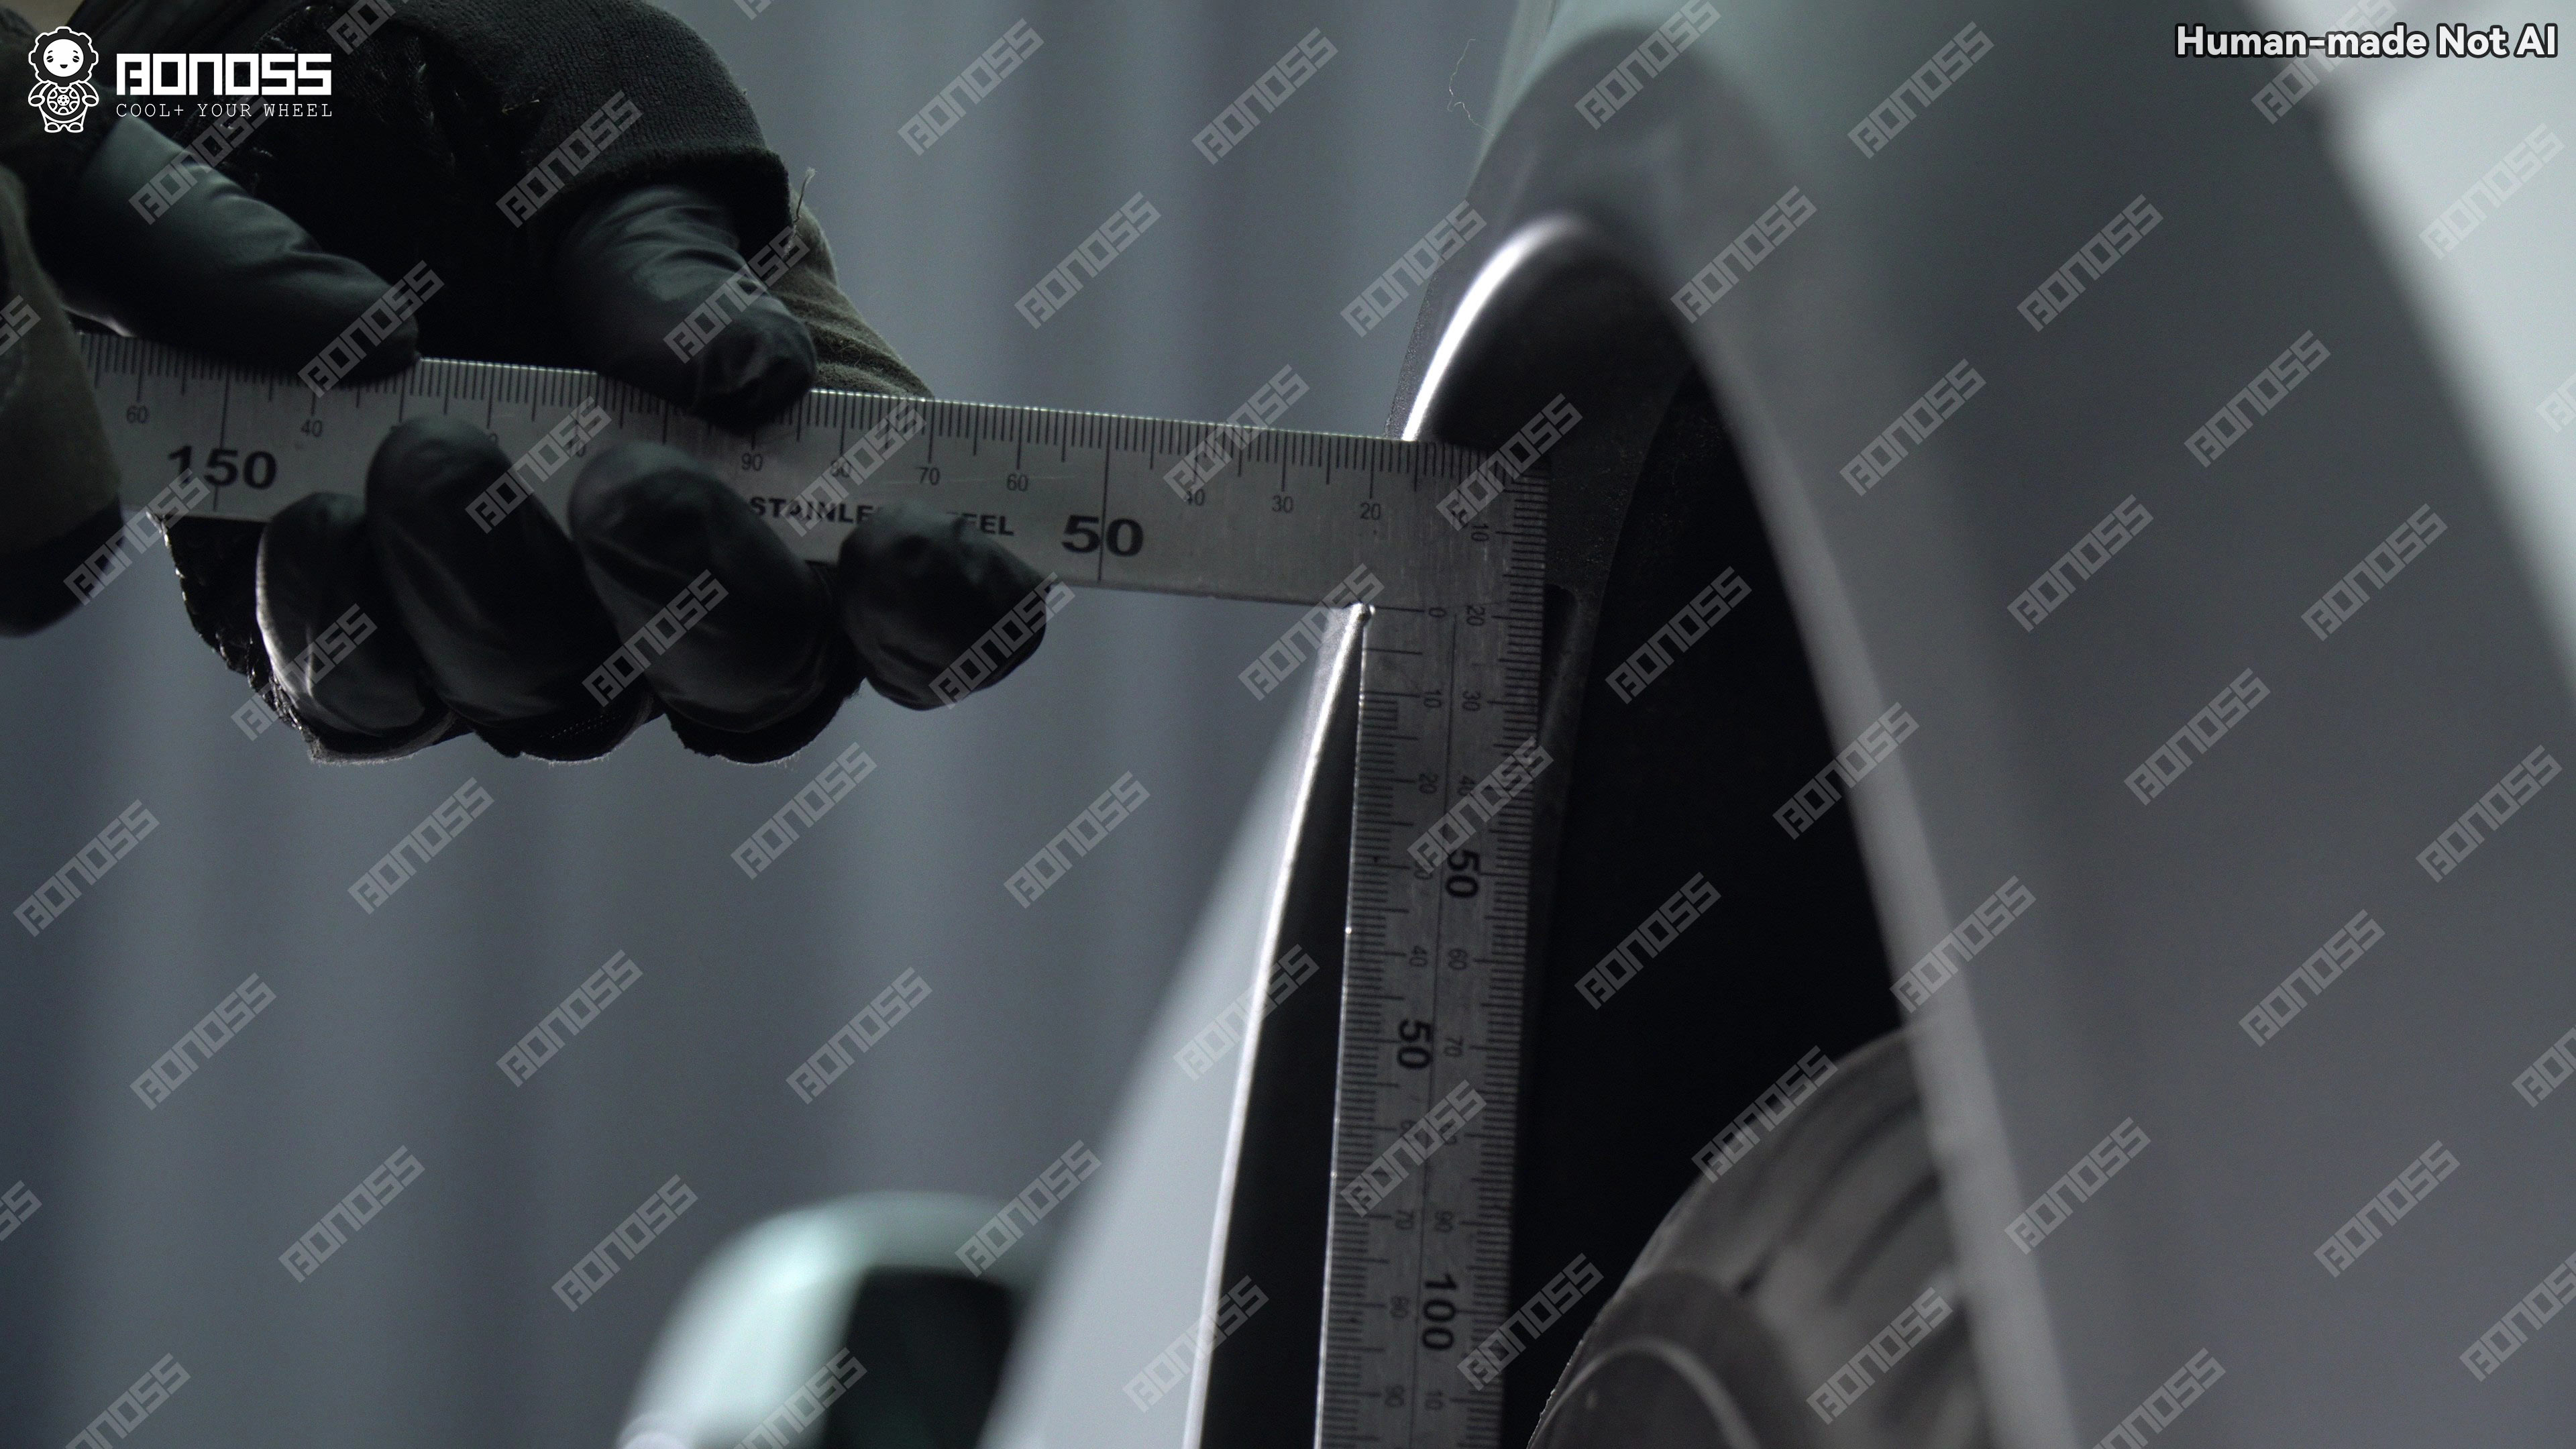
The left rear reading confirmed 20mm as the flush number back there too.
Front 20mm, rear 20mm: no guessing, no stacking, no “send it and see.” The effective offsets moved from ET40 to ET+20 up front and from ET35 to ET+15 at the rear — enough to bring the wheel faces level with the fender edges while keeping the tires inside the bodywork at full steering lock.
The Measurements That Made It Safe
Thickness gets the glory, but hub fitment does the work. Three different bore-related numbers get thrown around with this car, and all three were measured on the actual vehicle and wheels — not pulled from a forum.
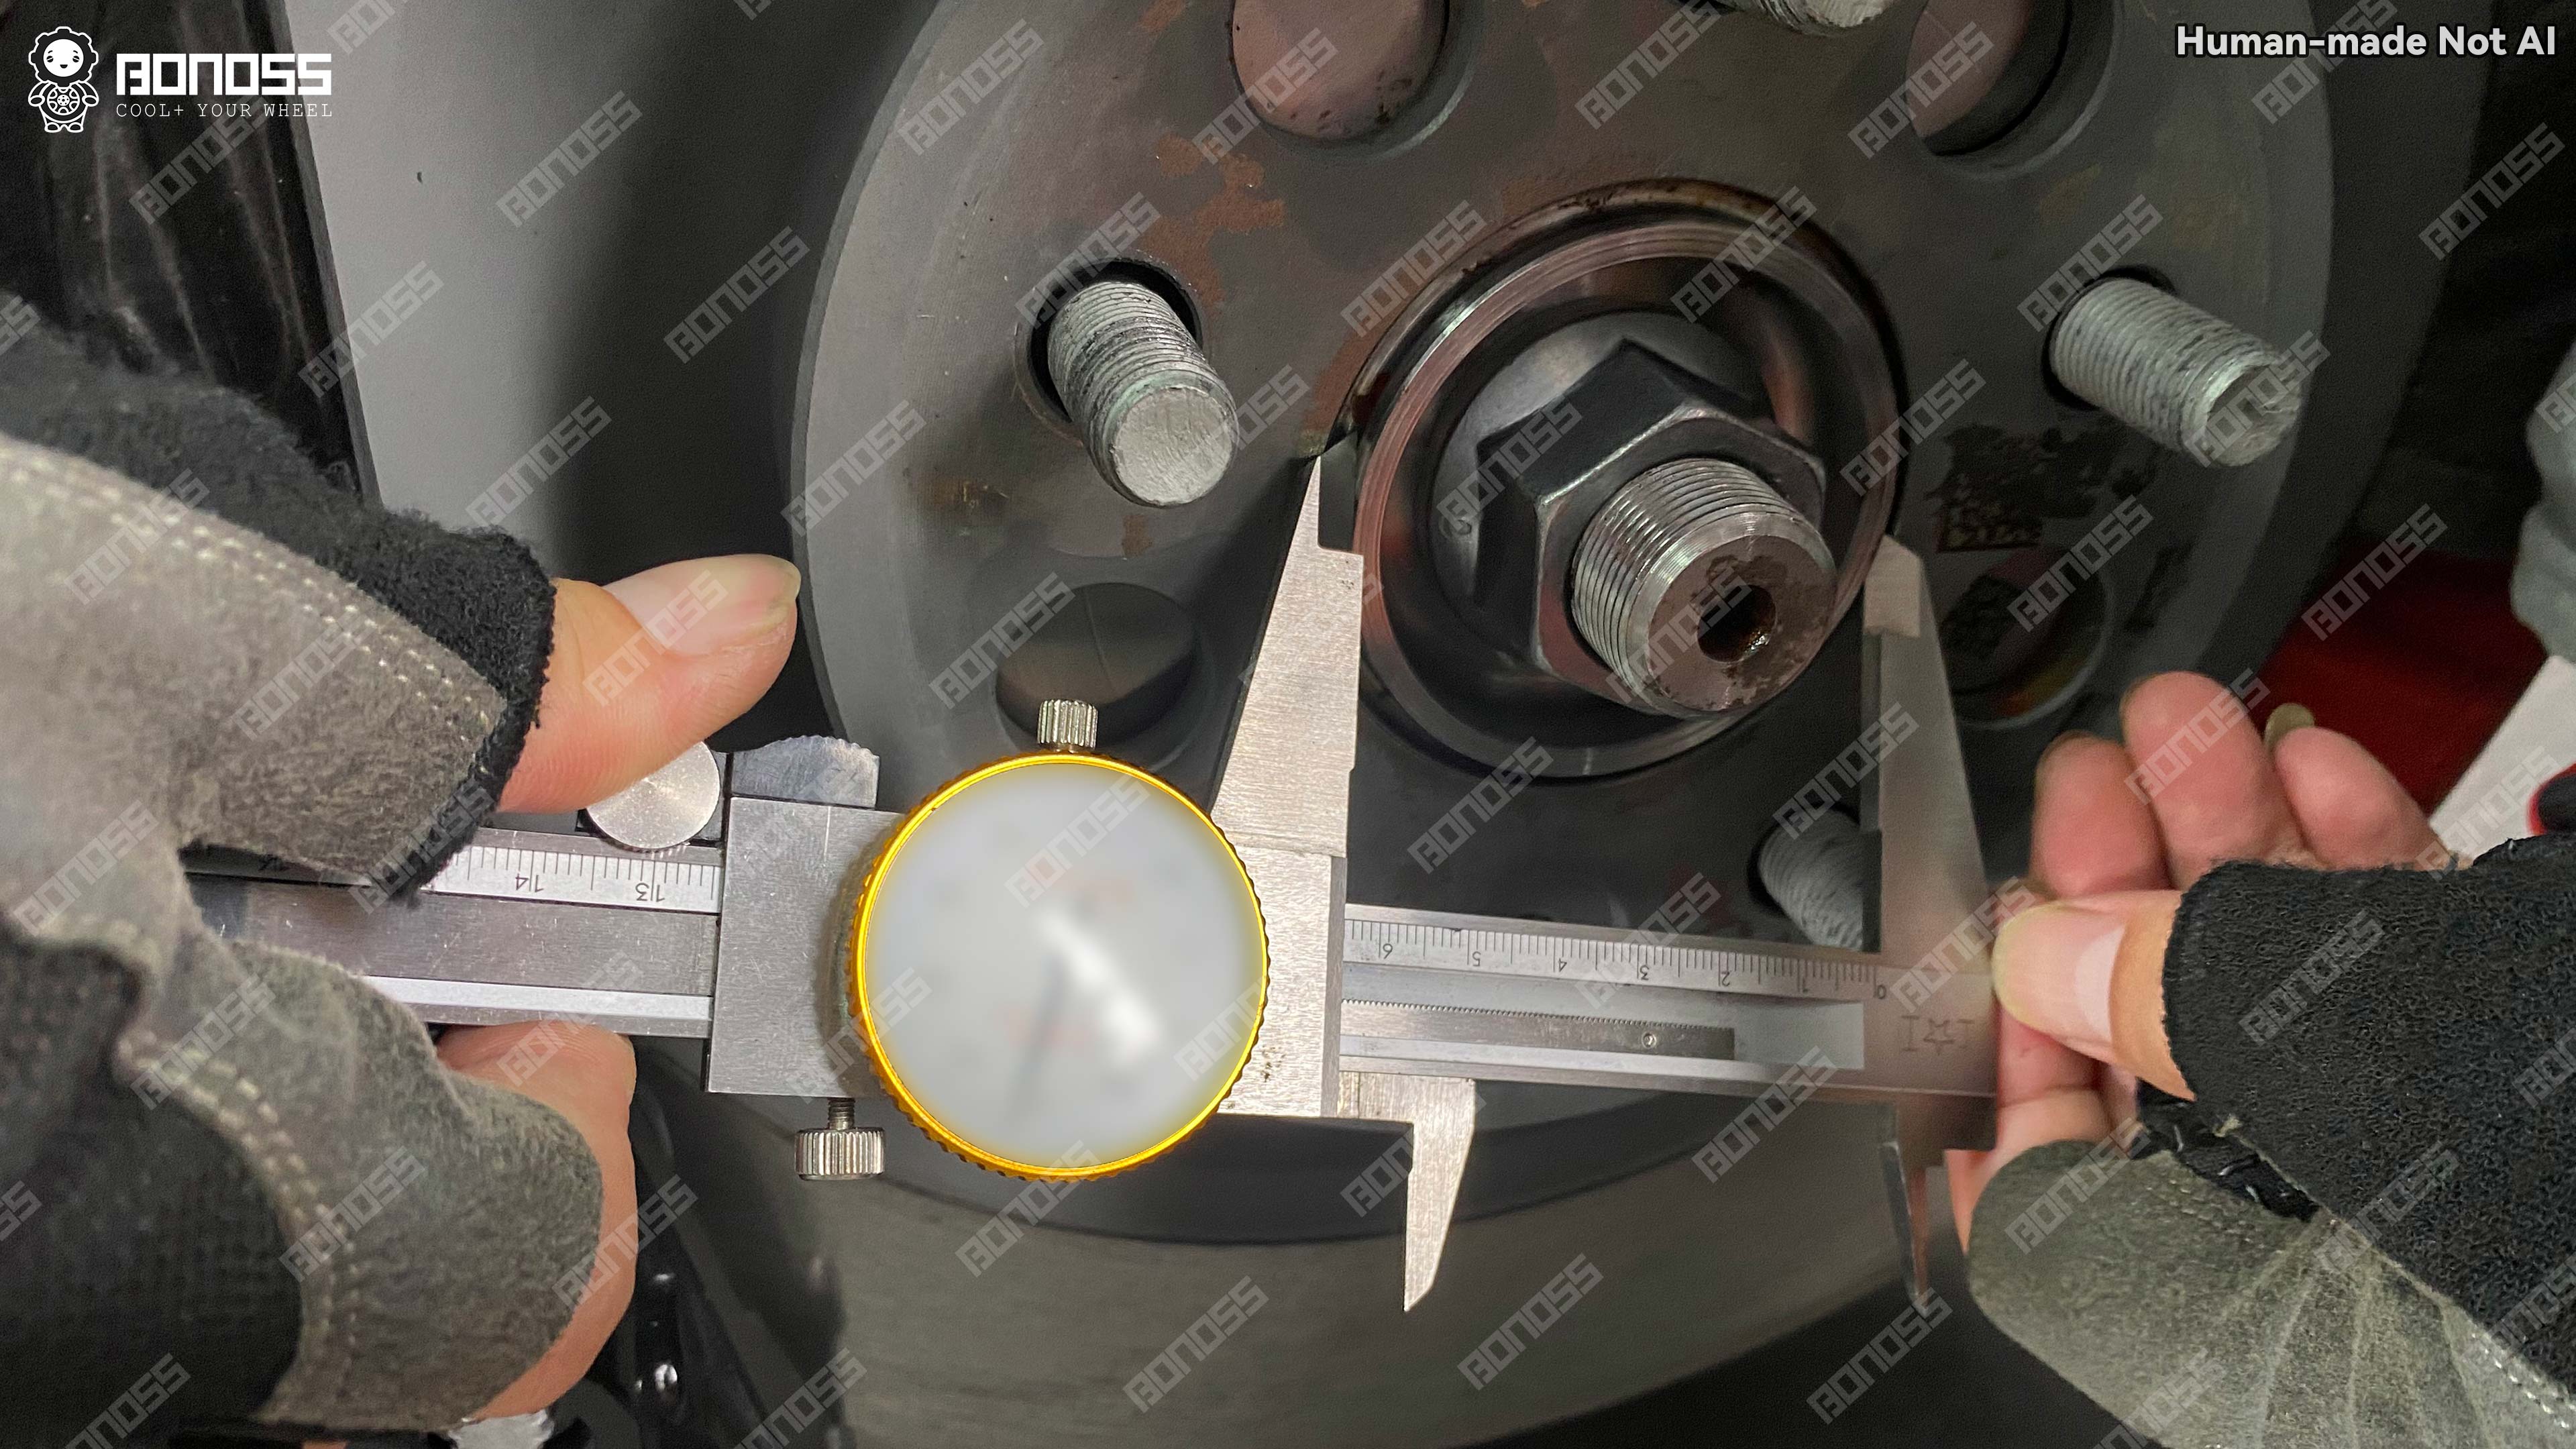
A vernier caliper across the axle hub register read 64.03mm. That’s the vehicle-side dimension the spacer’s inner bore has to seat on.
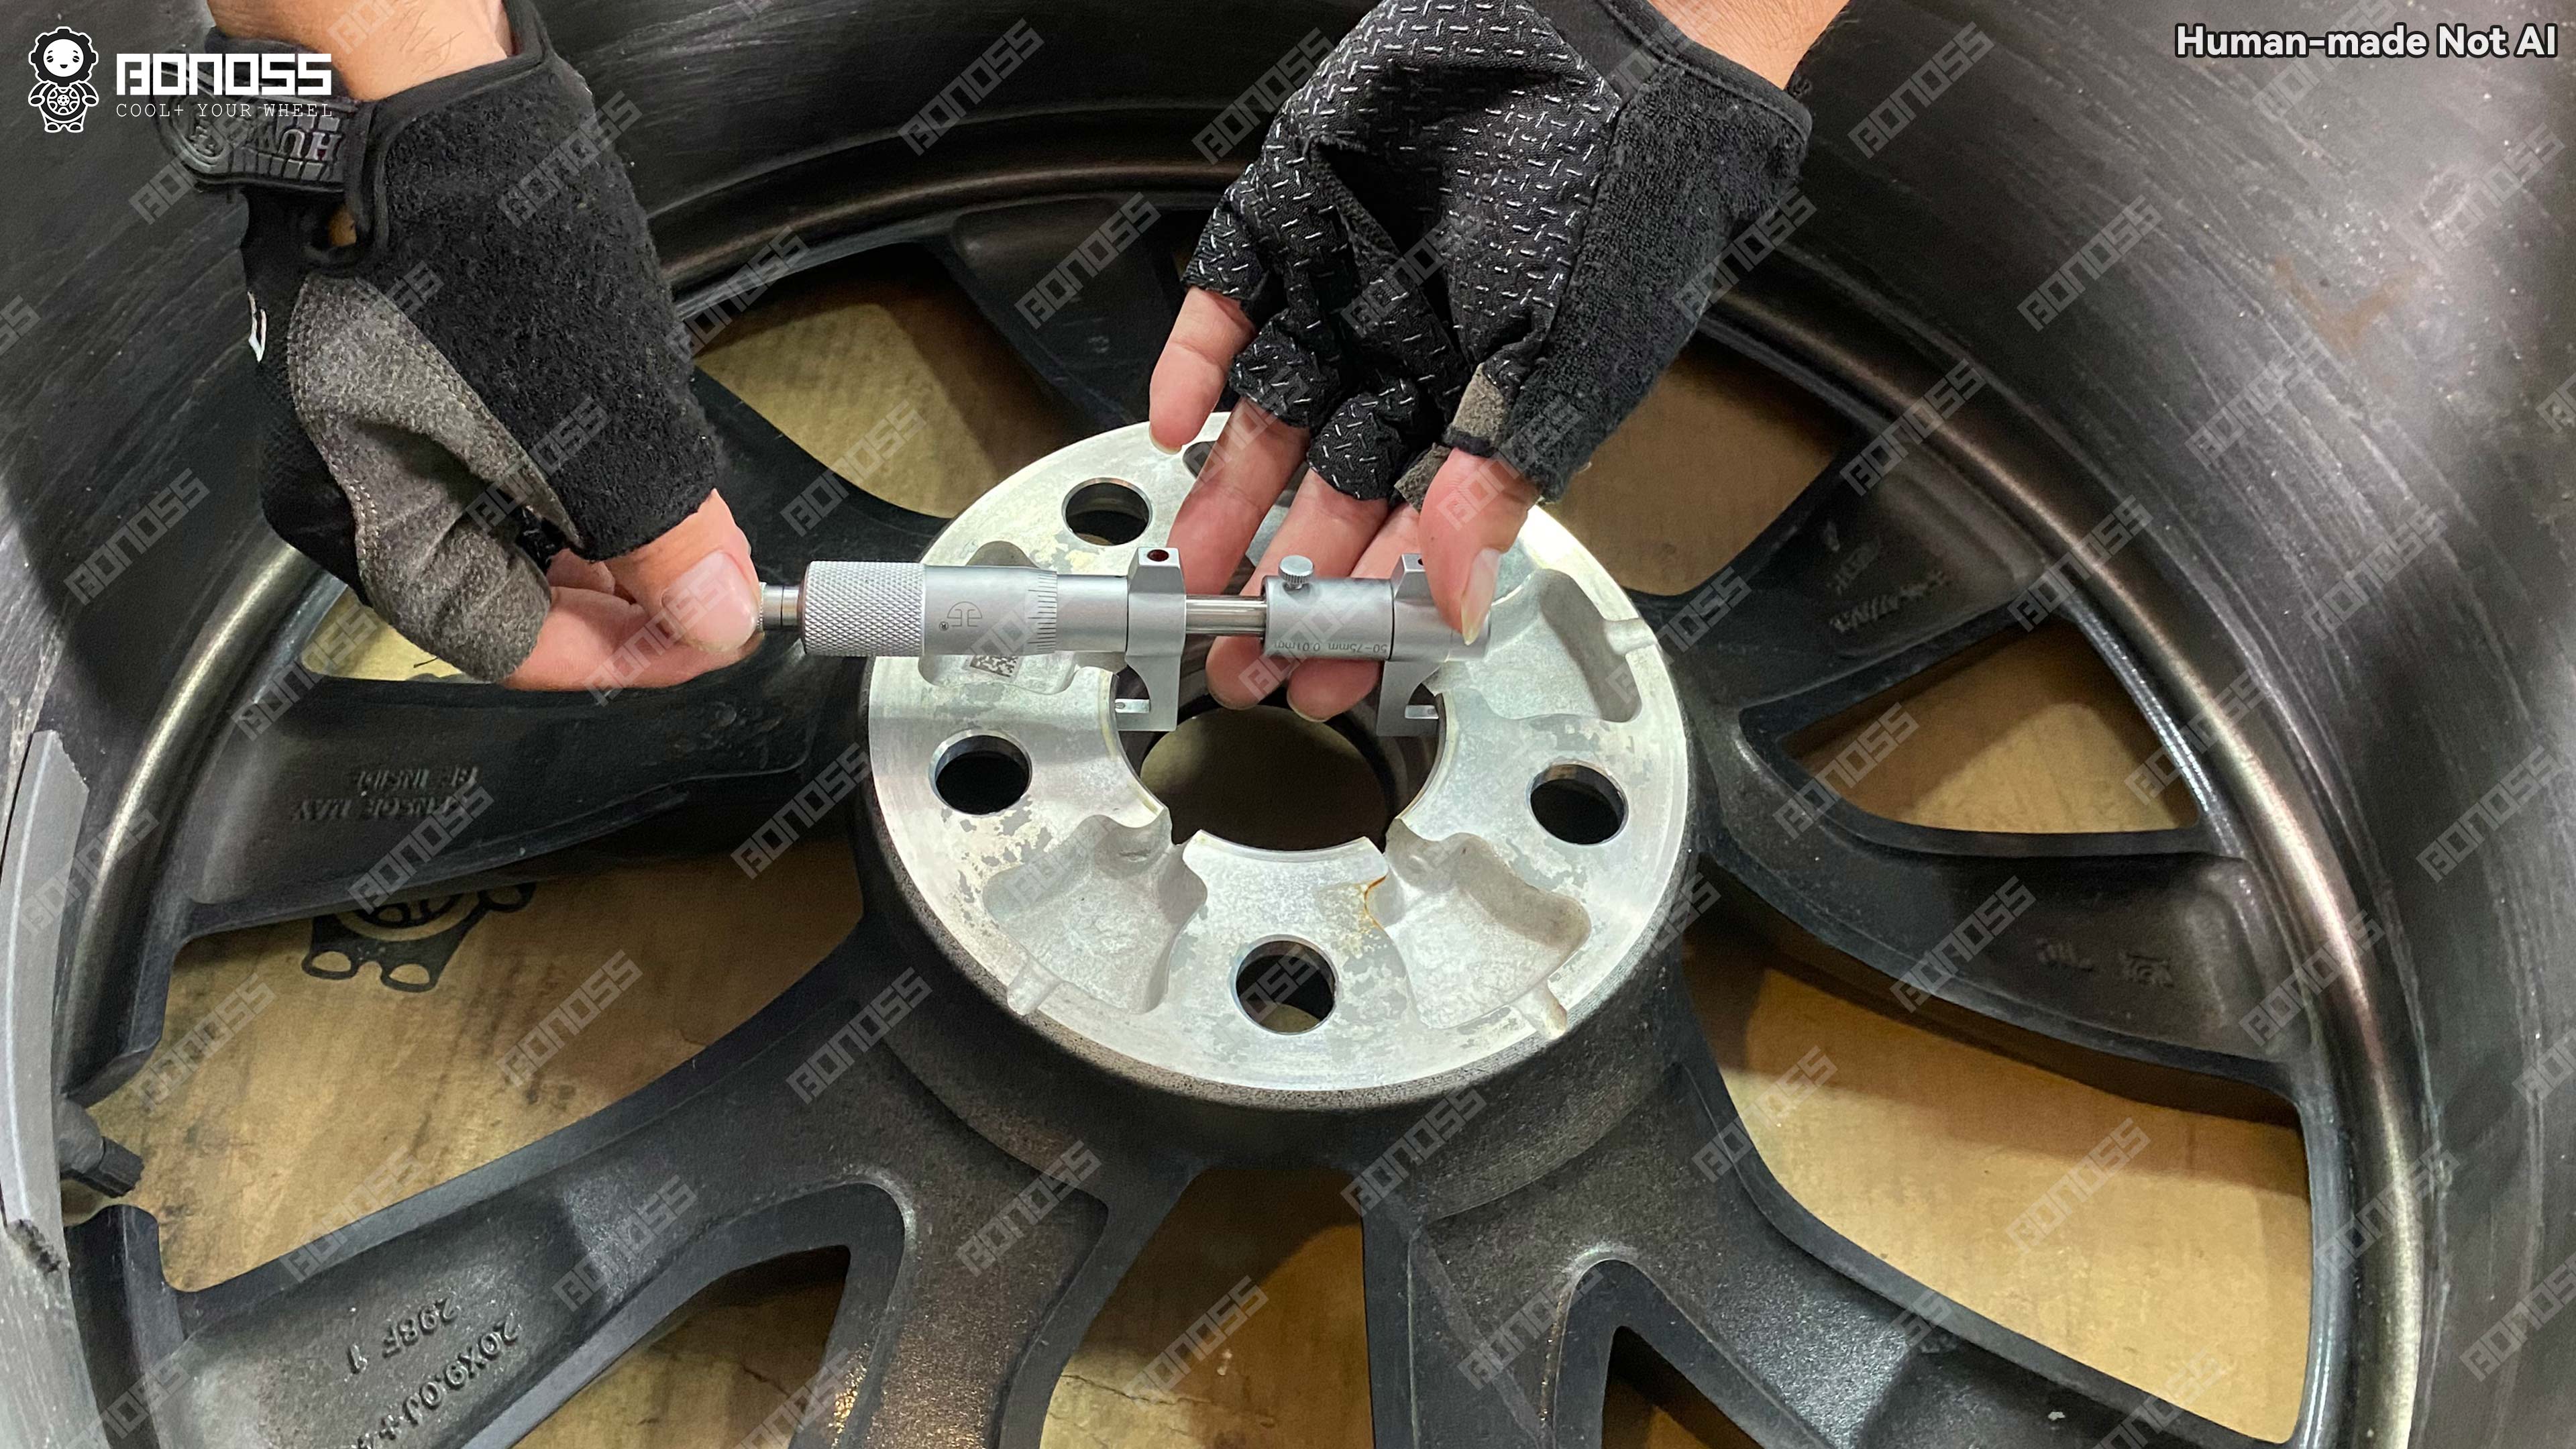
A micrometer across the factory wheel’s center bore read 64.27mm. Different tool, different surface, different number — and that’s normal, not a defect.
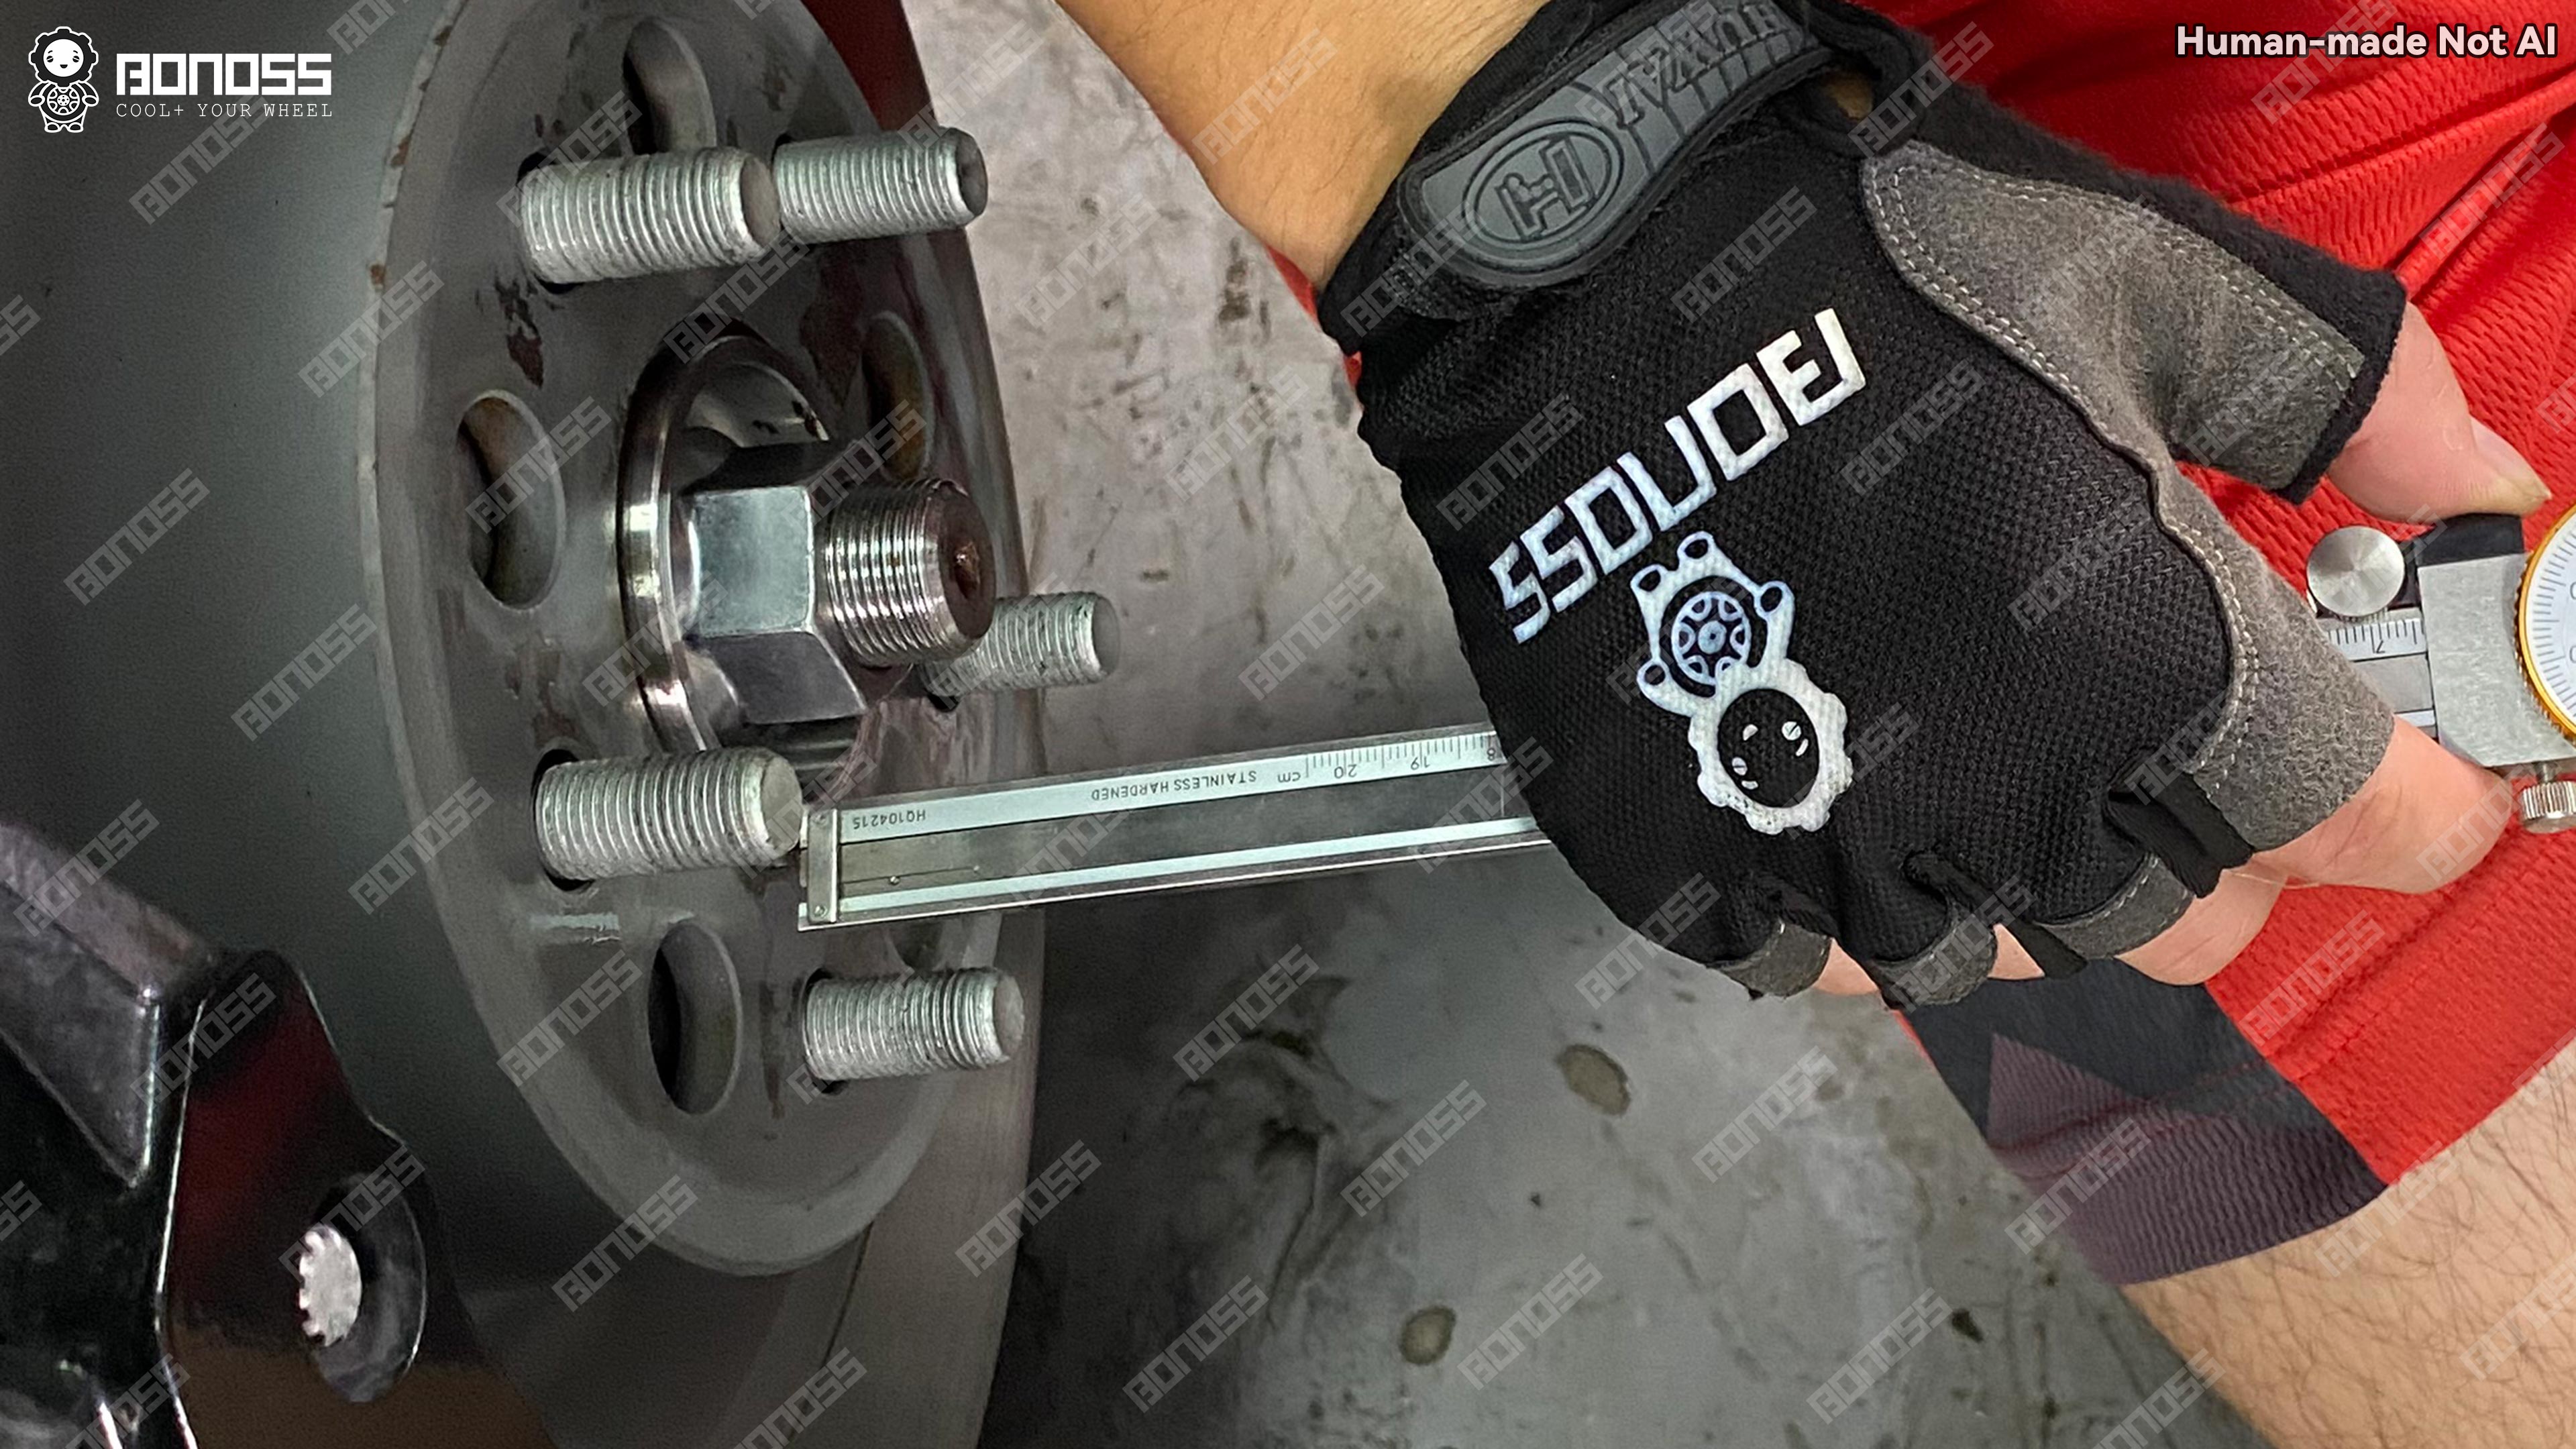
The hub’s centric step height measured 3.65mm, confirming the register available for centering the spacer. Then the question every 20mm spacer buyer actually worries about: will the stock studs poke through?
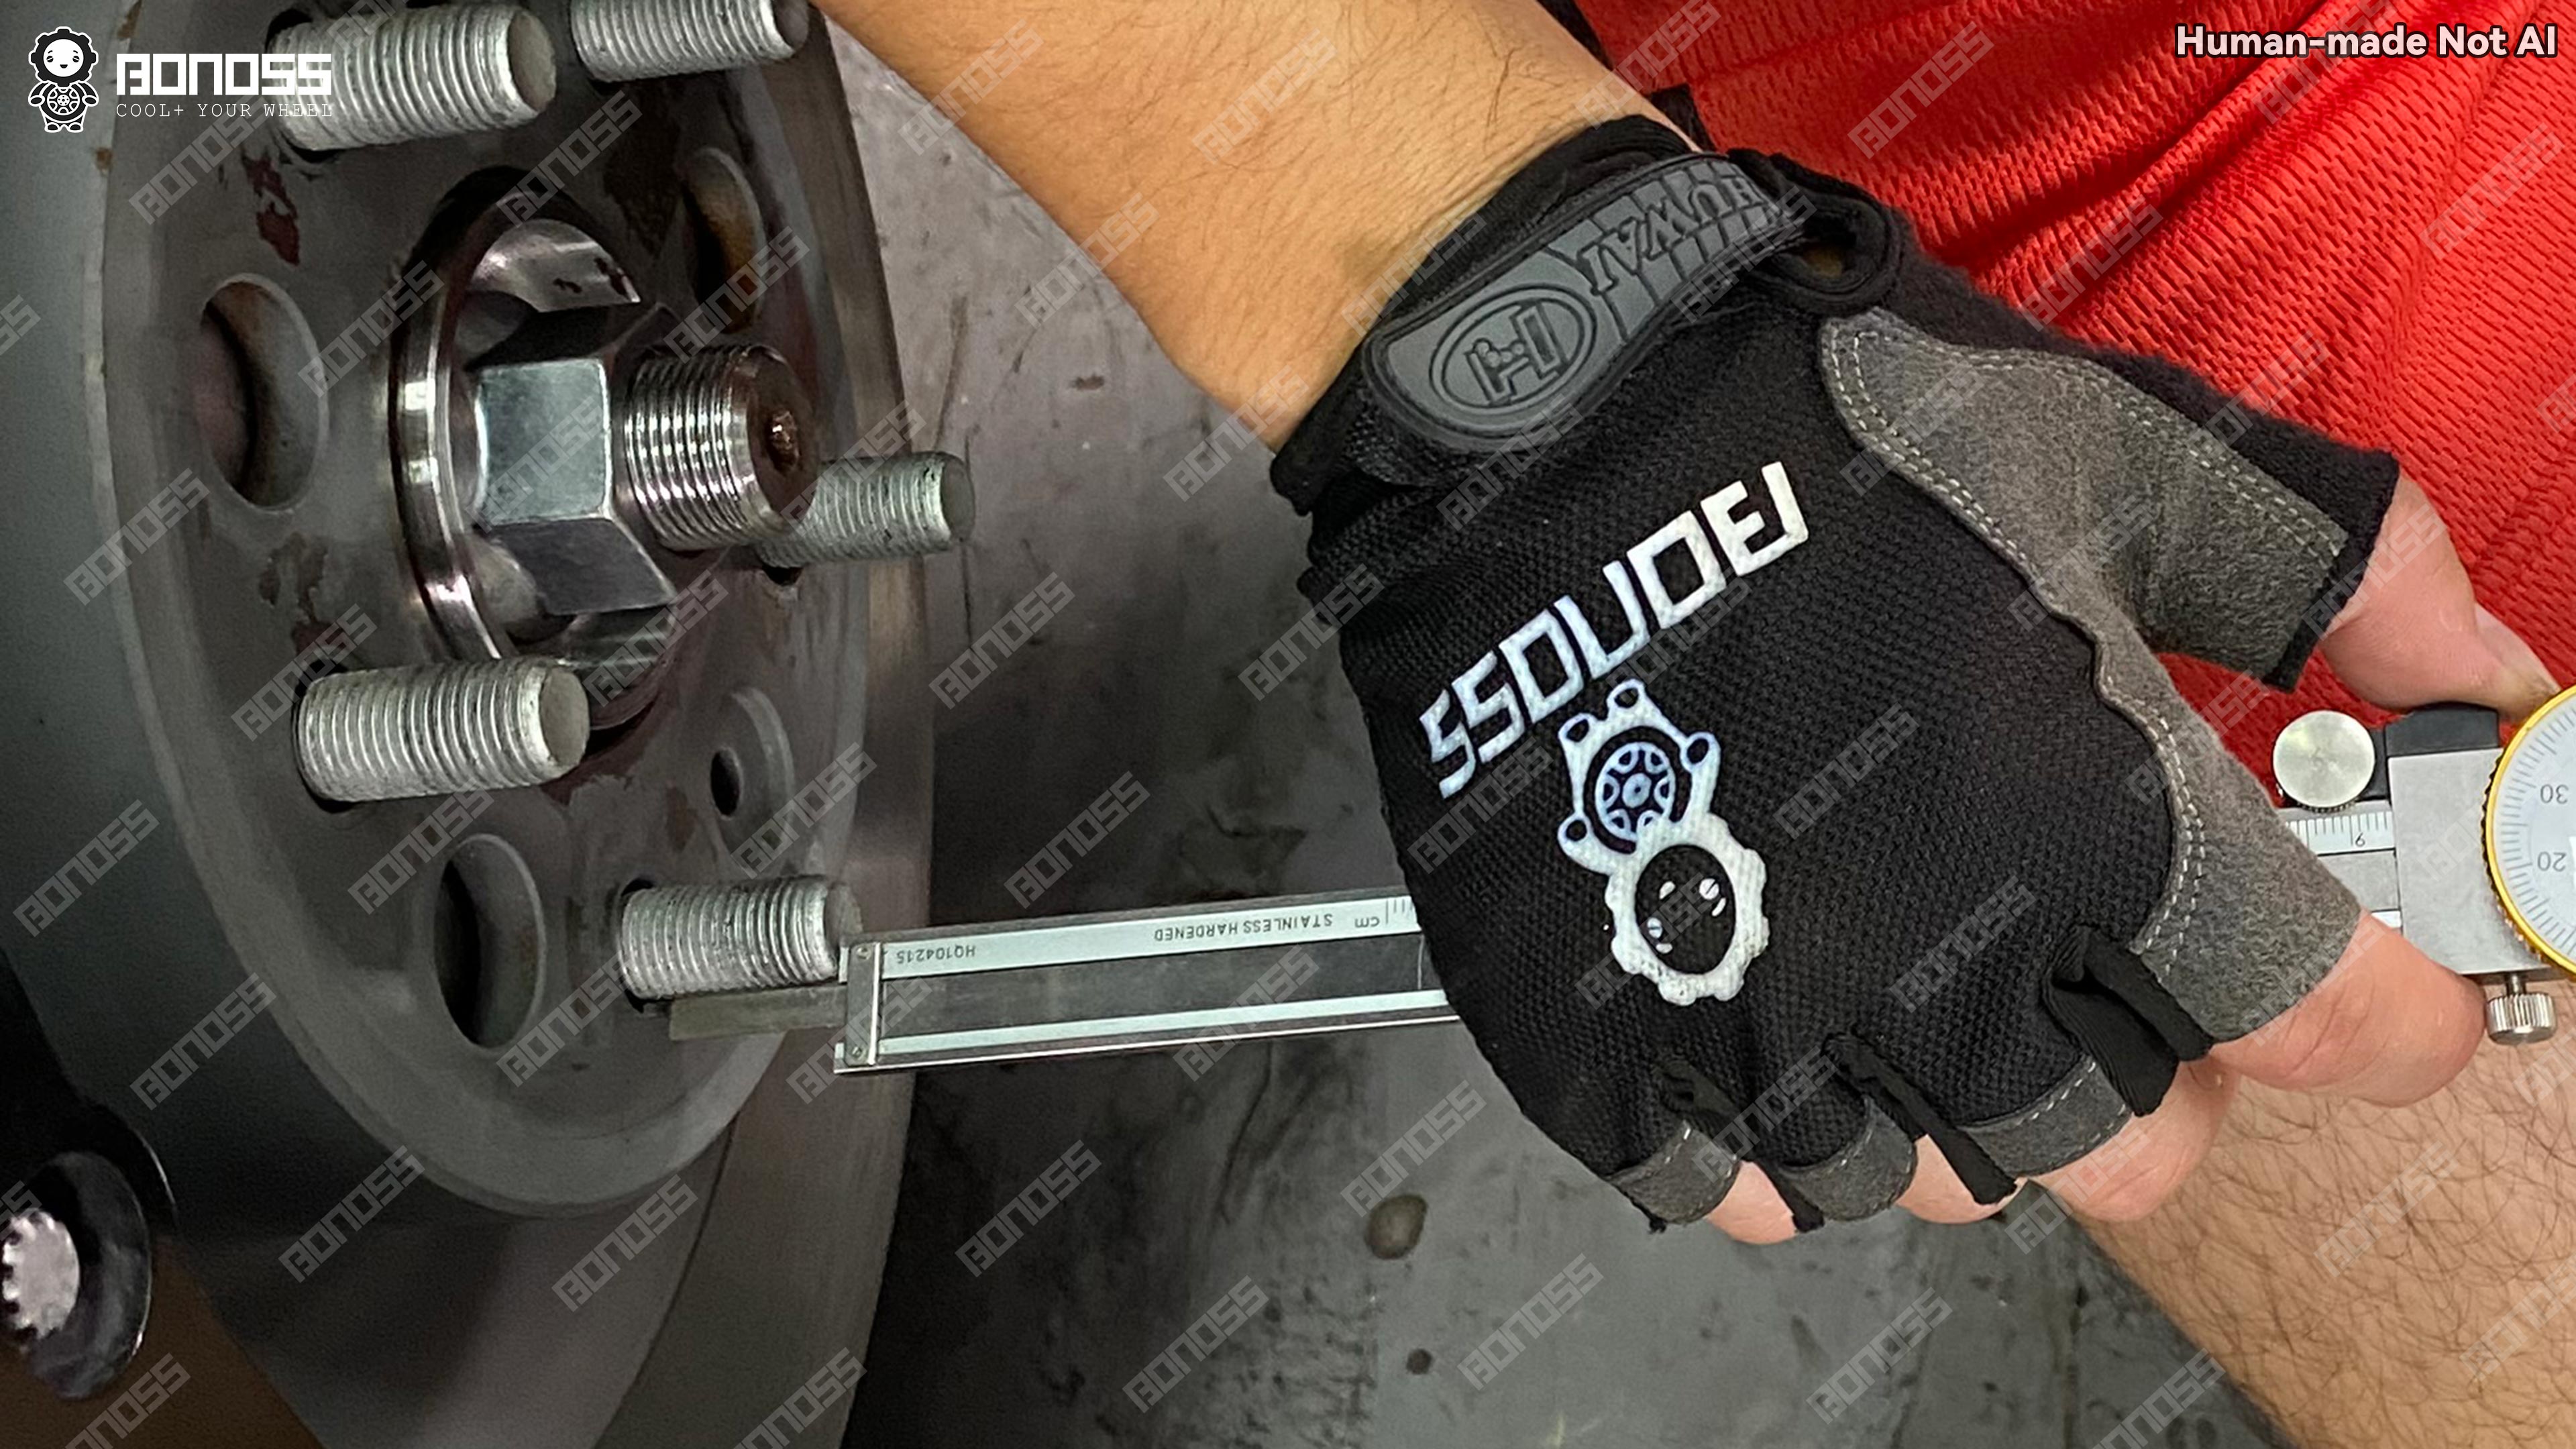
The exposed stud length past the hub face measured 26.11mm. Subtract a 20mm spacer and 6.11mm of thread remains beyond the spacer’s outer face. Where does it go? Into the recesses cast into the back of the OEM wheel:
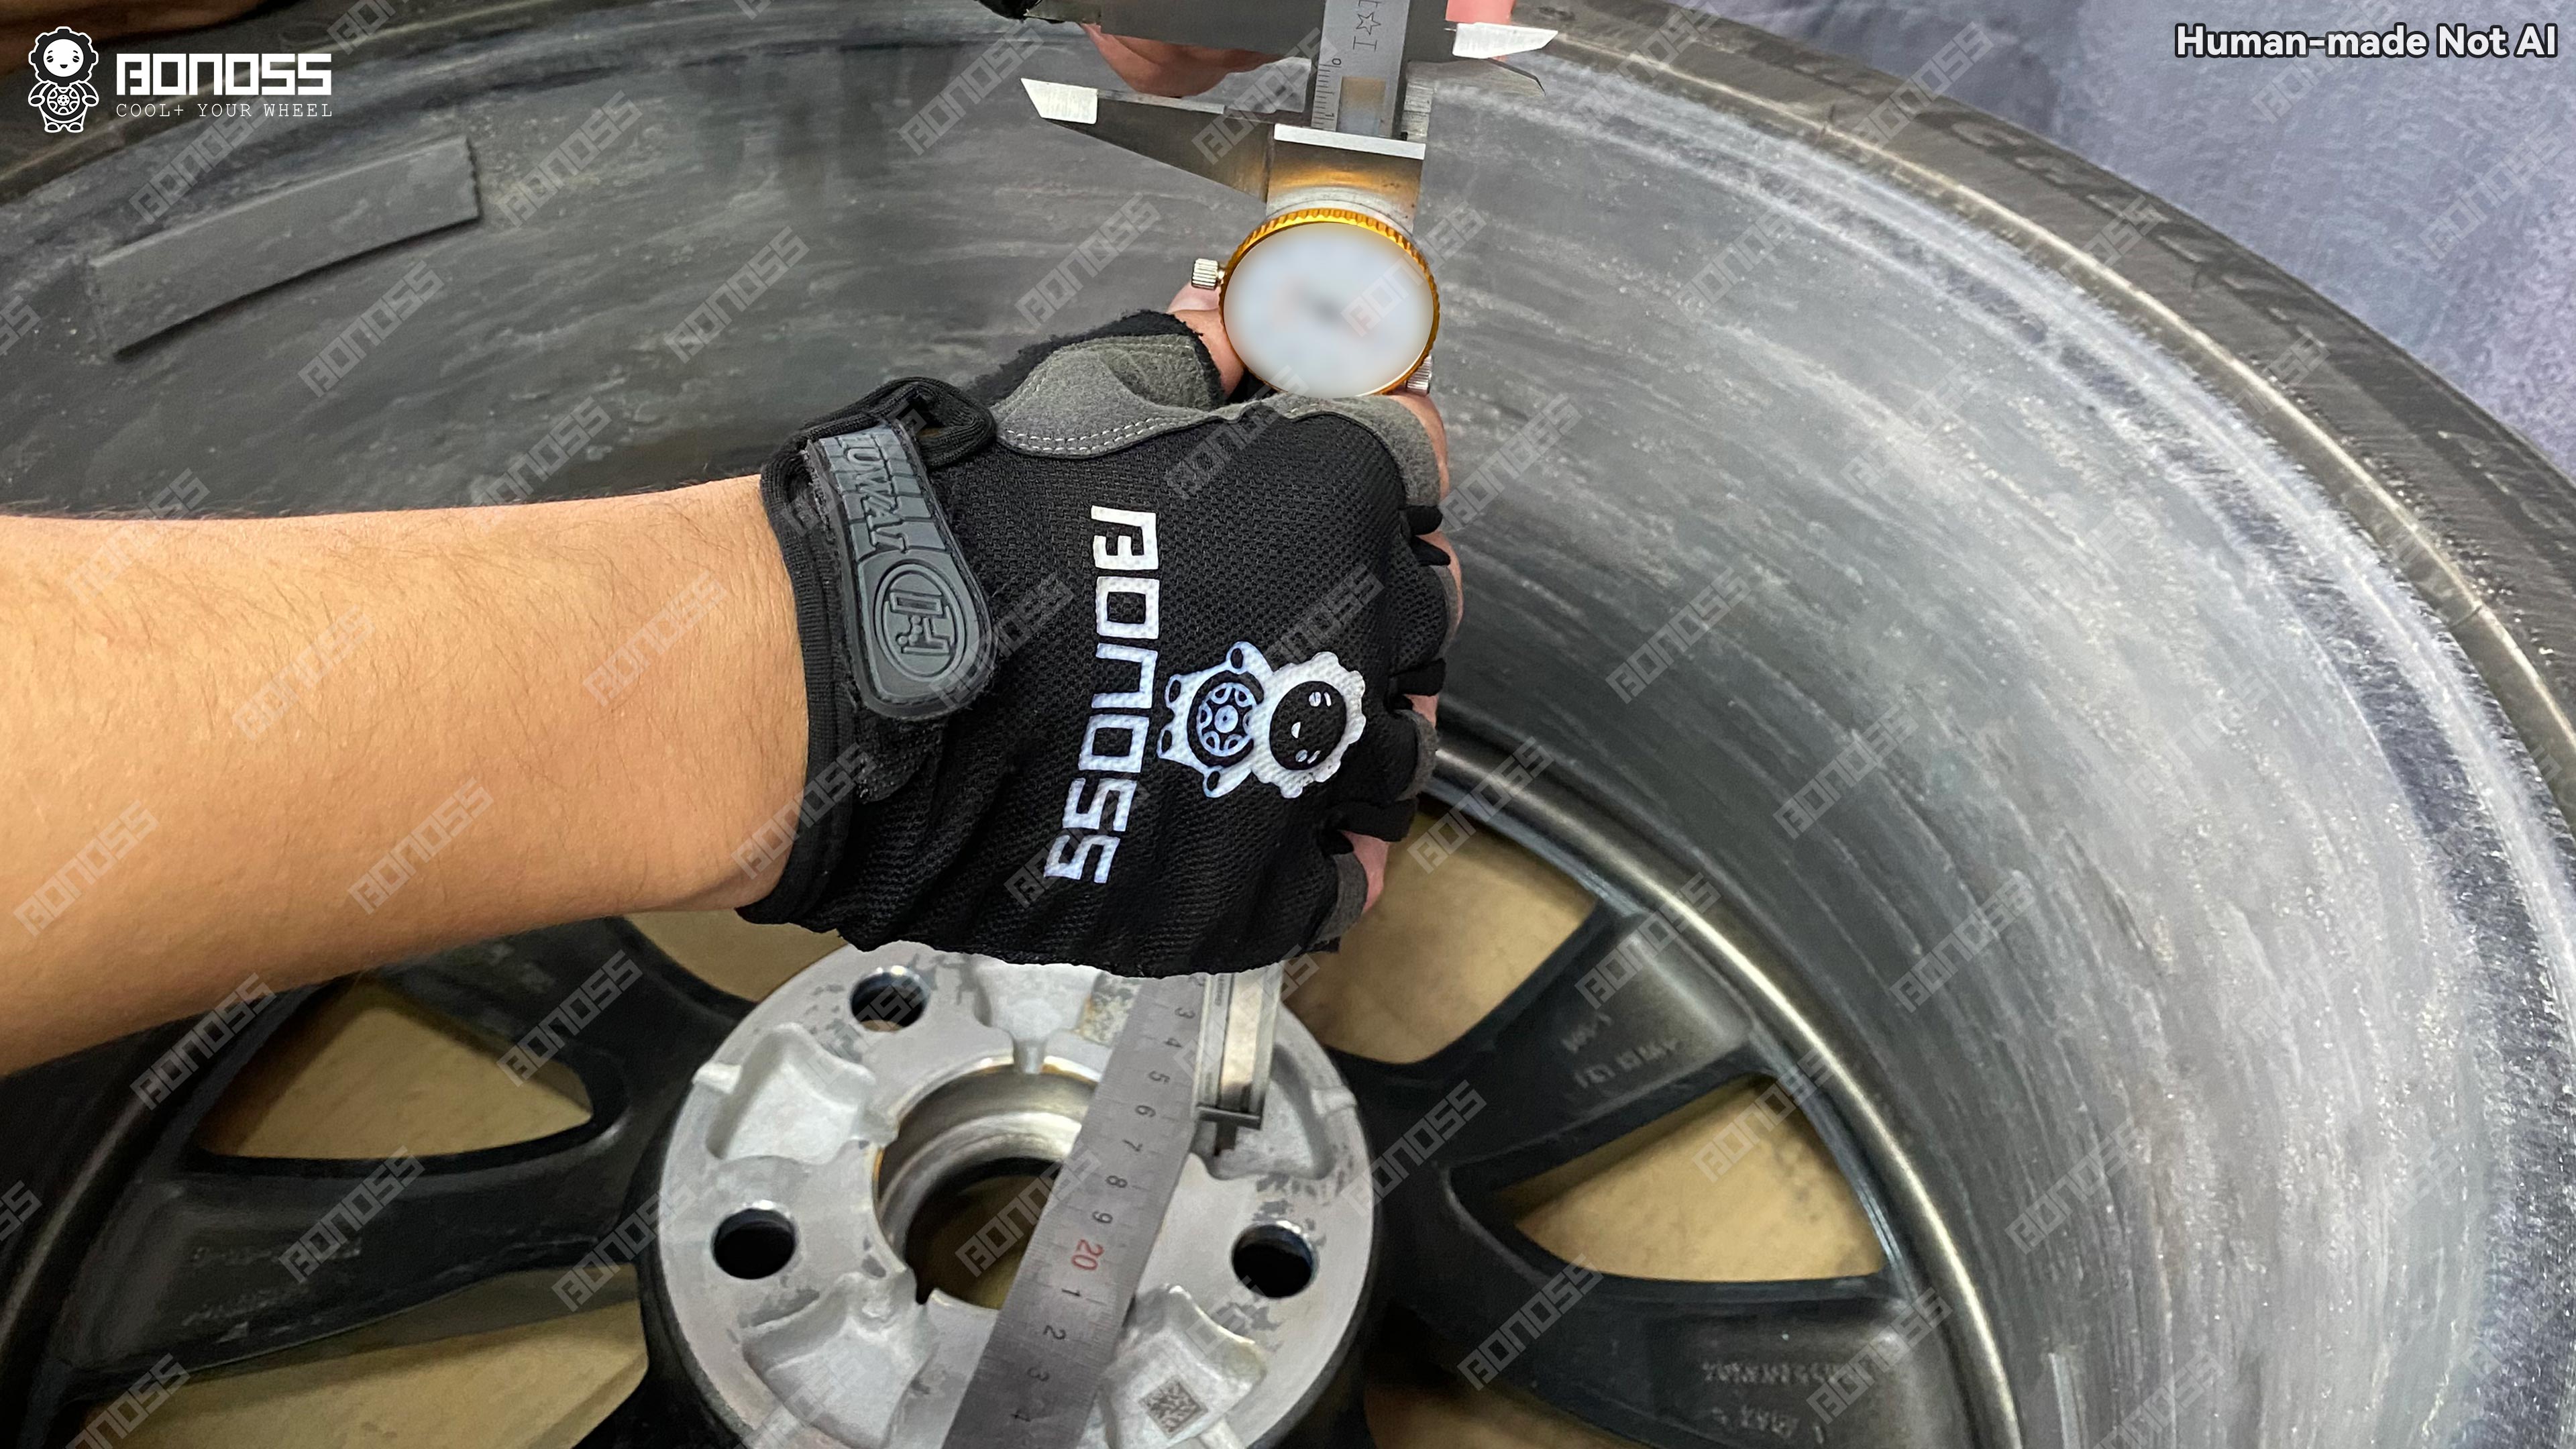
Those wheel pockets measured 11.26mm deep. Since 6.11mm fits comfortably inside 11.26mm, the studs never touch the wheel — no cutting, no grinding, no shortened hardware. Run the same math on a 15mm spacer: 26.11 minus 15 leaves 11.11mm, still under the 11.26mm pocket depth. Both thicknesses clear without stud trimming on this car. That conclusion rests on these specific measured numbers, not on a generic rule of thumb.
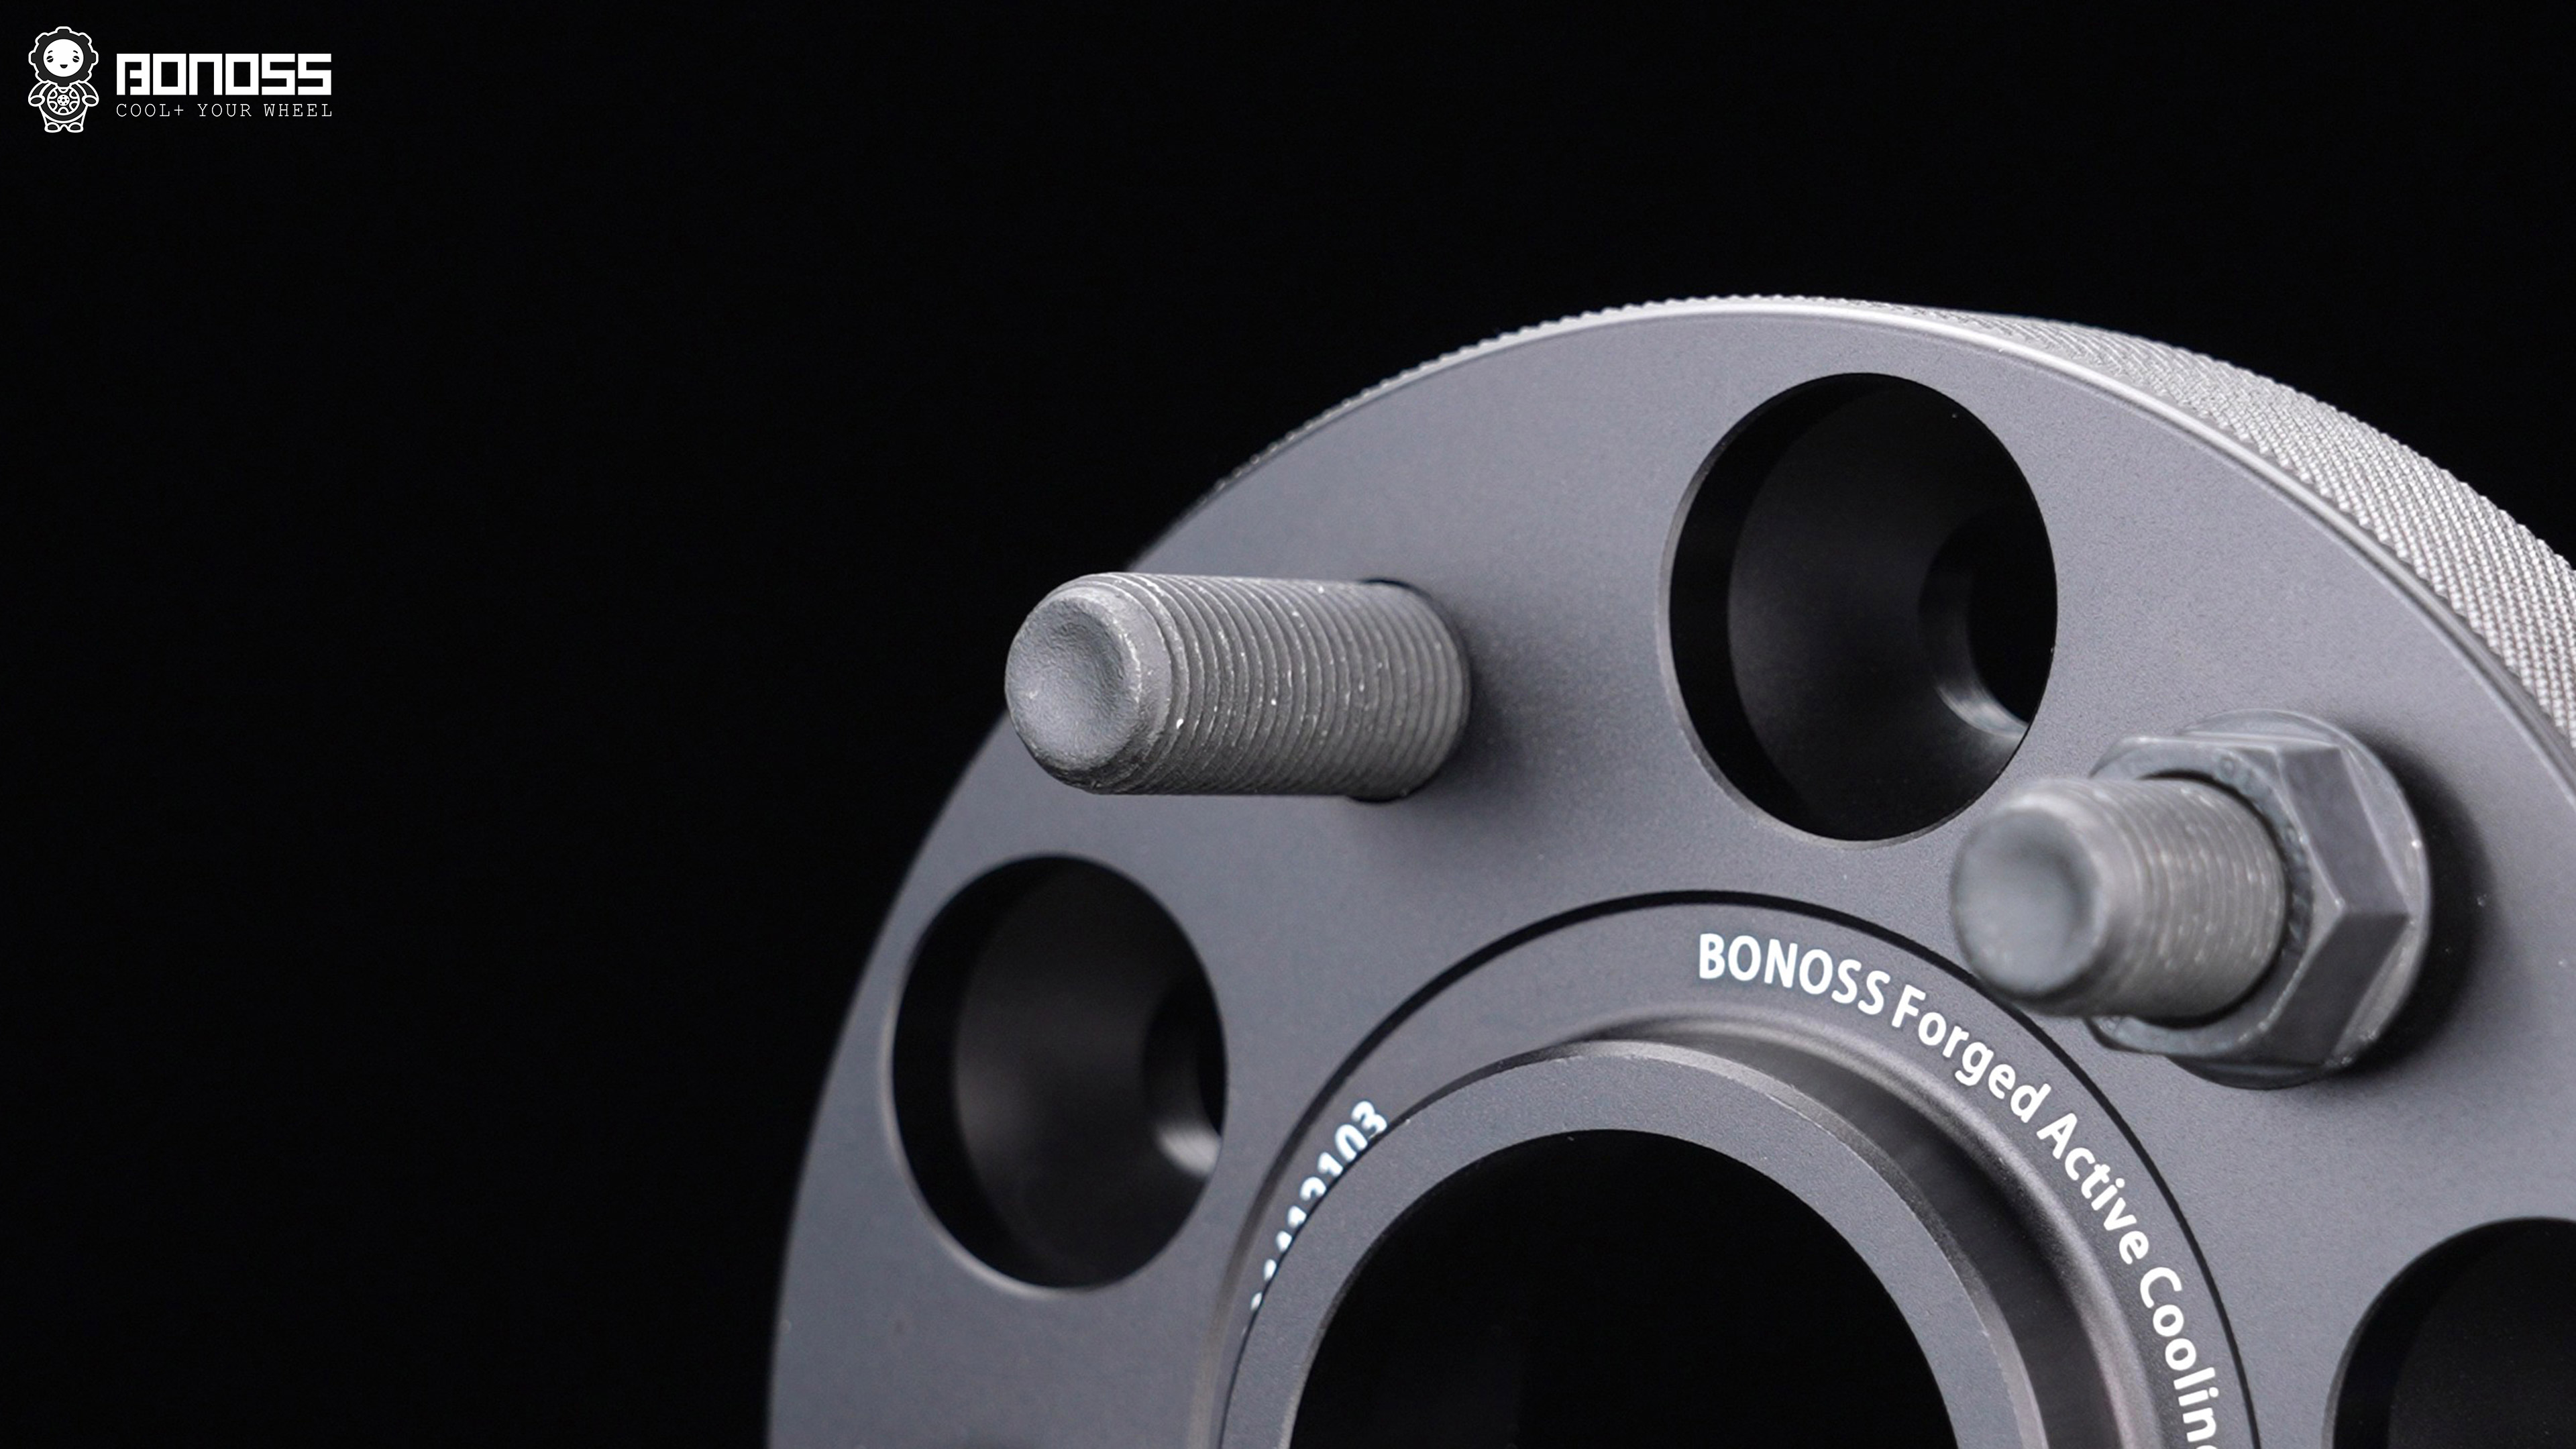
The spacer itself is a BONOSS forged active cooling hub-centric wheel spacer in 5×120 with a 64.1mm center bore — the parametric details (PCD, hub bore, thread size) live on that product page if you want to cross-check your own car.
Installation Day: Jack Mode First, Torque Wrench Last
The Step Most EV Owners Don’t Know Exists
This Model X rides on air suspension, and that changes the first ten minutes of the job. Before the car goes up, Jack Mode (sometimes called jack pad or lift mode) has to be switched on through the touchscreen: Controls, then Suspension, then enable Jack Mode, and confirm the indicator shows before lifting.
Why it matters: with Jack Mode off, the air suspension keeps trying to self-level. Raise a corner and the system may extend or vent that strut mid-lift — which can shift the car’s weight on the jack or stands, or over-extend an air bag. It’s a real risk with a simple fix: one menu tap, confirmed before the jack ever touches the car.
Bolting It All Down
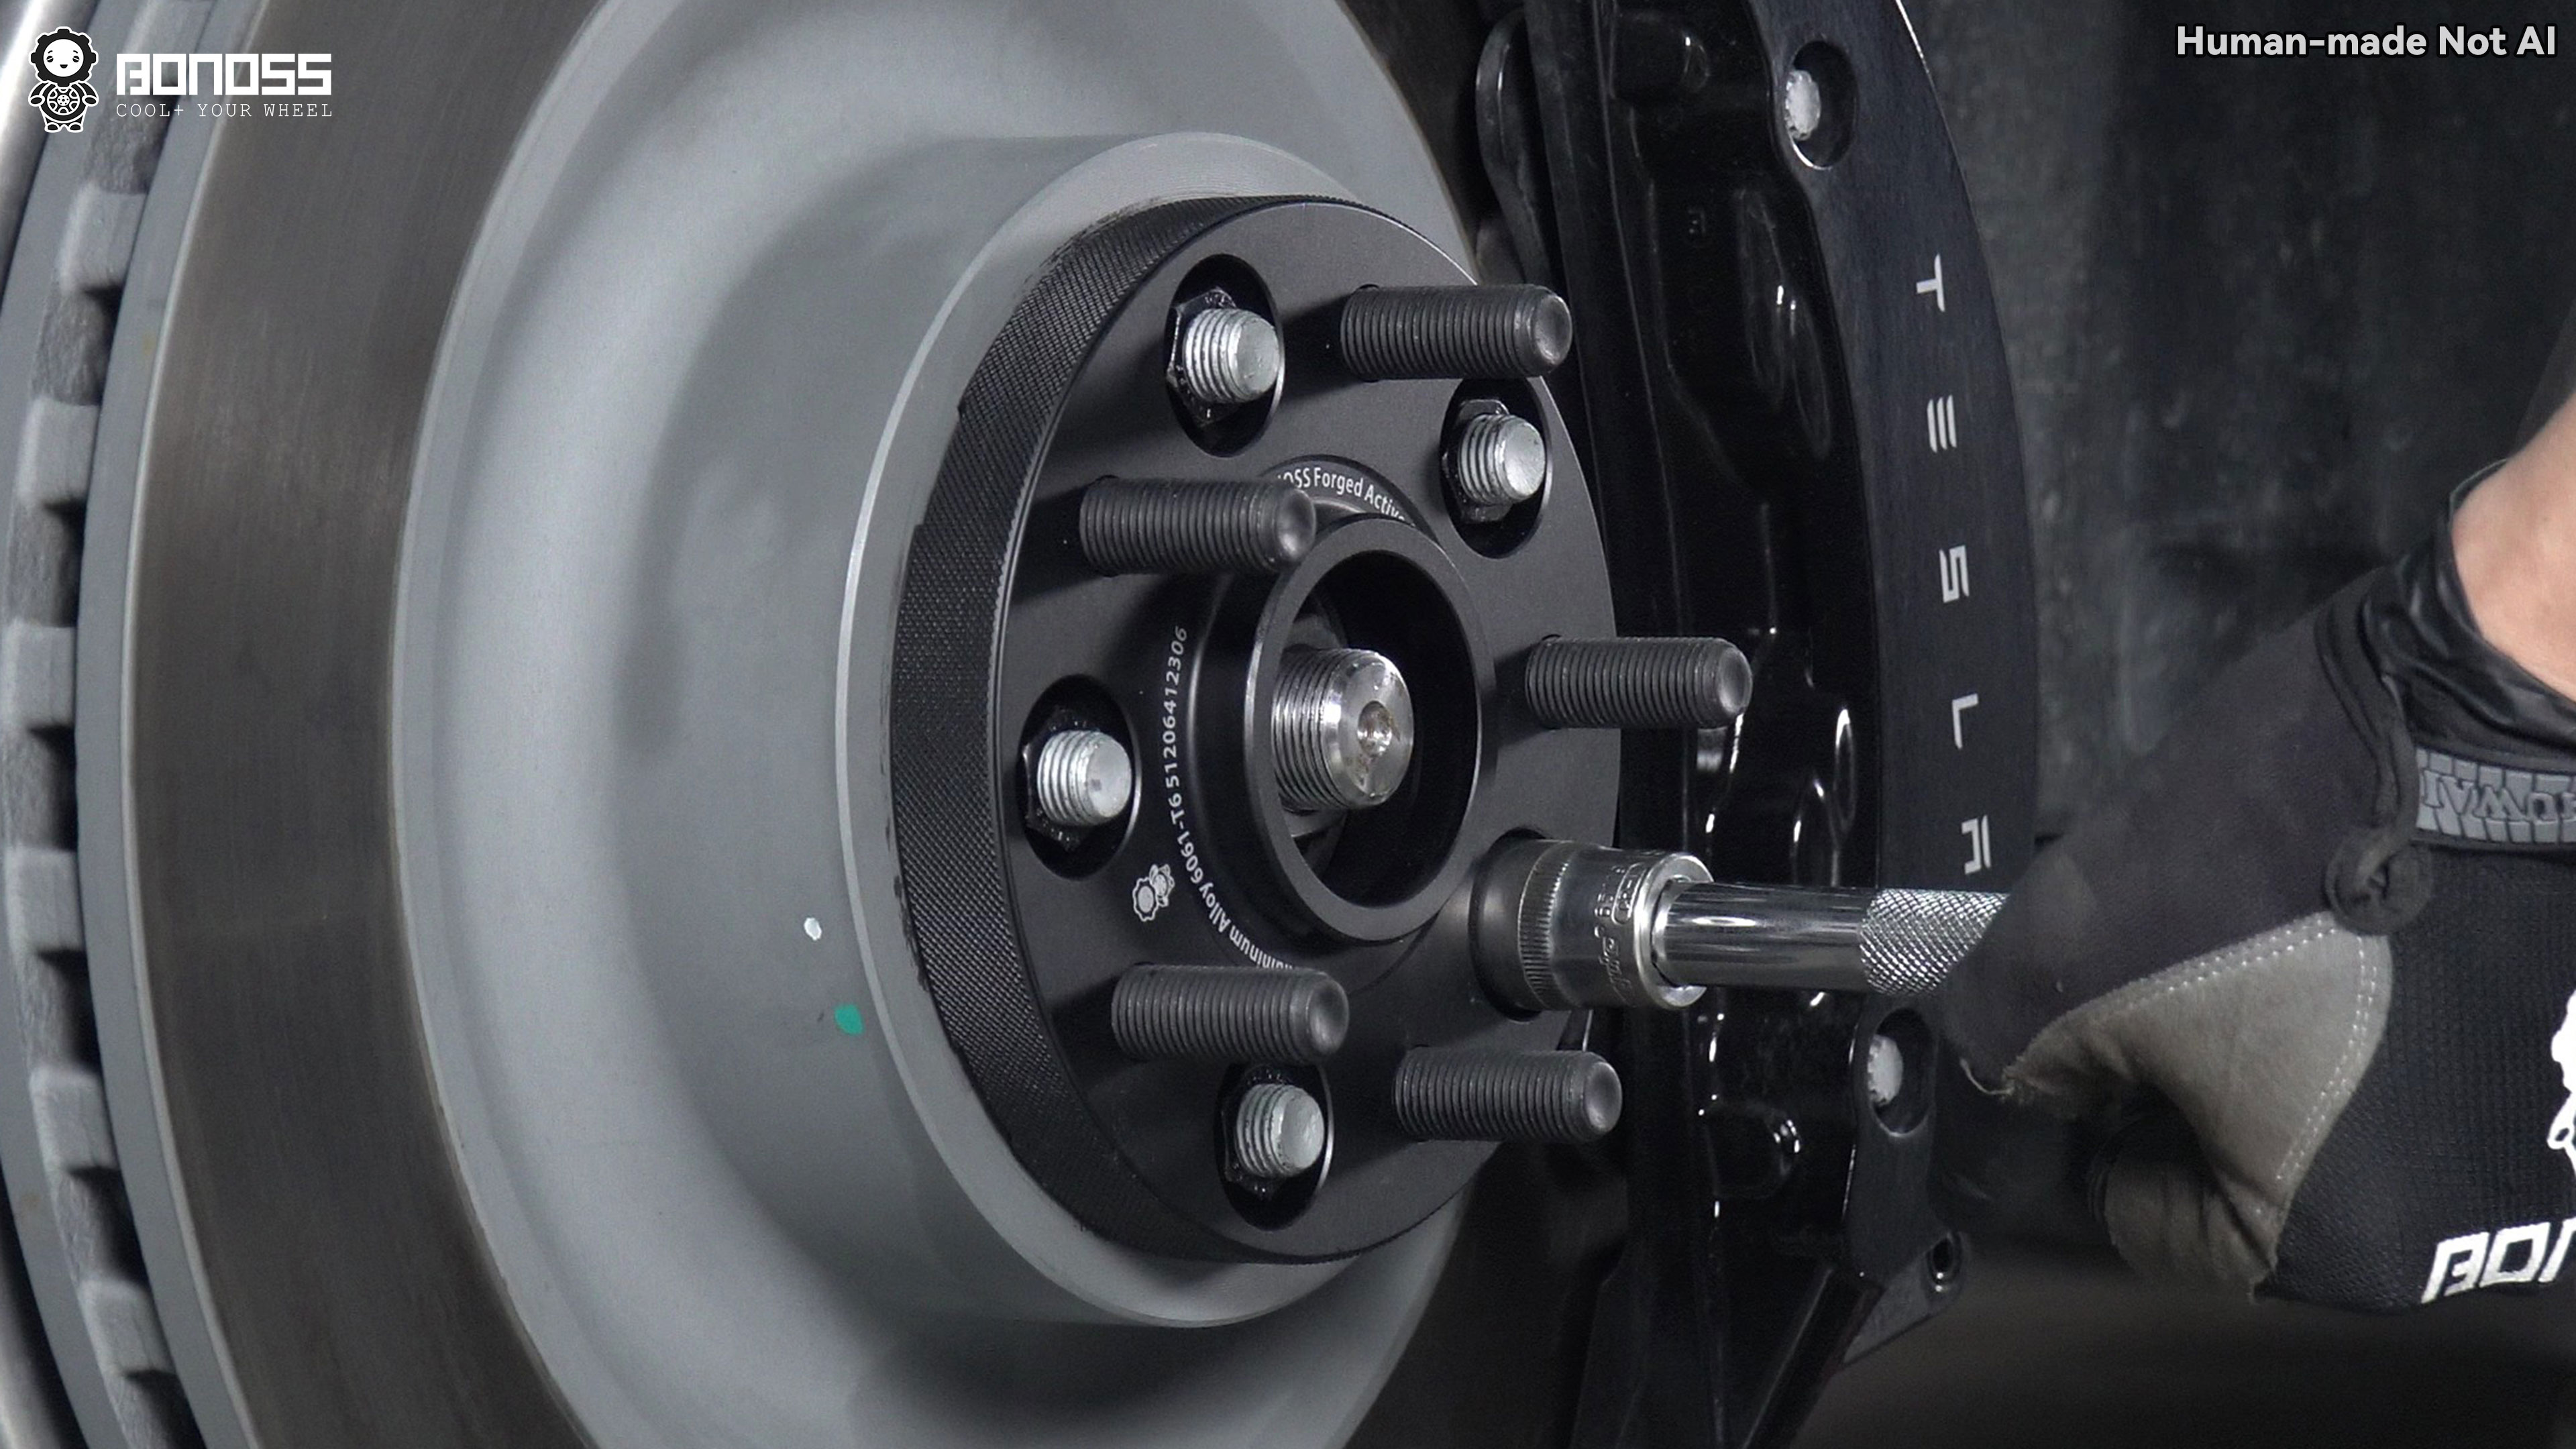
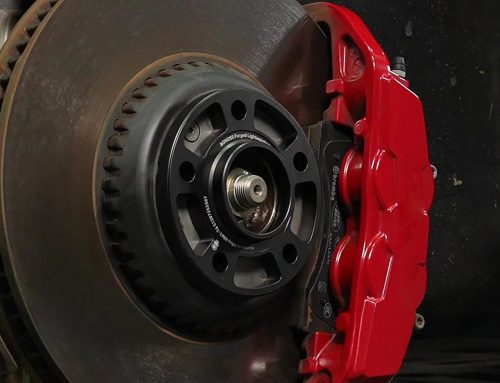
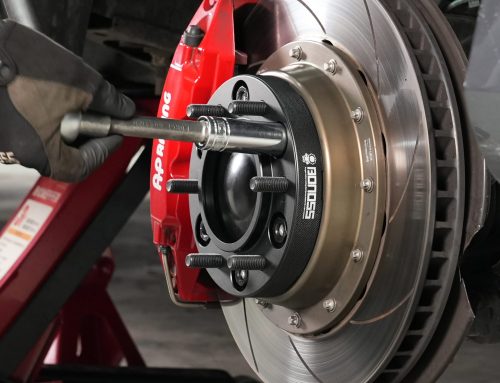
Each spacer seated onto the hub register first, then the BONOSS-supplied nuts went on and were torqued to 140 Nm (103.5 ft-lb) per BONOSS installation instructions.
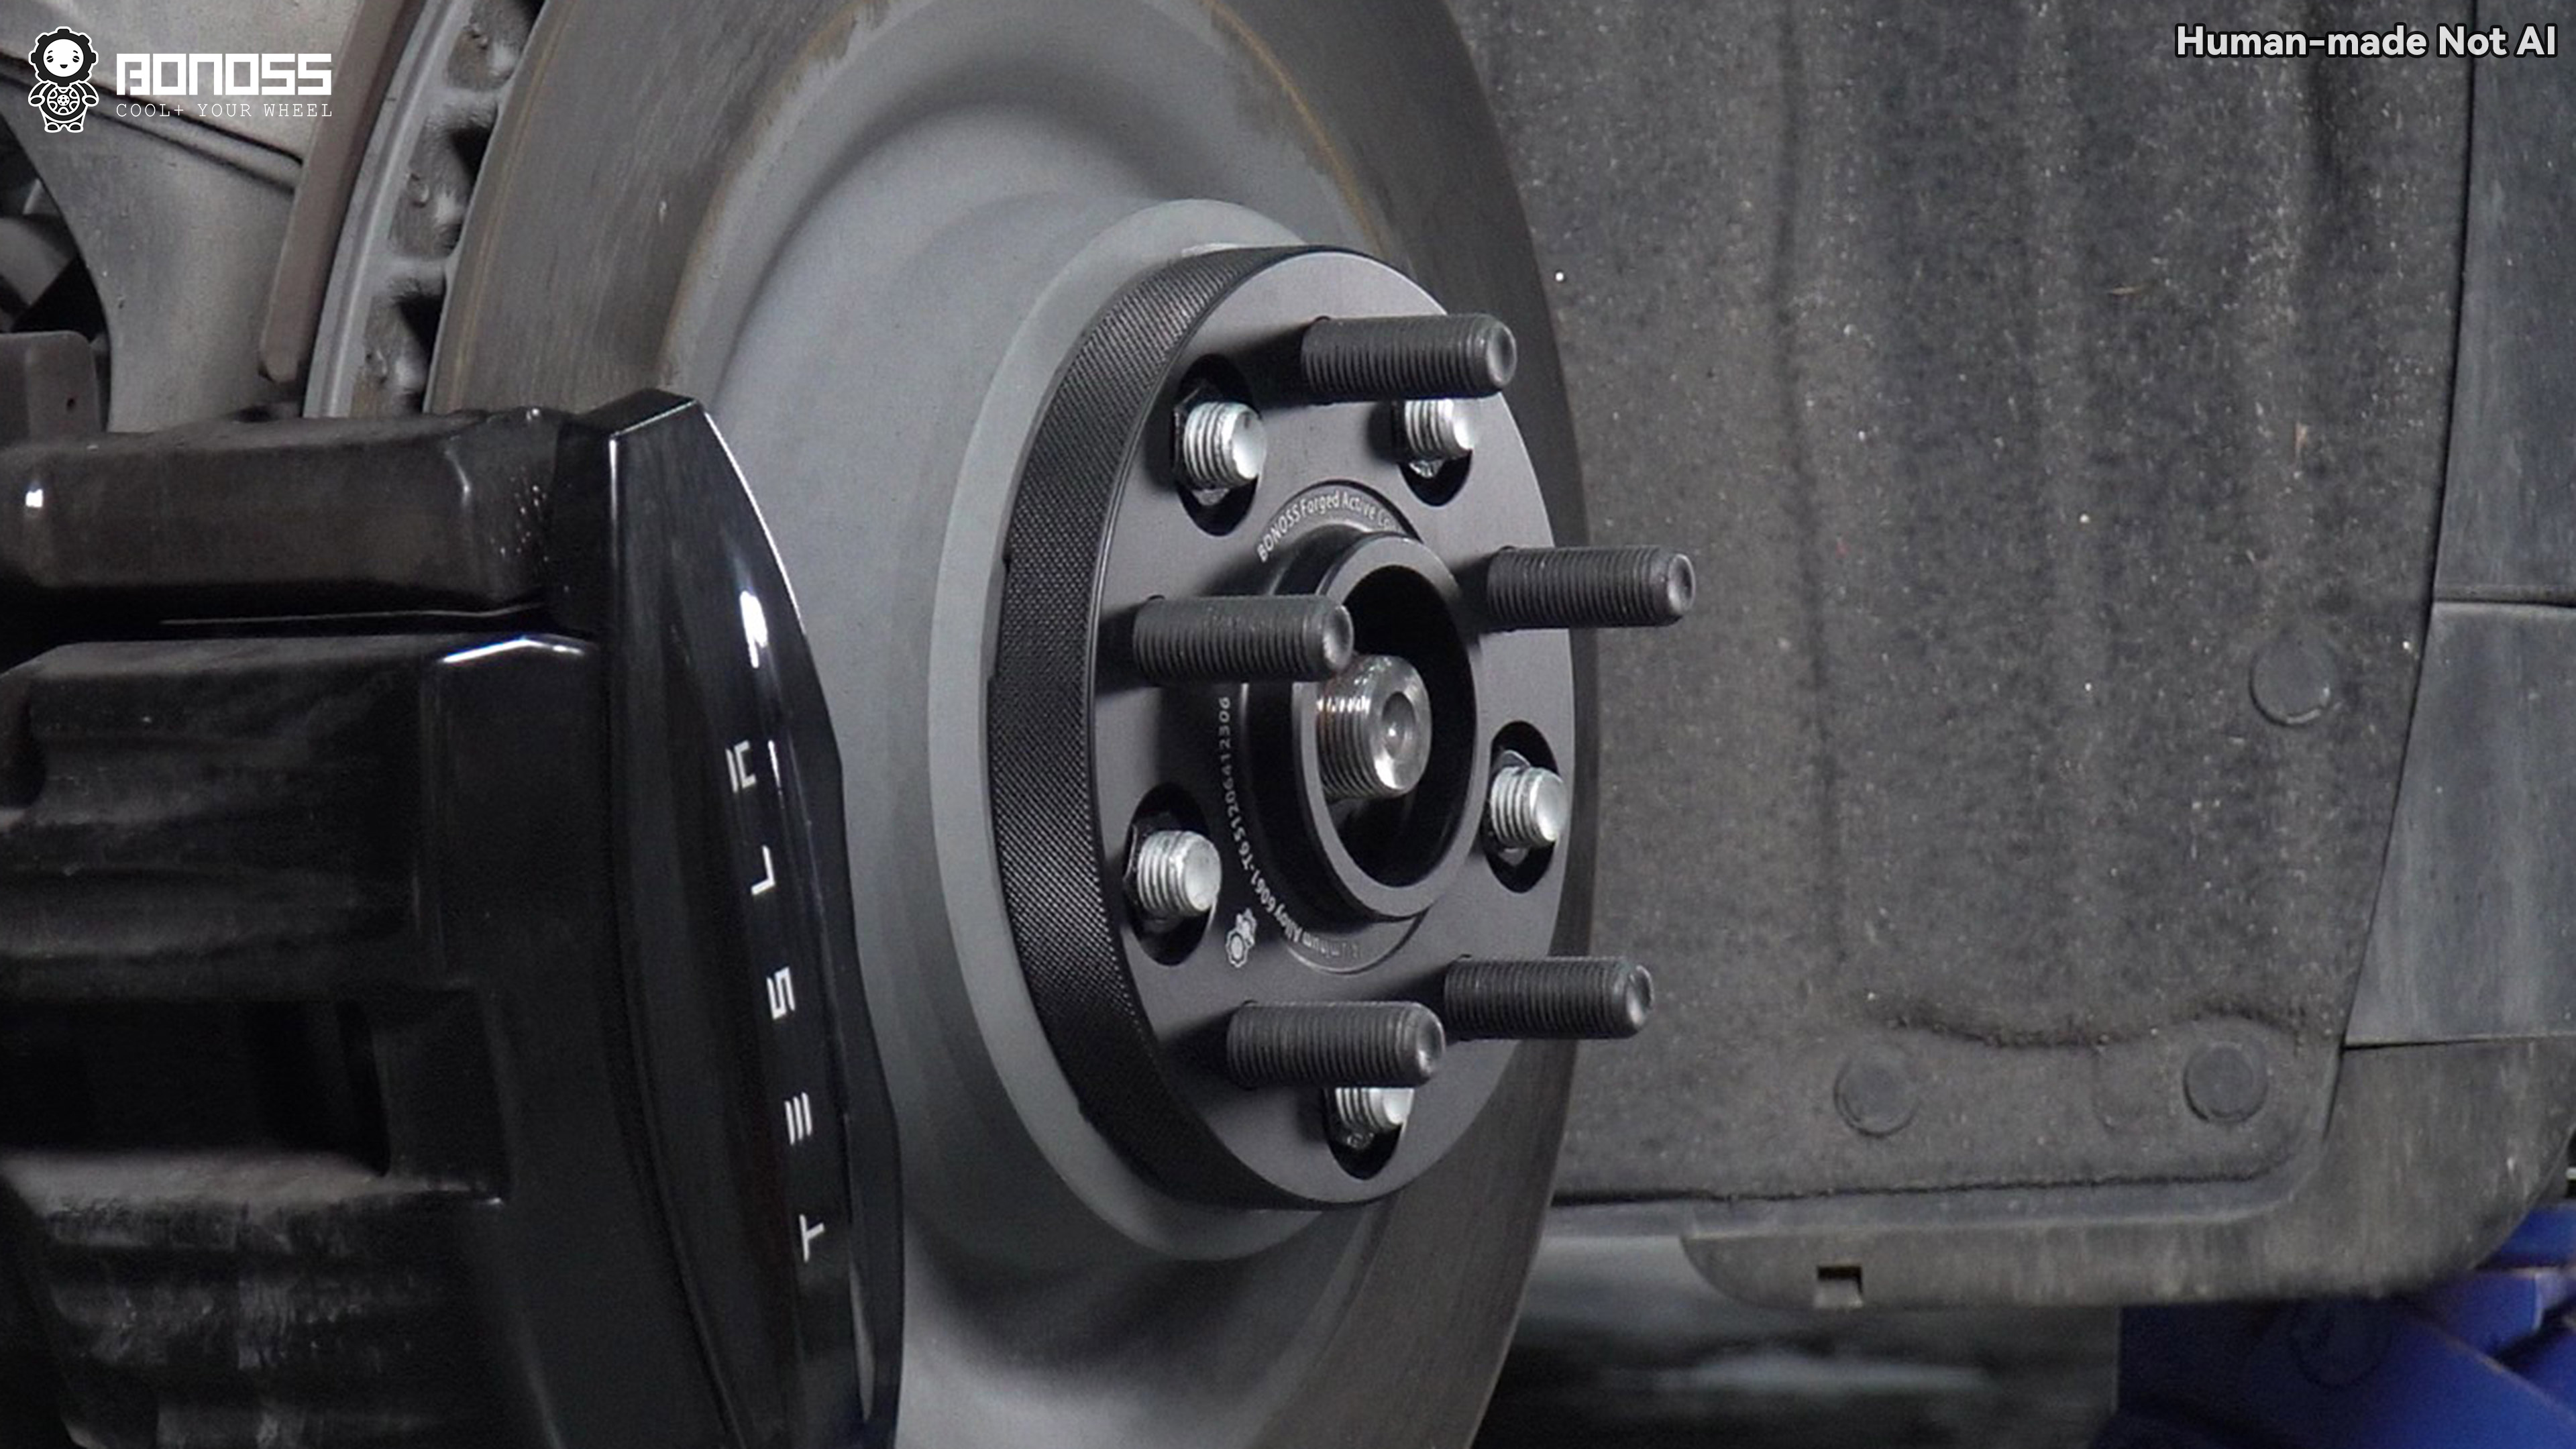
The rear corners followed the same sequence.
Wheels back on, factory lug nuts torqued to 175 Nm (129 ft-lb) per the owner’s manual, car lowered, Jack Mode off. Two torque values, two steps, no improvisation.
The full sequence, for anyone replicating this at home or briefing a shop: enable Jack Mode, lift and support the car, remove the wheel, clean the hub face of any corrosion so the spacer seats flat, seat the spacer on the hub register, torque the BONOSS nuts to 140 Nm in a star pattern, mount the wheel, torque the factory nuts to 175 Nm in a star pattern, lower the car, disable Jack Mode. Then re-check all fastener torque after the first short drive. The whole job took one afternoon, most of it spent on cleaning and careful re-torquing rather than any actual difficulty.
What’s Inside the Parts (and Why It Holds Up)
We’re deliberately keeping this short — the case is the point, not a product brochure. But three details earn their mention.
First, active cooling. The spacer faces carry machined grooves that keep air moving around the hub area instead of trapping heat against the rotor hat. On a heavy EV that regen-brakes constantly but still leans on friction brakes at highway speeds, that’s useful engineering, not decoration.
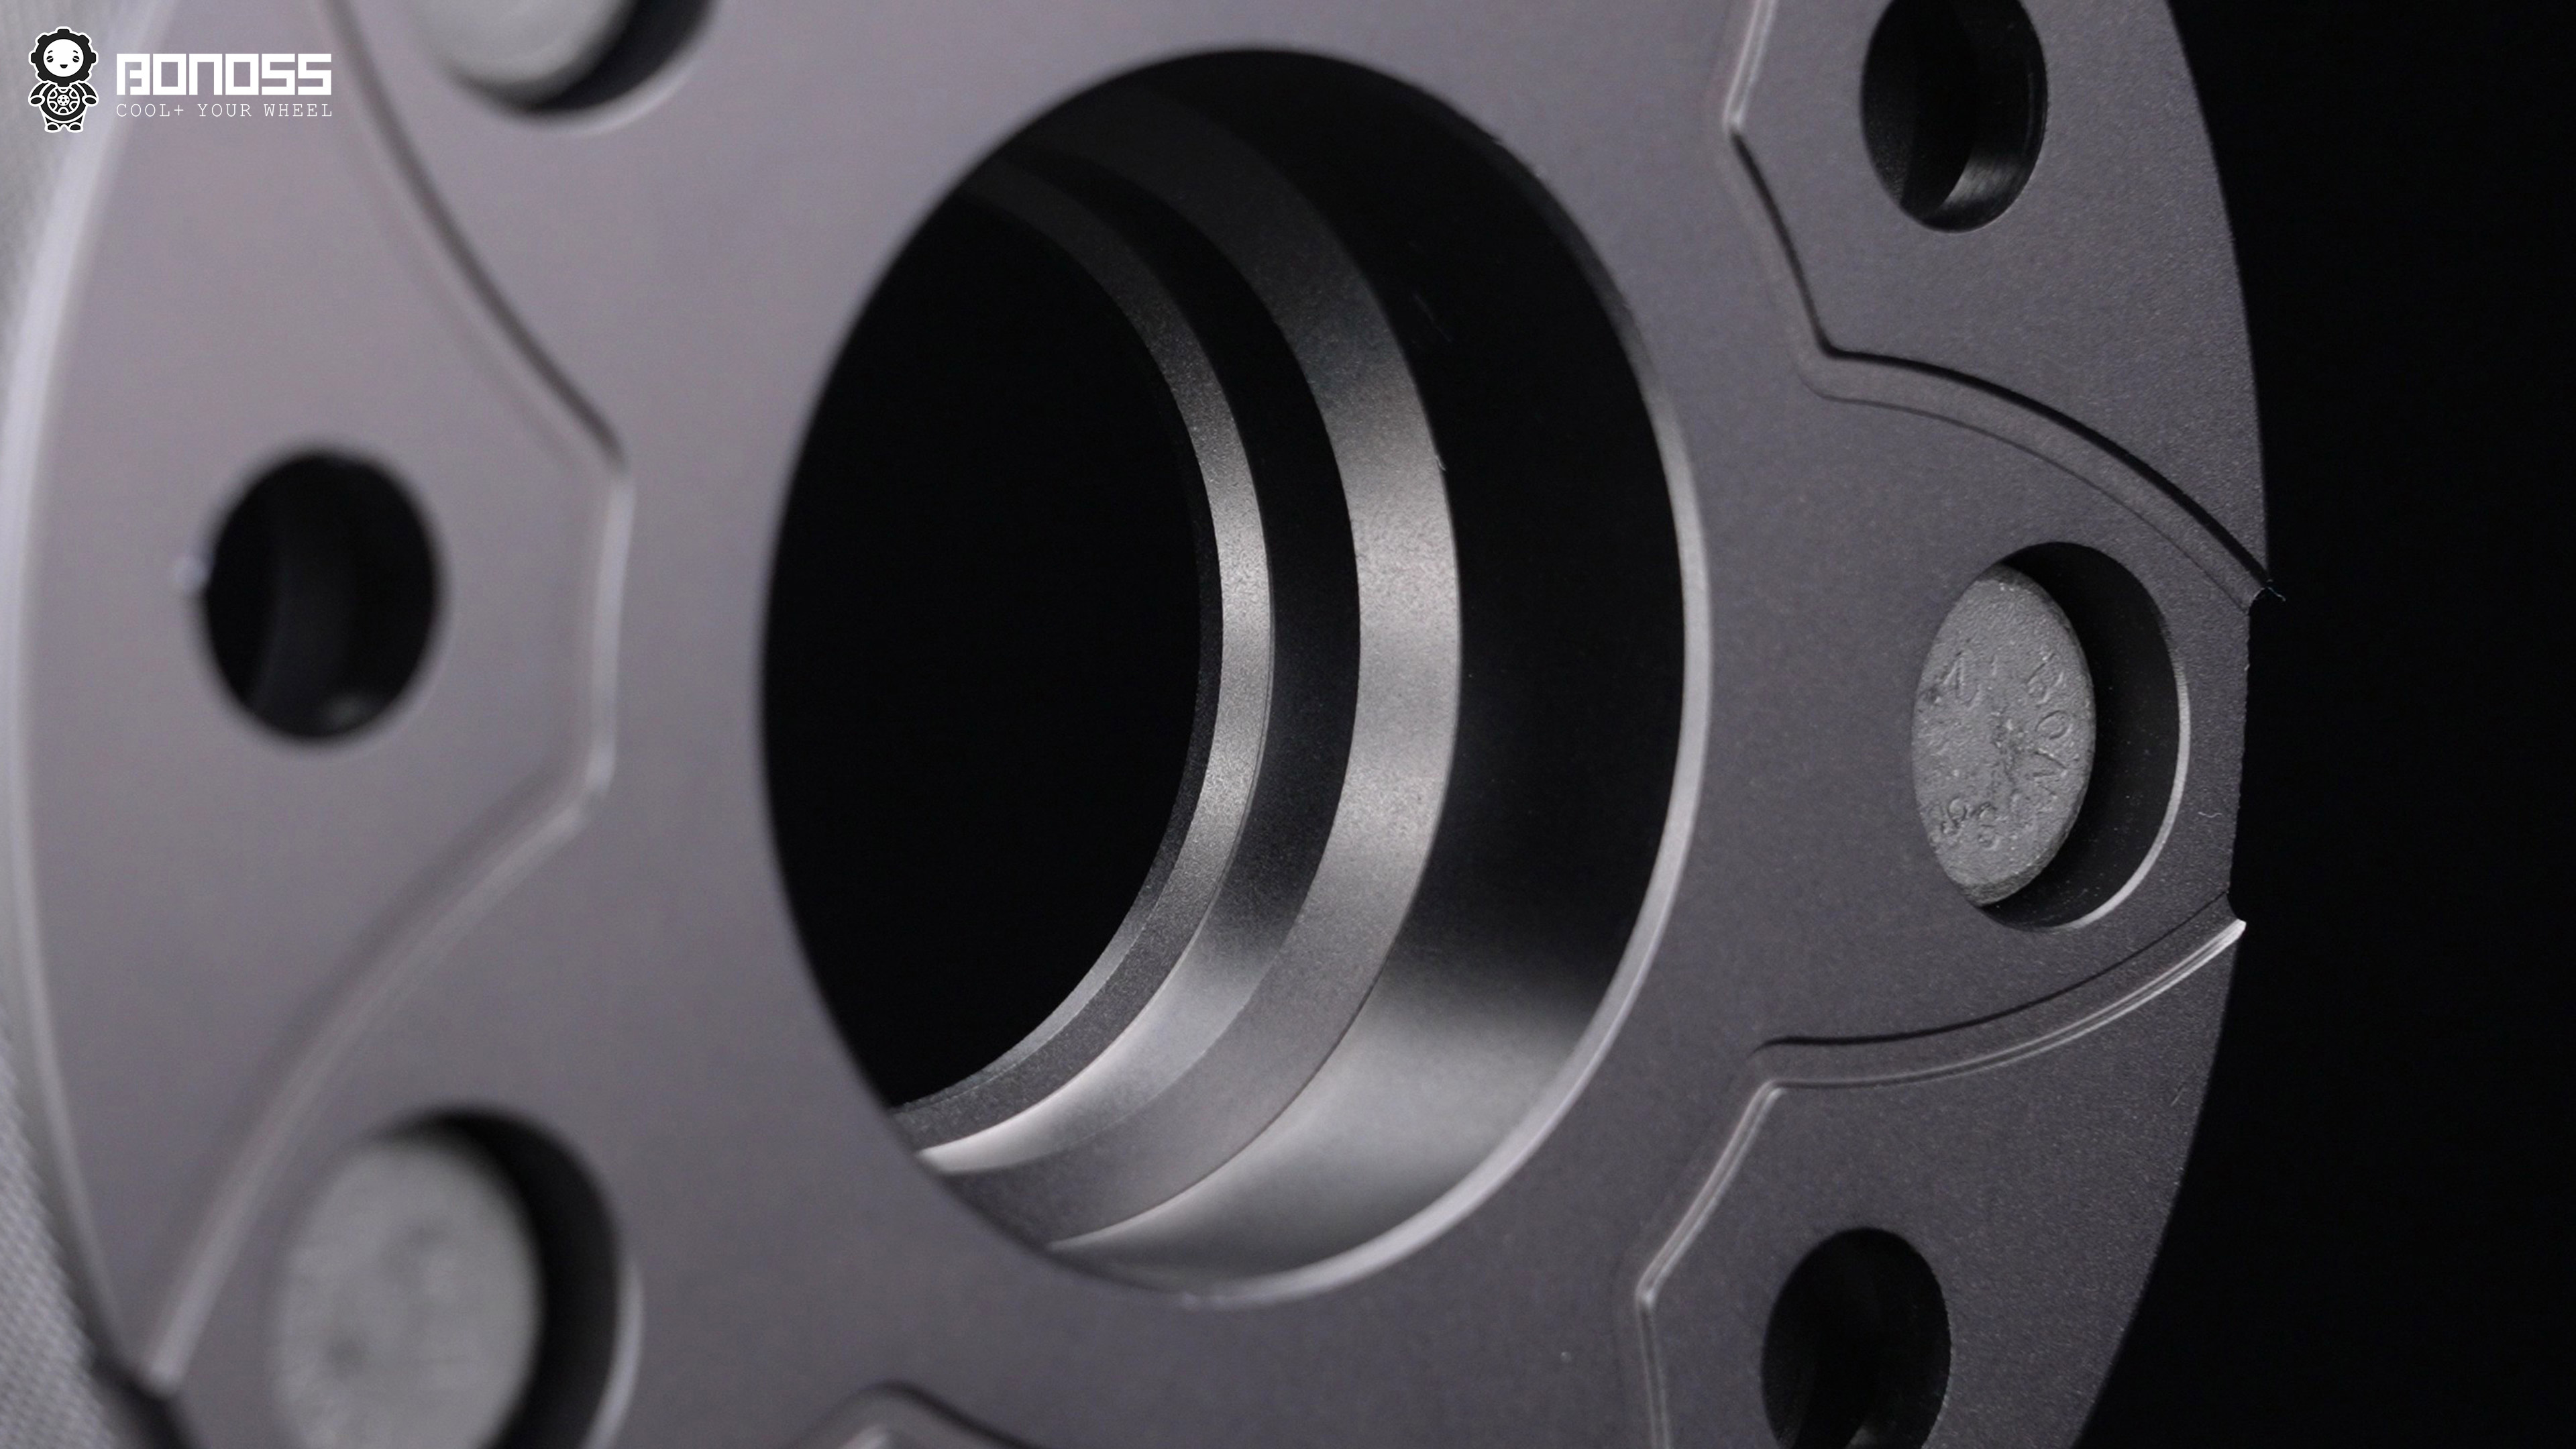
Second, the fasteners. The spacers use ISO Grade 12.9 studs and ISO Grade 10 nuts, both M14x1.5 with a full-cone seat matching the factory hardware.
Third, the paperwork. The forged 6061-T6 spacers carry a TÜV-tested hardness of 101-103 under ISO 6506-1:2014, and survived 240 hours of neutral salt spray with no defects under ISO 9227:2022+Amd 1:2024 (TÜV hardness report / salt spray report). The M14x1.5 studs pulled 1268 MPa tensile strength in SGS testing under ISO 898-1:2013 (SGS tensile report), with a TÜV-run equivalent at 1233 MPa (TÜV stud report); the nuts proof-loaded to 138.8 kN under ISO 898-2:2012 (SGS nut report).
A word on why those numbers differ between reports: different laboratories, different sample batches, and ordinary measurement spread produce different readings — 1268 MPa from SGS and 1233 MPa from TÜV both comfortably exceed the Grade 12.9 threshold. Nut values differ from stud values because the parts and their thread engagement differ.
And even among studs, an M14x1.5 and an M14x1.25 are different components with different test outcomes; the only honest reference is the actual certification report for the exact part, which is why BONOSS publishes over 75 SGS and TÜV reports. For the engineering deep-dive on load paths and fastener grades, the Tesla Model X wheel spacers safety guide covers it properly.
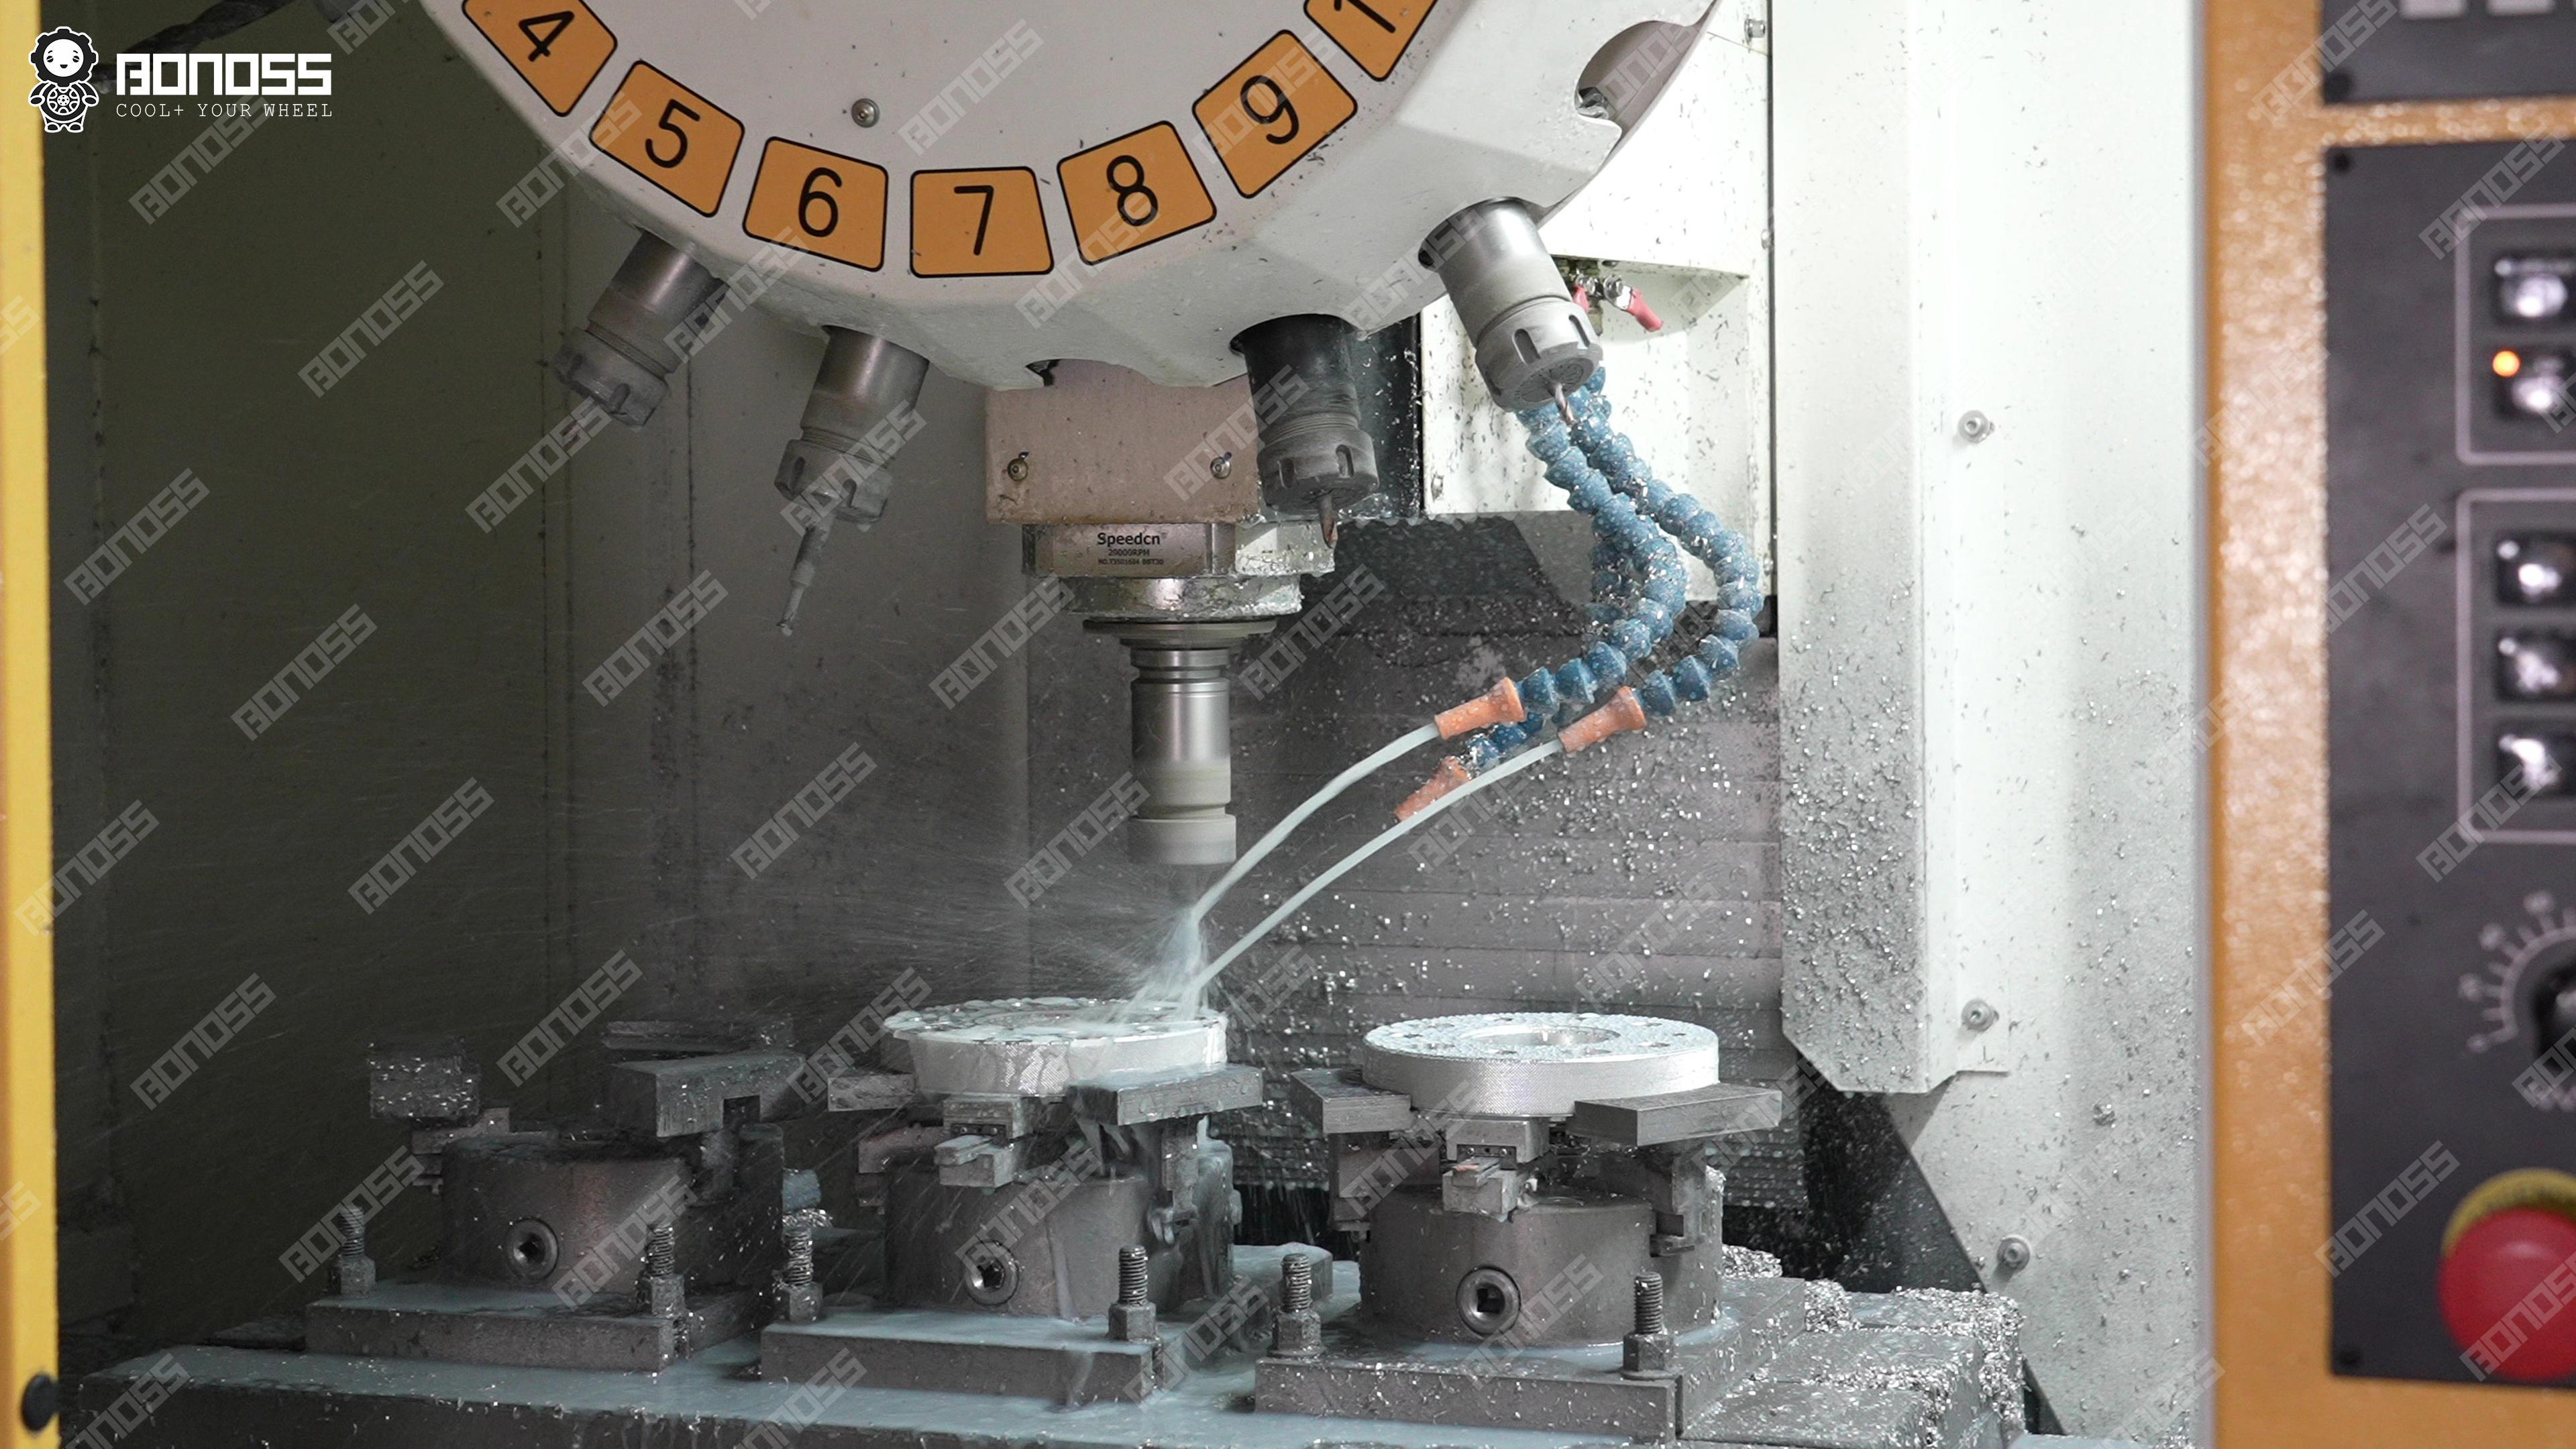
The machining side matters too — these parts come off CNC equipment held to a 0.02mm tolerance, which is what makes the three-bore fitment discussed above possible at all. Backing the hardware is a 10-year warranty.
Rub Test: Full Lock, No Contact
After the wheels went back on, the car was cycled to full steering lock in both directions and checked at each corner. No tire-to-fender contact, no liner rub, no clearance complaints — consistent with the gap measurements taken before installation. The extra track width also cleared the brake hardware without drama, since the spacer moves the wheel outward, away from the caliper, rather than toward it.
The real rub test, though, isn’t a parking-lot lock-to-lock sweep — it’s 31,427 miles of speed bumps, driveway aprons, full-load family trips, and highway expansion joints. Fidel’s report matches the launch-day inspection: “no rubbing” isn’t a claim that aged badly. It held.
Tesla Model X 20mm Spacers Before and After: The Payoff
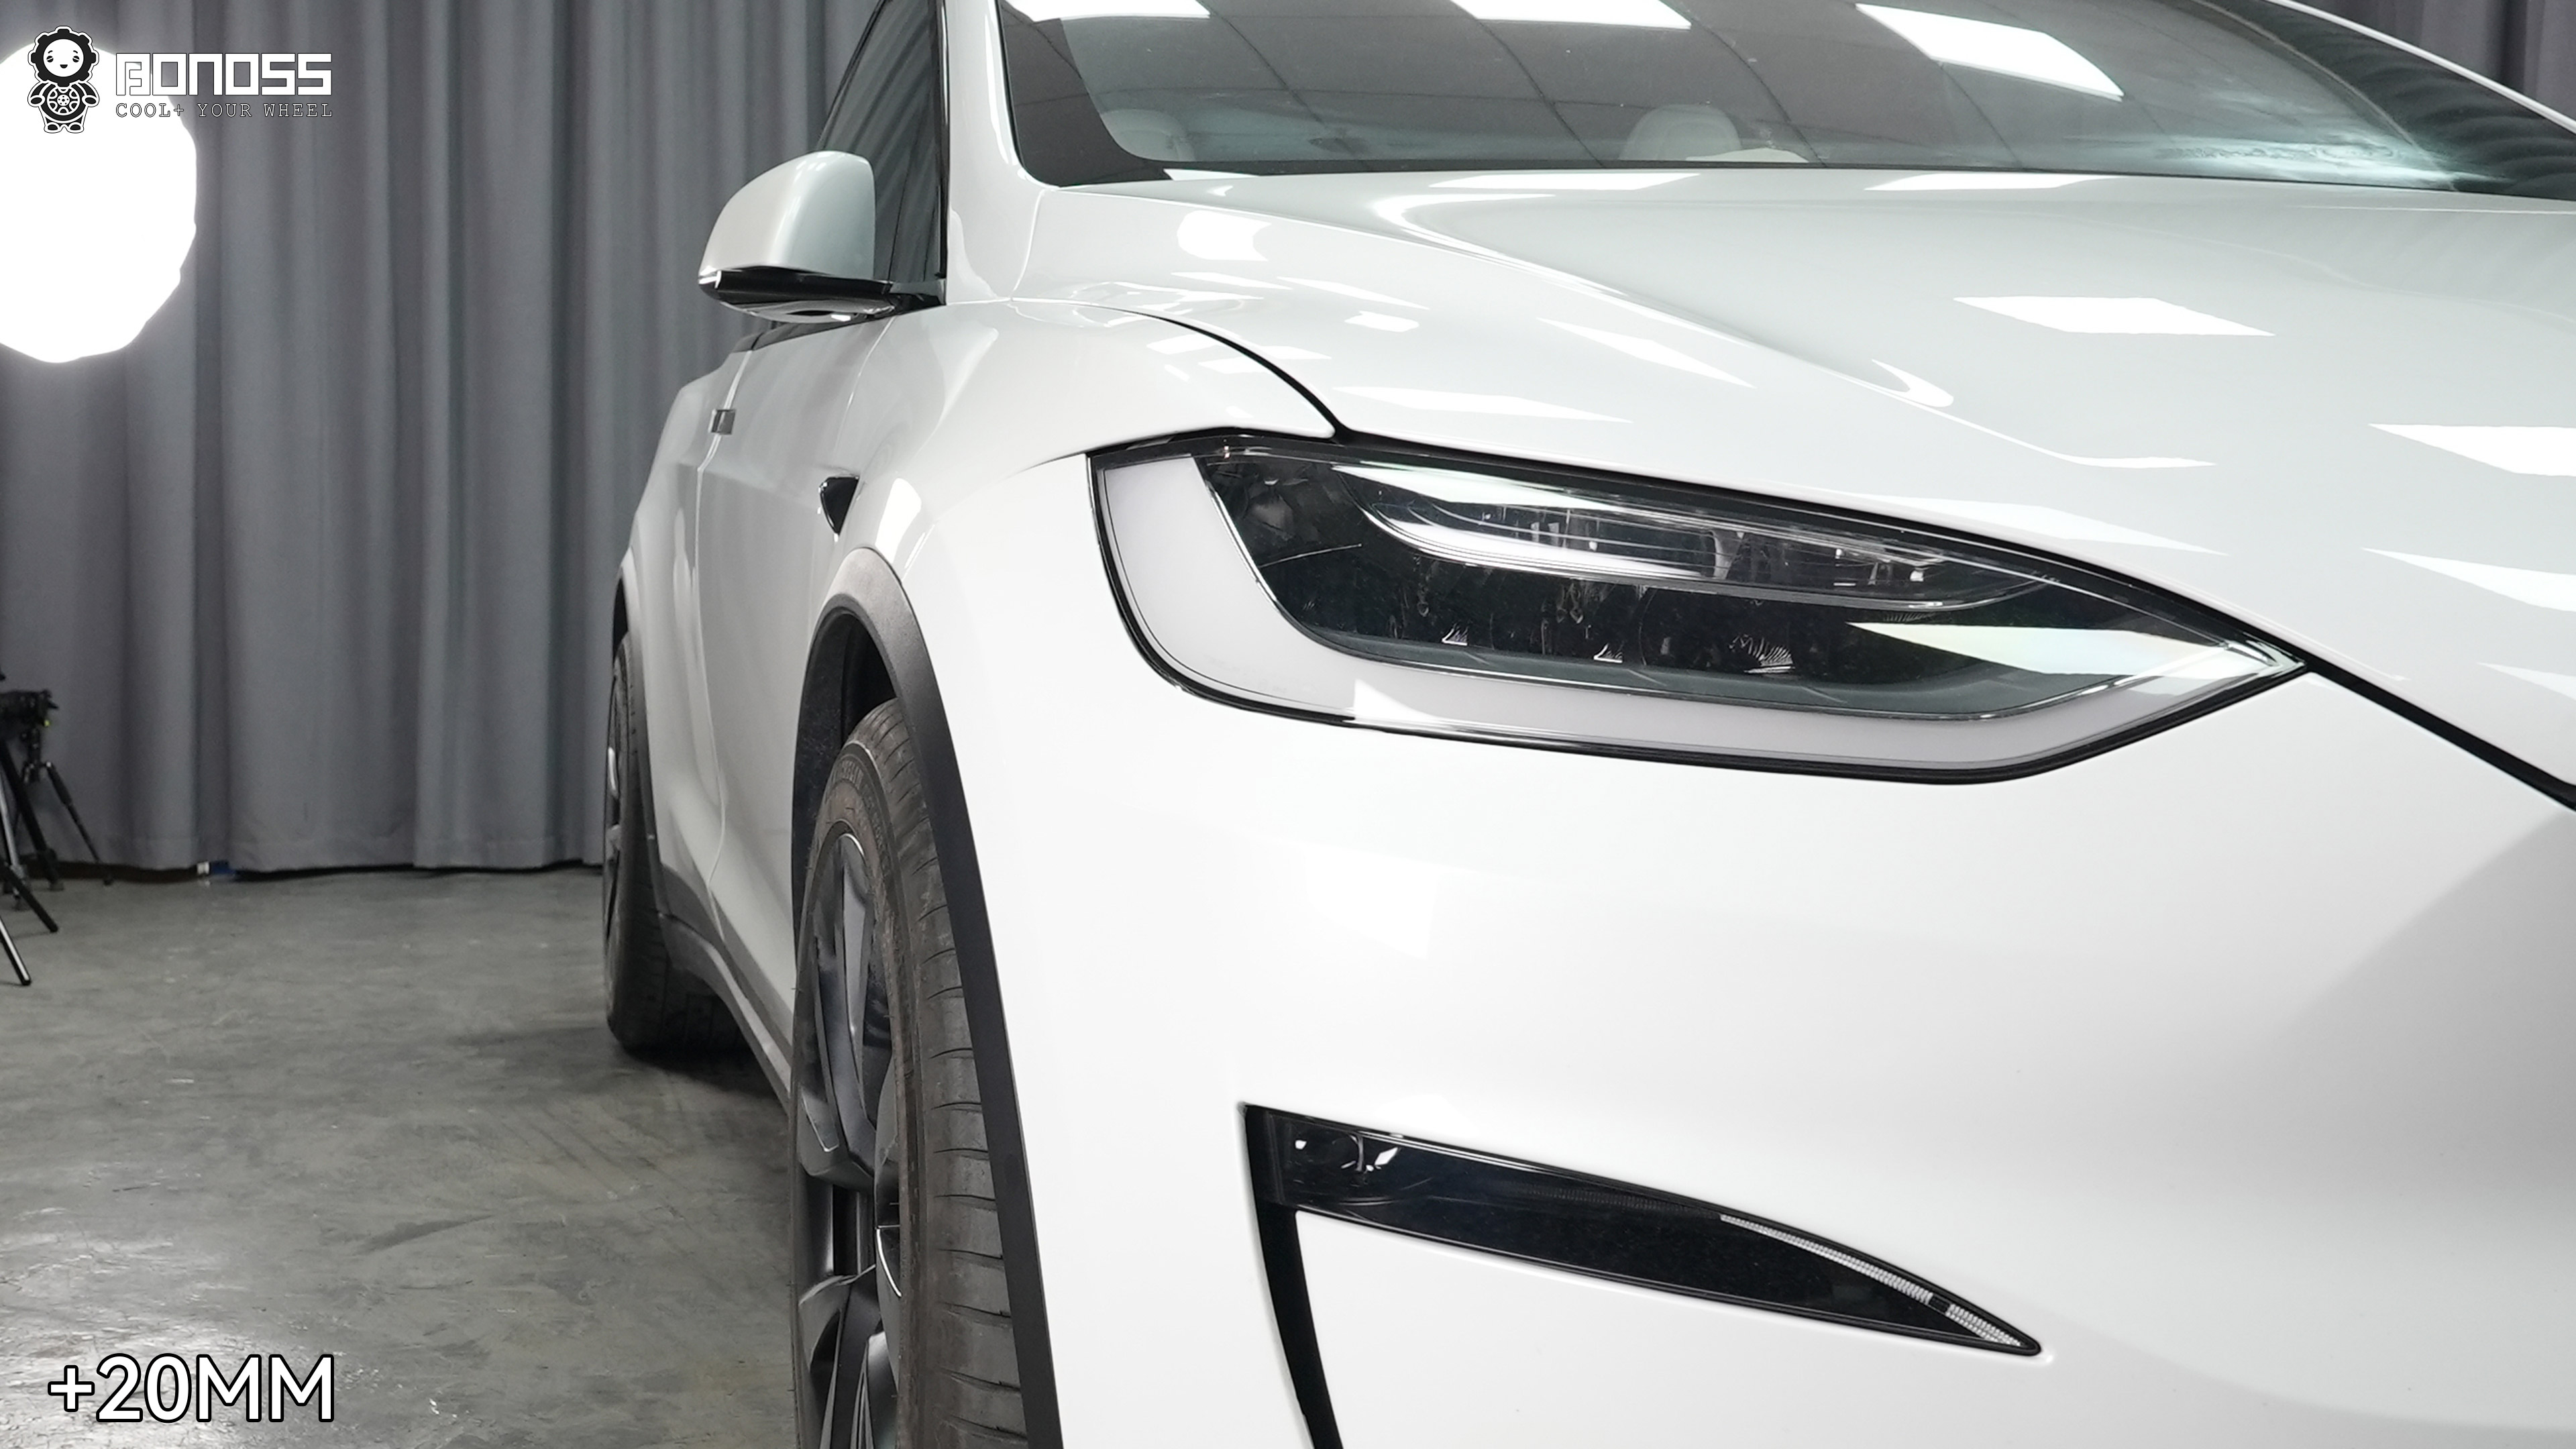
Same angles, same car, one variable changed. Left front, before and after:
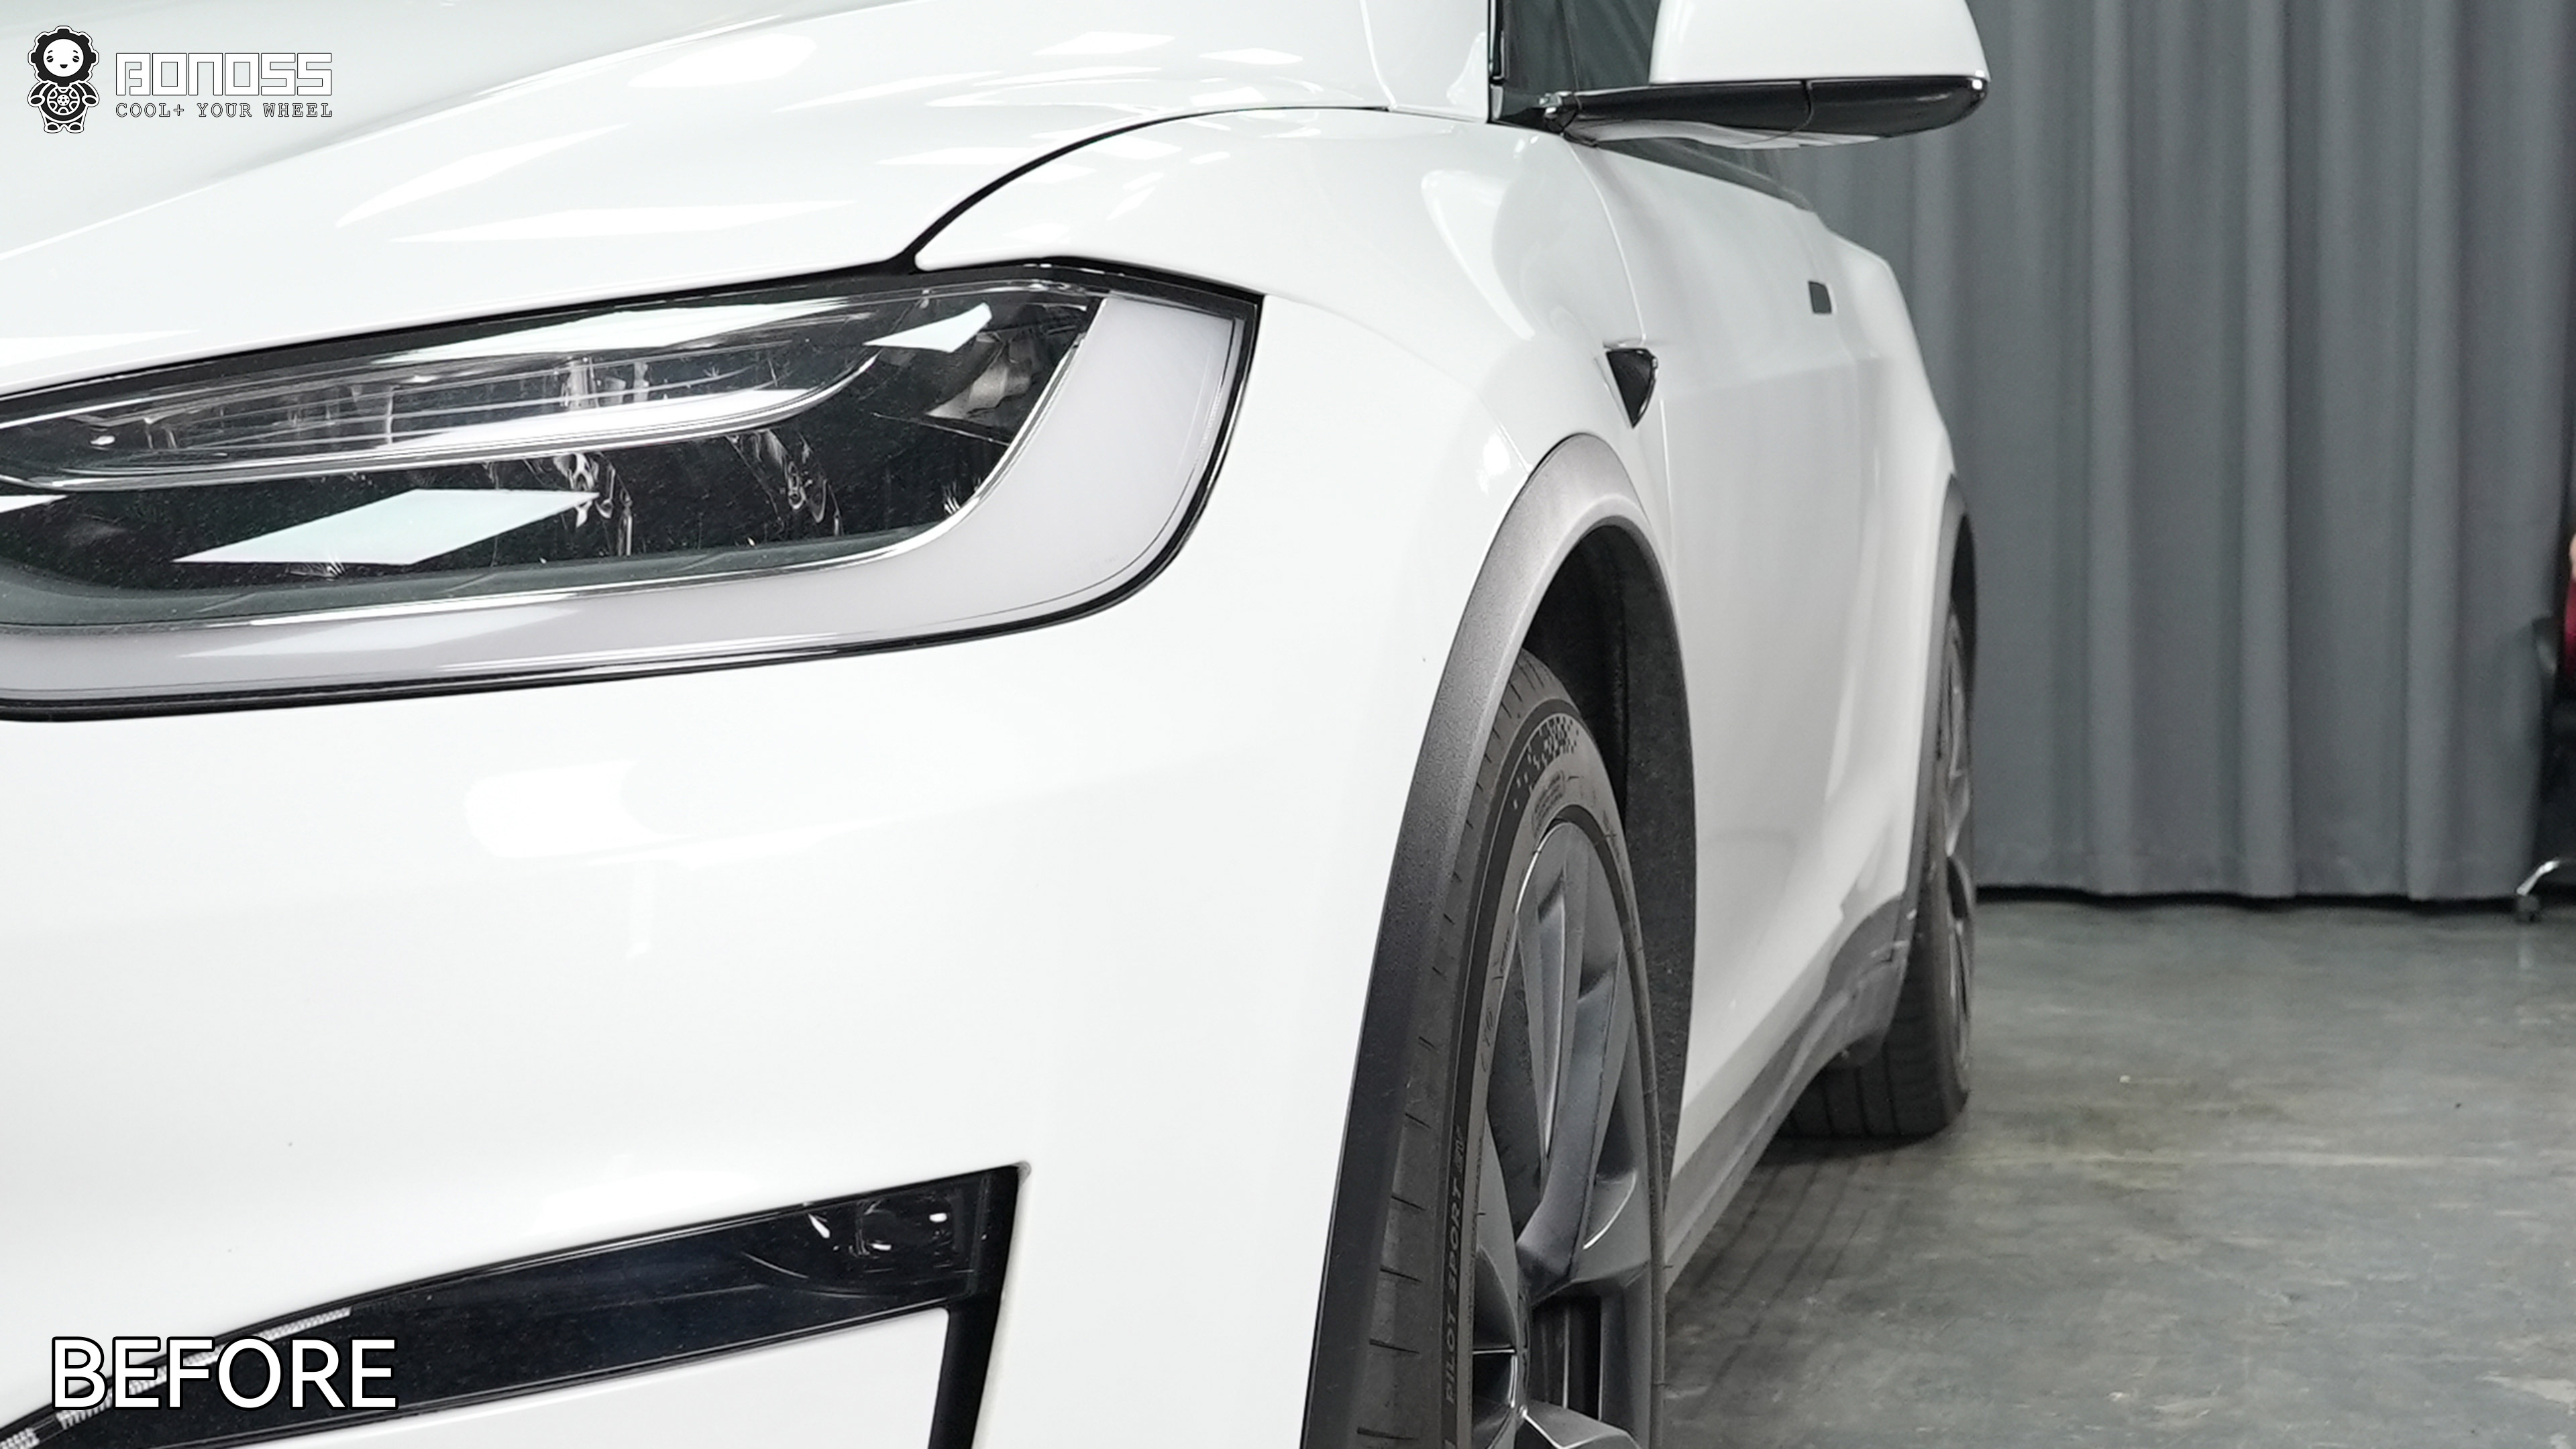
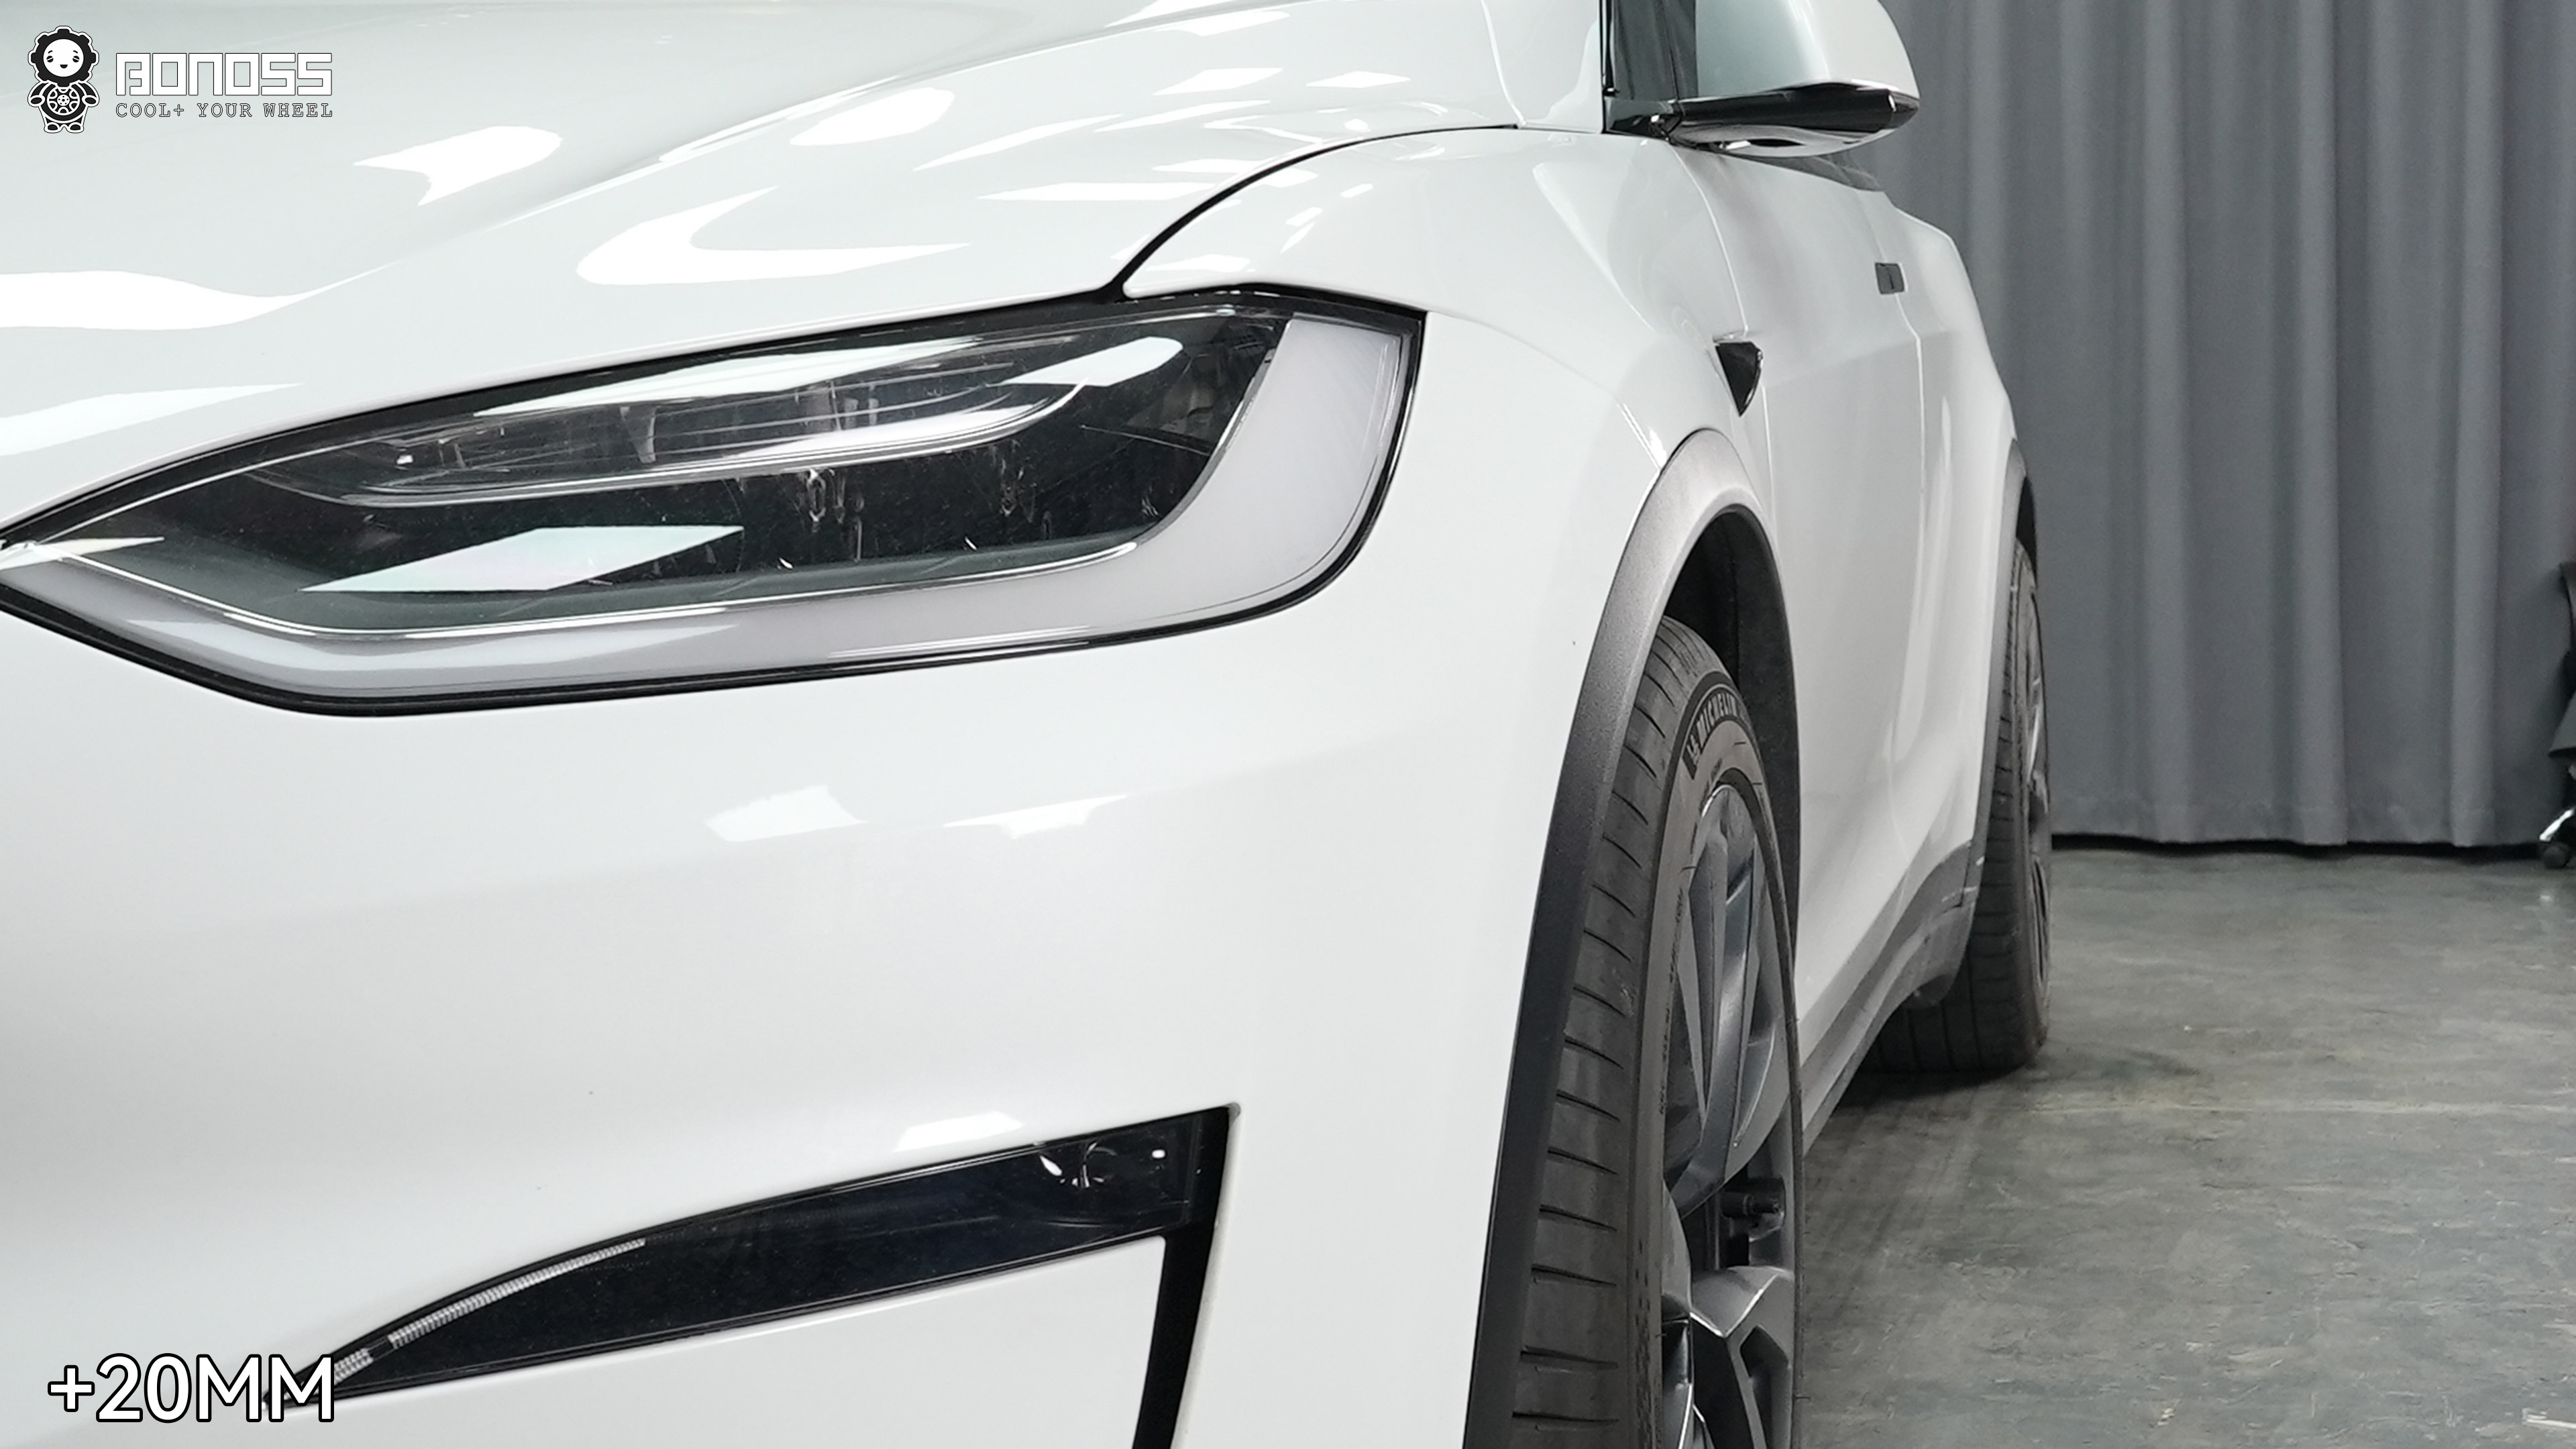
Right front, before and after:
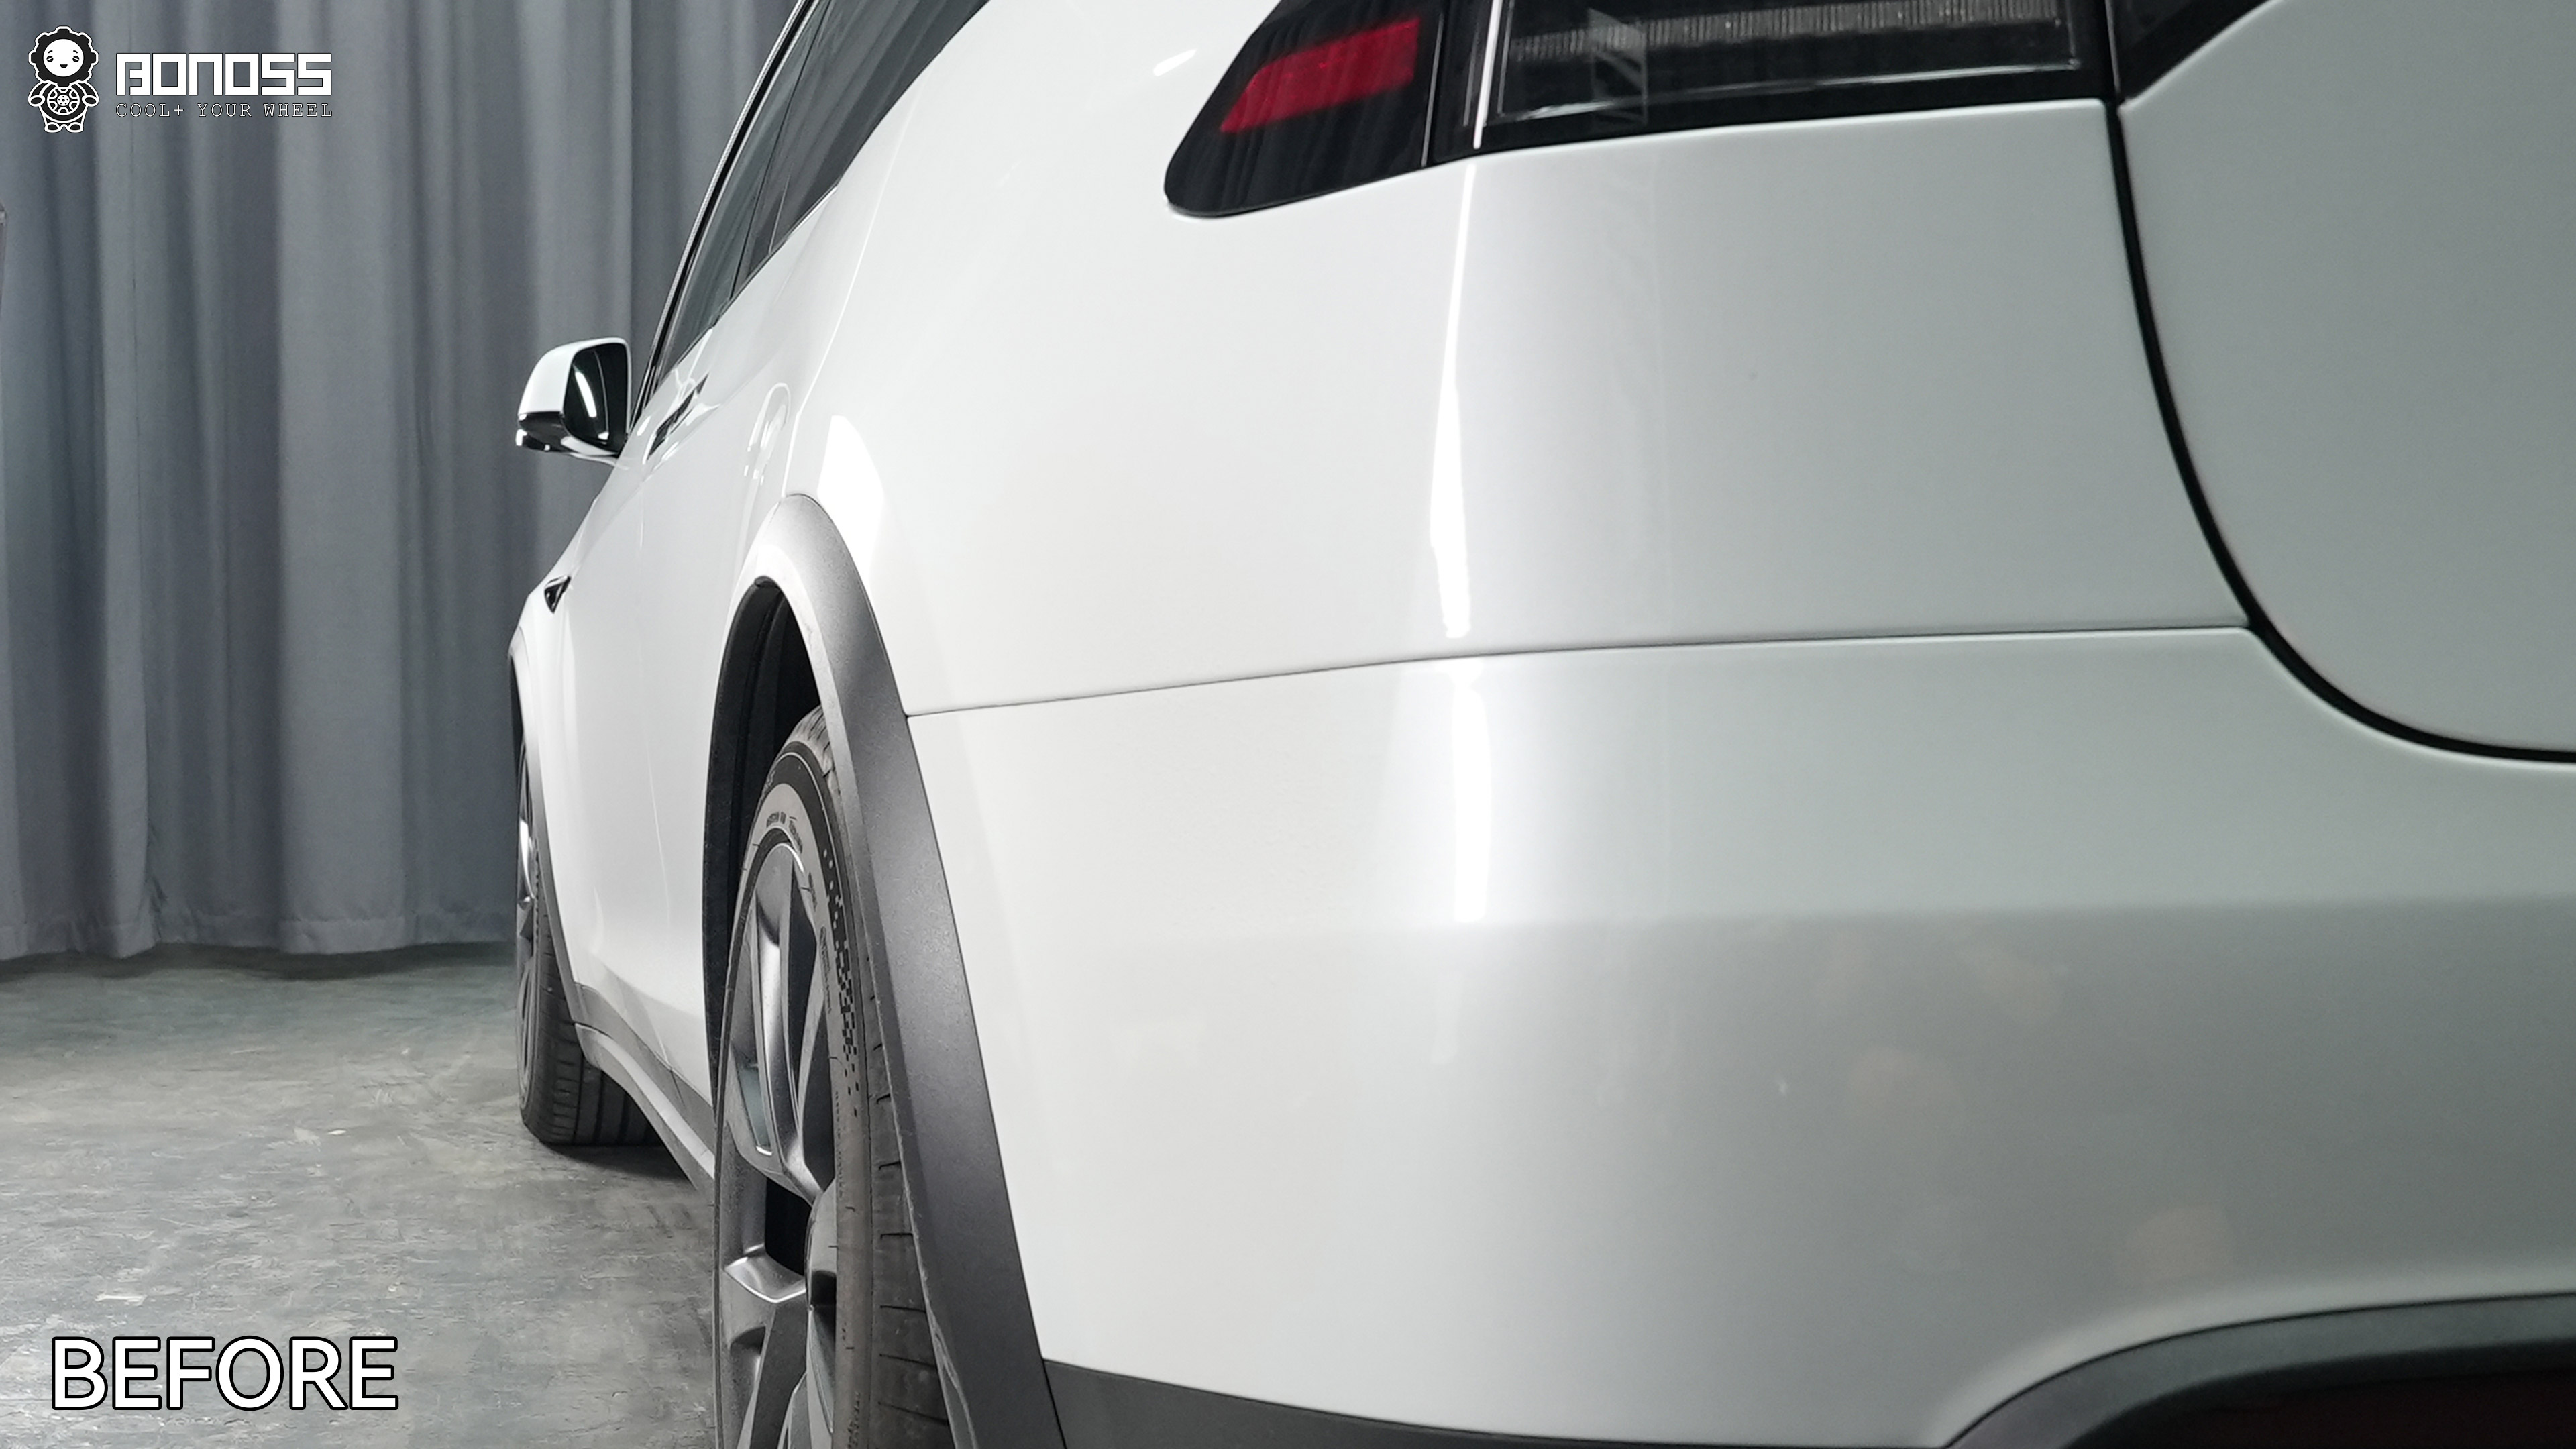
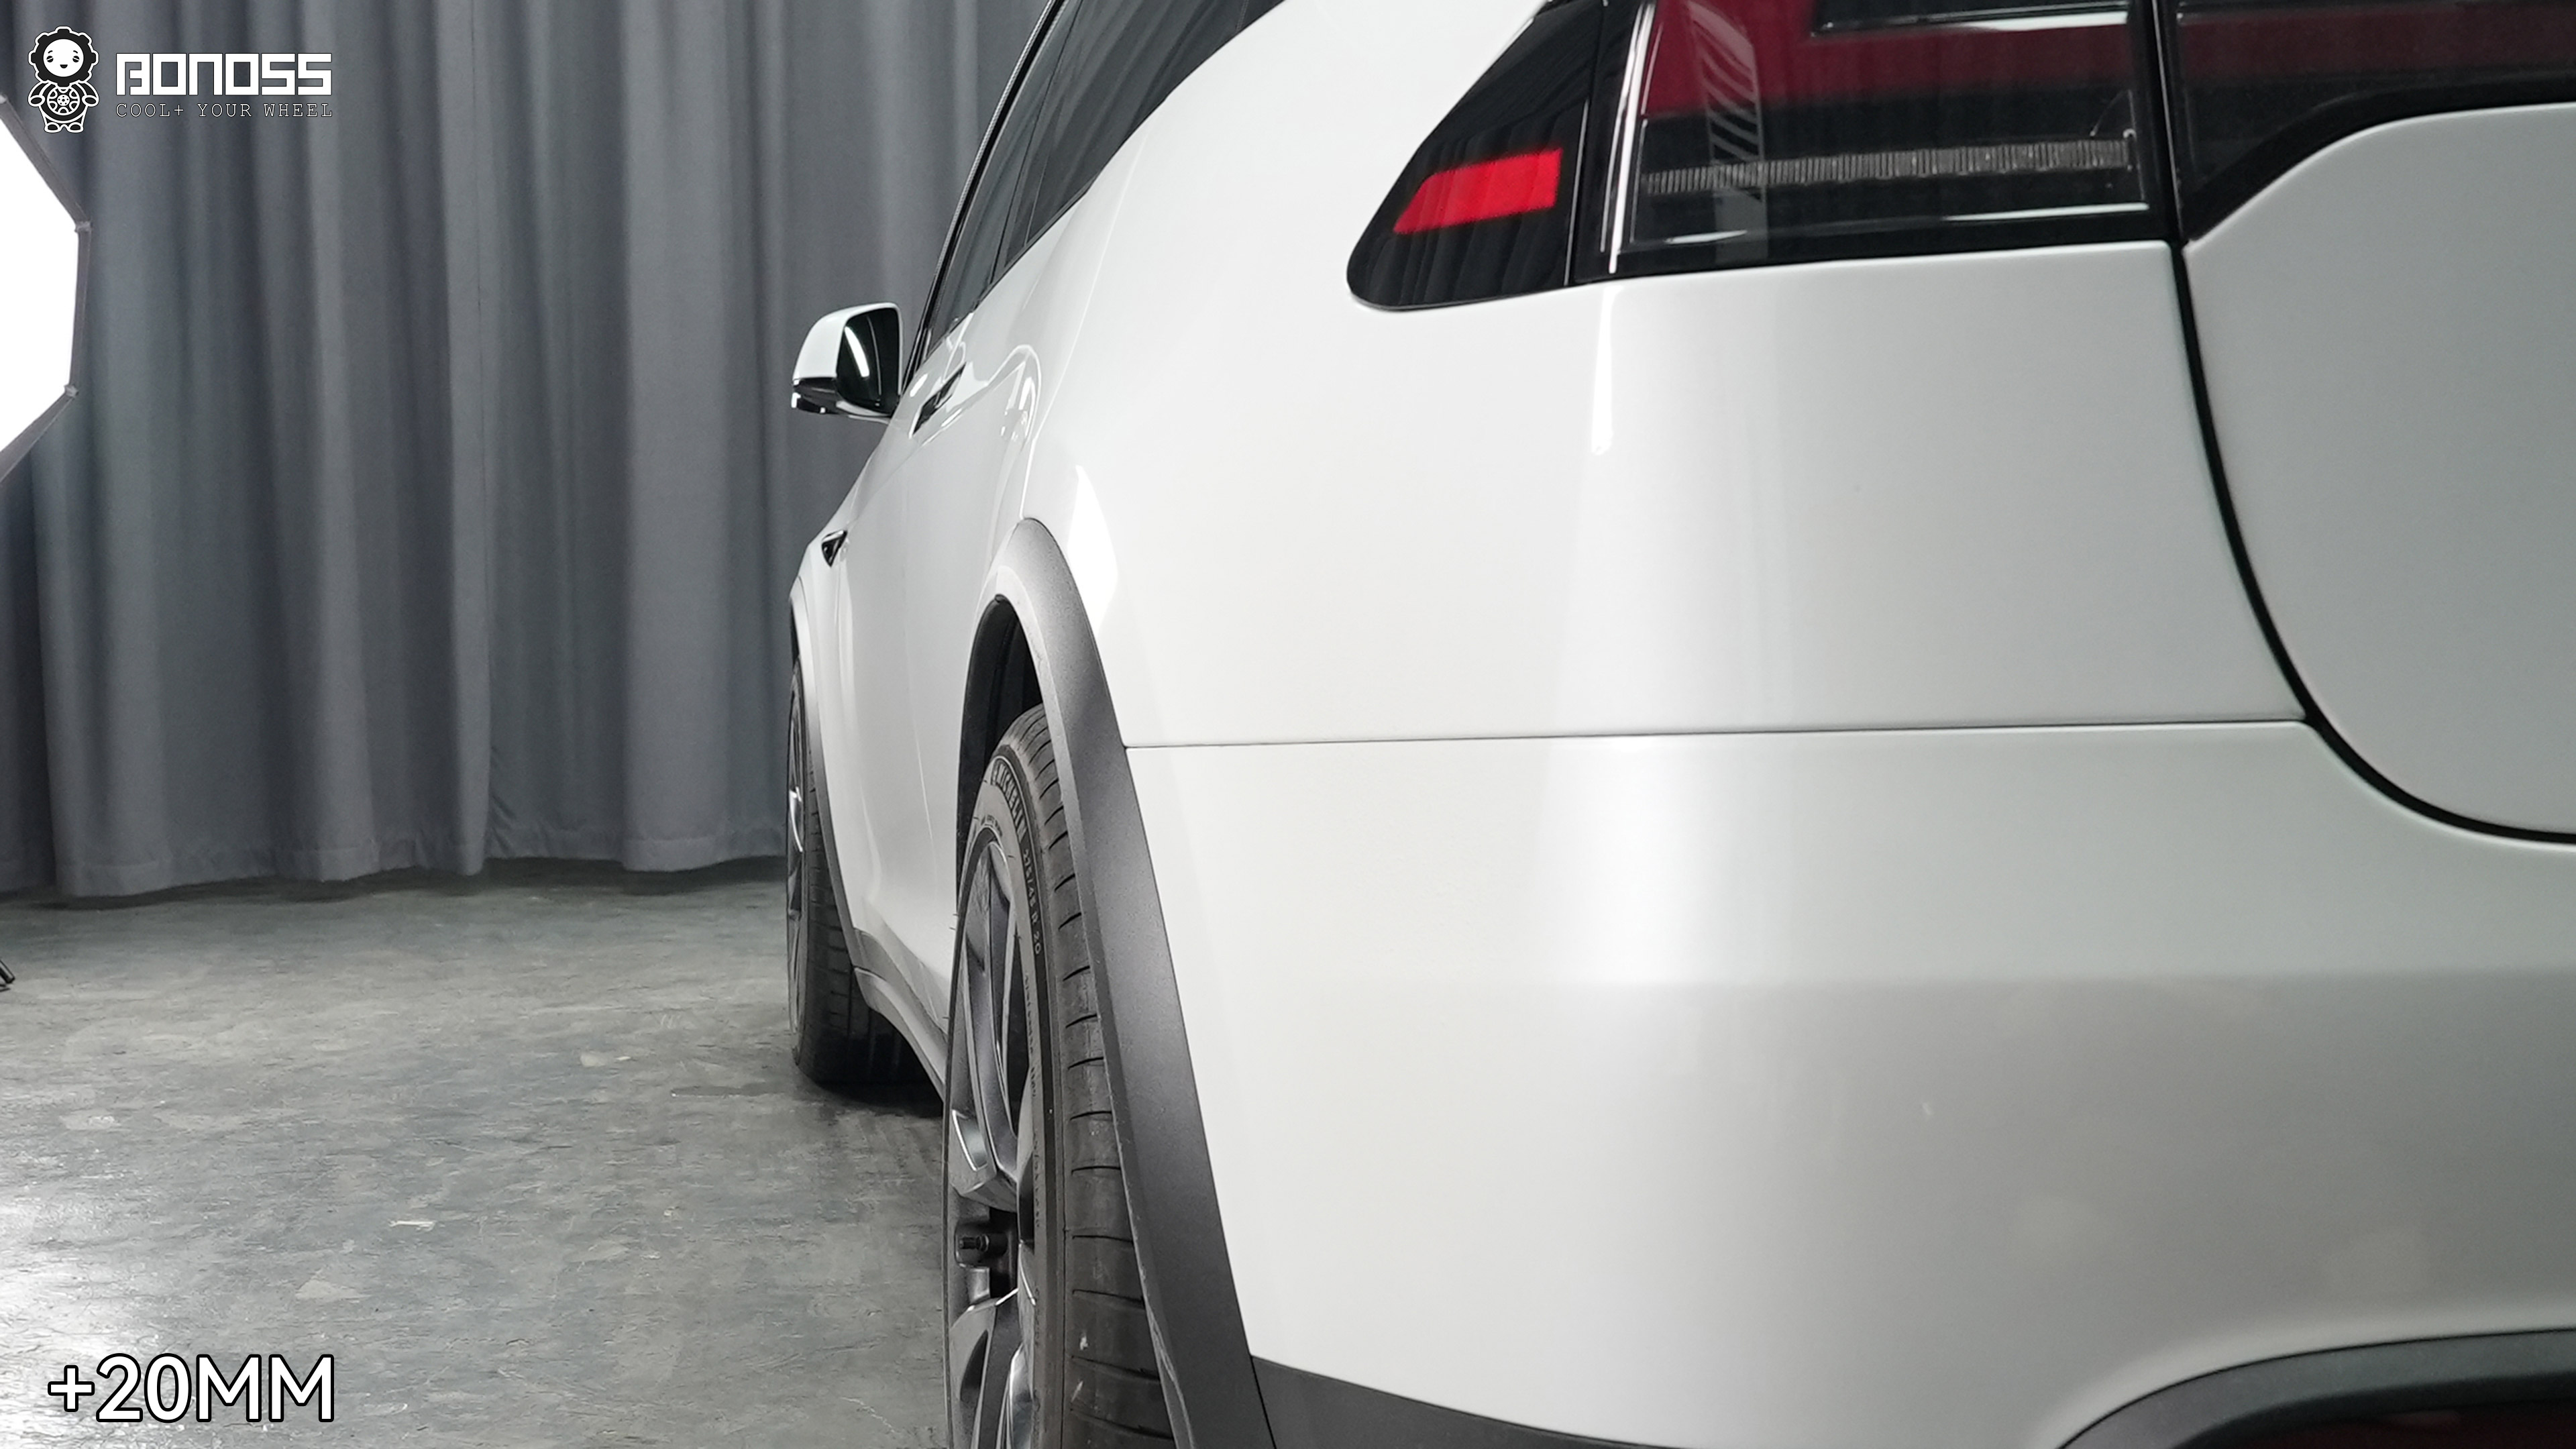
Left rear, before and after:
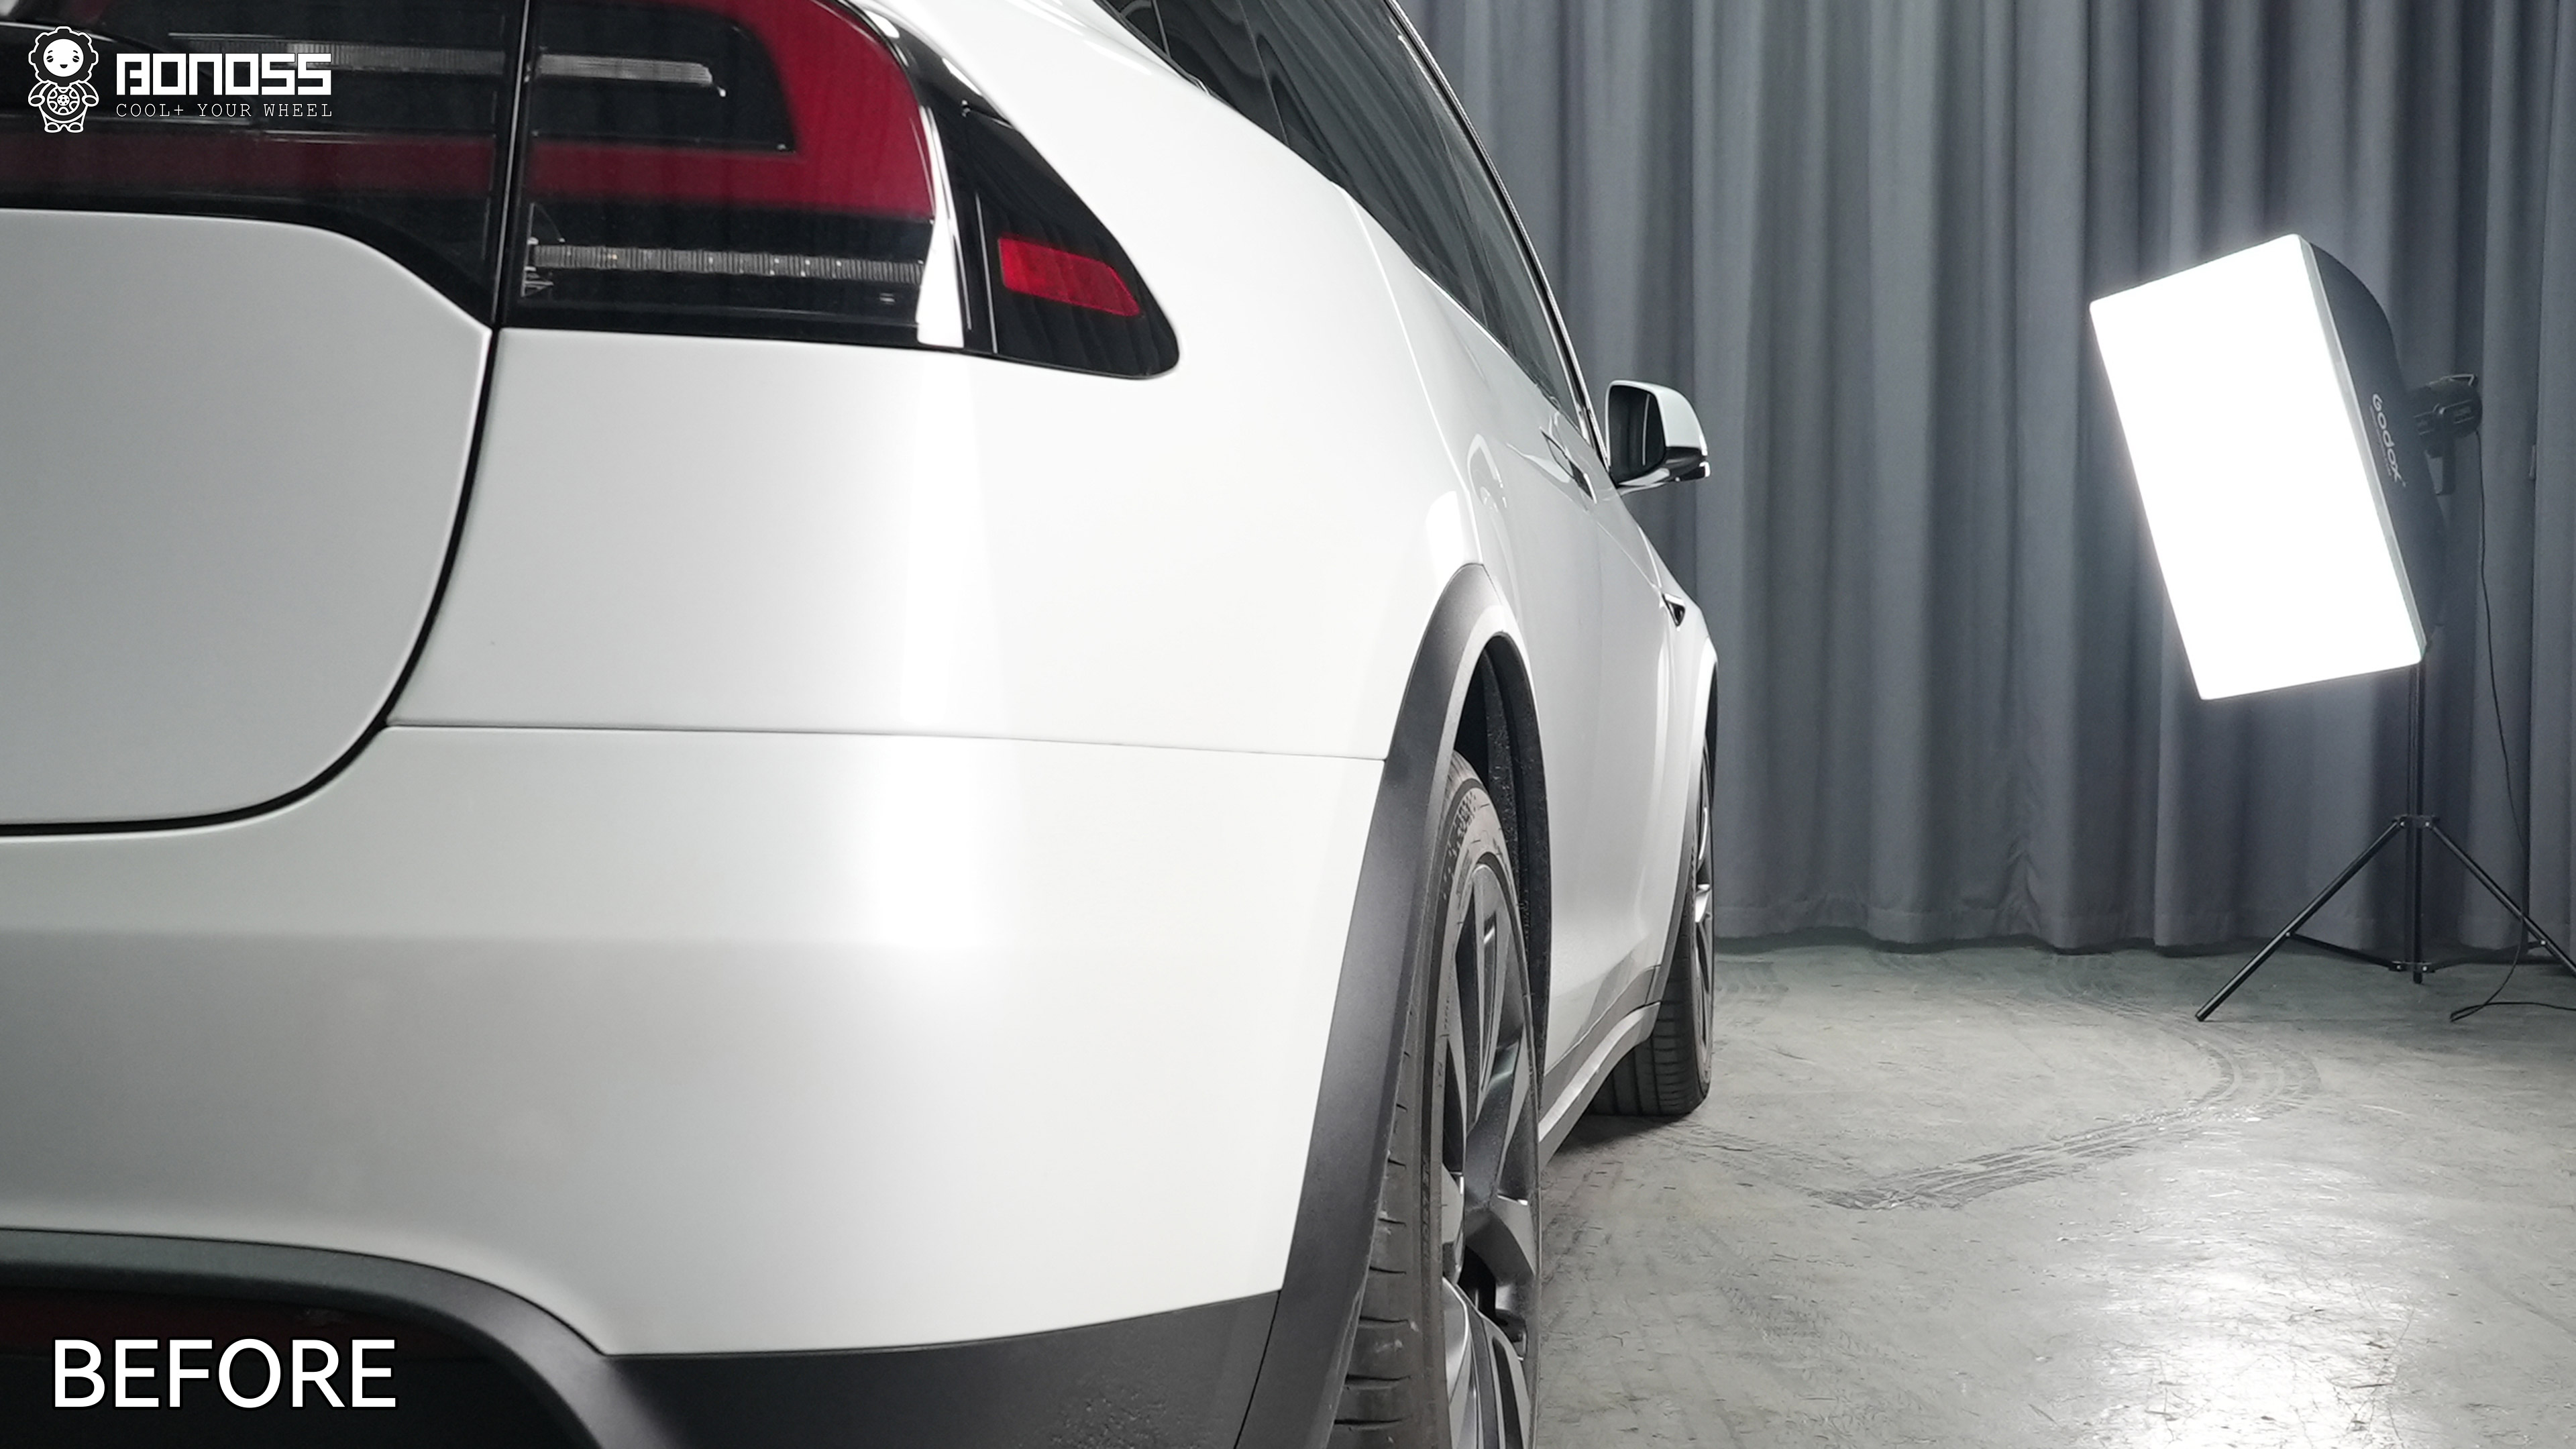
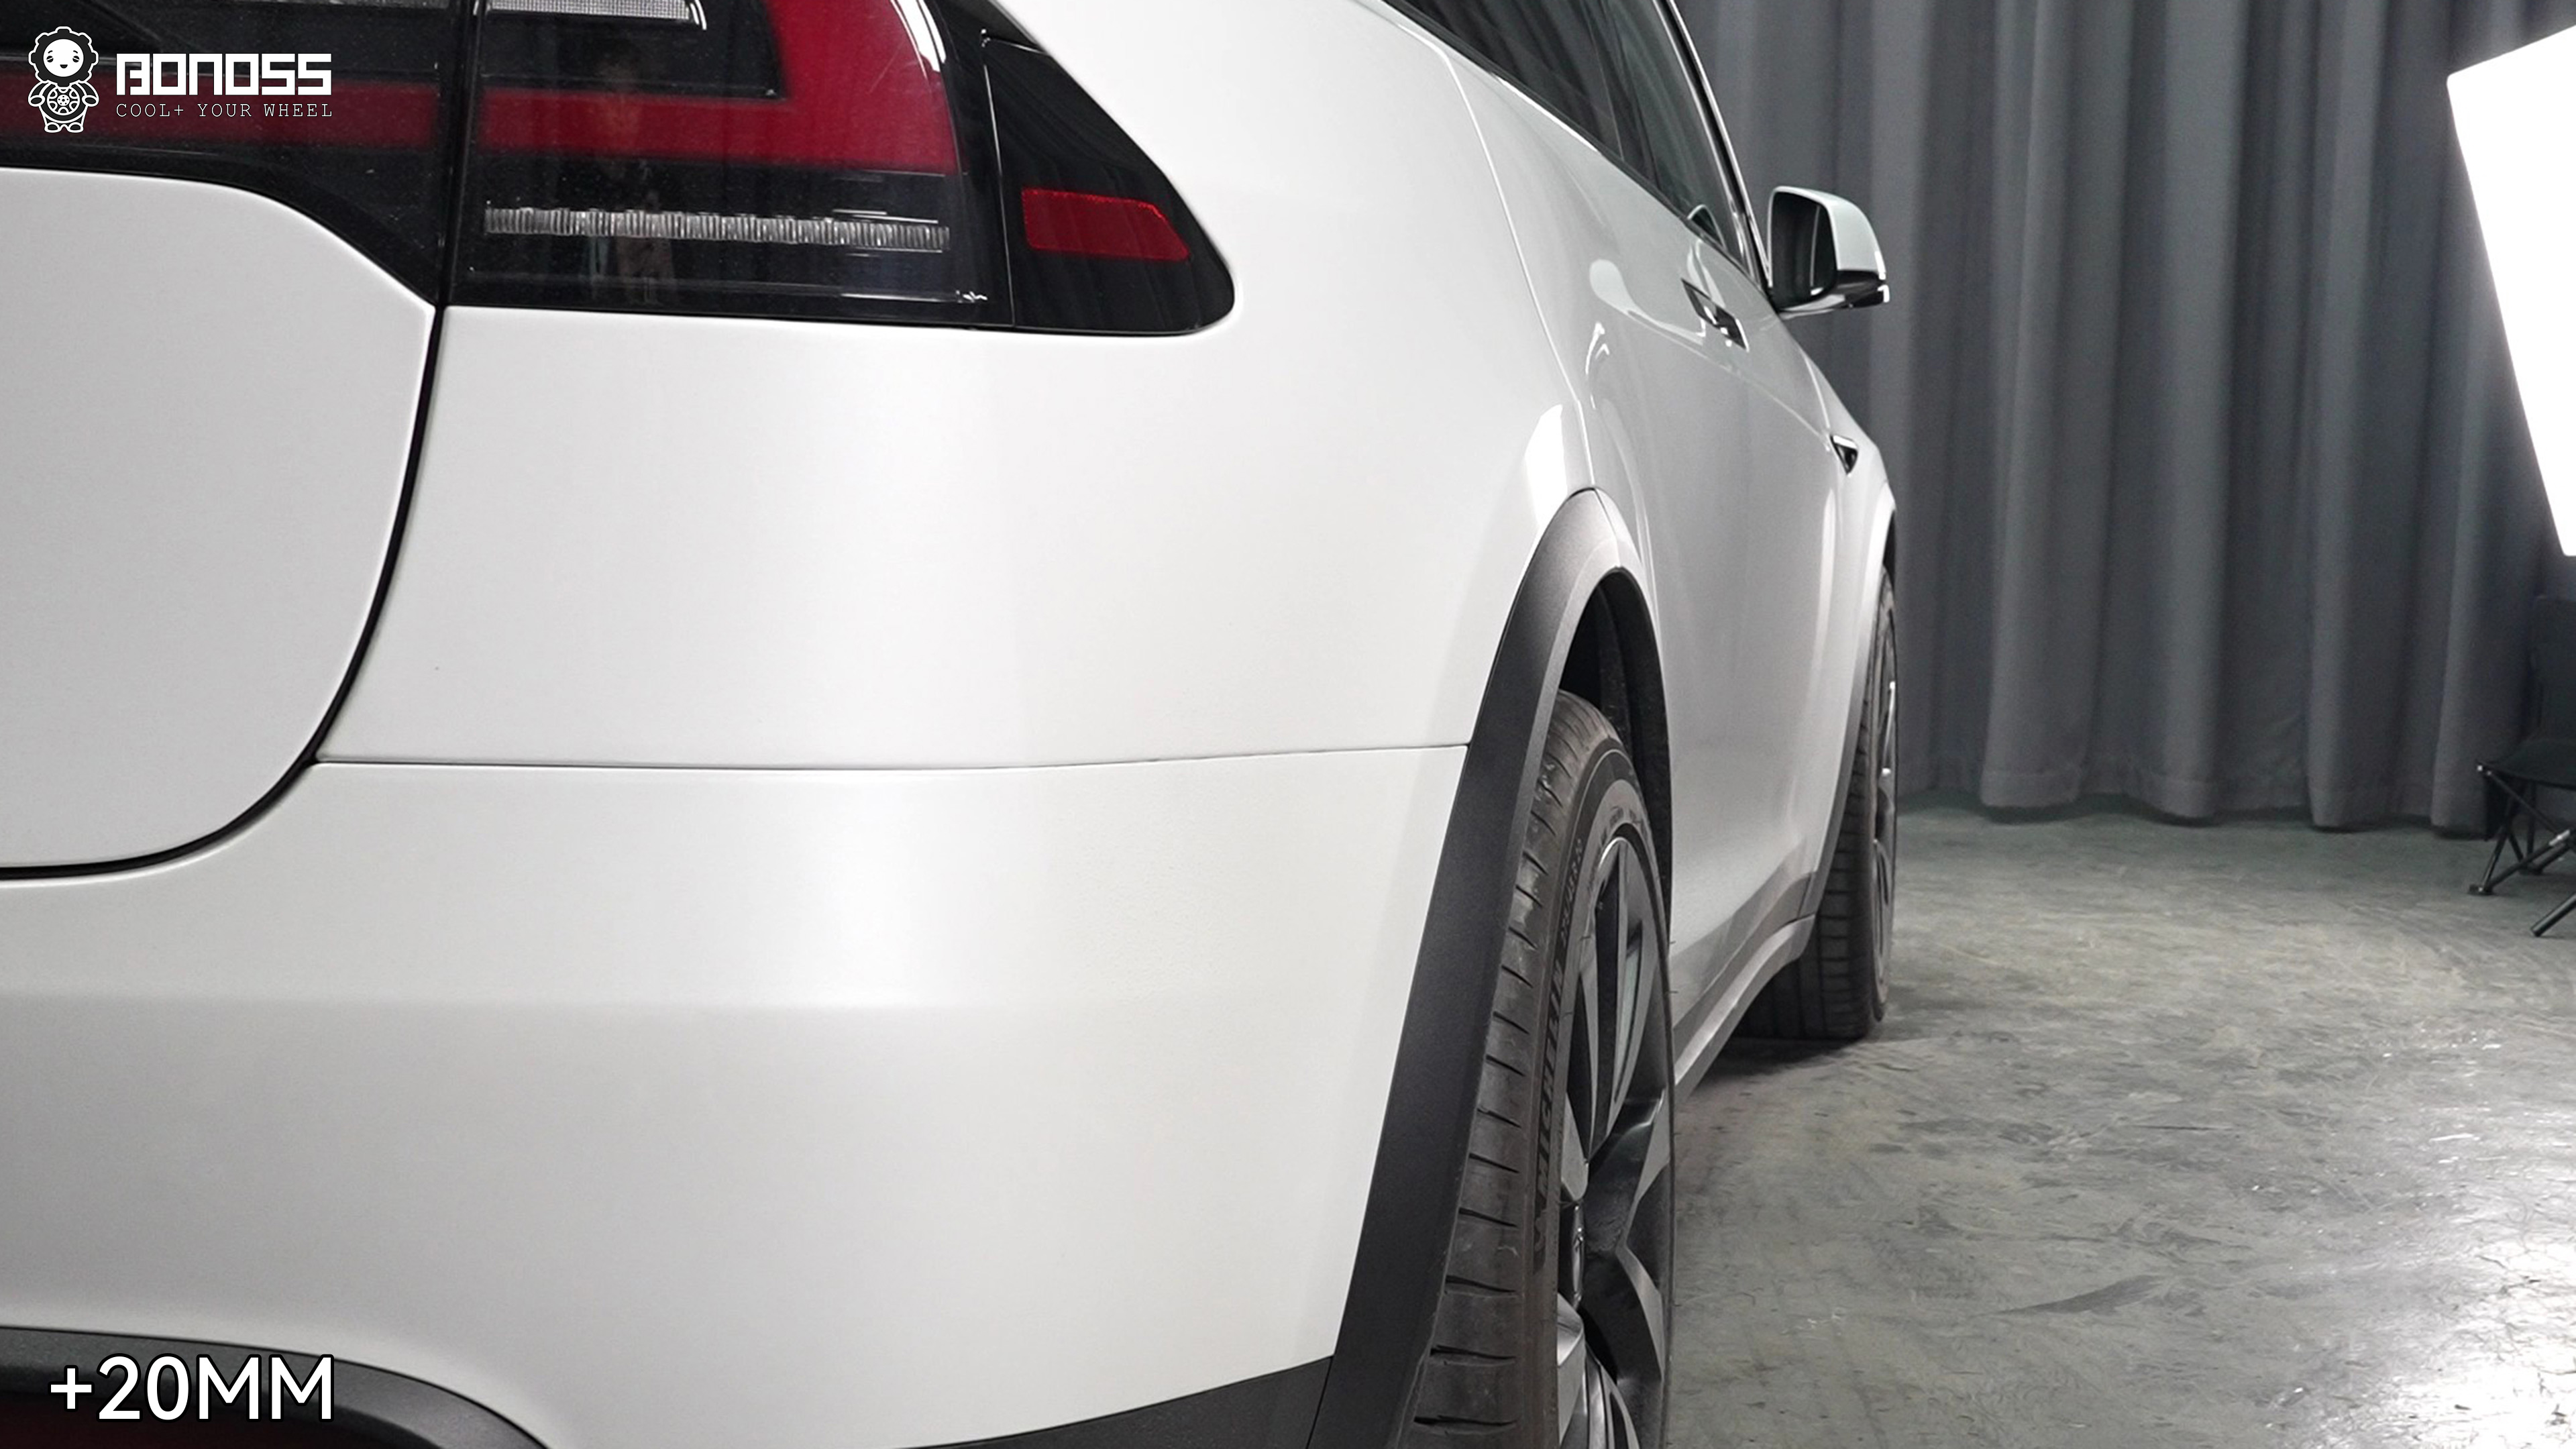
Right rear, before and after:
And the finished car from the same left-front angle that started this article:
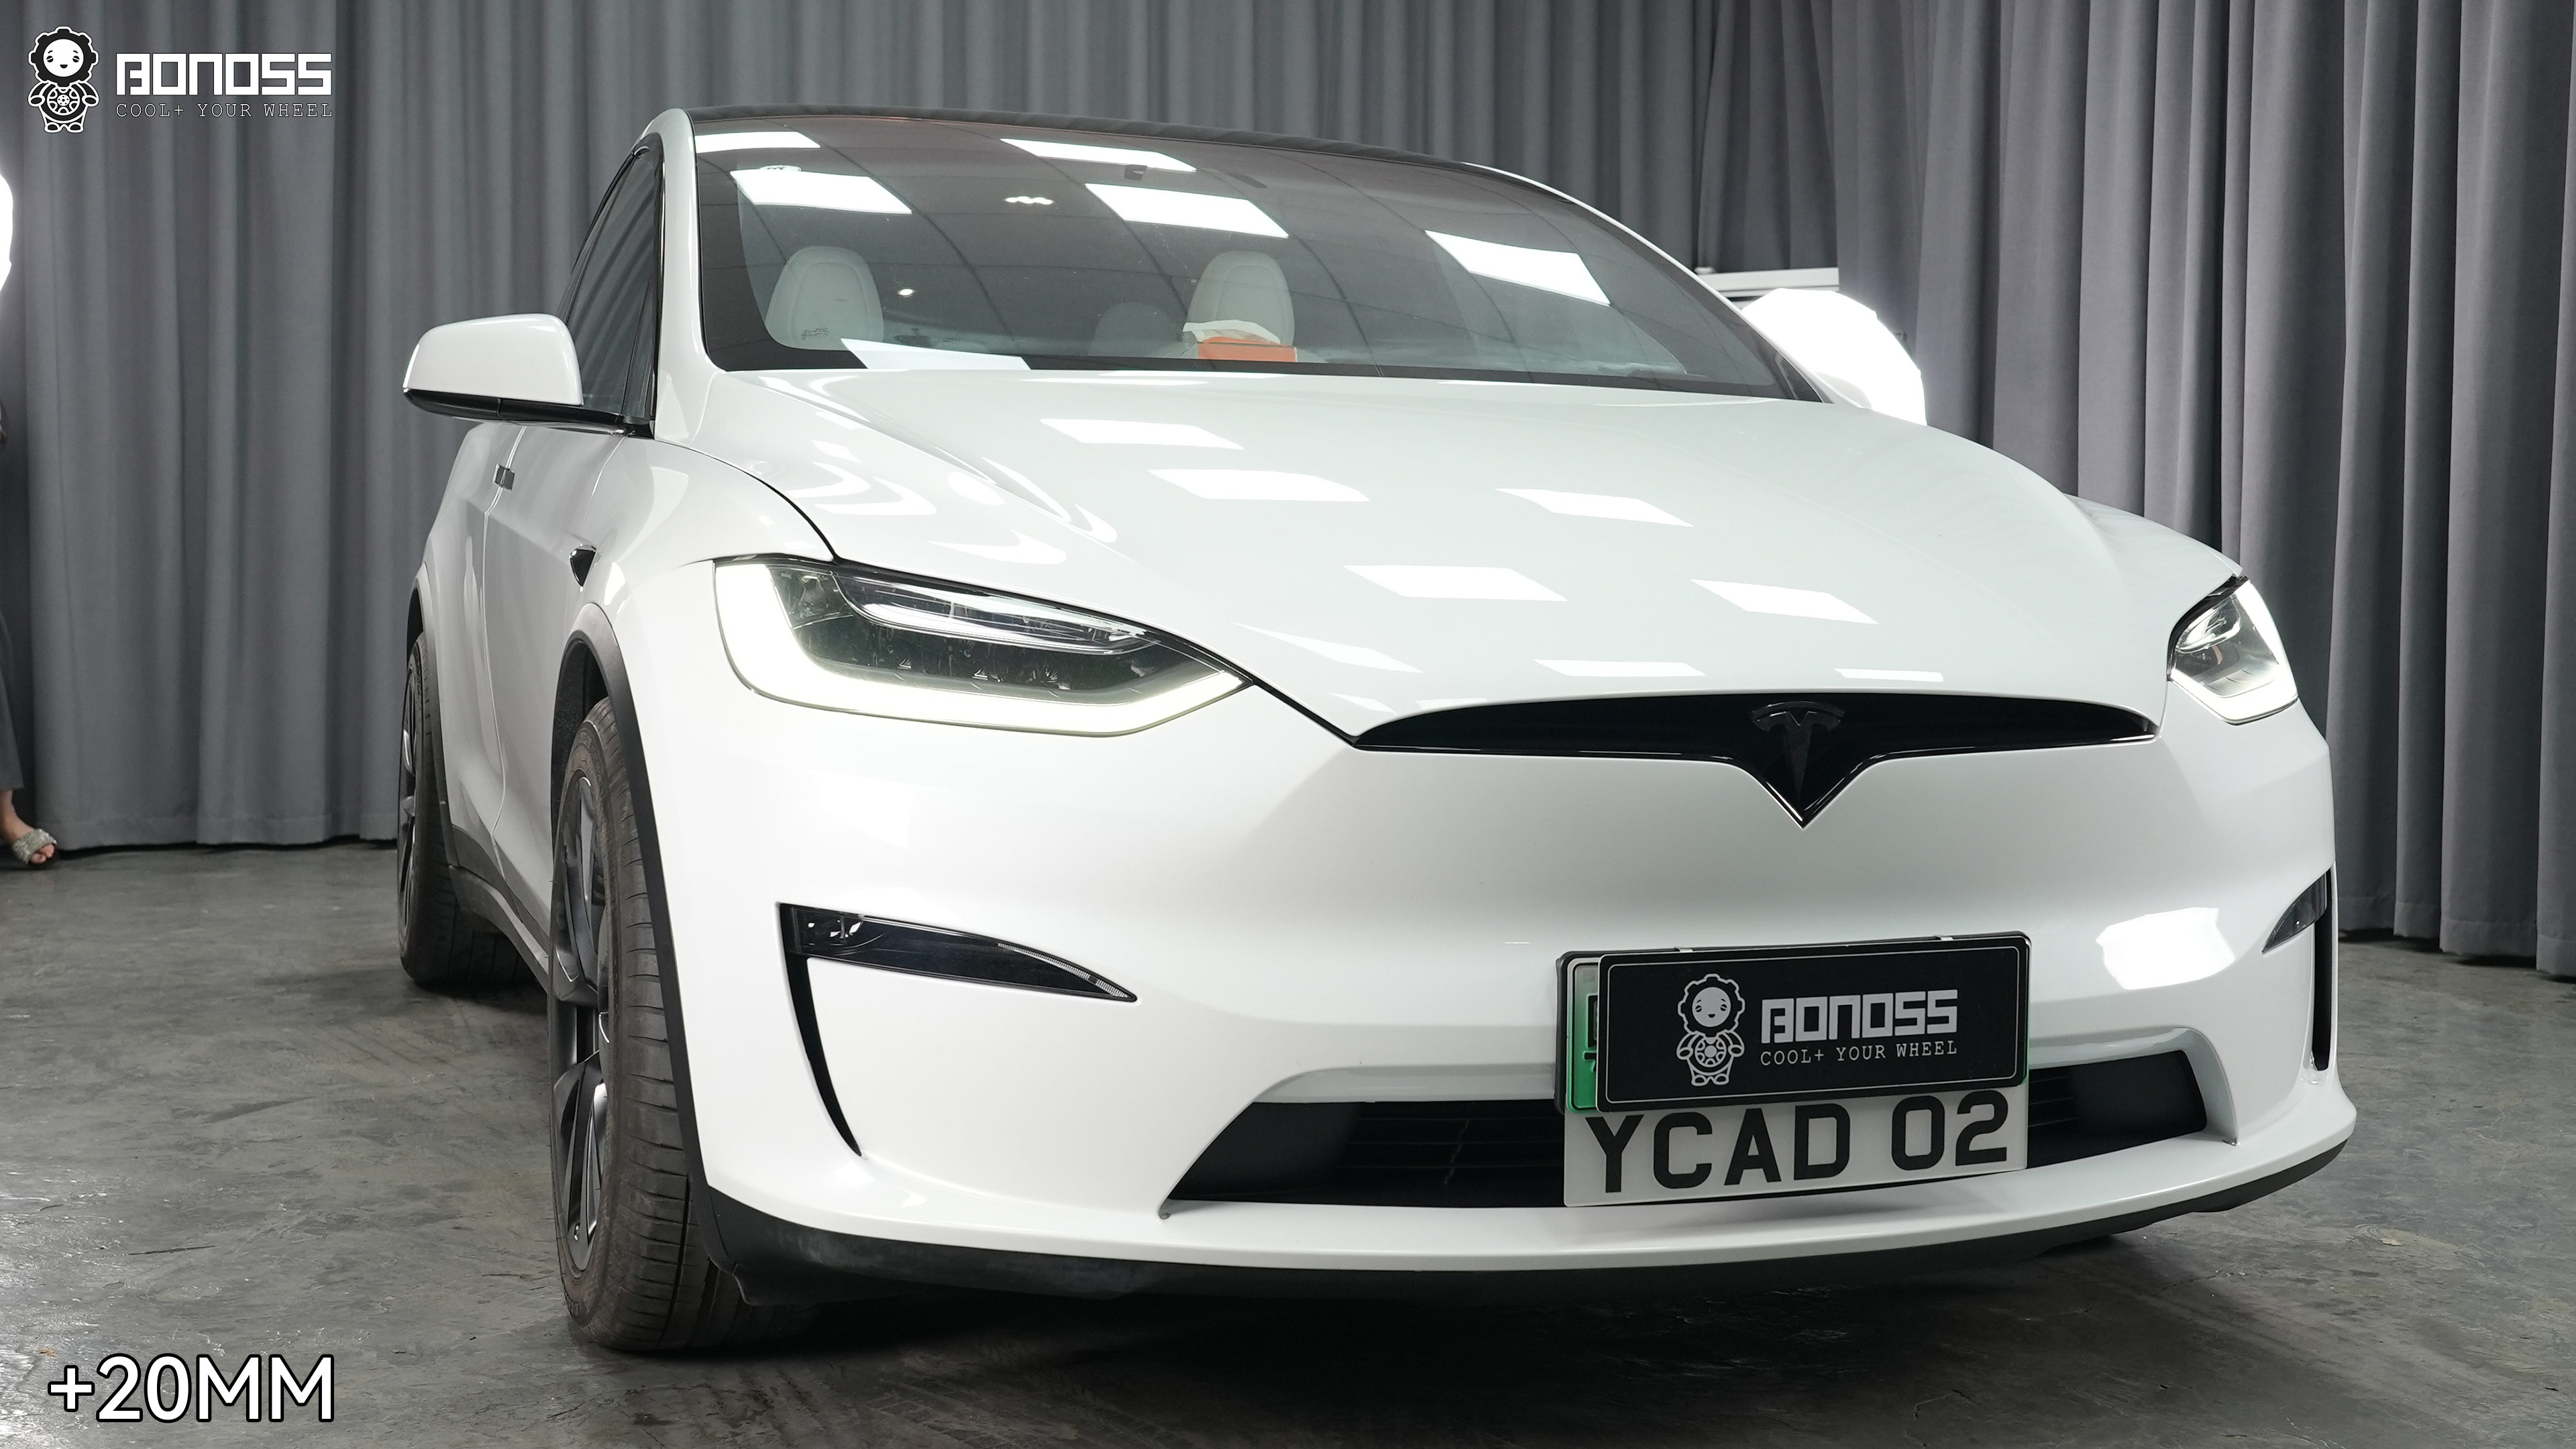
The stance went from apologetic to deliberate. Wheel faces now sit level with the fender lines, the track width gain is subtle, and the factory wheels finally look like they belong to the car.
What surprised Fidel wasn’t the look — he expected that. It was the feel. With the track widened 40mm per axle in total, he described the ride as more planted on highway sweepers, and the Dual Motor AWD system went about its business without a single fault, vibration, or drivetrain complaint. Spacers don’t change spring rates or alignment geometry; what they change is leverage at the contact patch, and on this car the change read as stability rather than harshness.
Fidel’s feedback came in two rounds. Right after the install: “First order from BONOSS. Spacers were great quality for the price, service was on point, and I got the flush fitment without much hassle.” Then, at roughly the 30,000-mile mark: “About 30k miles in, they’re still solid. No vibrations, no rubbing, no weird noises at all. Ride feels more stable. Would definitely buy again.”
That second quote is the one that matters. Plenty of spacers feel fine on day one. Feeling fine after 31,427 miles of American roads is a different test entirely.
Copy This Setup: The Full Parts List
If your 2023 Model X Standard Range or Dual Motor AWD is still on stock wheels, here is the exact recipe:
- 4x BONOSS forged active cooling hub-centric wheel spacers, 20mm, 5×120, 64.1mm center bore, 6061-T6 — $263.98
- ISO Grade 12.9 studs and ISO Grade 10 nuts, M14x1.5 (included with the spacers)
- Stock wheels and tires retained: 265/45ZR20 ET40 front, 275/45ZR20 ET35 rear
- Labor: $22
- Tools: torque wrench, plus Jack Mode enabled before lifting
Prefer to stay slightly inside the fender line? The 15mm front / 20mm rear alternative was verified on this car and clears the stock studs as well.
FAQ
Do 20mm wheel spacers fit a 2023 Tesla Model X?
Yes — on stock wheels, 20mm front and rear produced a flush fender fitment on this 2023 Model X with no rubbing at full steering lock. The fit was verified by measuring the fender gap with a ruler before installation, and the effective offsets moved to ET+20 front and ET+15 rear. A more conservative 15mm front / 20mm rear option was also validated on the same car.
What is the bolt pattern of a 2023 Tesla Model X?
The 2023 Tesla Model X uses a 5x120mm bolt pattern with M14x1.5 conical-seat hardware and a 64.1mm hub bore. Any spacer you buy must match all three numbers — pattern, thread, and center bore — not just the bolt count.
What torque should I use for 2023 Model X wheel spacers?
Use two values for two different steps: 140 Nm (103.5 ft-lb) on the BONOSS-supplied nuts that secure the spacer to the hub, per BONOSS installation instructions, and 175 Nm (129 ft-lb) on the factory lug nuts that secure the wheel to the spacer, per the owner’s manual. Always re-check torque after the first drive cycle, and use a calibrated torque wrench rather than an impact gun for final tightening.
Do I need to trim my studs for 20mm spacers on a Model X?
No — on this car the measured numbers prove it. Stock stud protrusion measured 26.11mm; after a 20mm spacer, 6.11mm of thread remains, and the factory wheel pockets measured 11.26mm deep, so the studs sit inside the recesses without contact. Even a 15mm spacer leaves 11.11mm against the same 11.26mm pockets. Both thicknesses clear without cutting the factory studs on this specific wheel.
Why do the hub, spacer, and wheel bore measurements differ — 64.03 vs 64.1 vs 64.27?
Because those three numbers come from three different mating surfaces. The vehicle hub register measured 64.03mm, the OEM wheel center bore measured 64.27mm — the factory itself builds in roughly 0.24mm of assembly tolerance and anti-corrosion allowance, so stock fit was never zero-clearance either.
The BONOSS spacer’s outer register is 64.1mm, leaving a 0.17mm diametral gap to the wheel (0.085mm per side) for a tight hub-centric fit, while a multi-stage inner bore matches the 64.03mm hub. One part bridging two different dimensions demands serious machining accuracy, which is exactly why the 0.02mm CNC tolerance matters for high-speed stability and proper bolt loading.
Do I really need Jack Mode before lifting a Model X on air suspension?
Yes — enable Jack Mode (Controls, Suspension, Jack Mode) before the car leaves the ground. With it off, the air suspension keeps self-leveling while lifted, which can unexpectedly extend or vent a strut and shift the car’s weight on the jack or stands. One menu tap eliminates the risk; confirm the indicator is showing before lifting.
Conclusion: $286 and One Afternoon
This Tesla Model X 20mm spacers before and after case closed the loop the way a case study should: measured gaps in, measured fitment out, and 31,427 miles of real-world confirmation in between. Fidel kept his factory wheels, spent $263.98 on parts plus $22 on labor, and got the flush stance the car should have shipped with — backed by ISO Grade 12.9 studs, SGS and TÜV test reports, and a 10-year warranty.
If your Model X is sitting on tucked stock wheels right now, these 2023 Tesla Model X 20mm spacers for sale are the same set used in this install. Measure your own fender gaps first, enable Jack Mode, respect the torque specs — and take your own before photo. You’ll want it.

About Jack Miller
Jack Miller is a certified automotive technician specializing in wheel and tire systems, with over a decade of hands-on repair experience. He has served as a senior technical specialist at BONOSS for the past 7 years, advising on wheel spacer fitment, wheel bolt & wheel nut selection for thousands of customer builds. Jack’s technical guides on BONOSS are grounded in real customer cases — not theory.